爸爸最近情绪比较稳定,再加上后台已经收到了这样的留言了:

所以我想是时候回来更一篇文章了。
同时野鹿志几个亿系列4群(野鹿志先融他几个亿股份有限公司)已开。想要进群的童鞋请撩我哦!

这段时间收到了很多童鞋问这个问题:

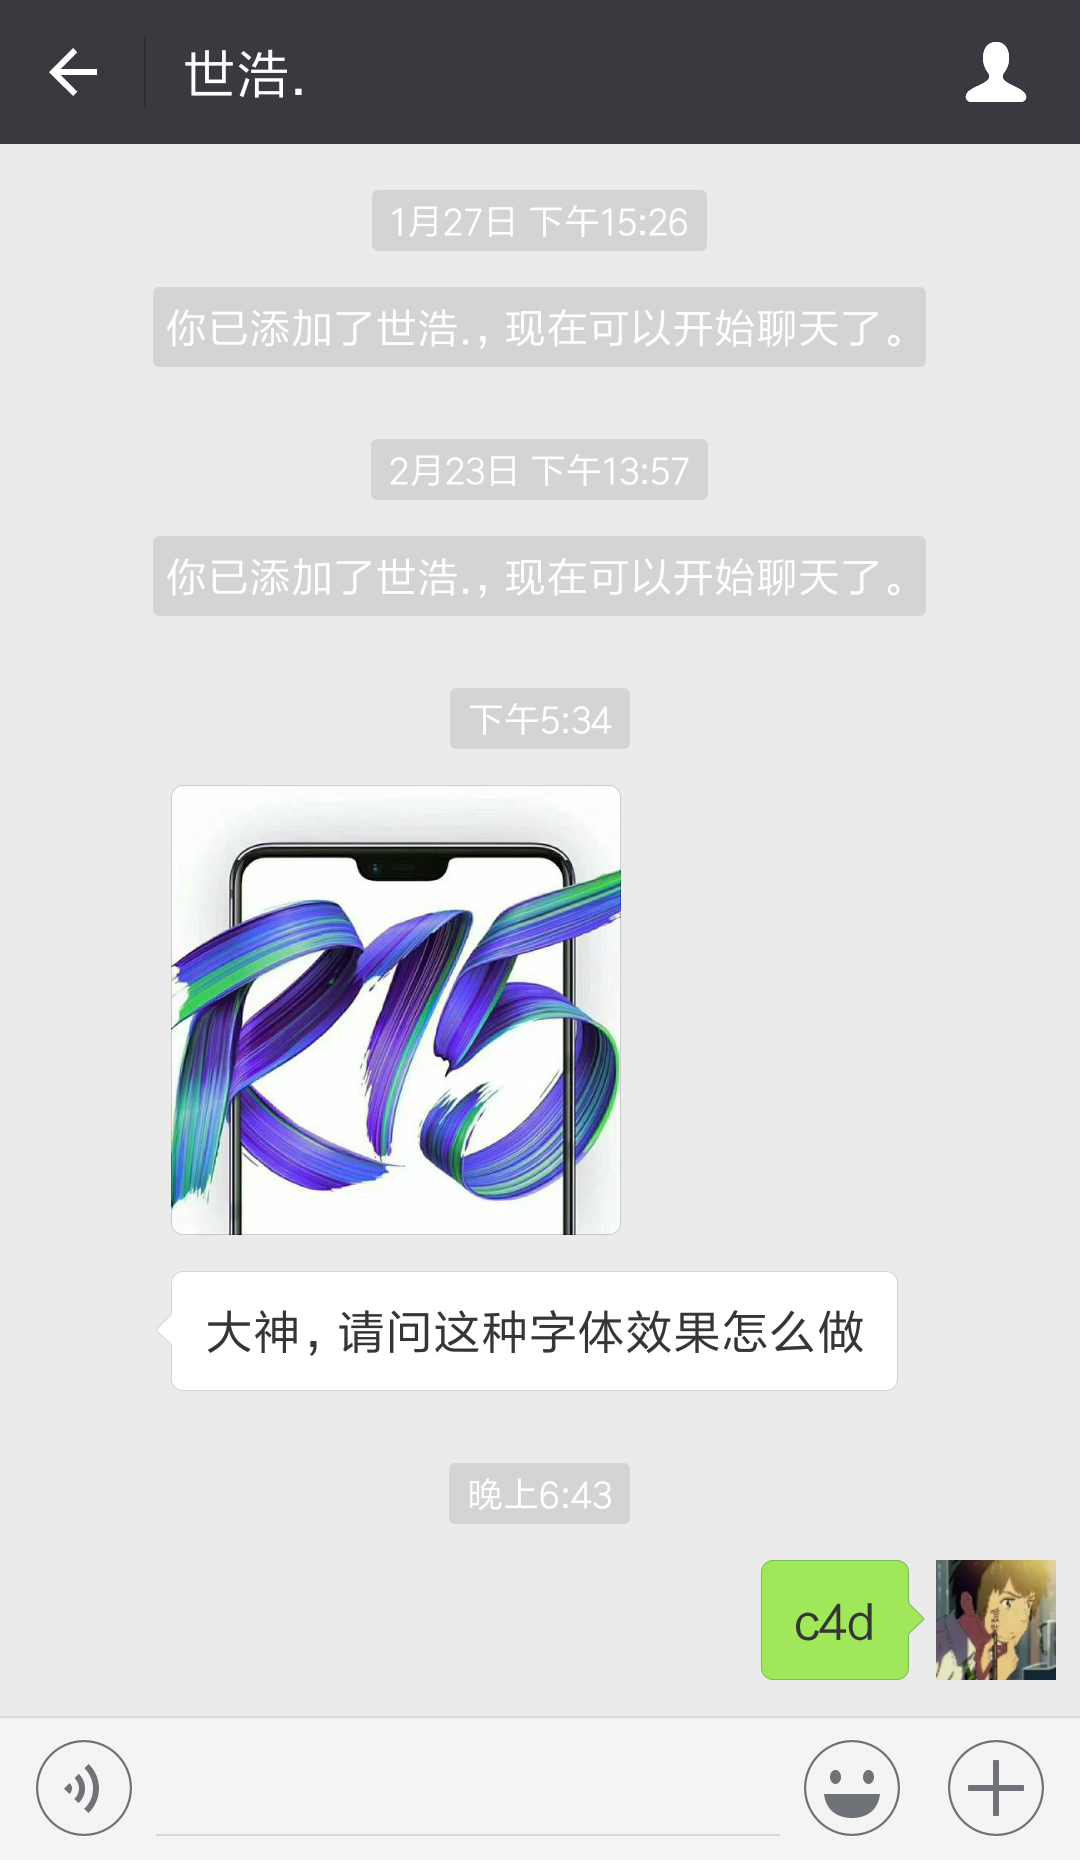
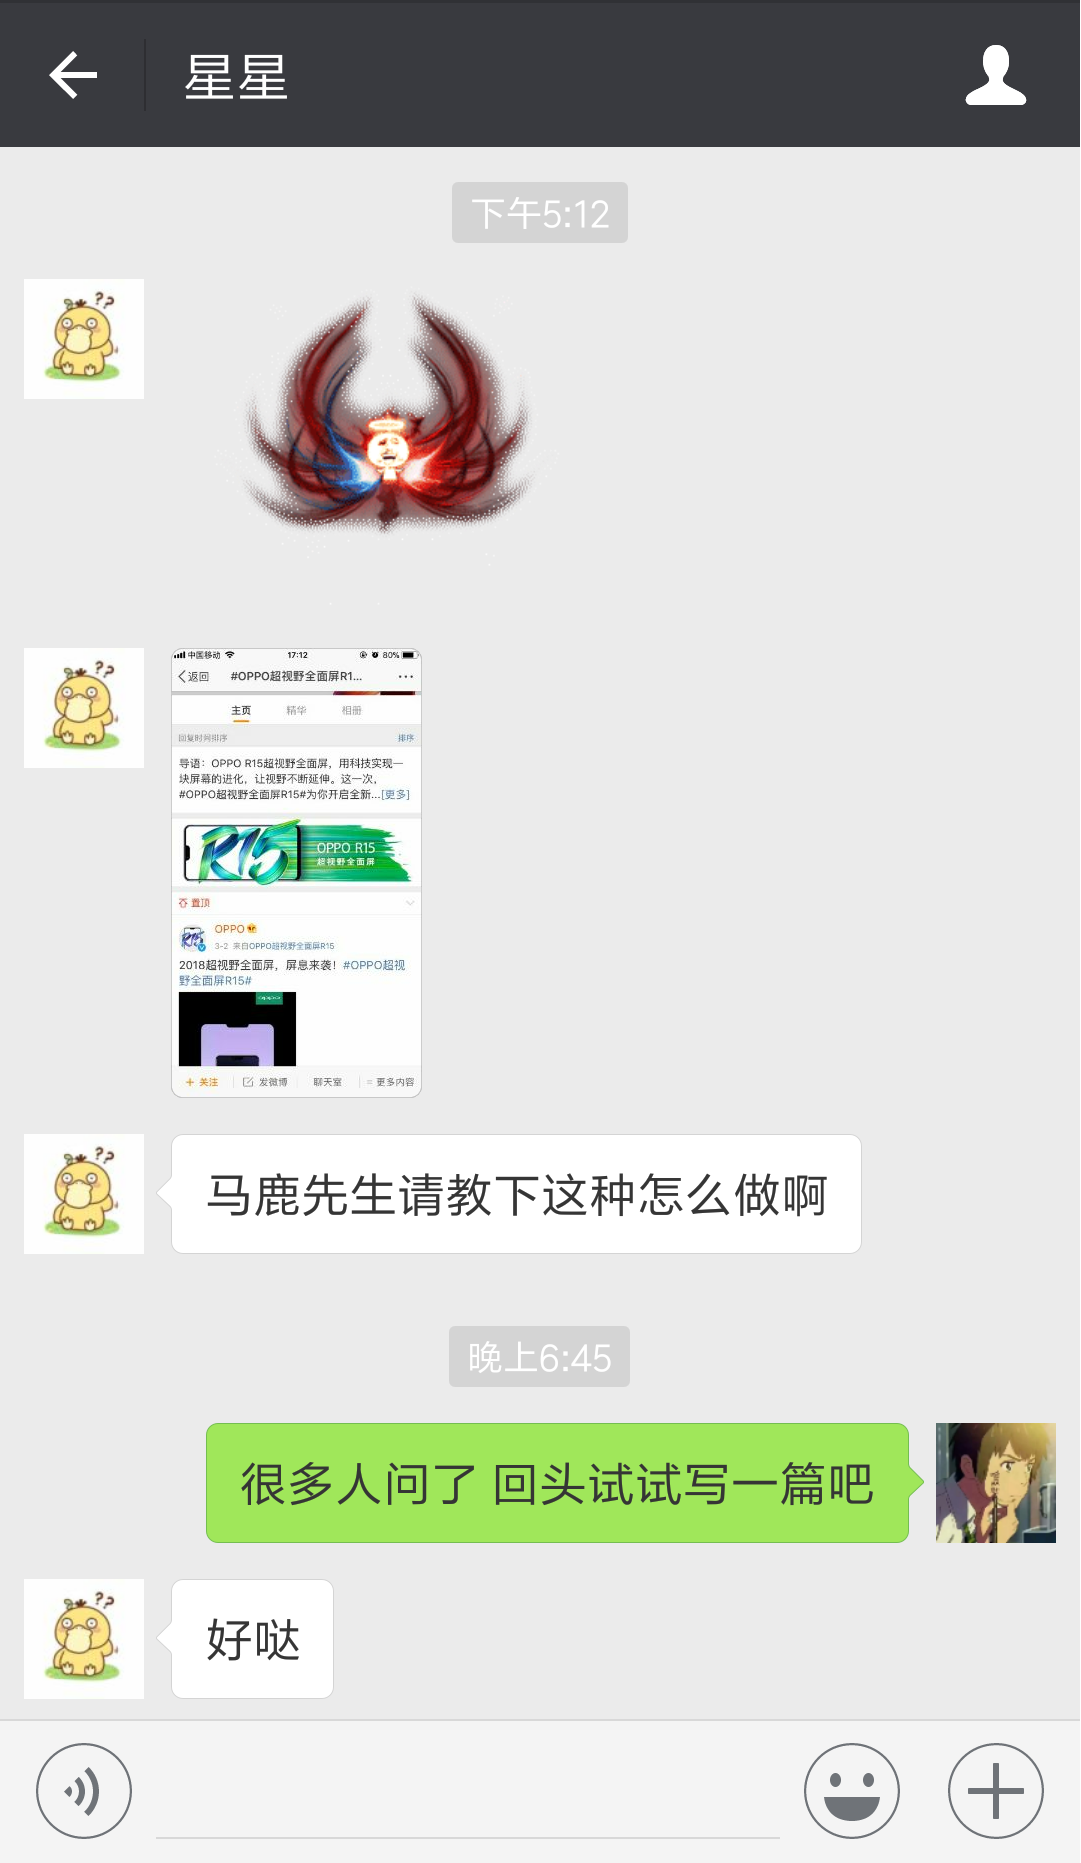
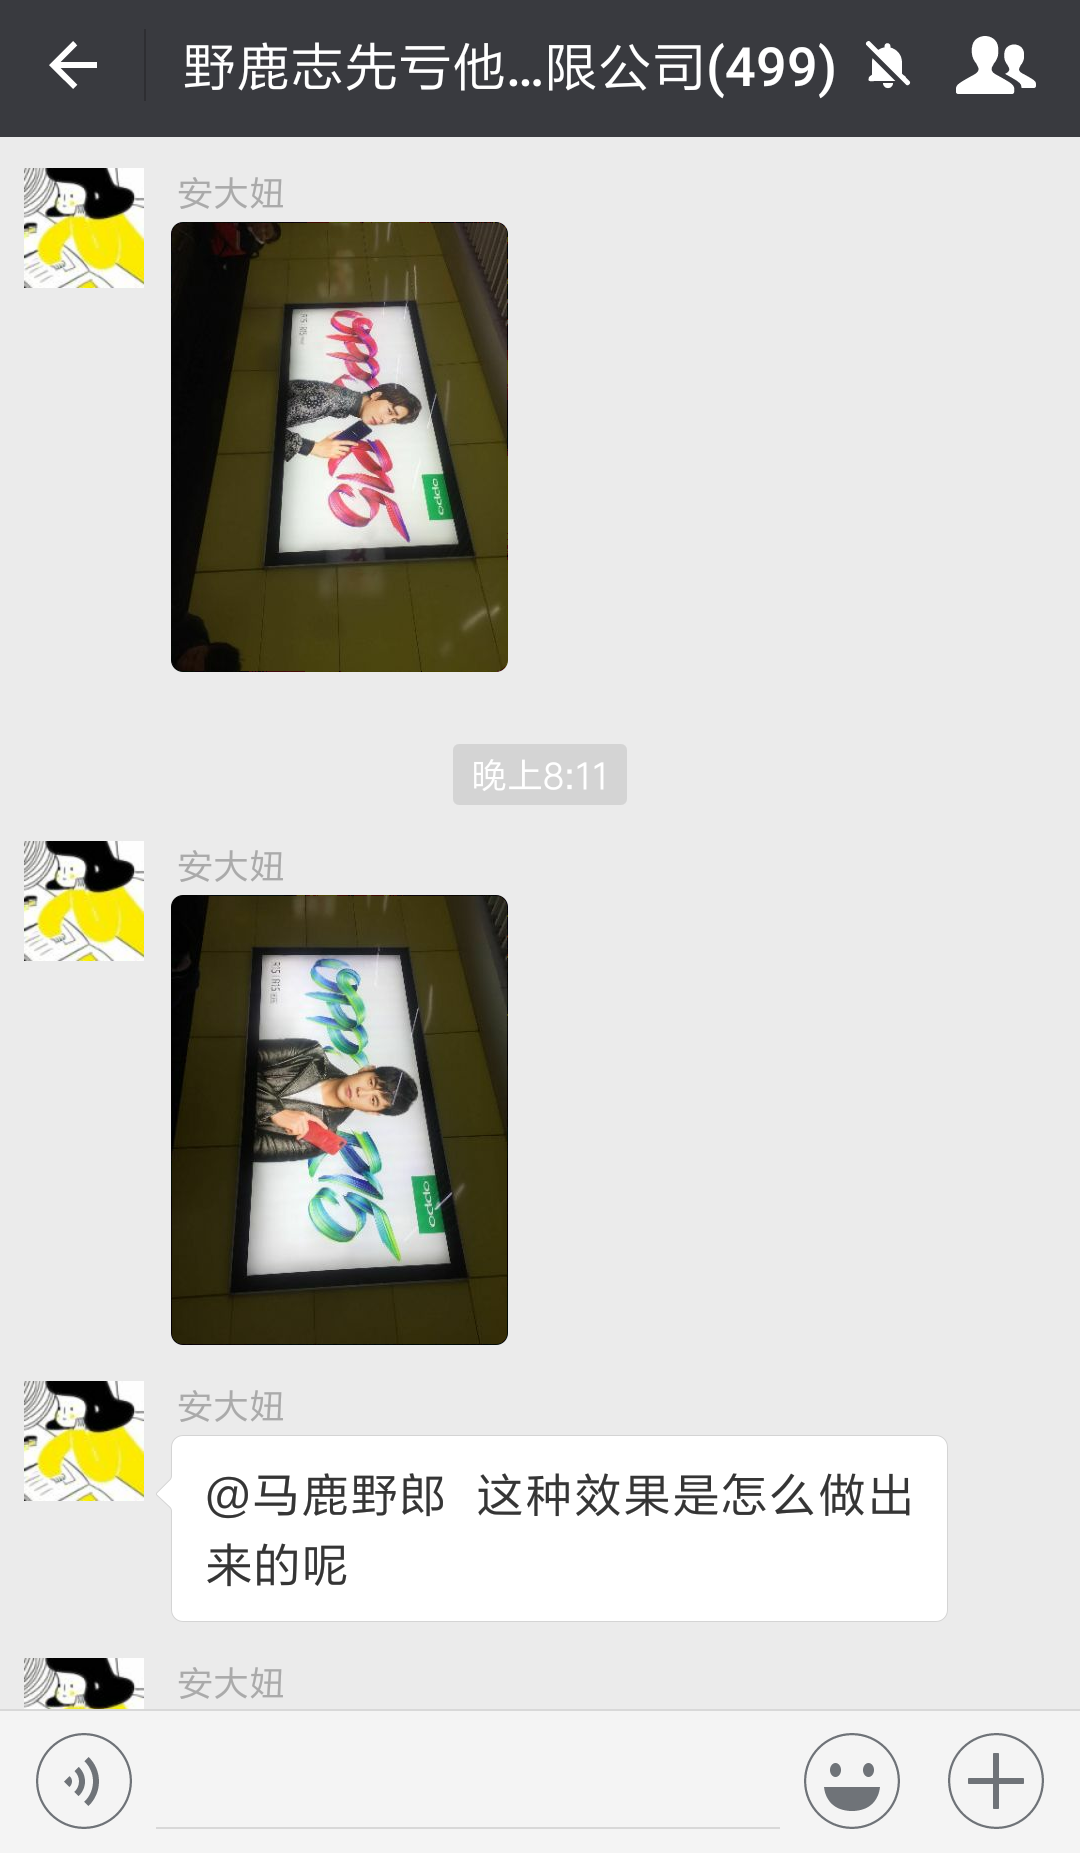
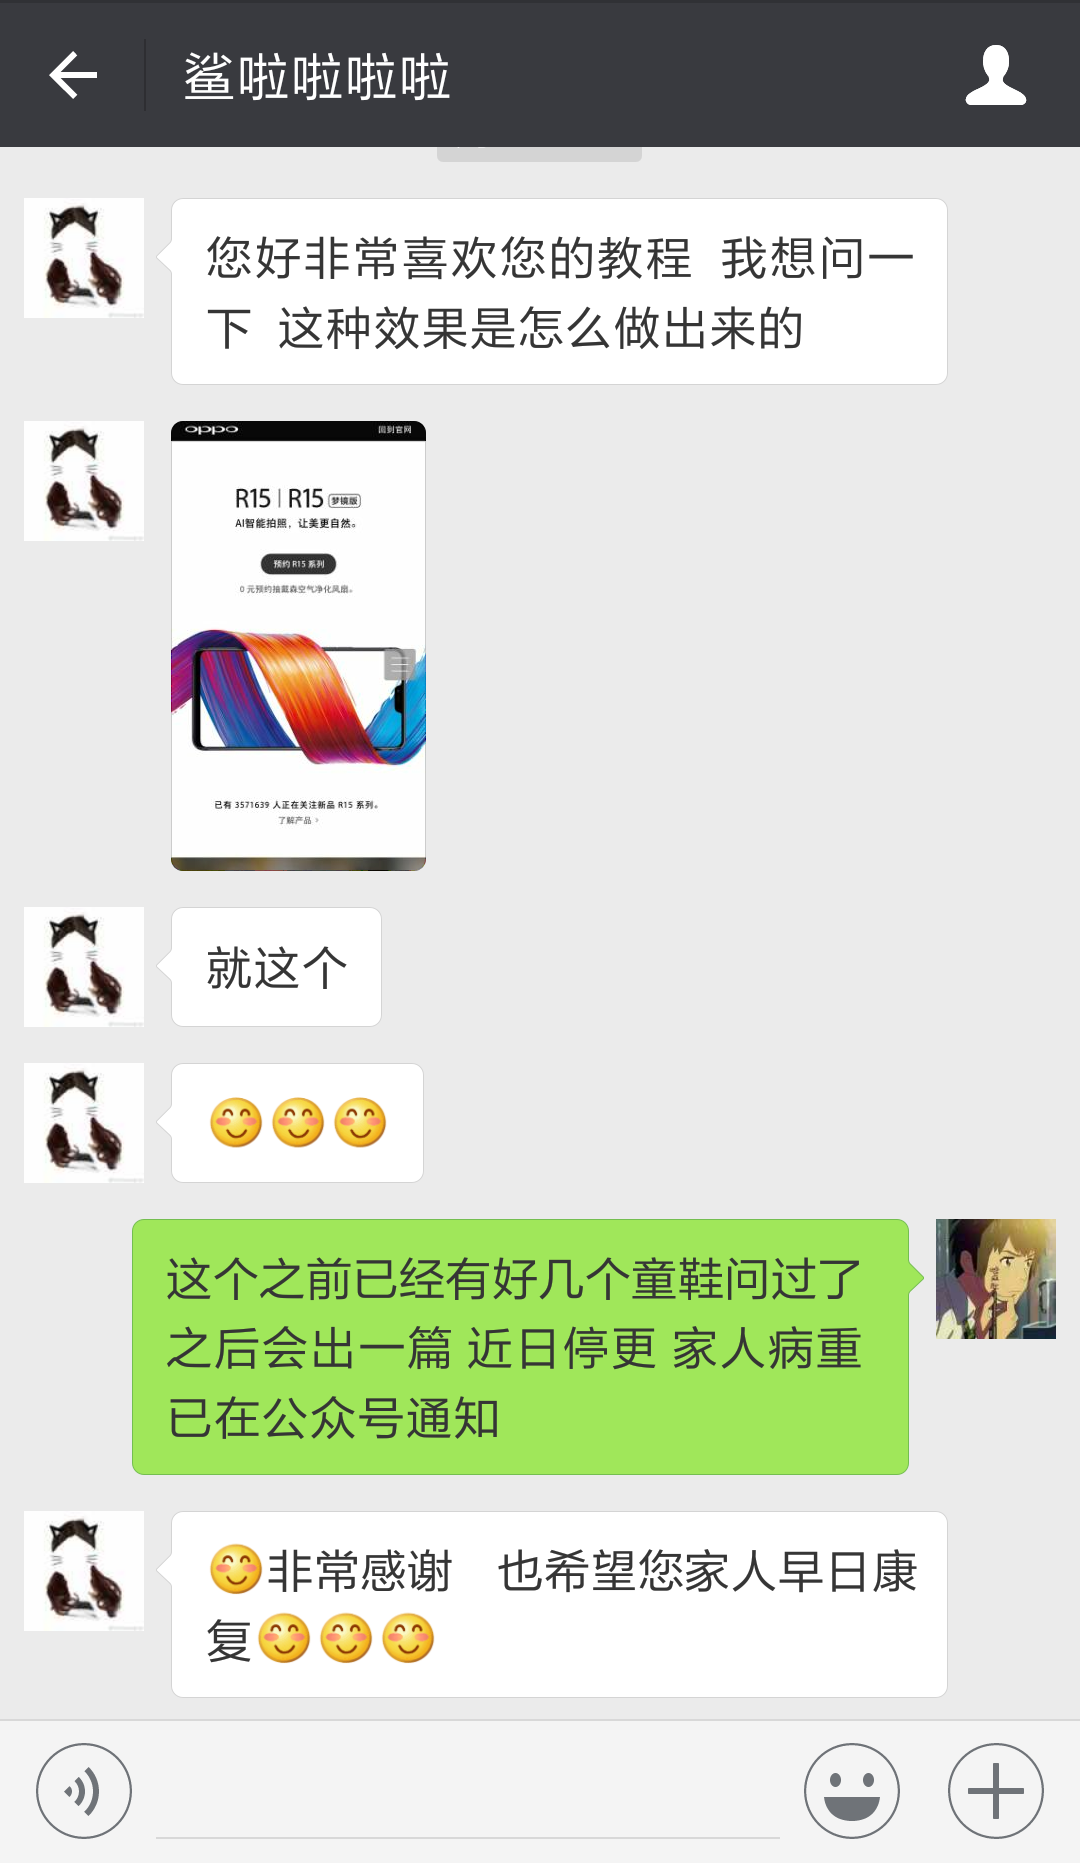
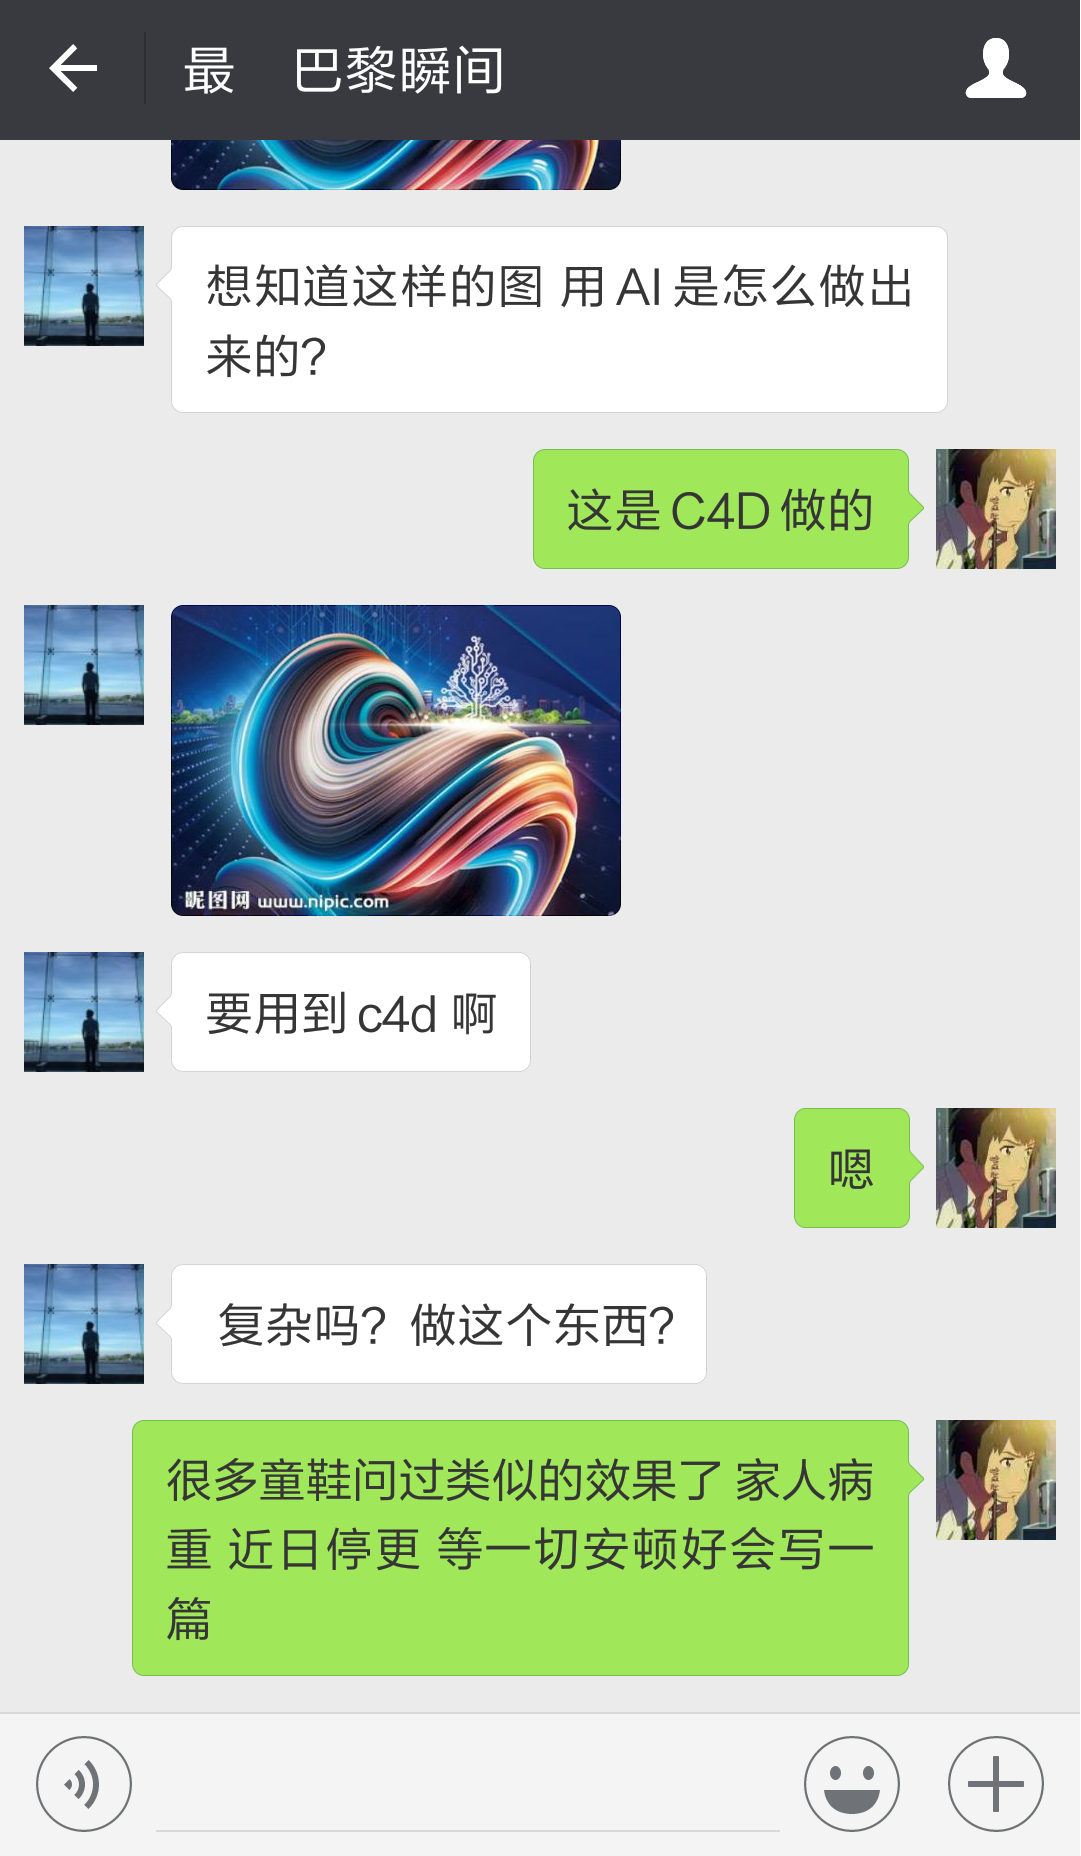
oppo R15的这个油漆文字的效果和最后这位童鞋的纹理效果其实都是用C4D的样条约束制作的,只是后期会用PS做一下润色。
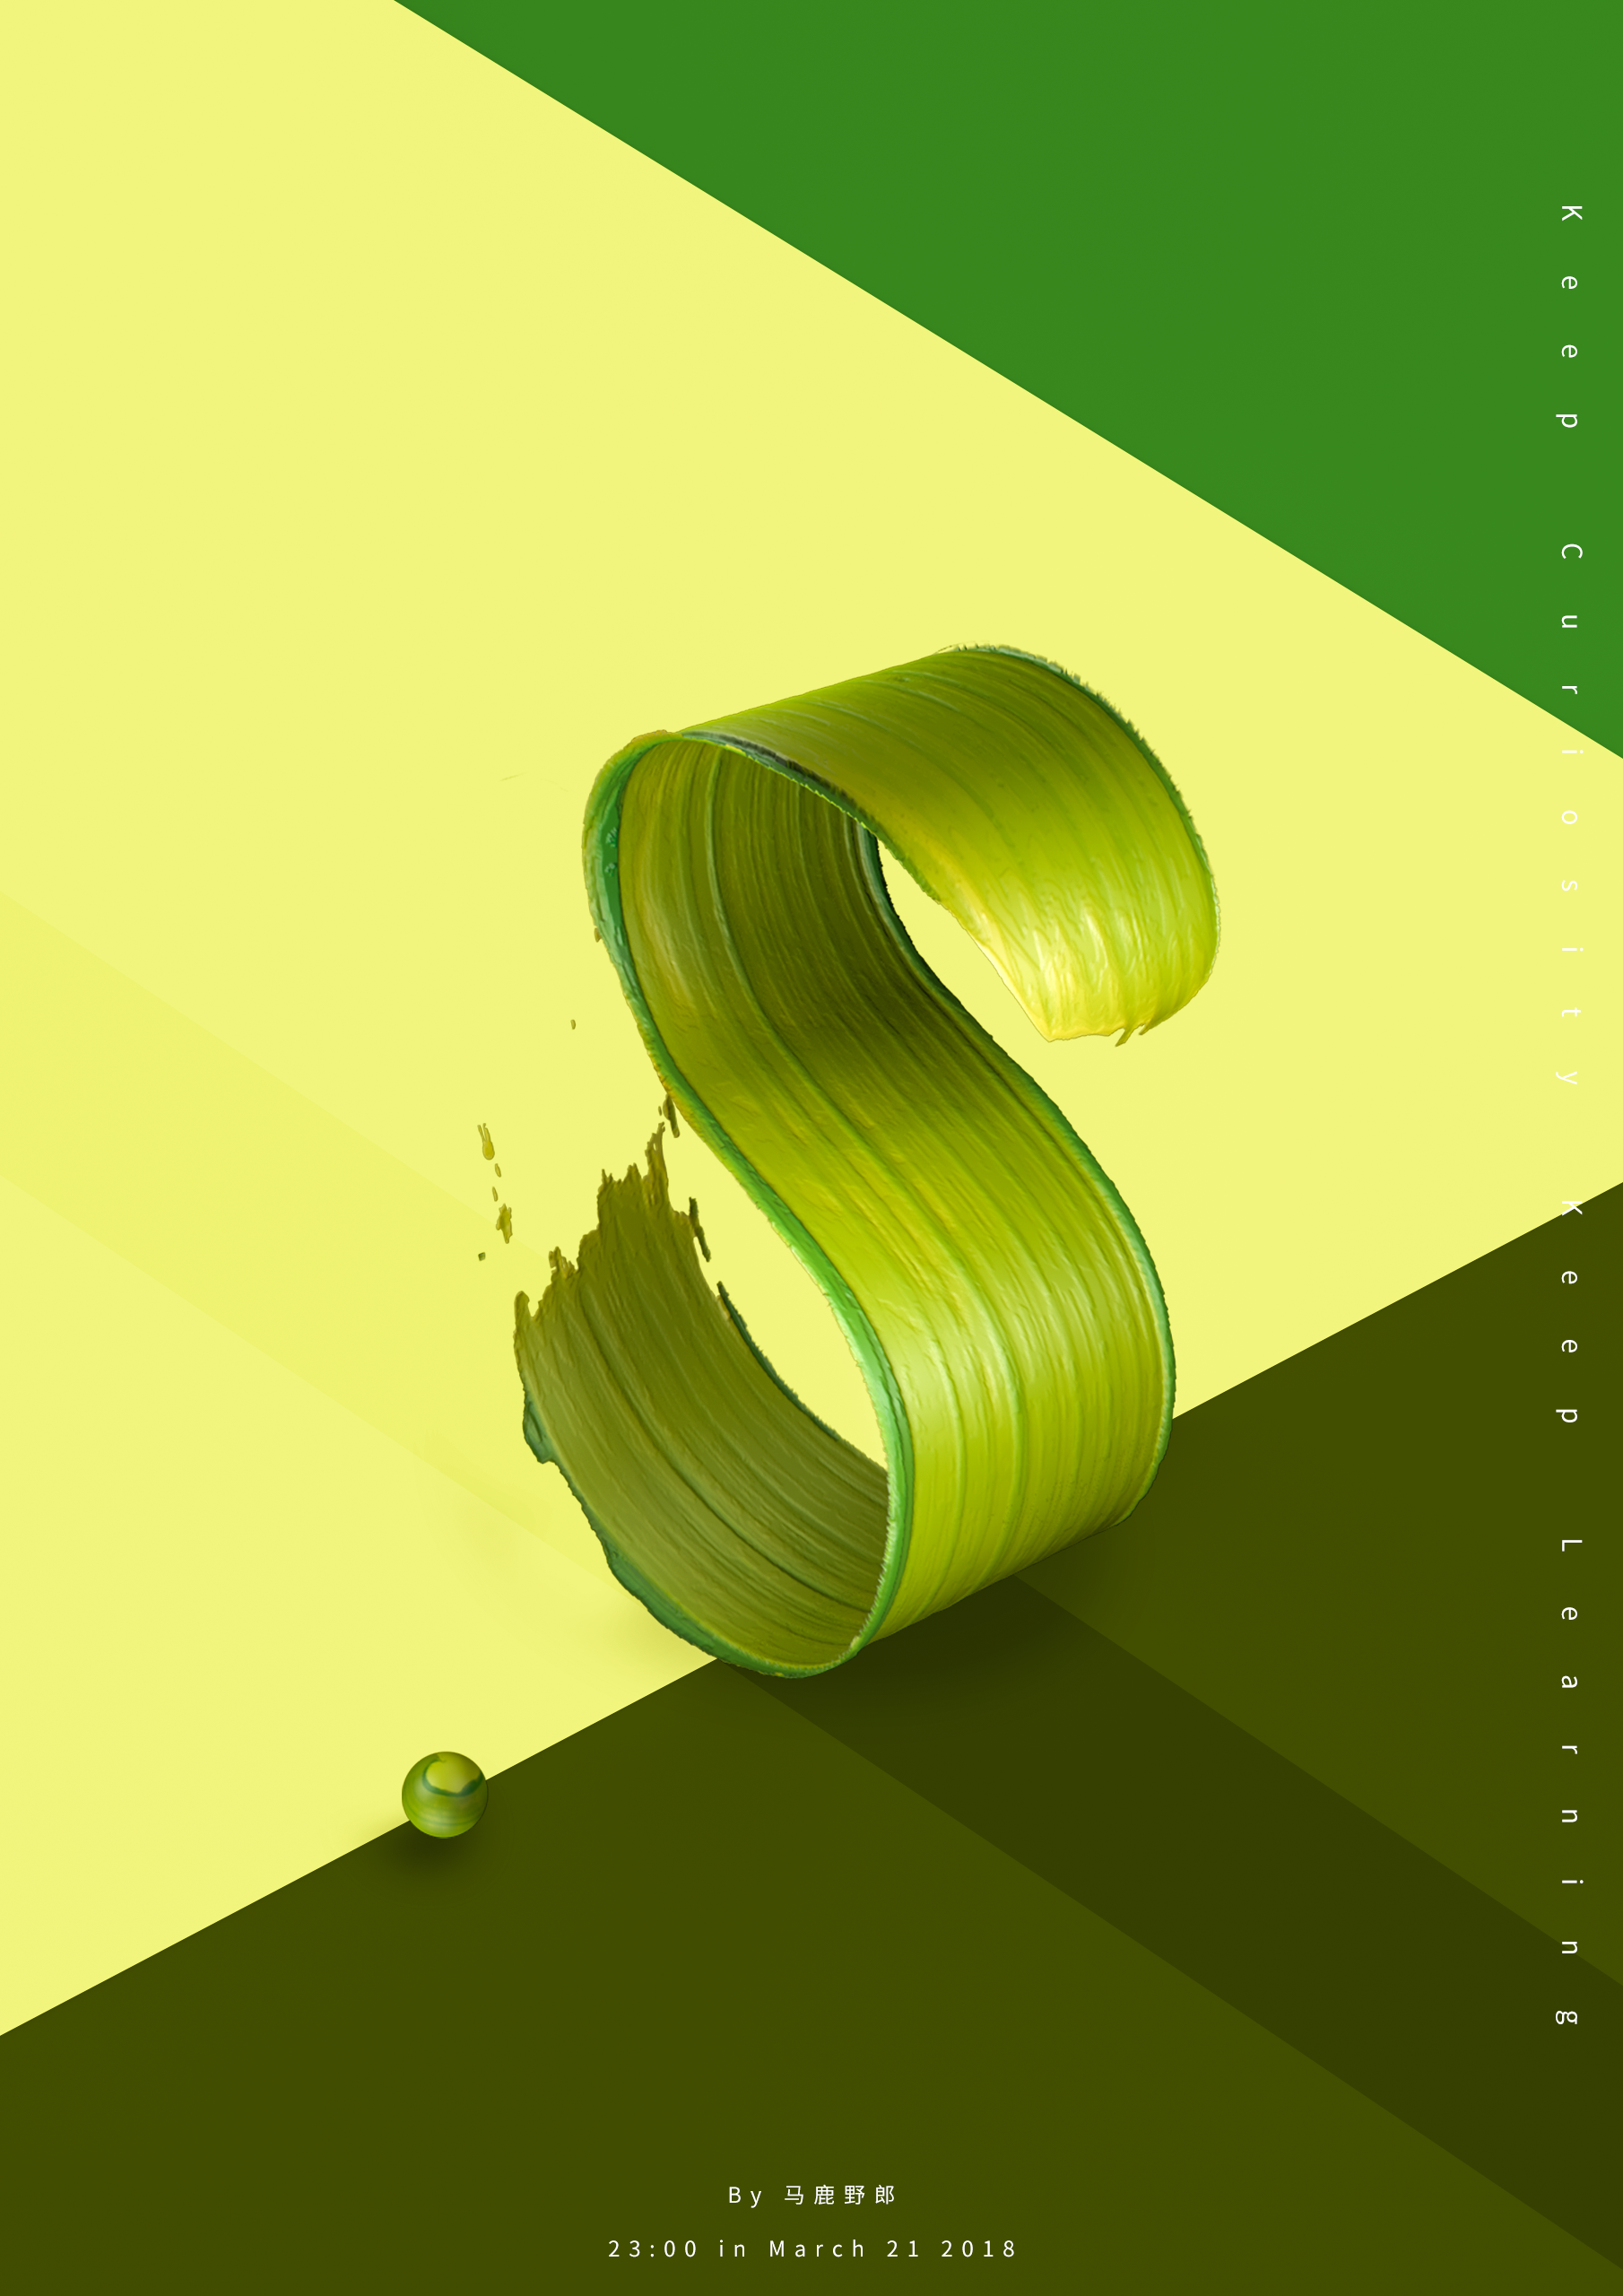
今天我们就来分享一下这种oppo R15的油漆文字制作方法吧!

开始之前先借用最后这位童鞋问的纹理效果做一个小案例,来对样条约束这个好玩的工具进行一下简单的介绍吧。
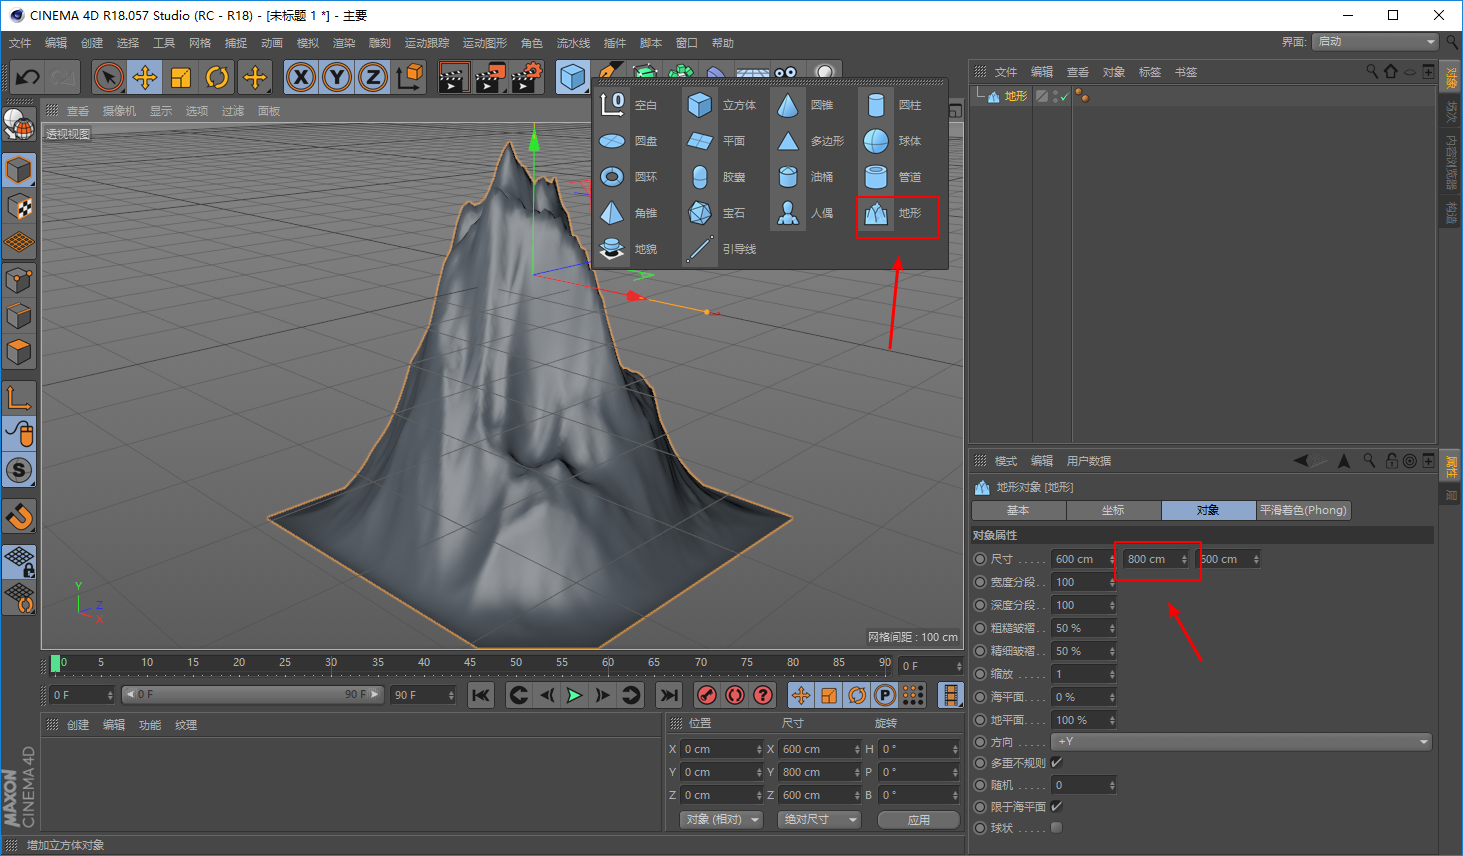
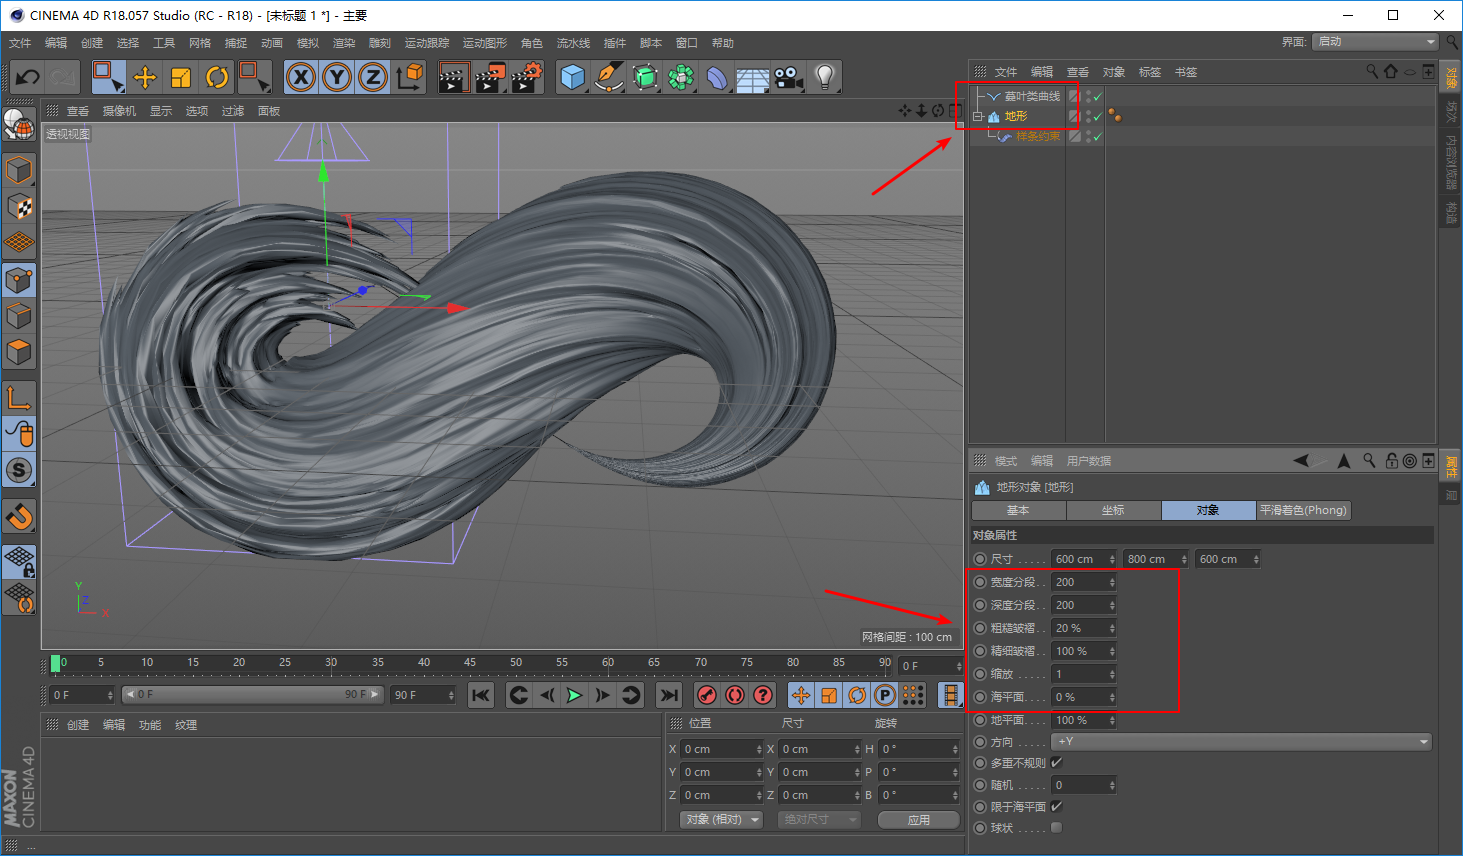
打开C4D先在几何工具组里新建一个地形,同时改变一下Y轴的数值:
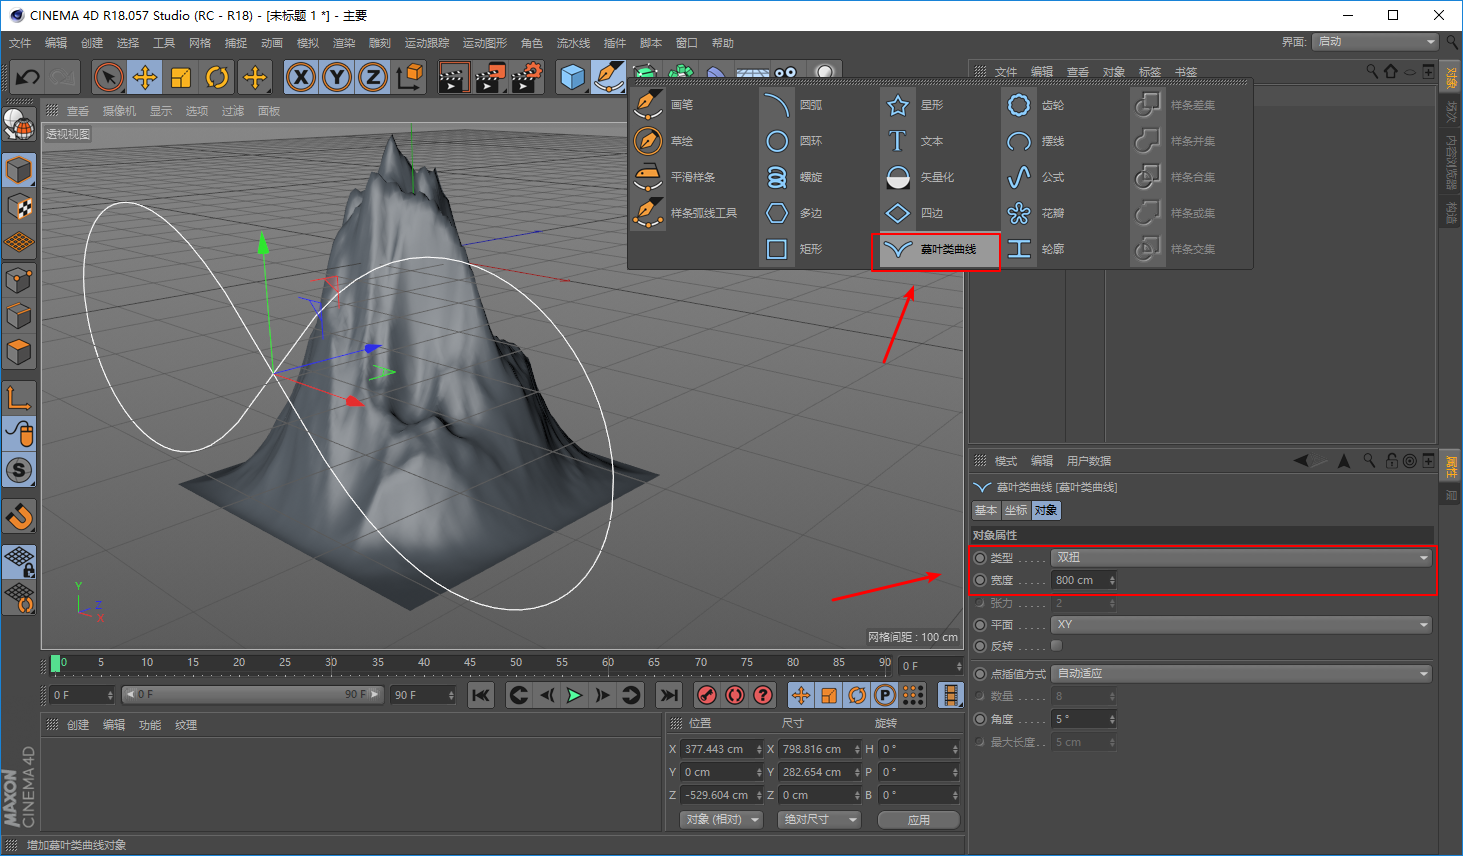
在样条工具组里新建一个样条,我这里选择的是蔓叶类曲线,同时改变一下它的类型以及宽度:
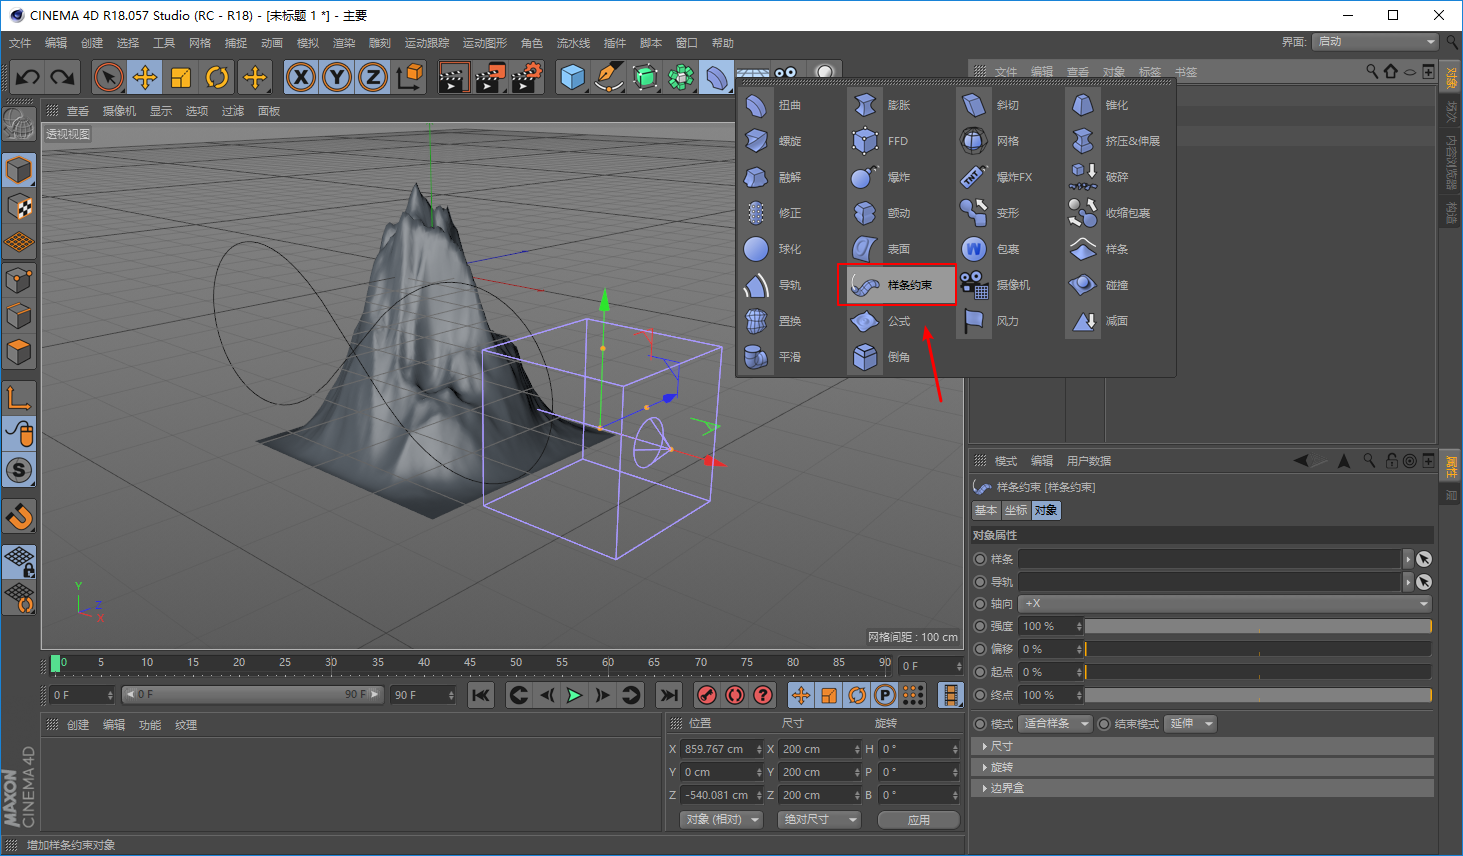
然后再在变形器工具组里新建样条约束:
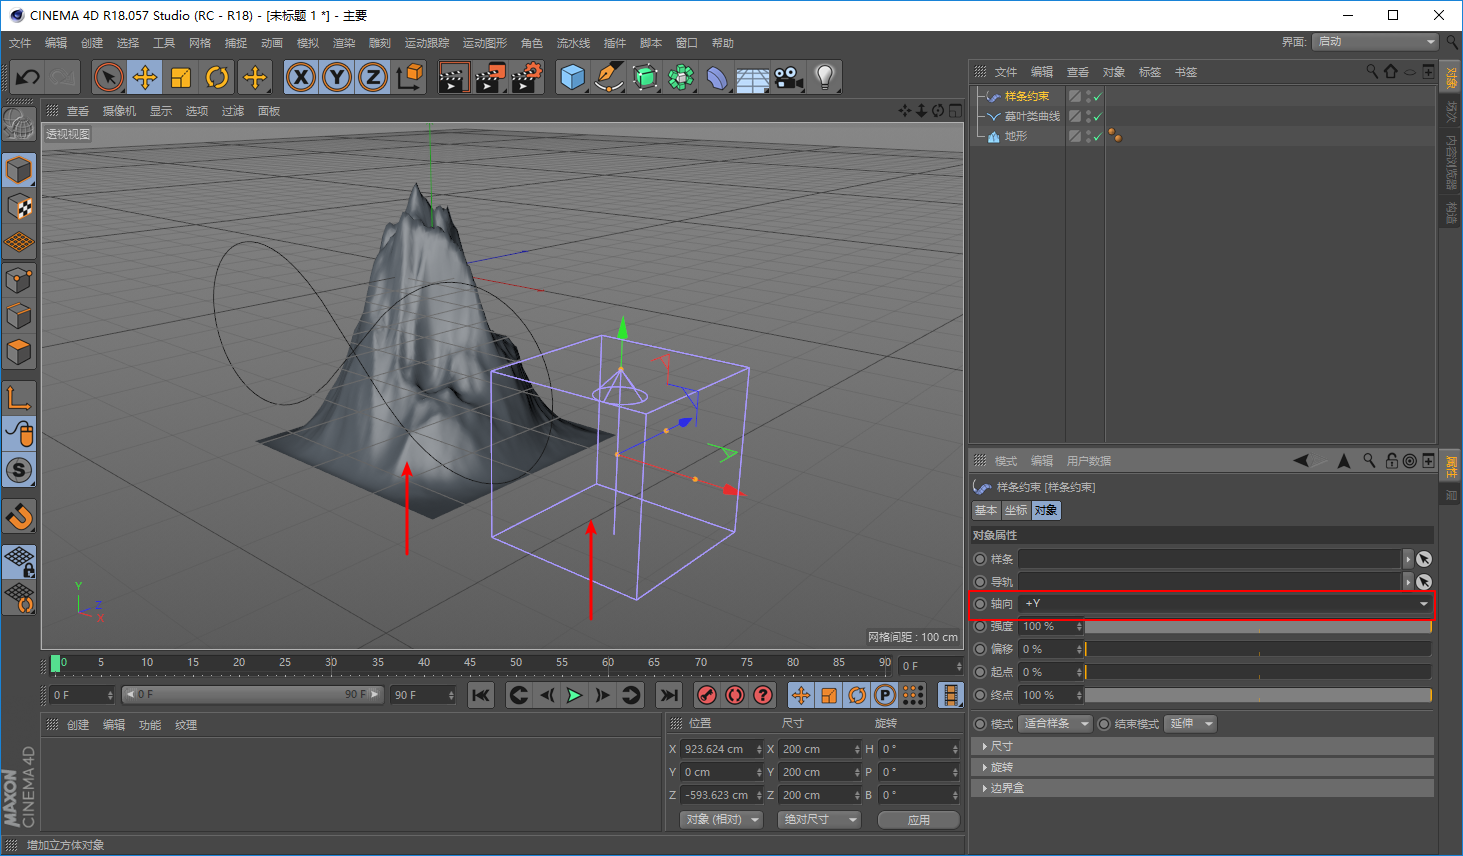
这里有一点需要注意的是因为山峰是在Y轴方向变化的,所以记得把样条约束的轴向也改为Y轴:
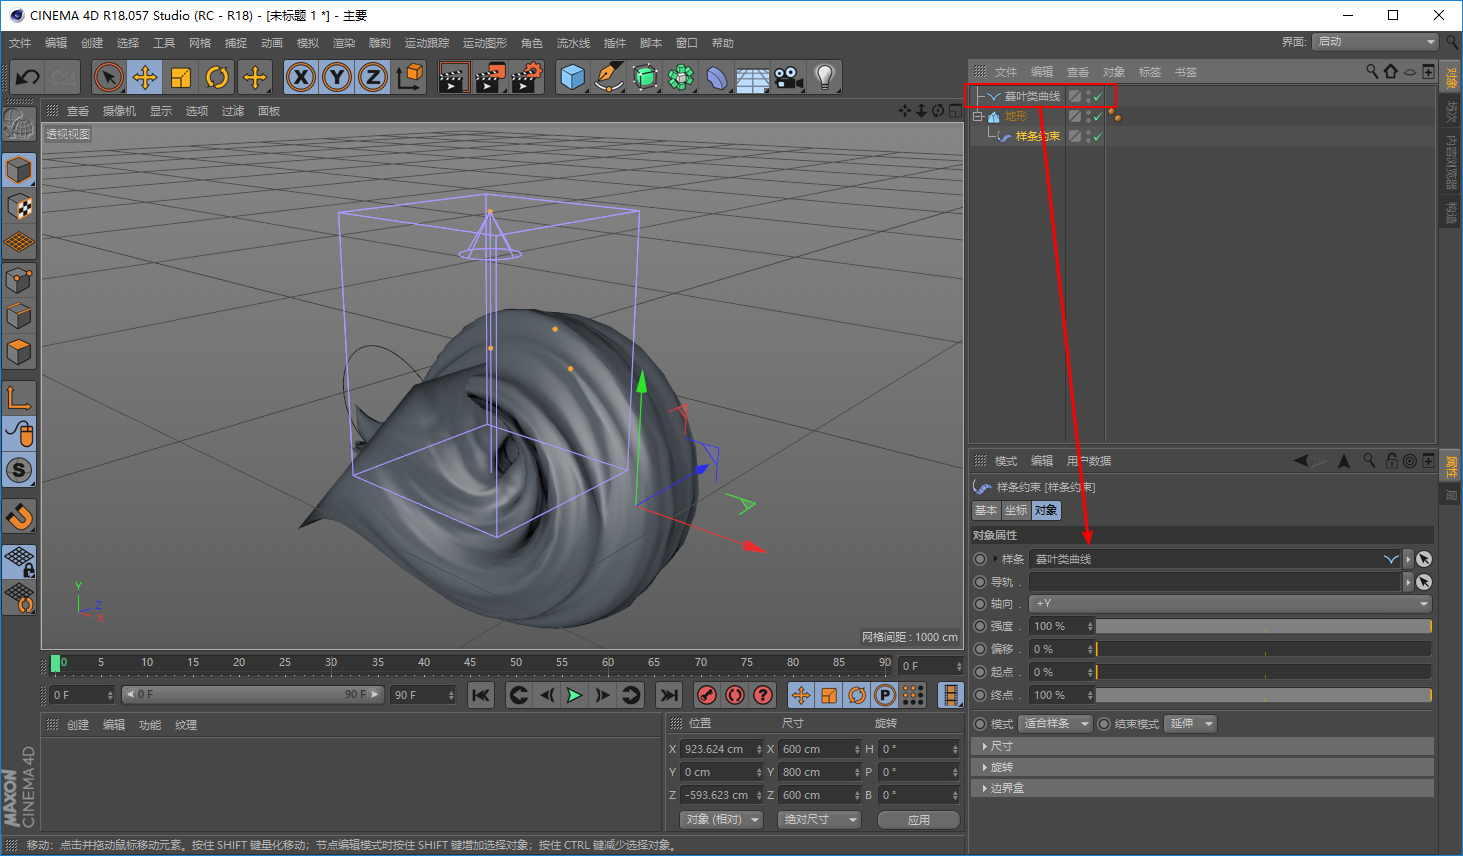
由于样条约束是紫色的,所以根据我们以前的分享,需要让它成为地形的子集:
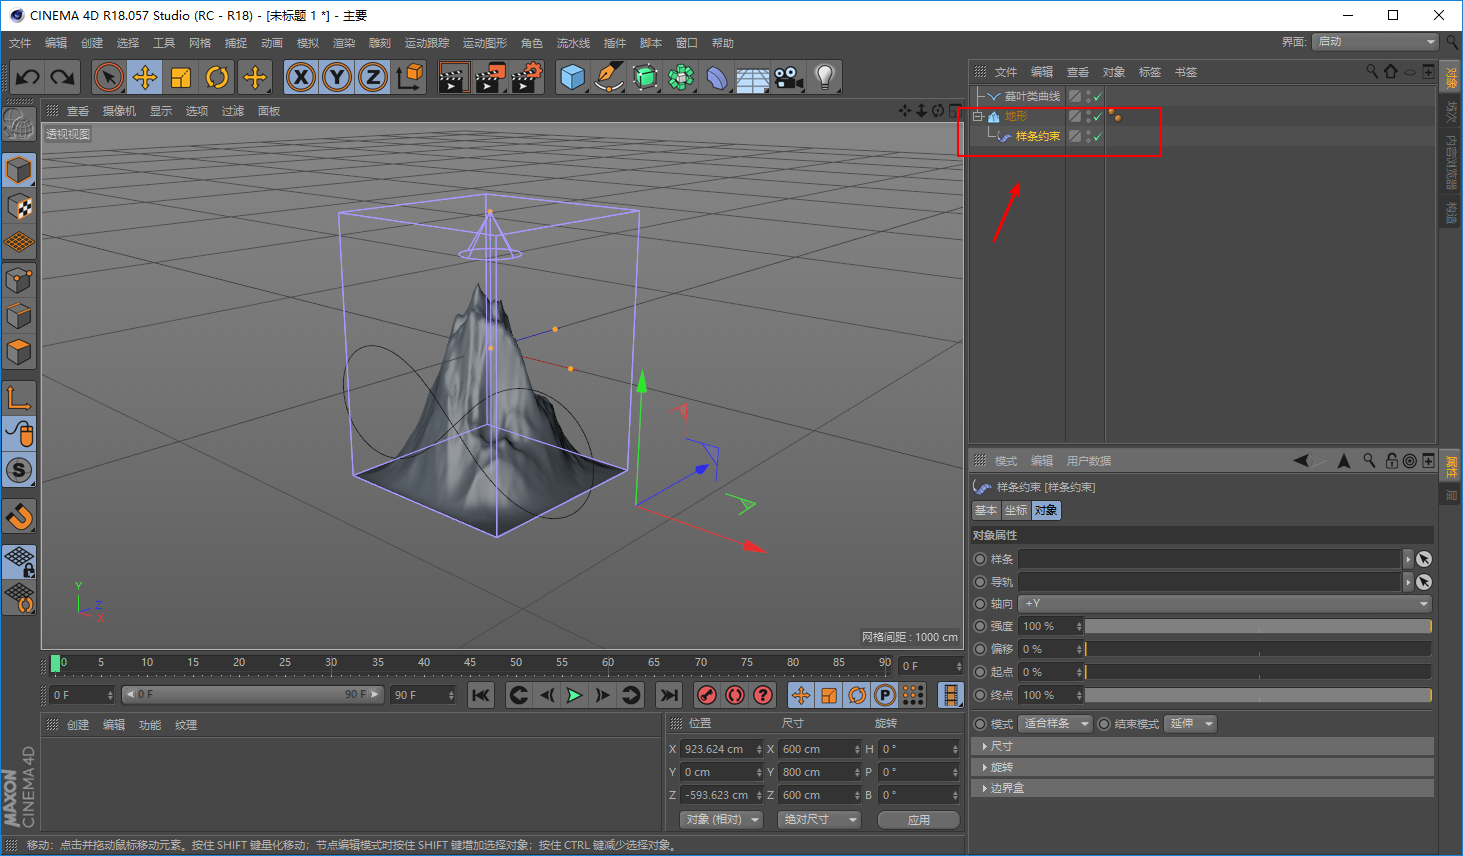
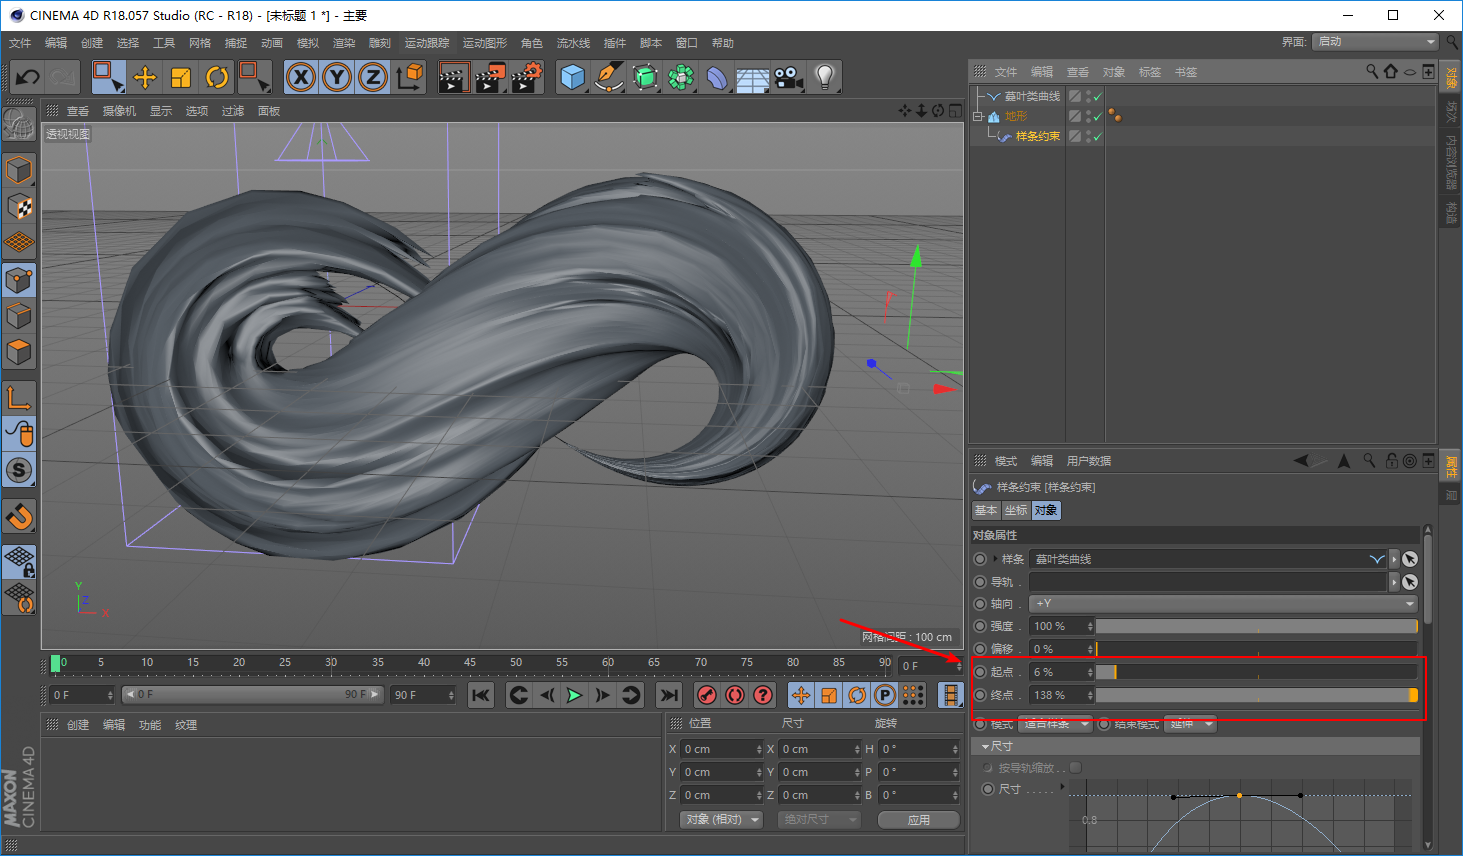
再把样条拖到样条约束对象属性栏的箭头所指位置,我们就可以看到对象已经发生了明显的改变:
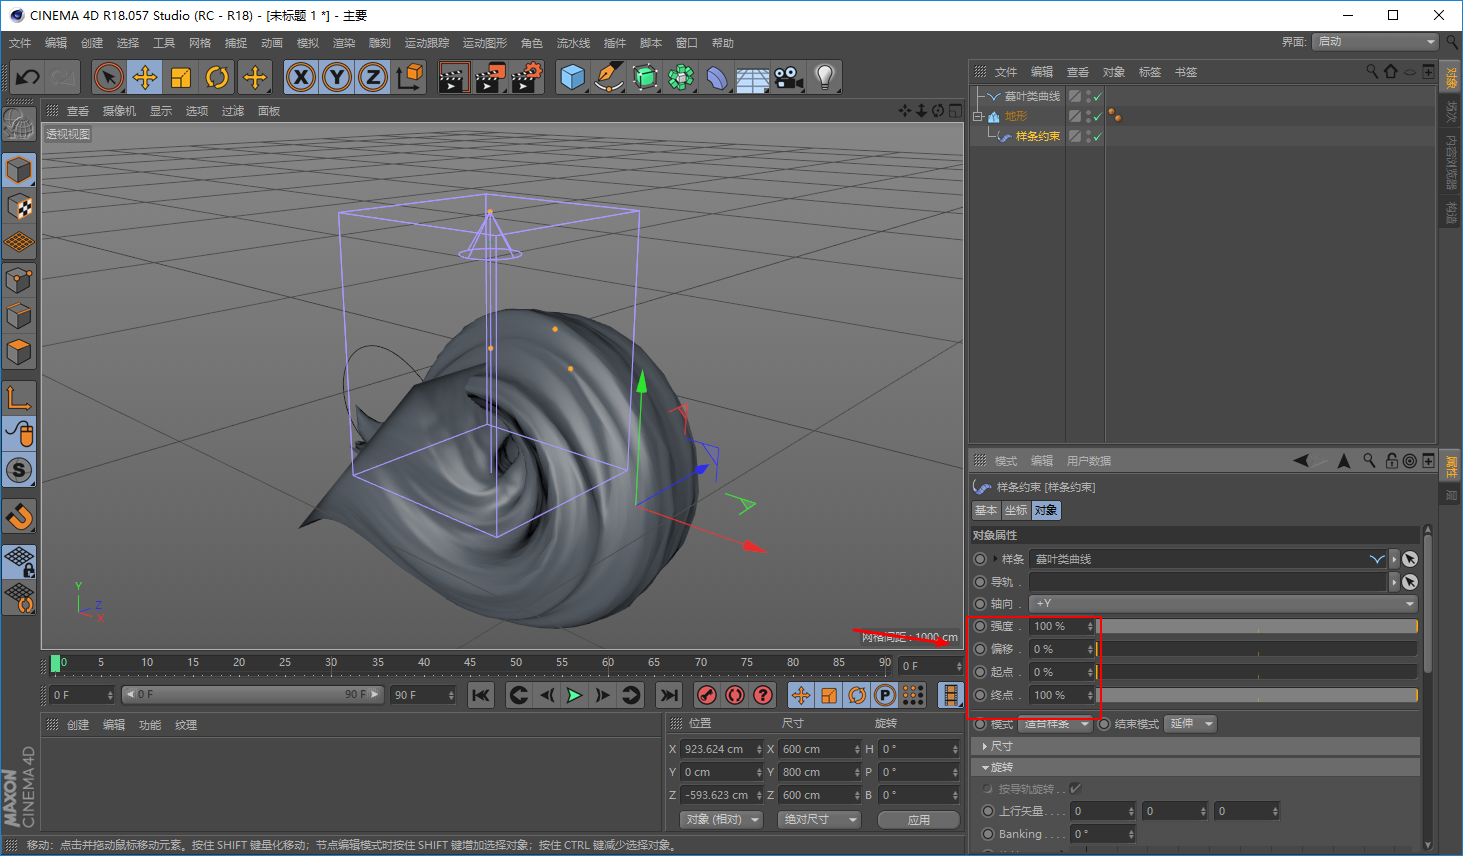
参数这里同样我建议大家动手去尝试才能明白它们的具体含义。
我这里只说明一下,红色方框处的参数最大值均可以超过100,并且除了强度以外,其他三项的数值可以为负数:
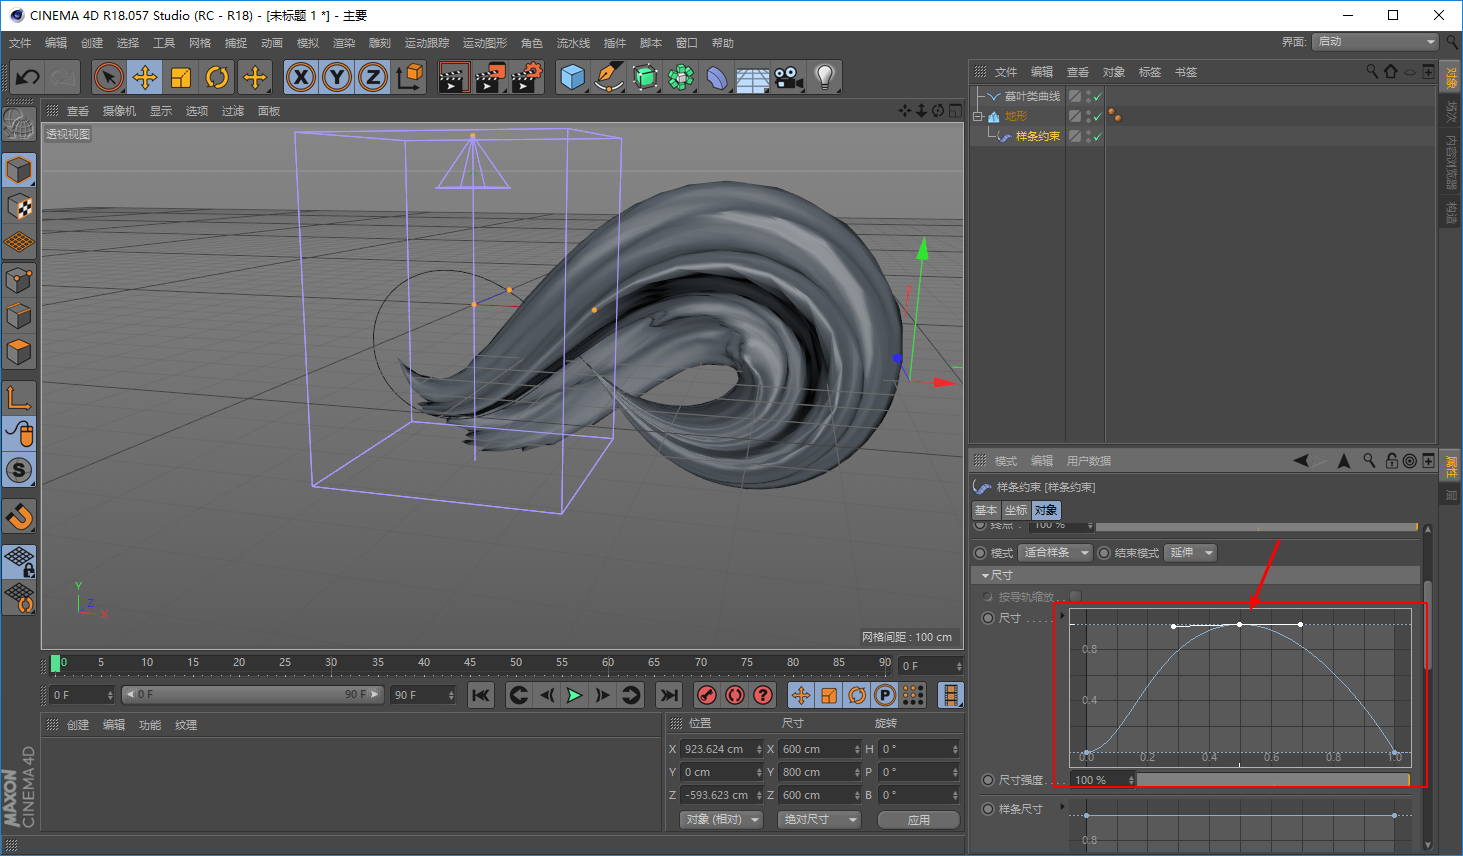
尺寸这里我们可以通过曲线来改变对象不同位置的大小,按住CTRL键鼠标单击可以在曲线上加点:
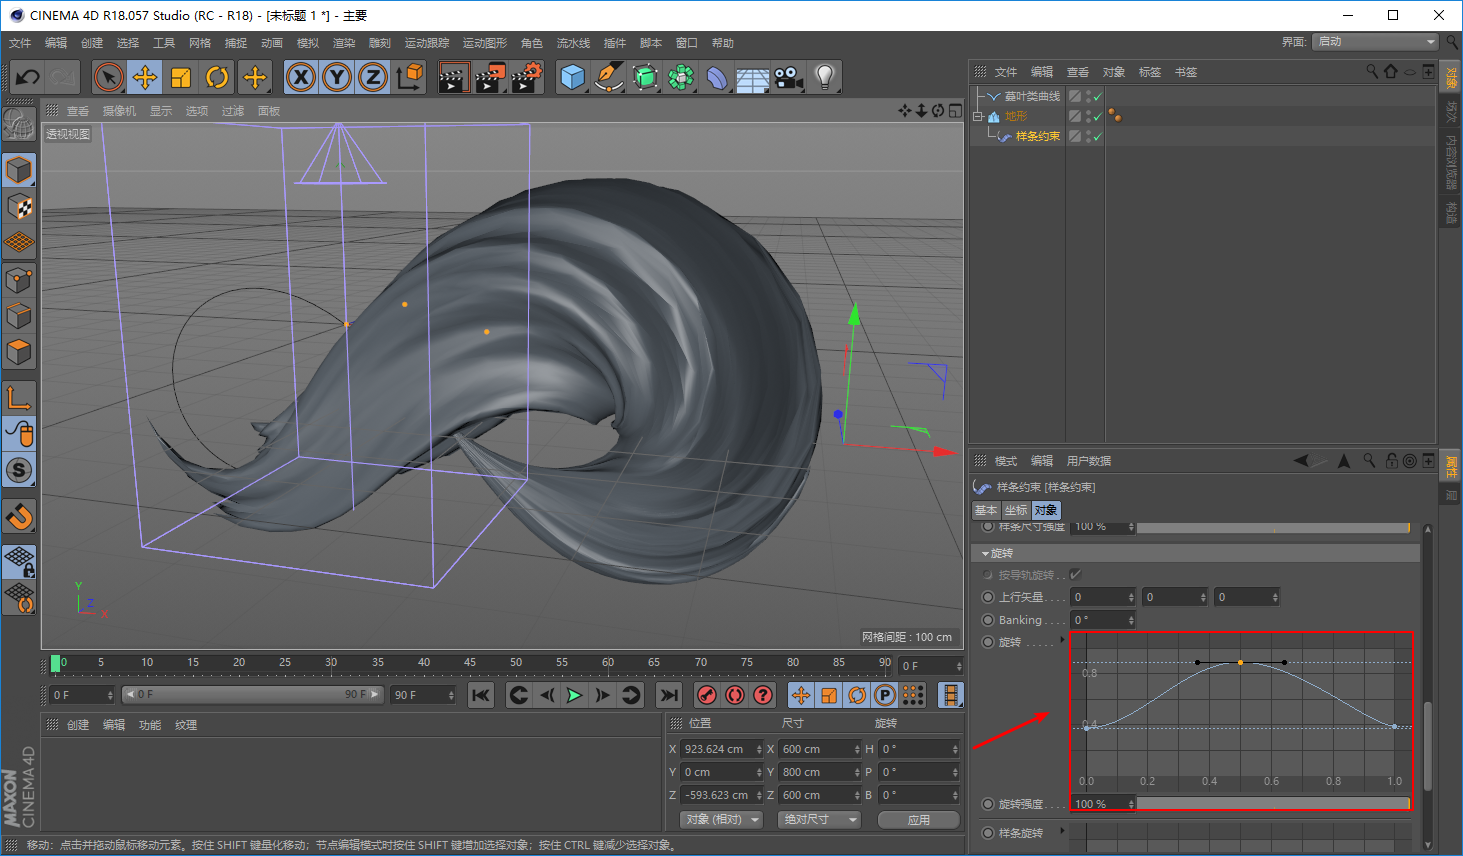
旋转这里的操作方法和尺寸一样,区别是用来旋转对象的不同位置:
接下来你只需要调整样条约束的其他参数:
以及地形的各方面参数,看着效果调就好。如果你的样条是自己画的,也可以调整样条例的参数如锚点的位置。
由于我这里只是通过这个小案例去介绍工具,就不弄那么麻烦啦:
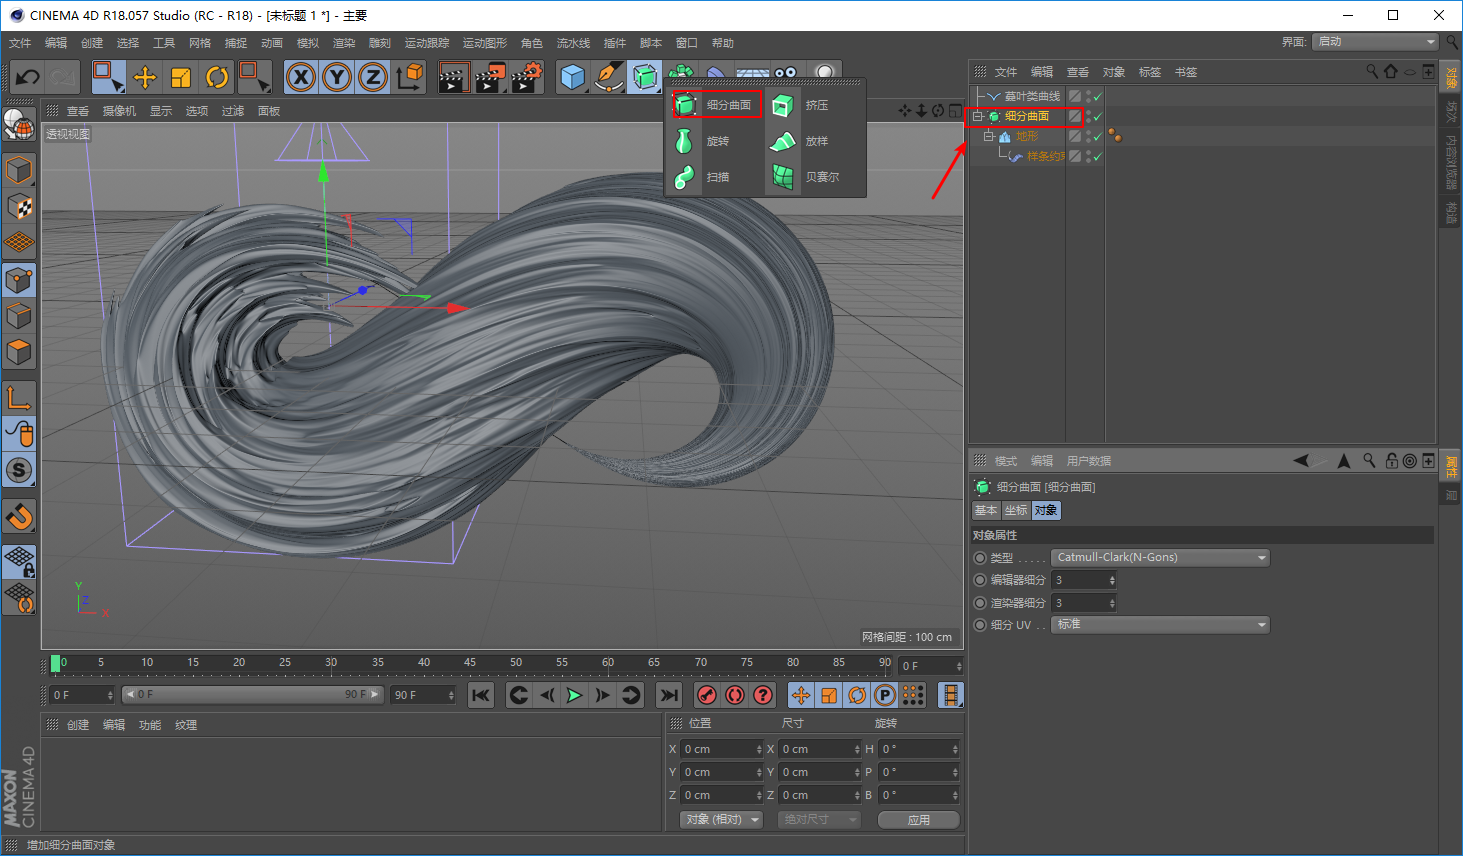
如果你想要纹理更加不那么尖锐,还可以添加一个细分曲面。
当然增加了细分曲面,会比较卡:
通过这个小案例,我们可以明白样条约束的作用:让几何体按照样条的路径进行形态的改变,同时保留几何体的纹理。
这一点和我们以前分享过的扫描有点相似,区别是扫描是让样条按照路径扫描出形态,并且不会有像样条约束一样能够保留几何体的纹理。

工具的作用介绍完我们开始今天的正题制作oppo R15油漆效果文字吧。
开始之前需要做一些准备工作,你可以去找一些油漆的素材。
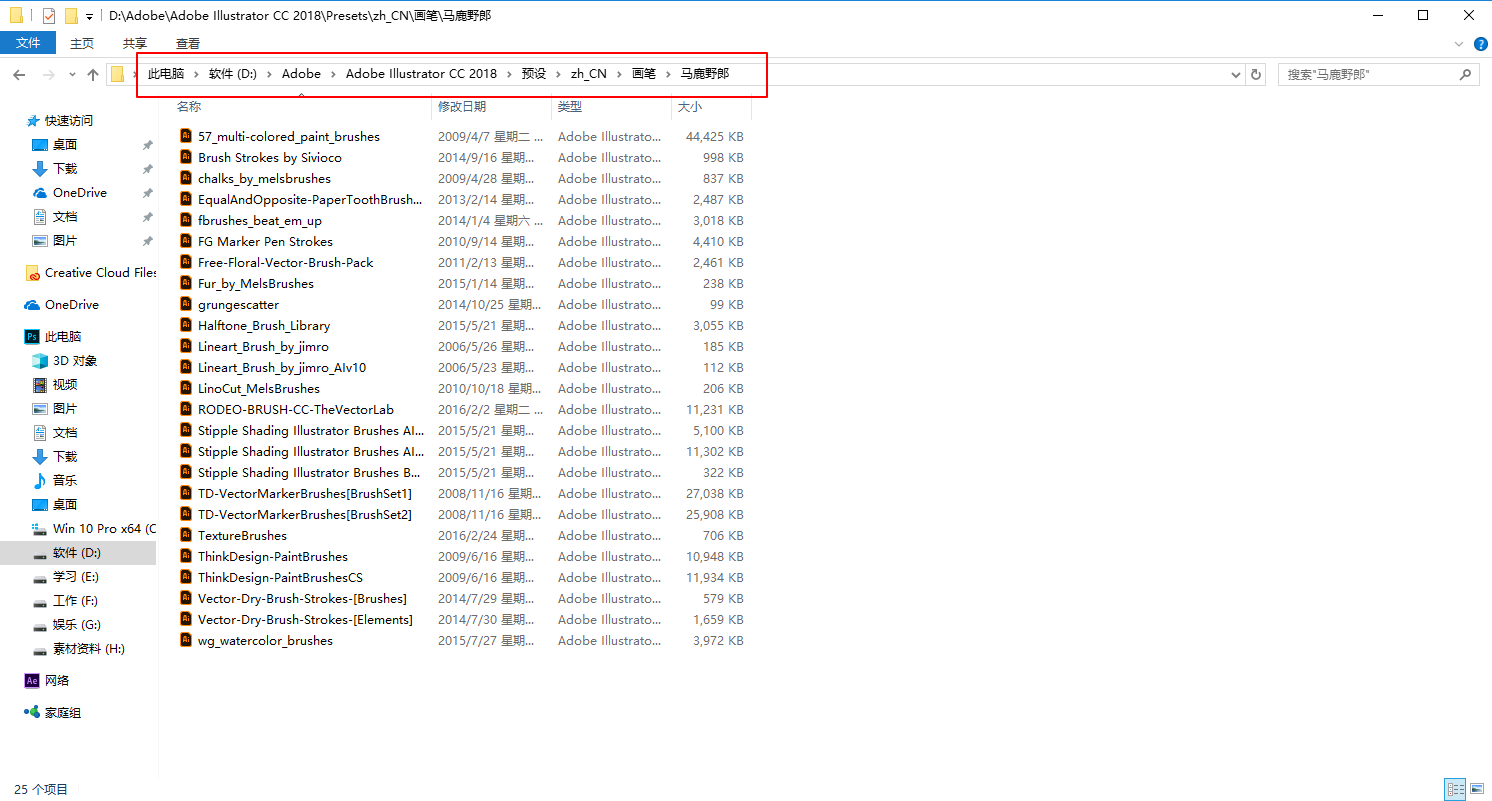
由于野郎本来是有一些Ai的油漆笔刷的,就懒得去找了,这些笔刷我也会分享给大家:
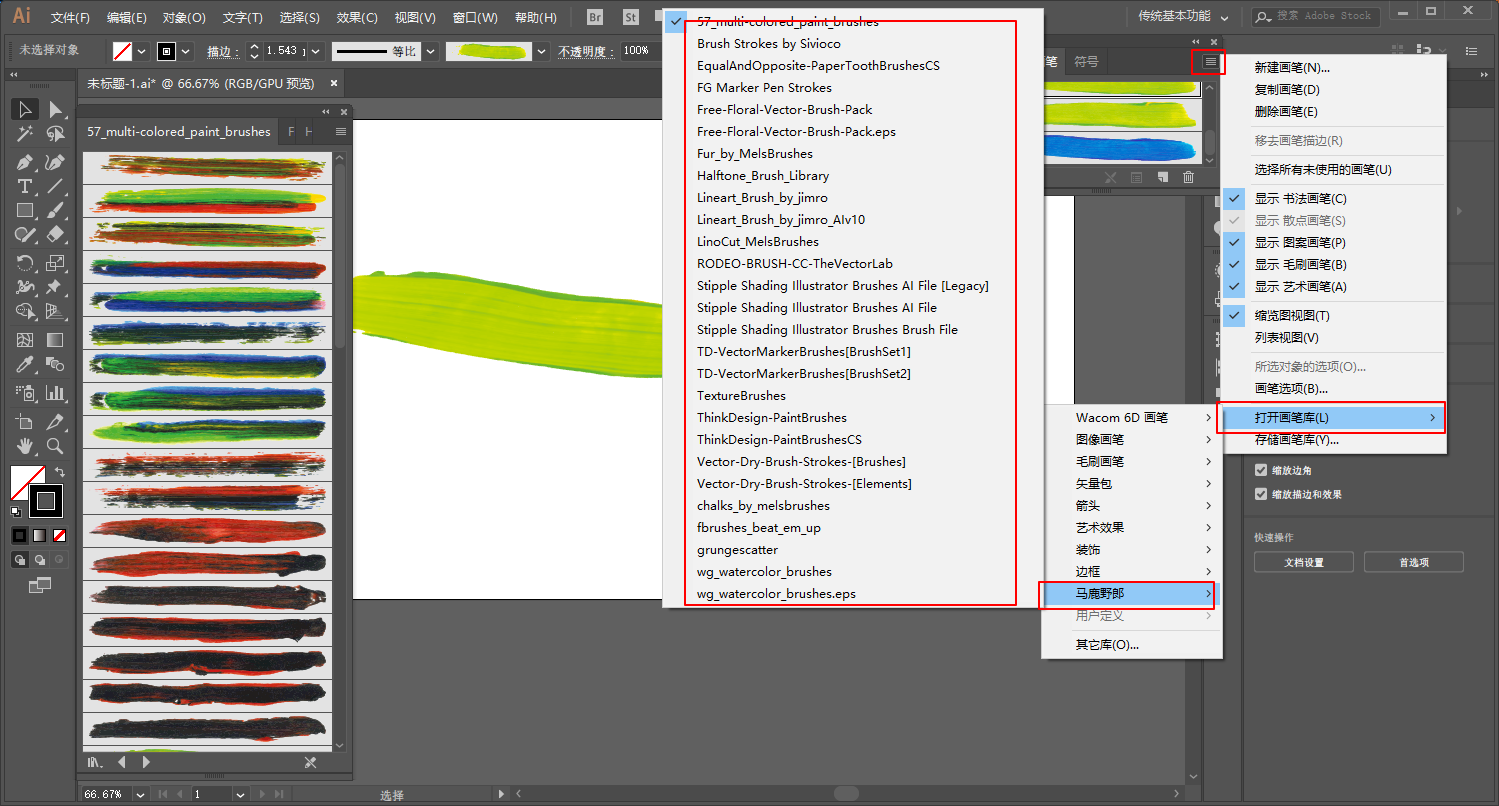
安装方面多说一句,把他们放到如图所示的文件路径里重启Ai就可以了:
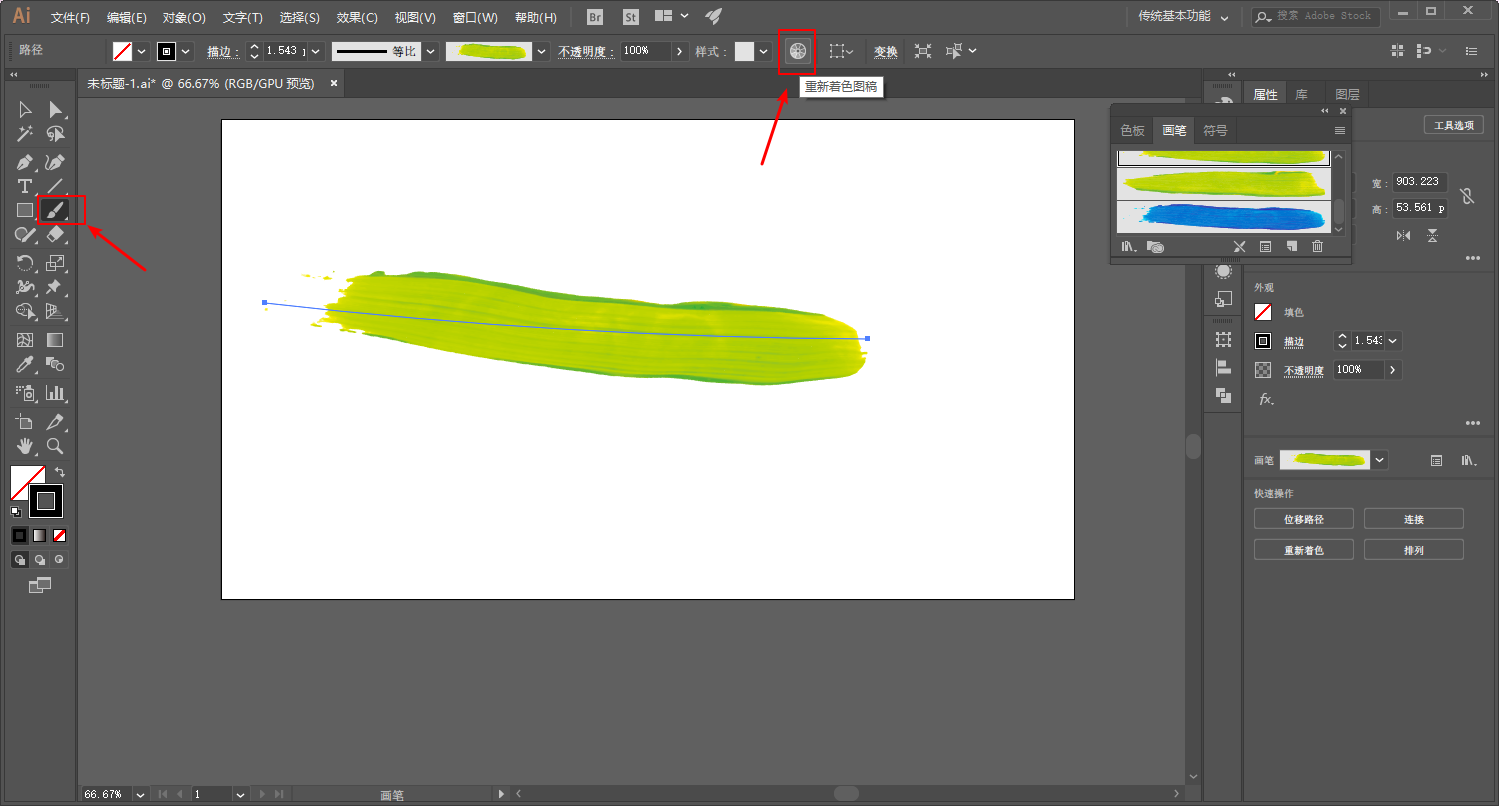
如果你想改变笔刷的颜色也可以,选择自己想要的笔刷,用画笔工具画出来,再点击红色箭头处的重新着色图稿:
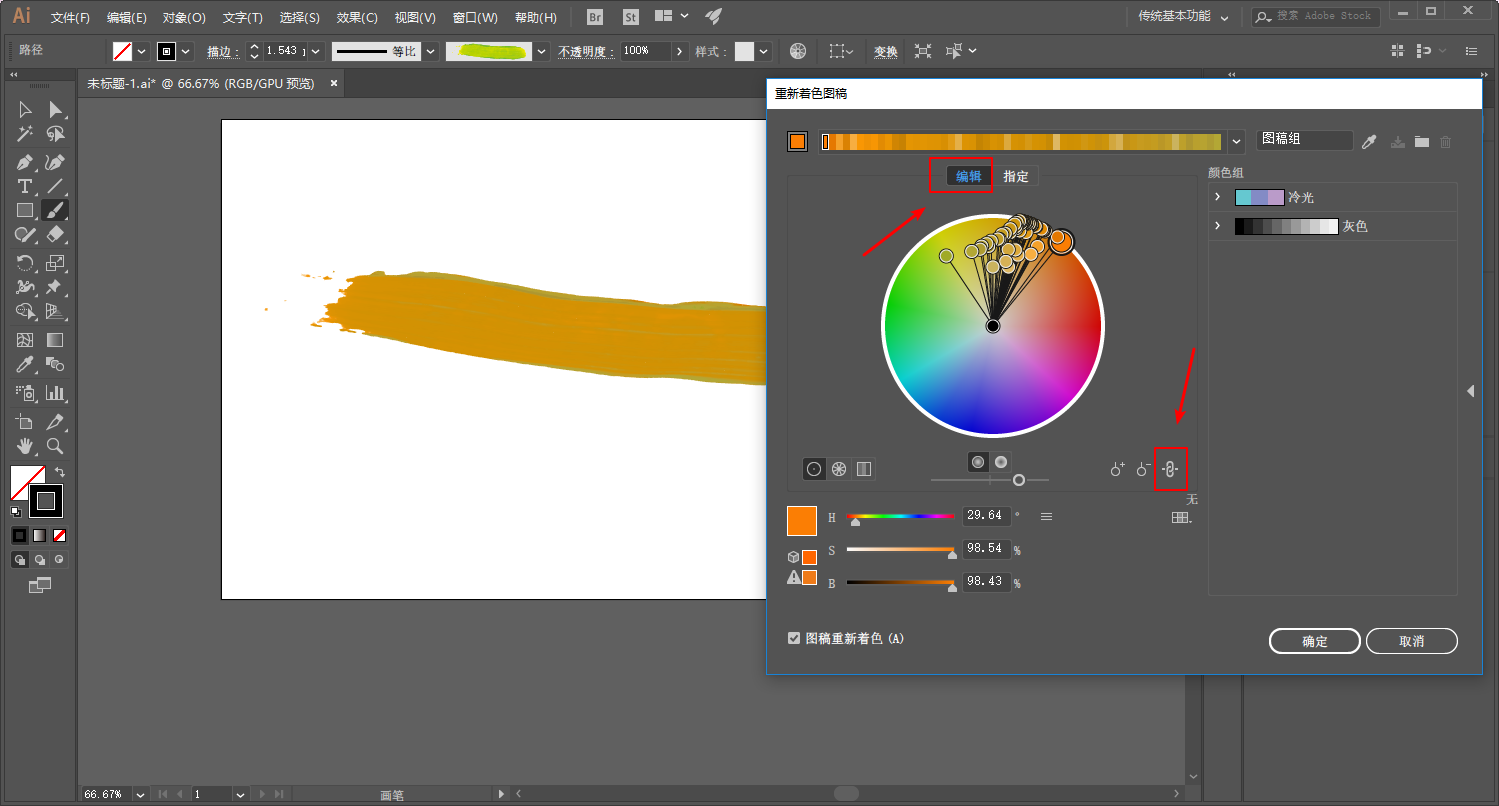
点击编辑,把颜色的锁链勾上,修改就行了:
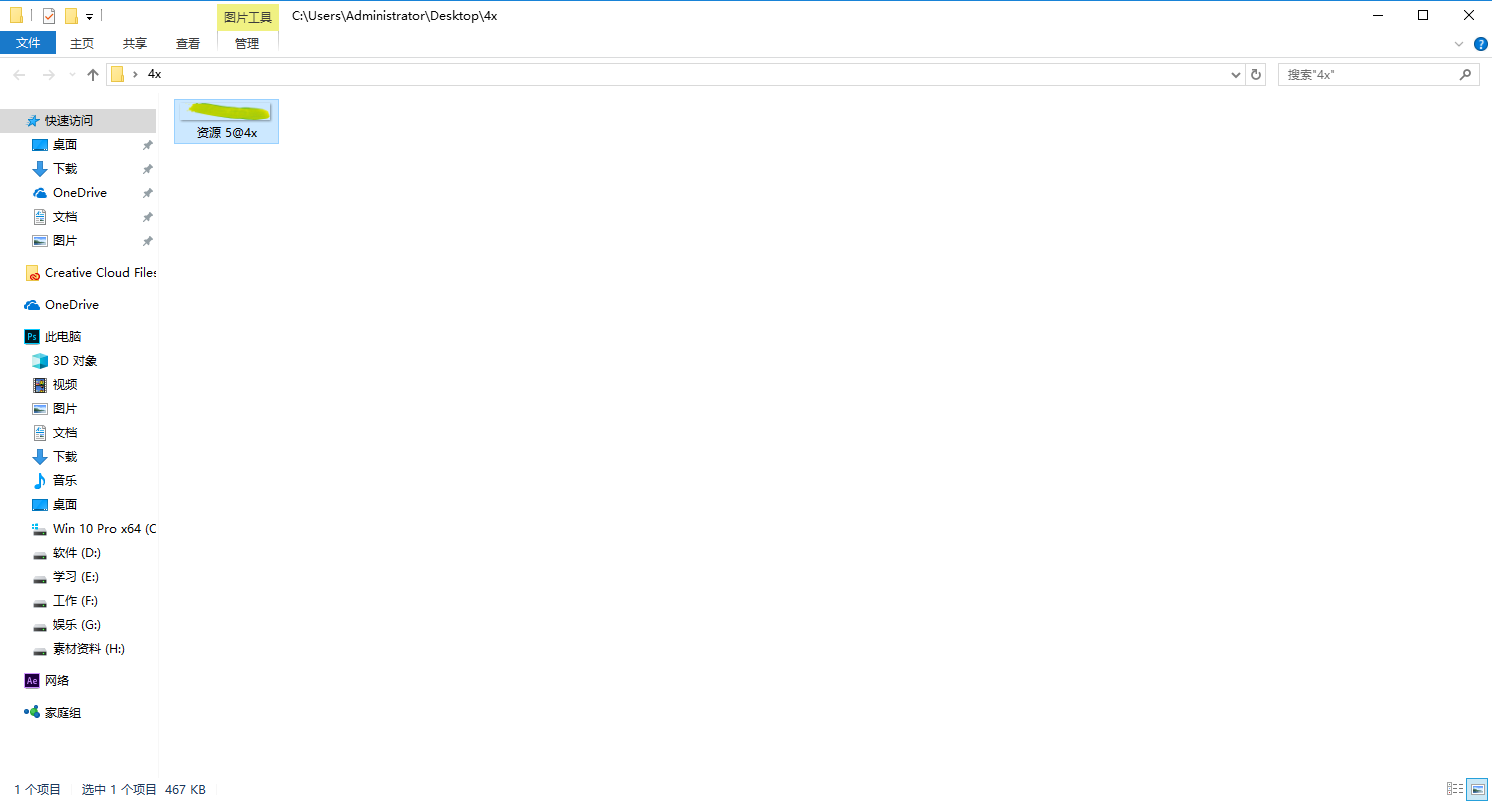
我这里就不改变颜色了,直接把它导出为png图片:
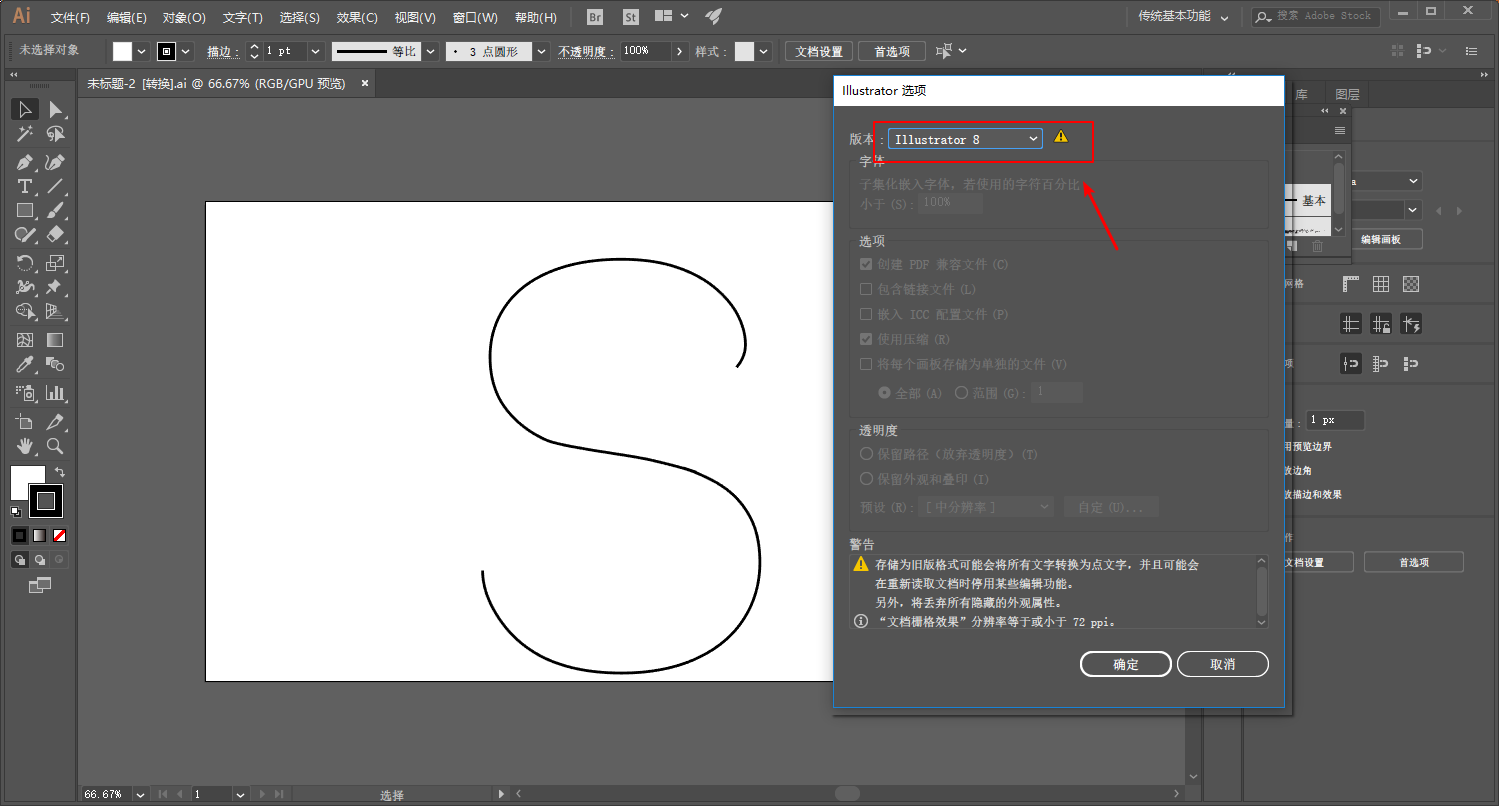
由于我个人确实不太习惯C4D的钢笔工具,所以额外的用Ai做了一个文字S的路径,并且把它保存为Ai 8,一会儿导进C4d里:
准备工作做好了以后,打开C4d,执行文件-合并对象:
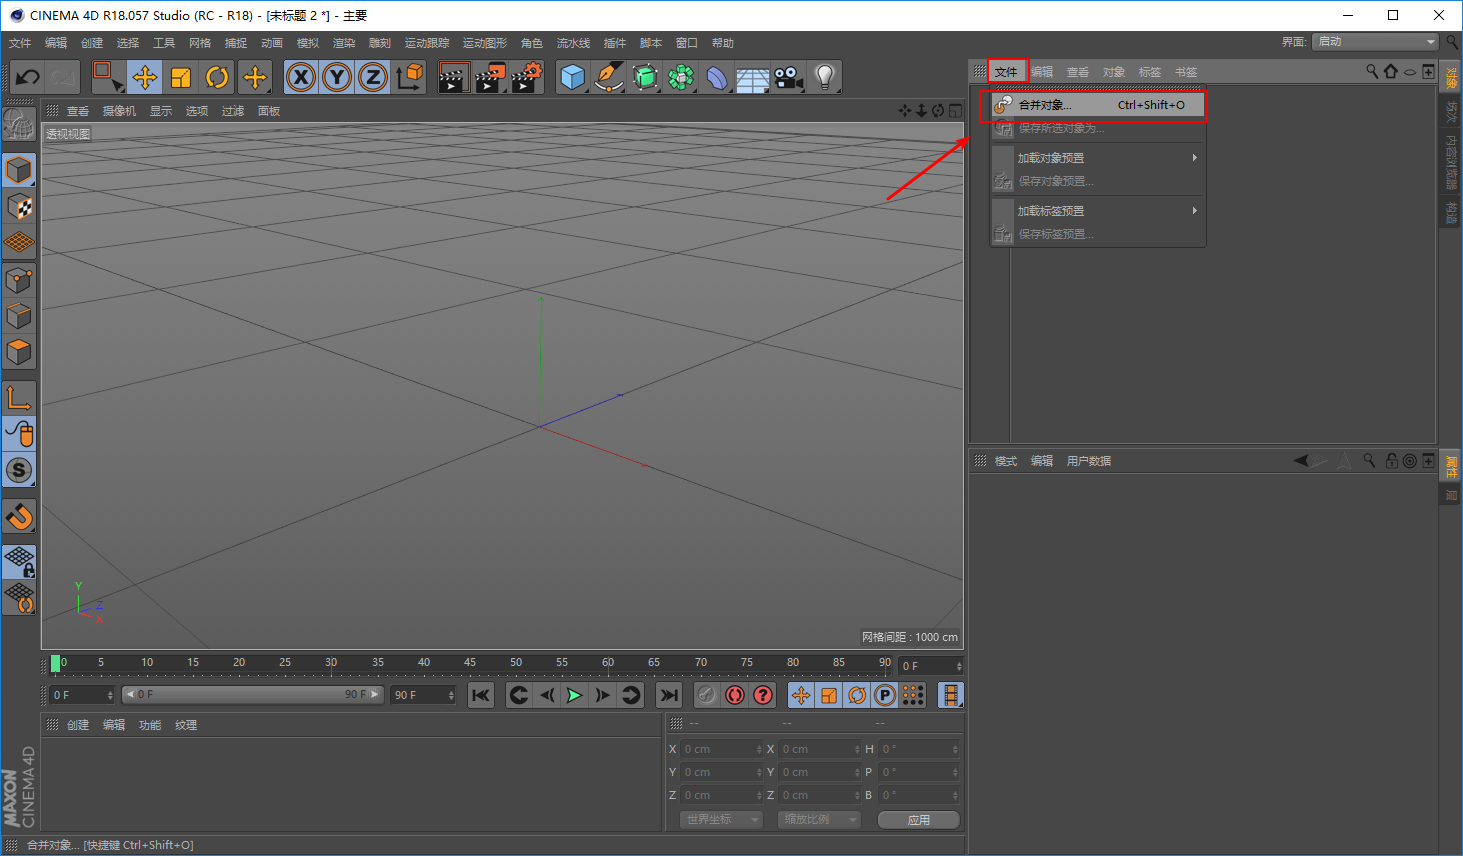
导入用Ai做好的路径:
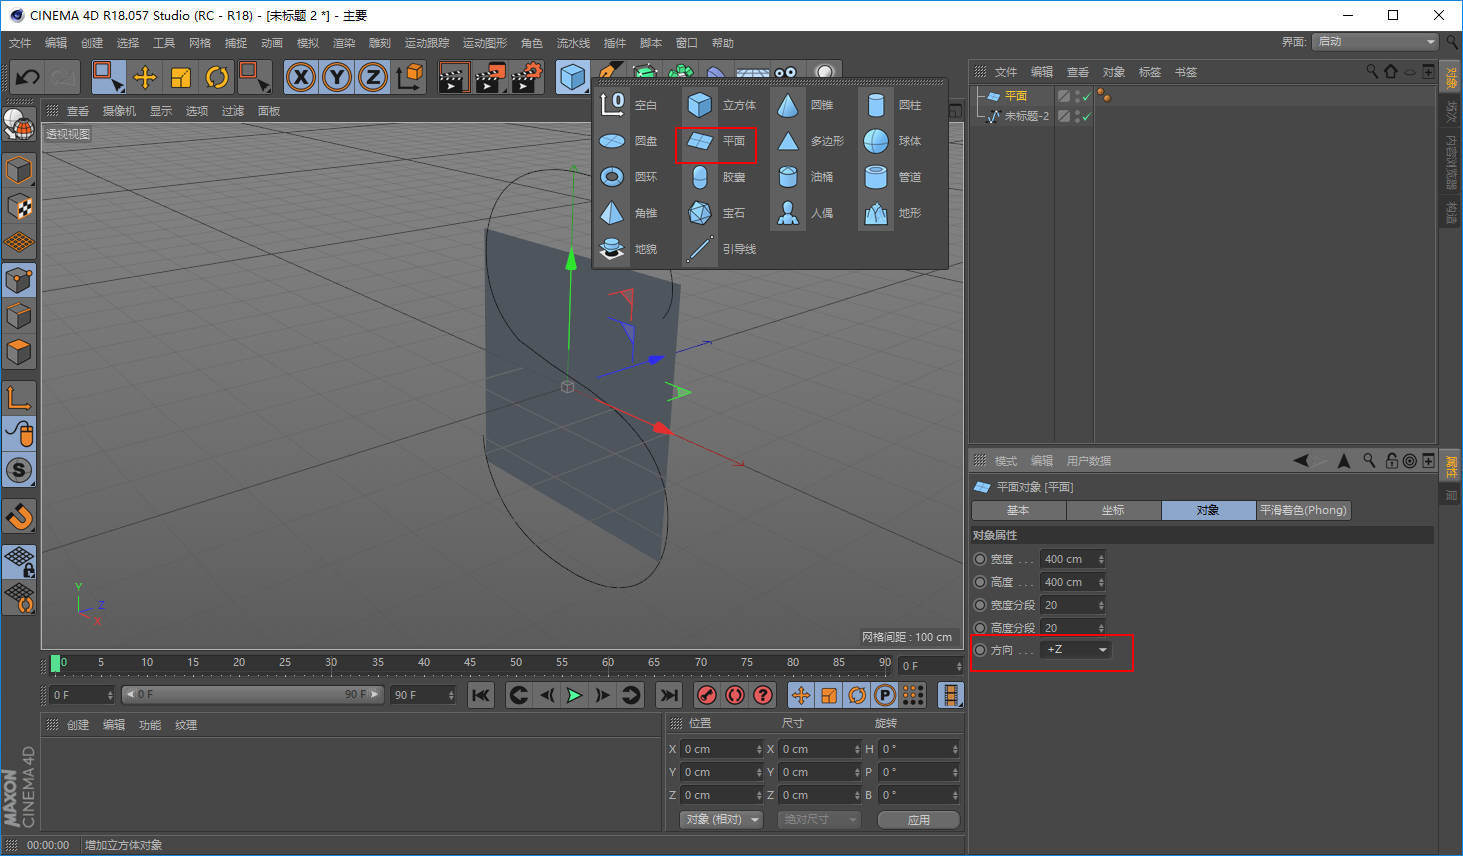
新建一个平面,朝向改为Z轴:
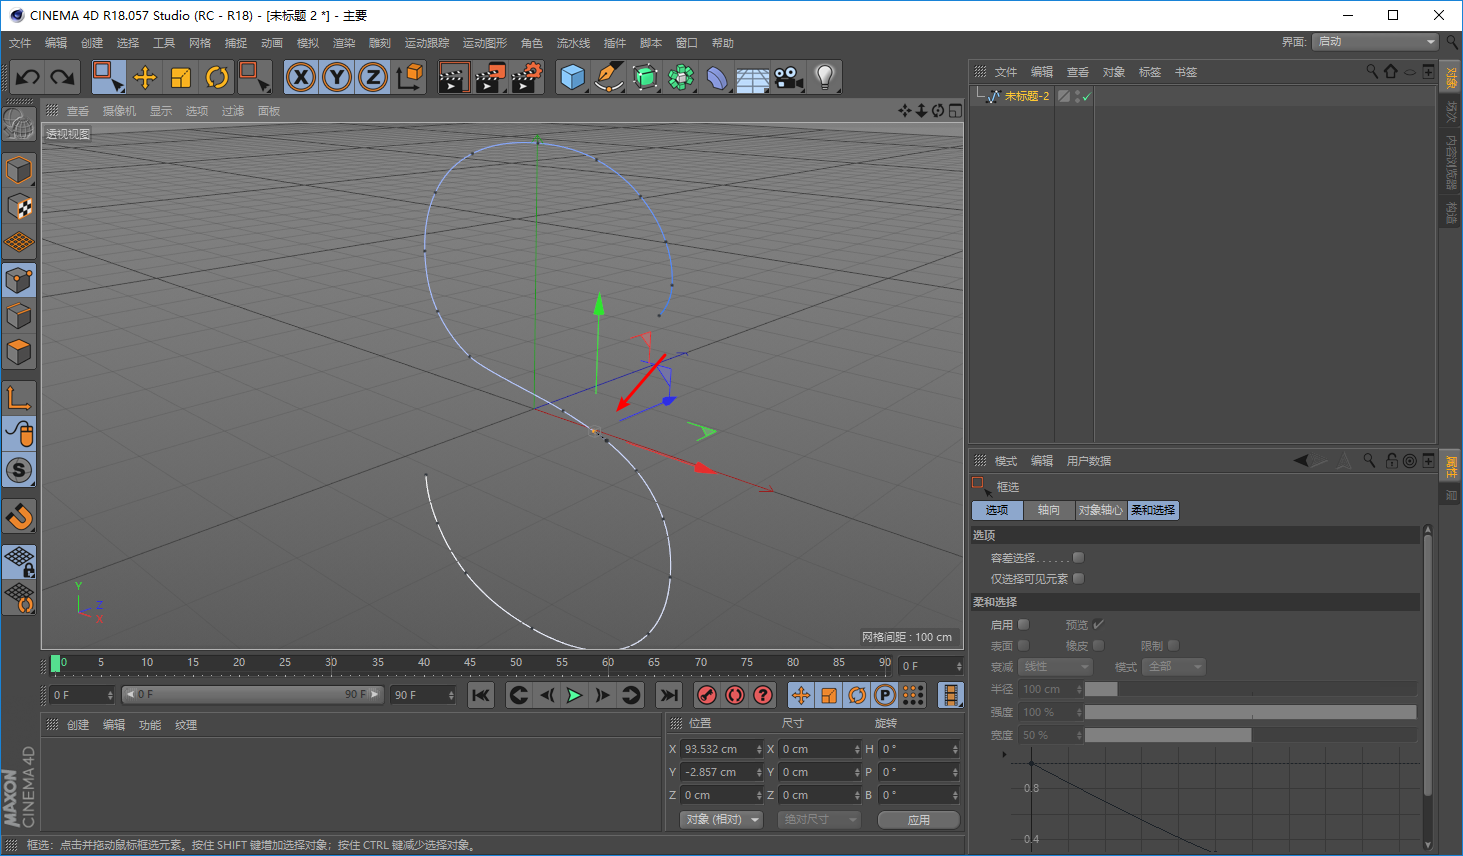
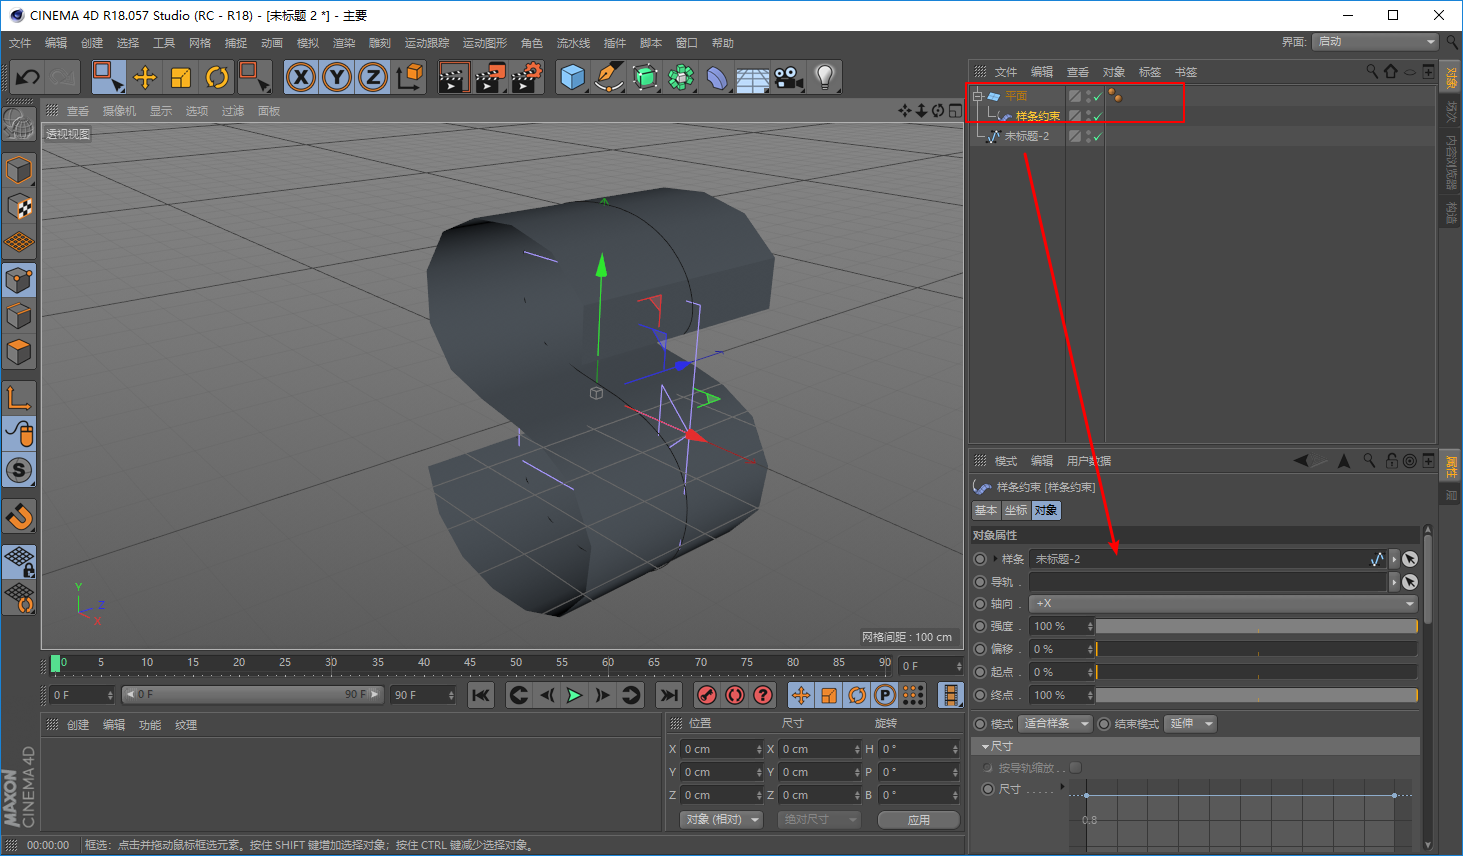
新建样条约束,按照我们之前介绍的使用方法,让它成为平面的子集,并把样条拖到箭头所示的位置:
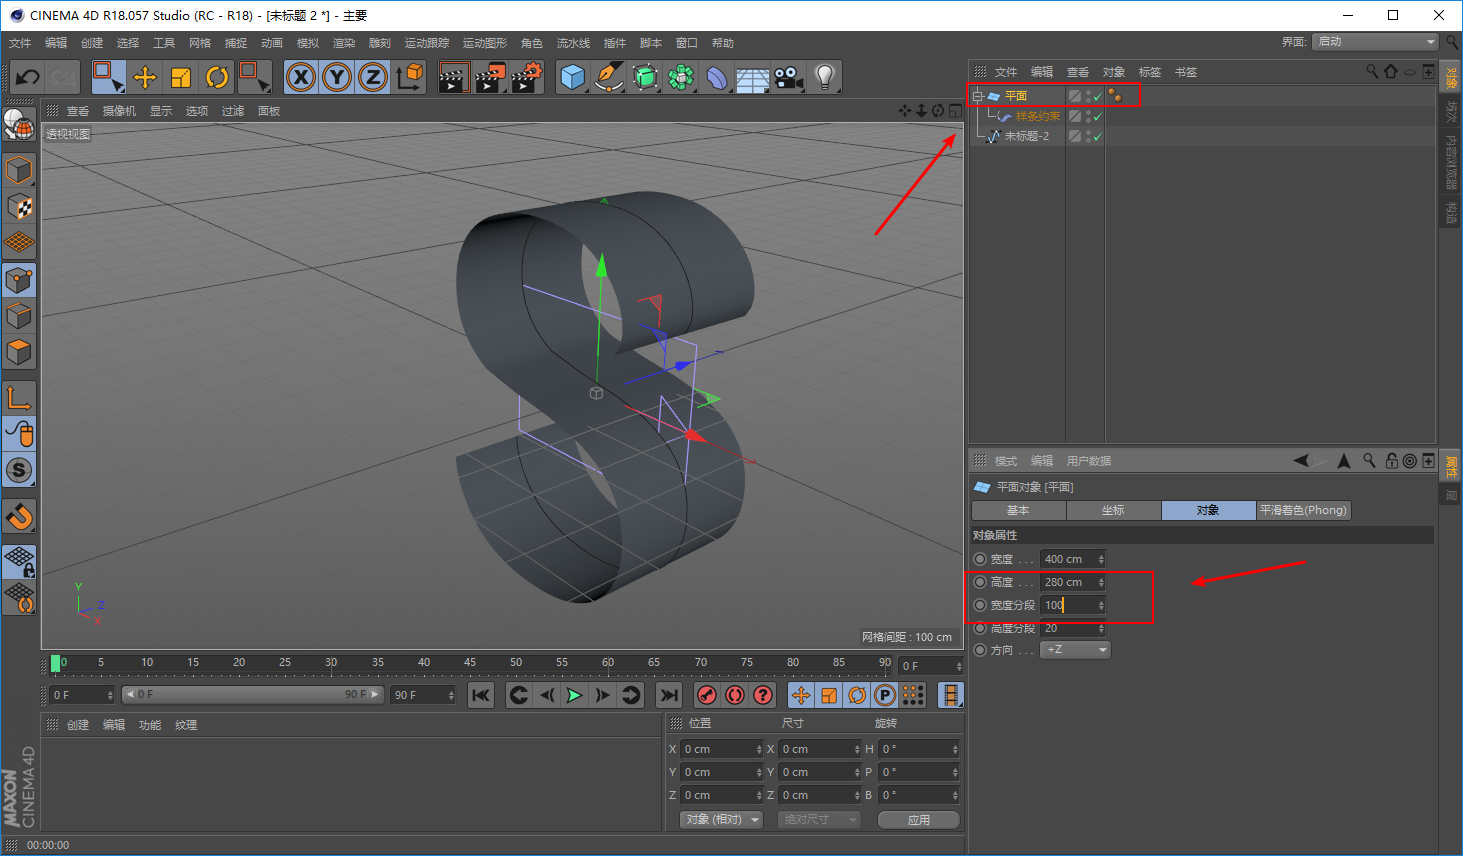
然后改变平面的相应的参数以及分段,让它看起来更平滑:
新建材质球,先赋予对象:
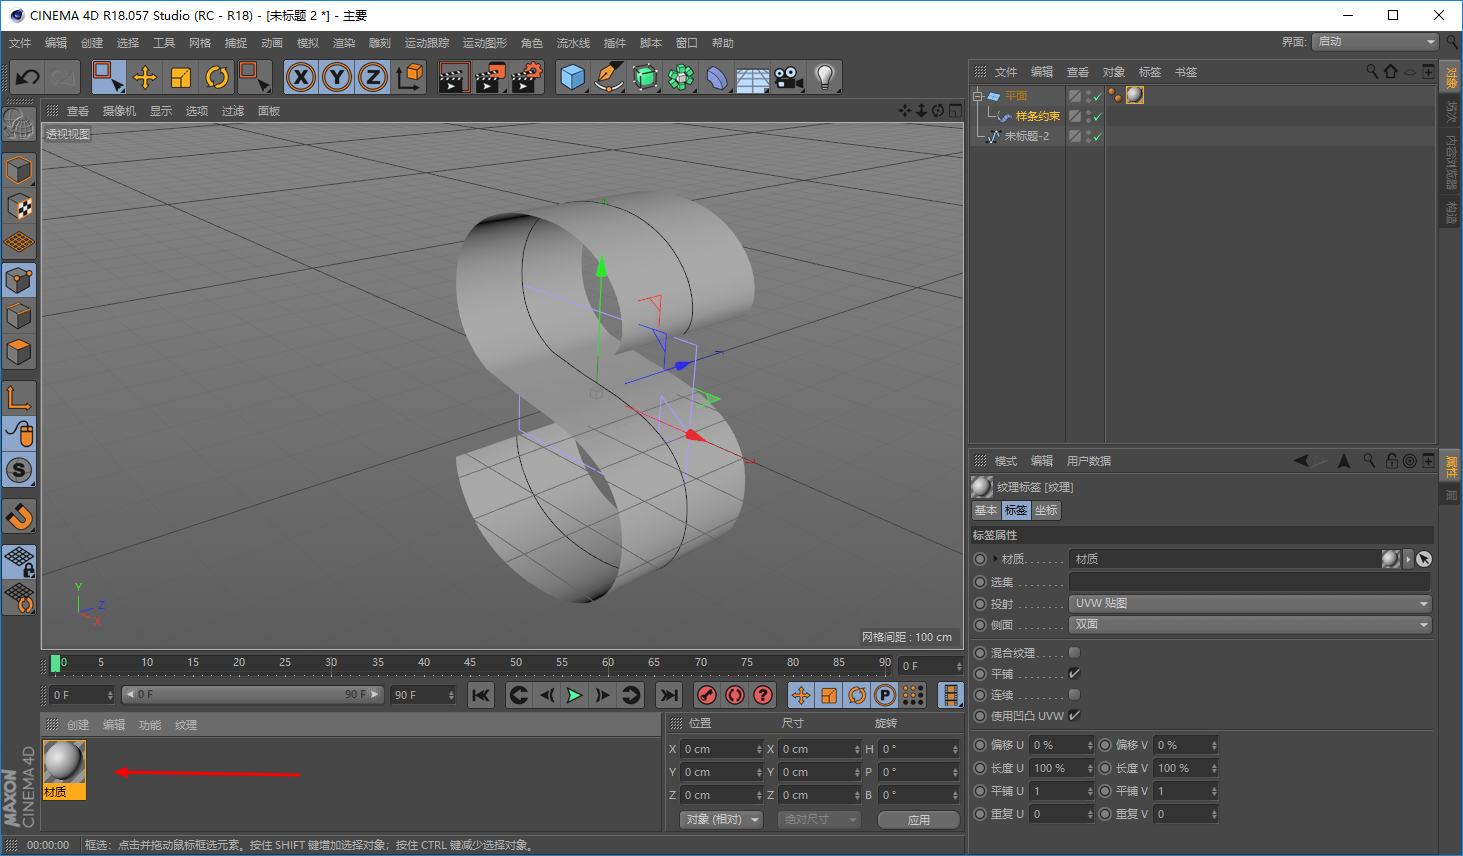
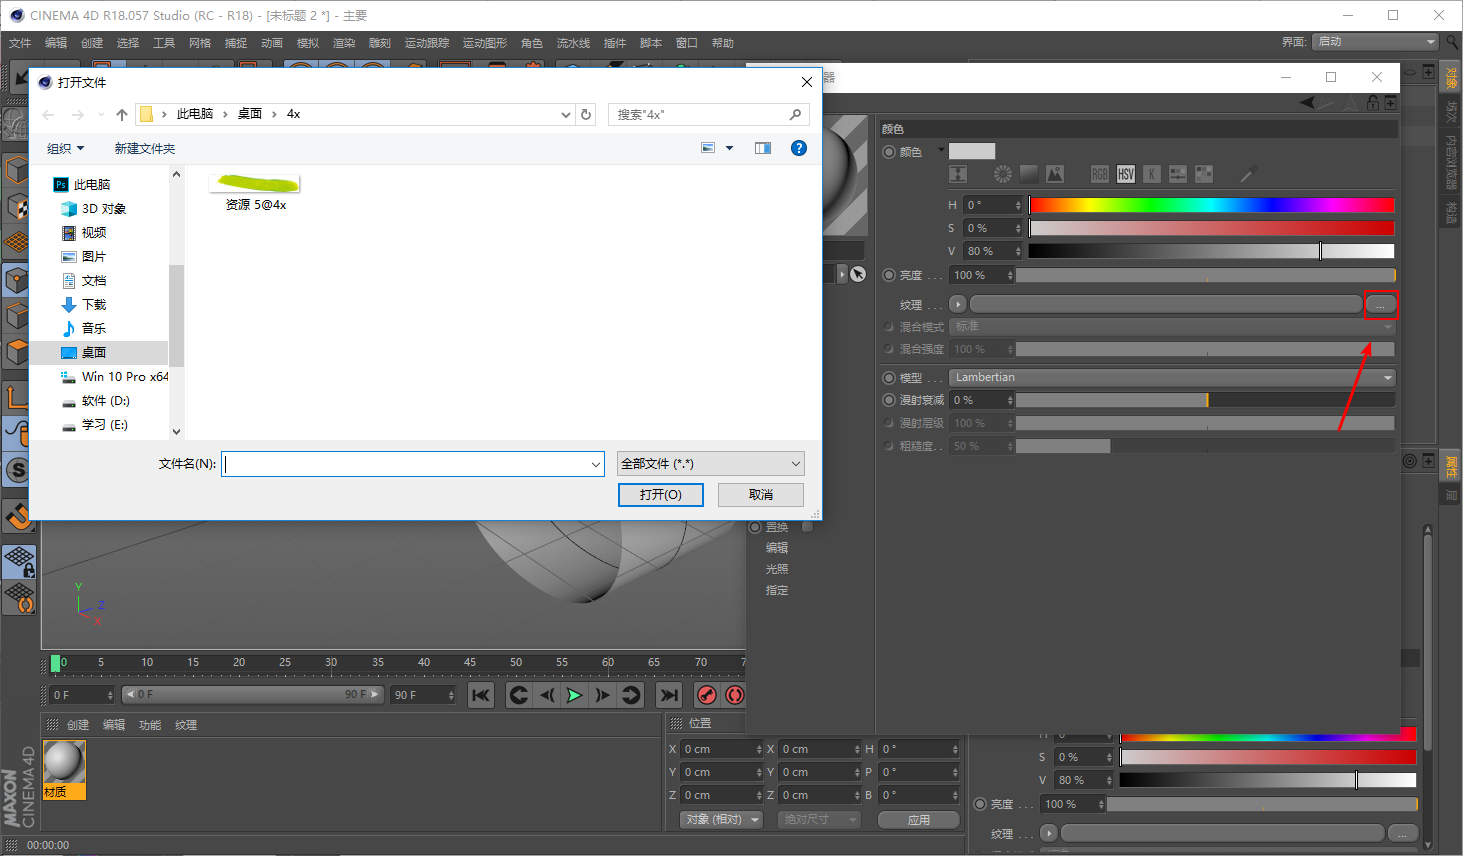
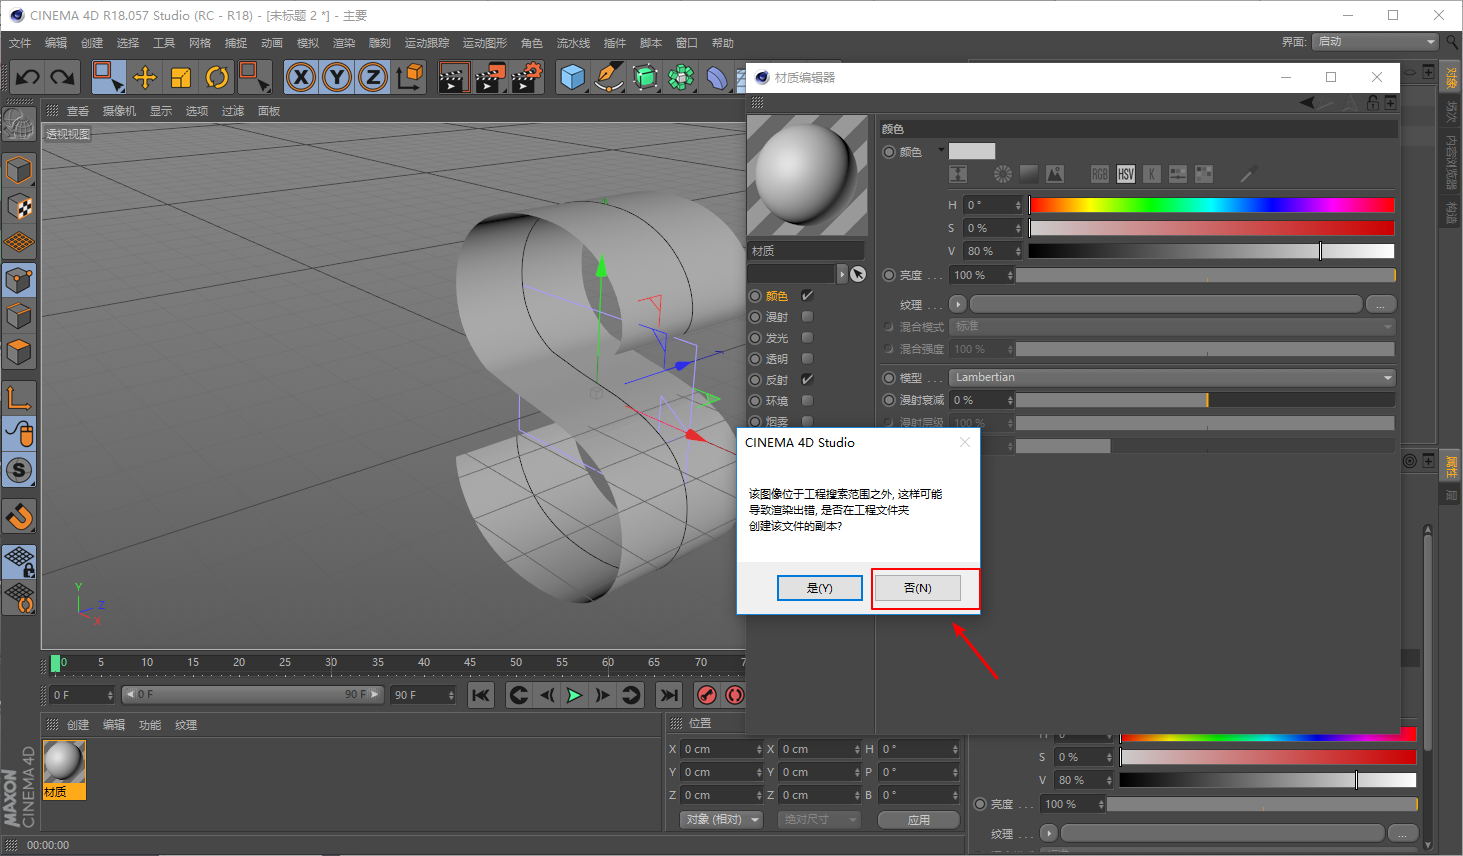
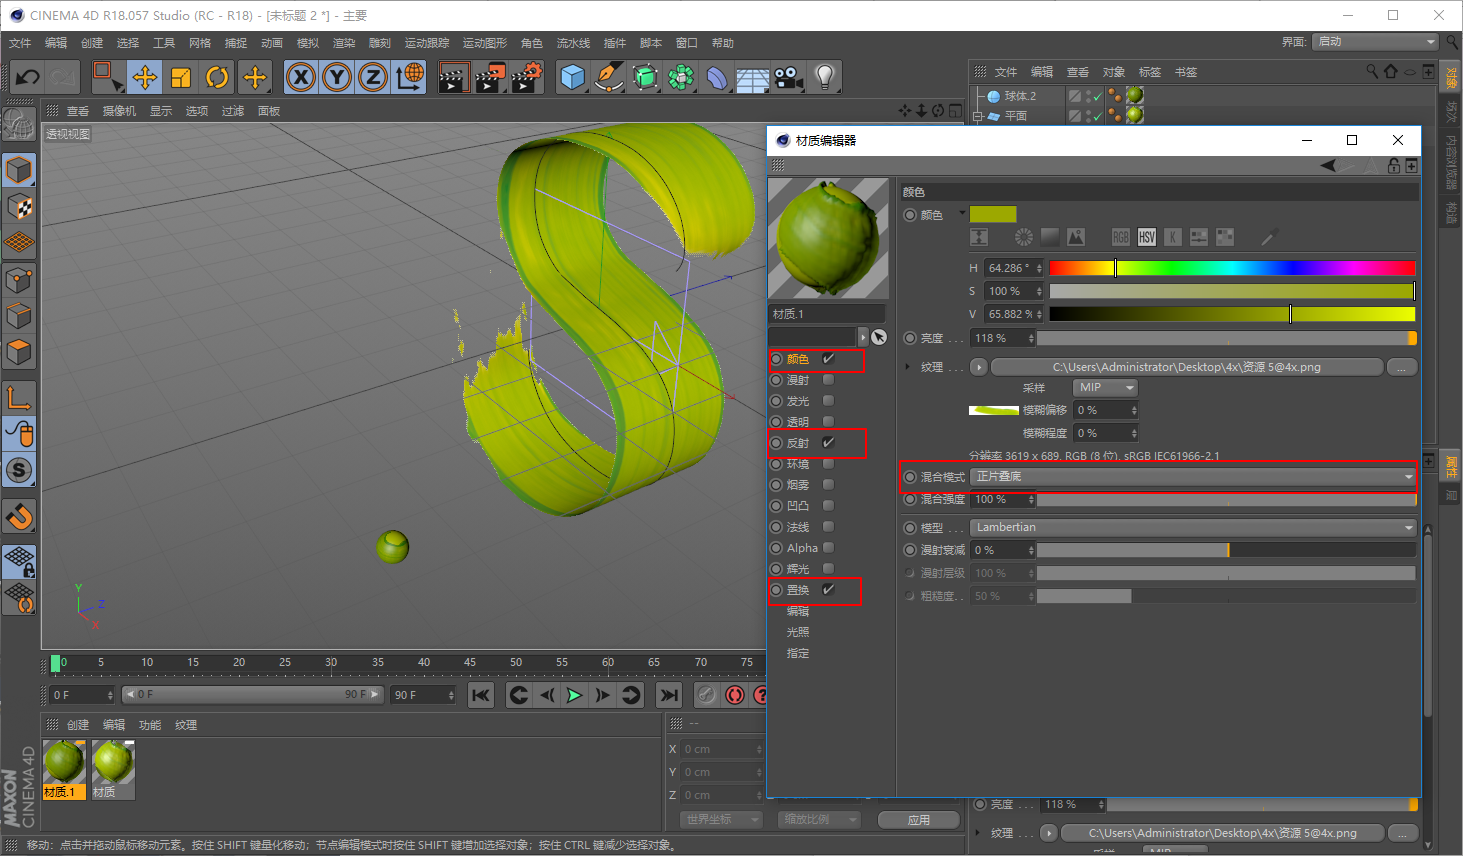
双击材质球,颜色通道的纹理的地方点击红色方框处载入刚才做好的颜料素材图:
这里选择不创建副本就行:
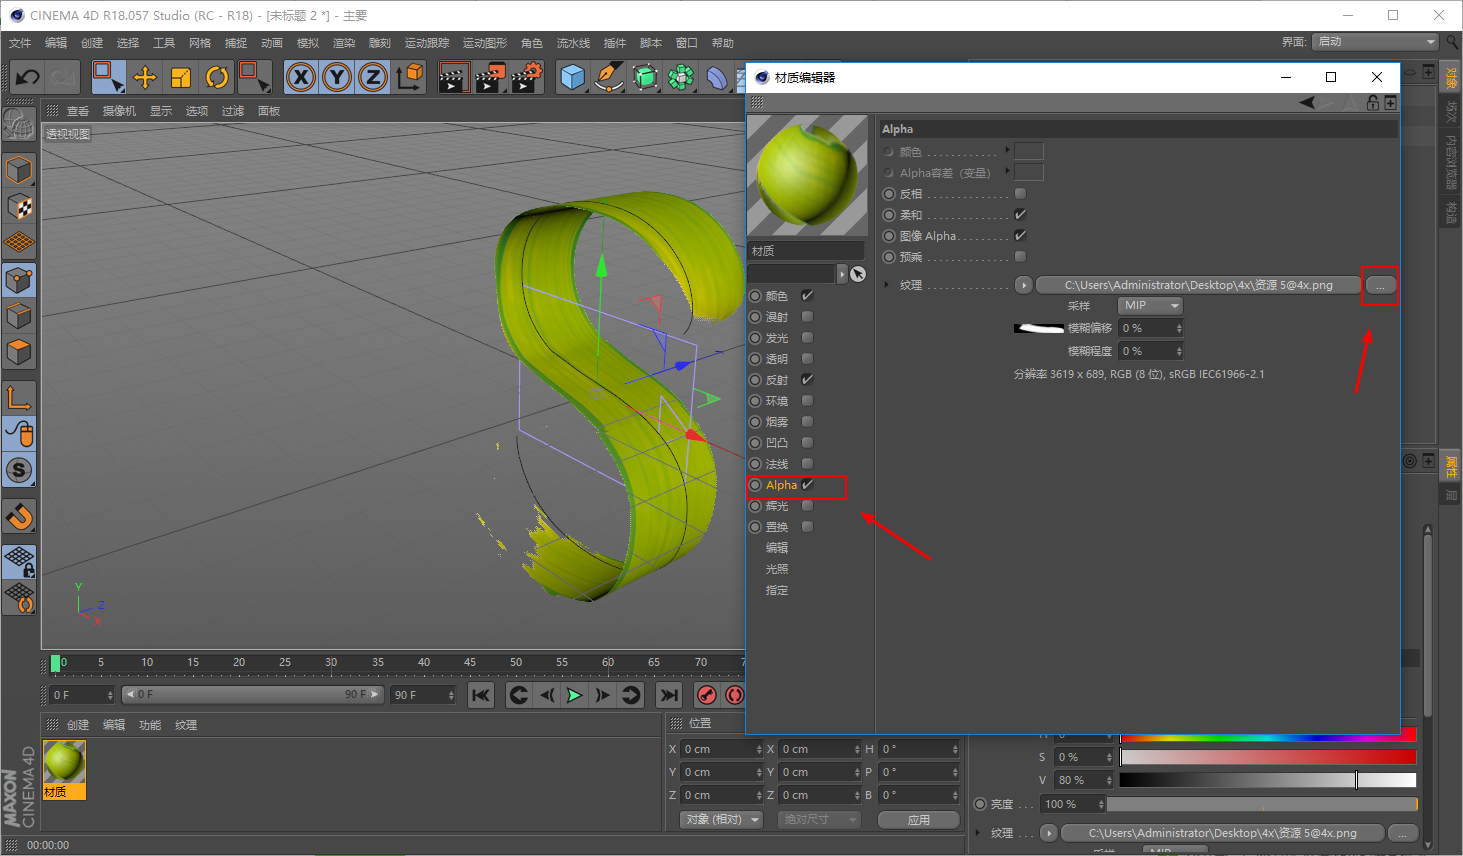
勾选Alpha通道,同样载入png图:
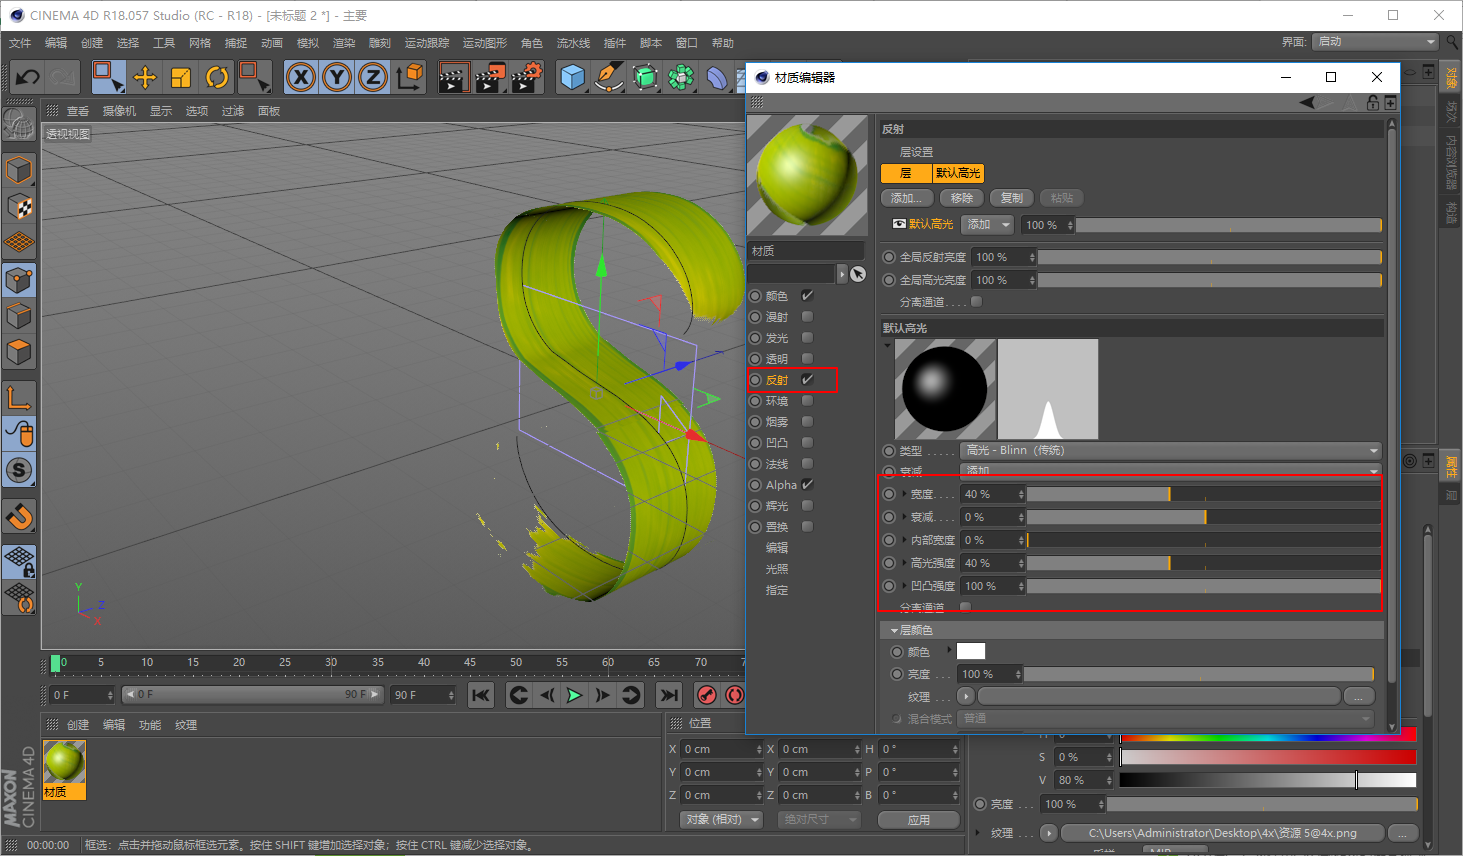
反射通道里适当的更改一下数值,看着材质球调就好:
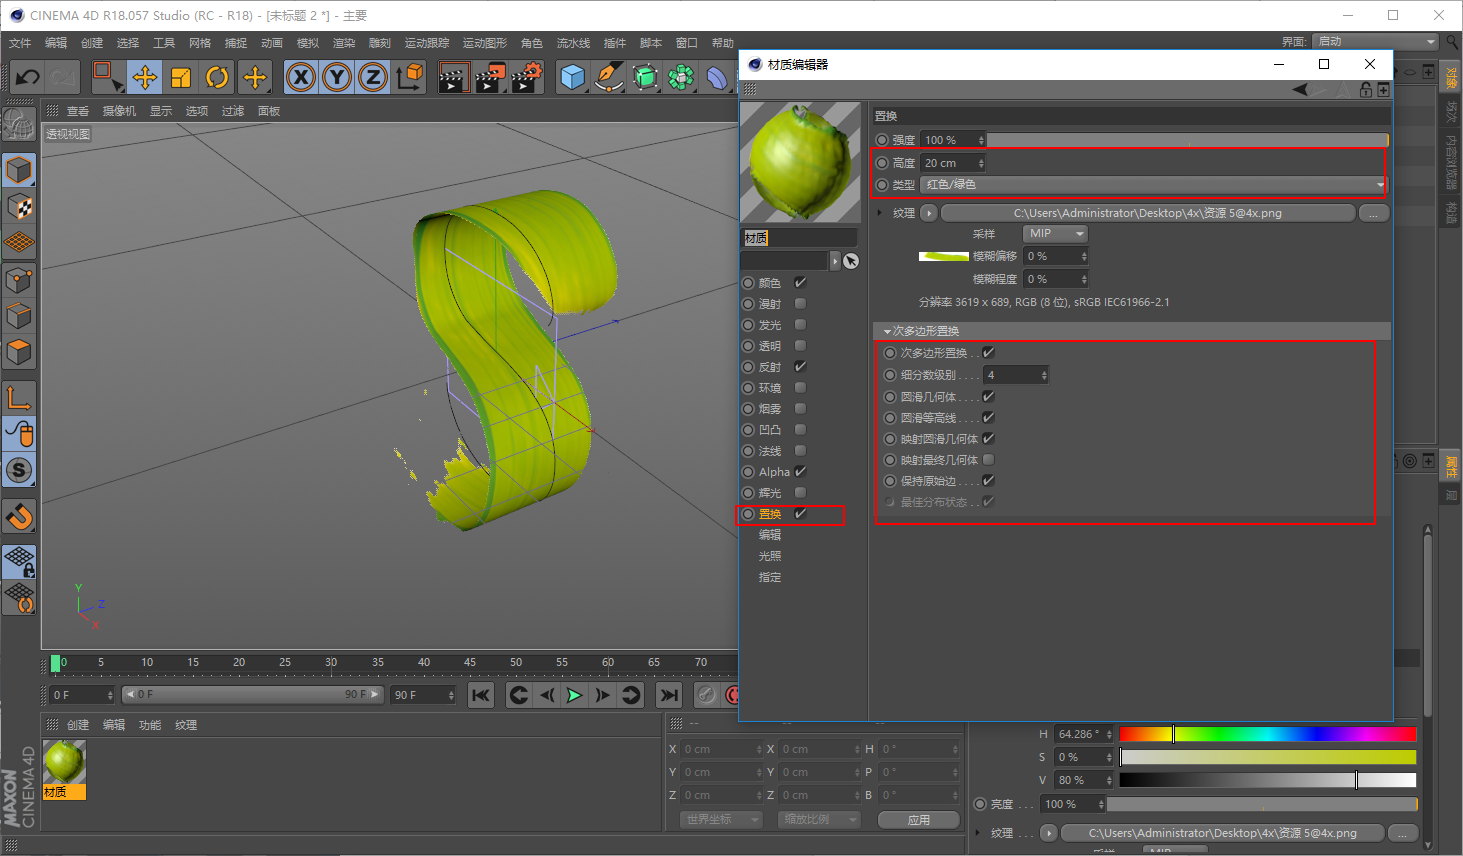
置换通道里也载入素材,让它带有凹凸的感觉,参数看着办就好:
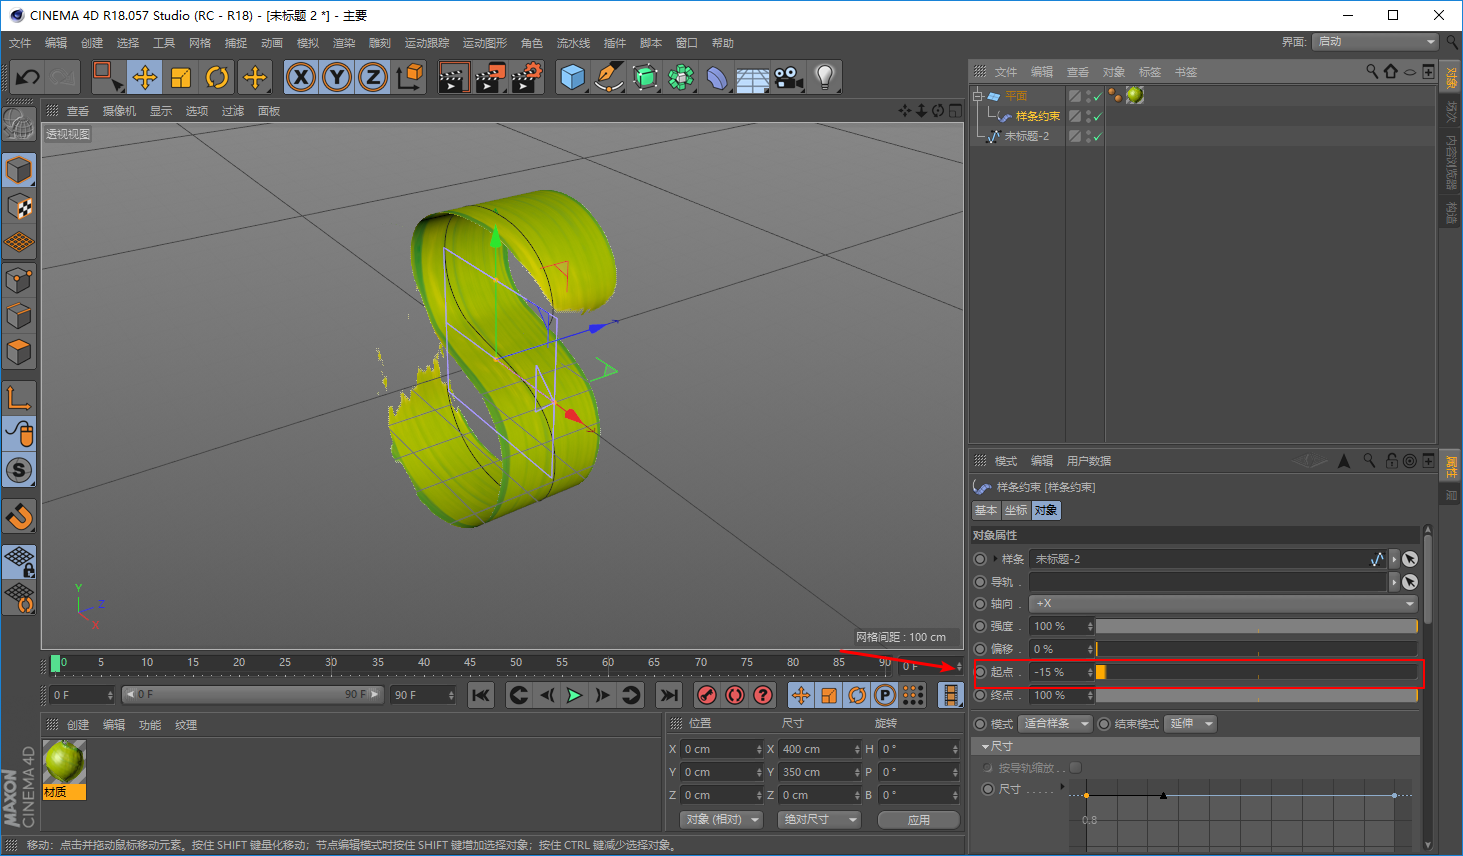
接下来再略微改变一下样条约束里的参数,我觉得就可以了:
可以再做这样的一个小球做点缀,材质的参数大家看着办就好:
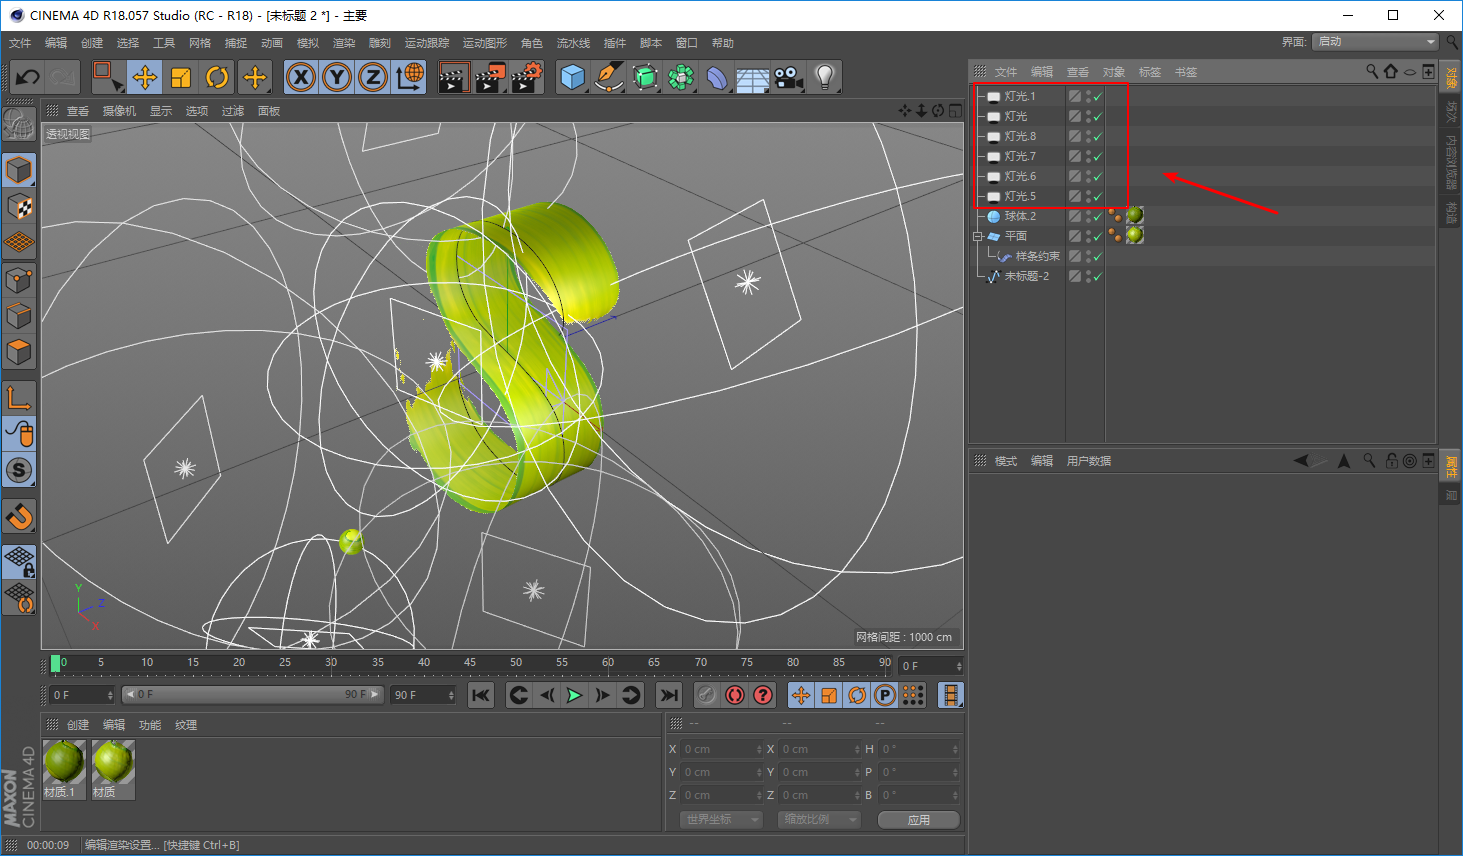
接下来就是打灯了,大家都知道我还不太会打灯,所以这里也就不说我是怎么打的了,大家看着感觉来吧:
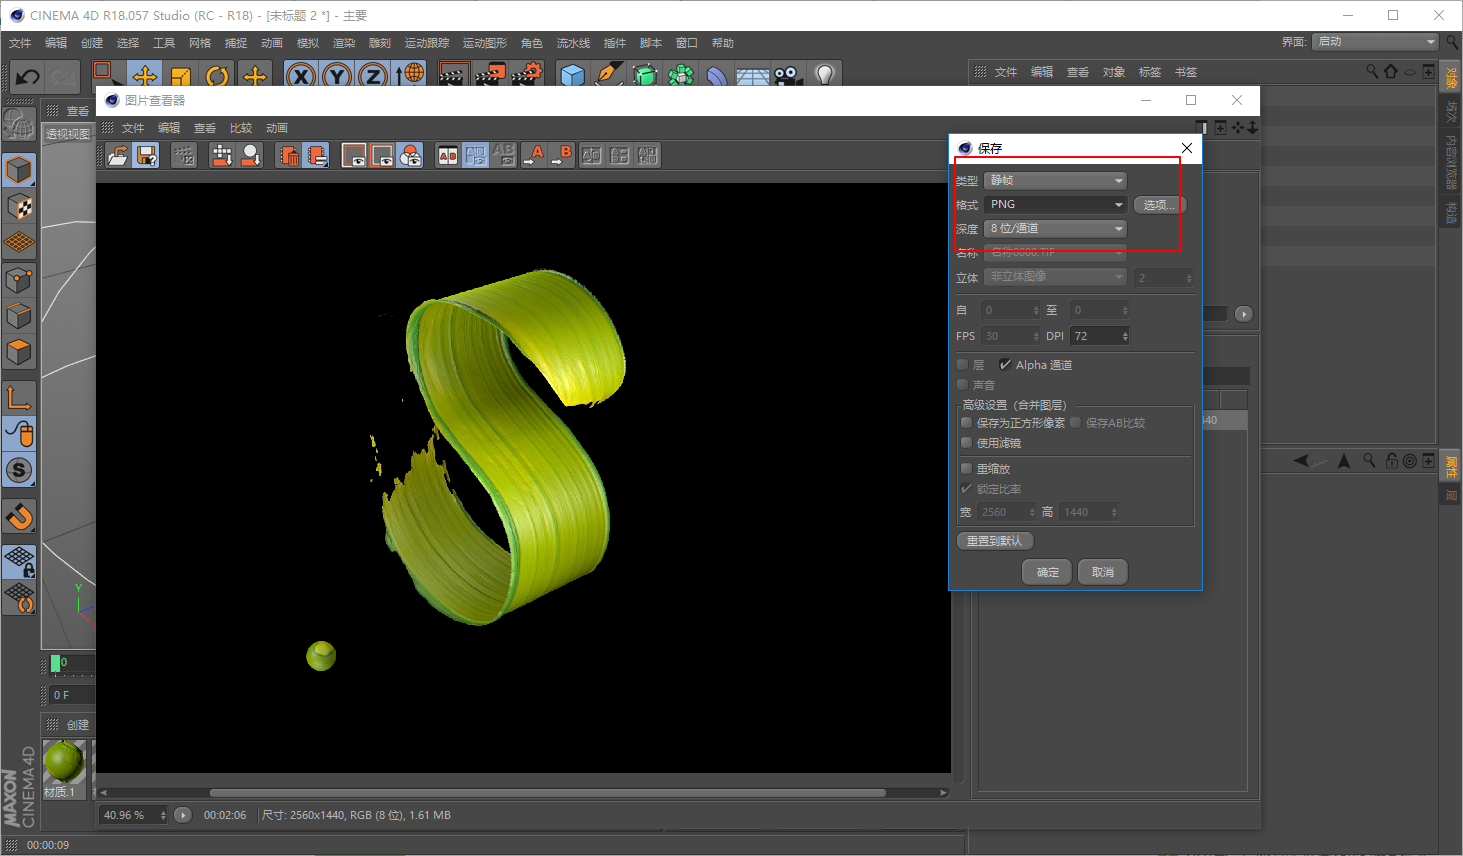
渲染设置中,输出里更改尺寸大小,保存里记得勾选Alpha通道,然后抗锯齿里勾选最佳:
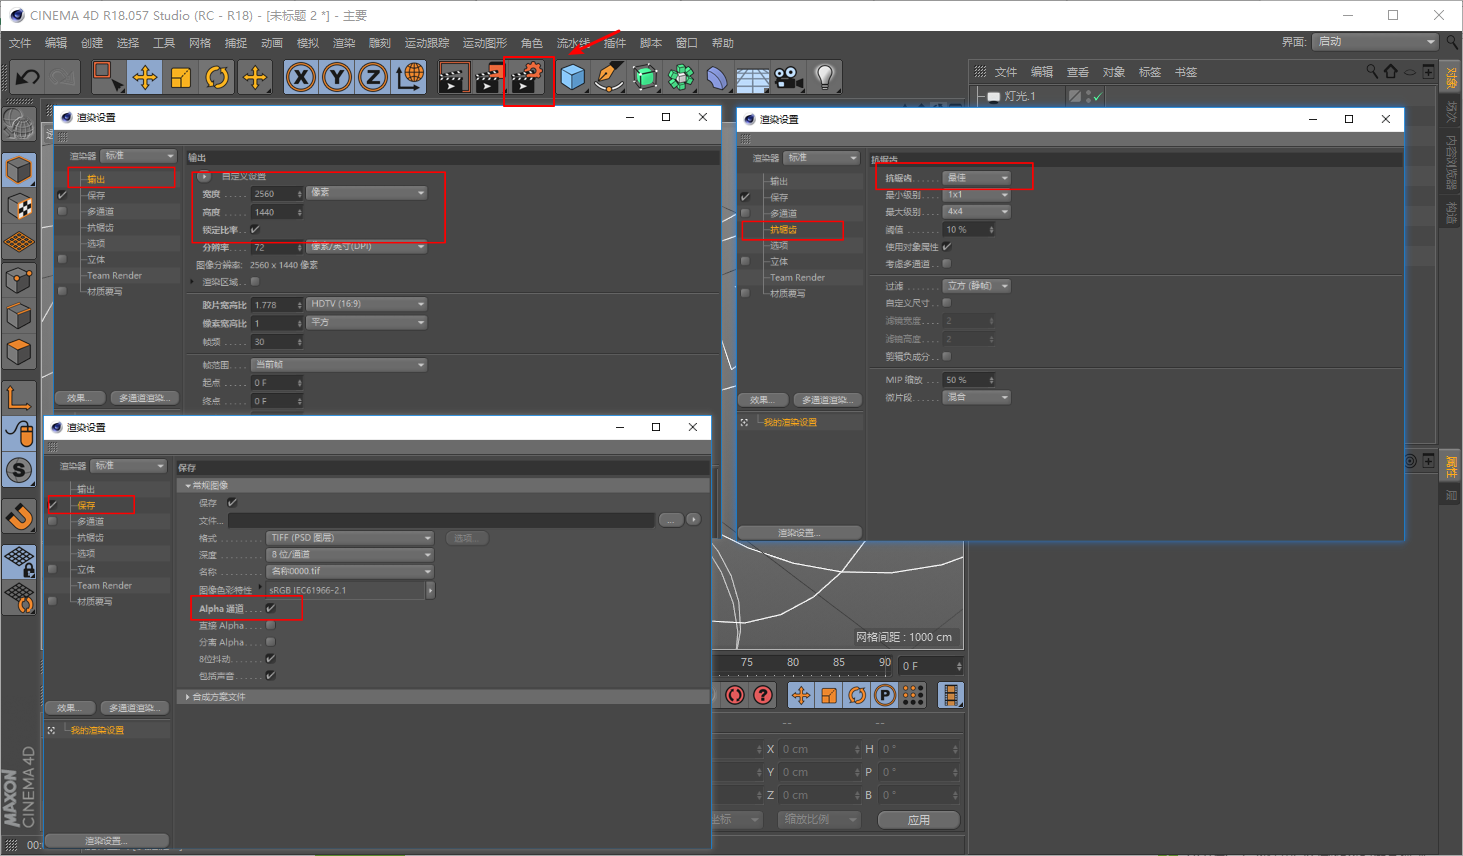
渲染出图保存为Png格式:
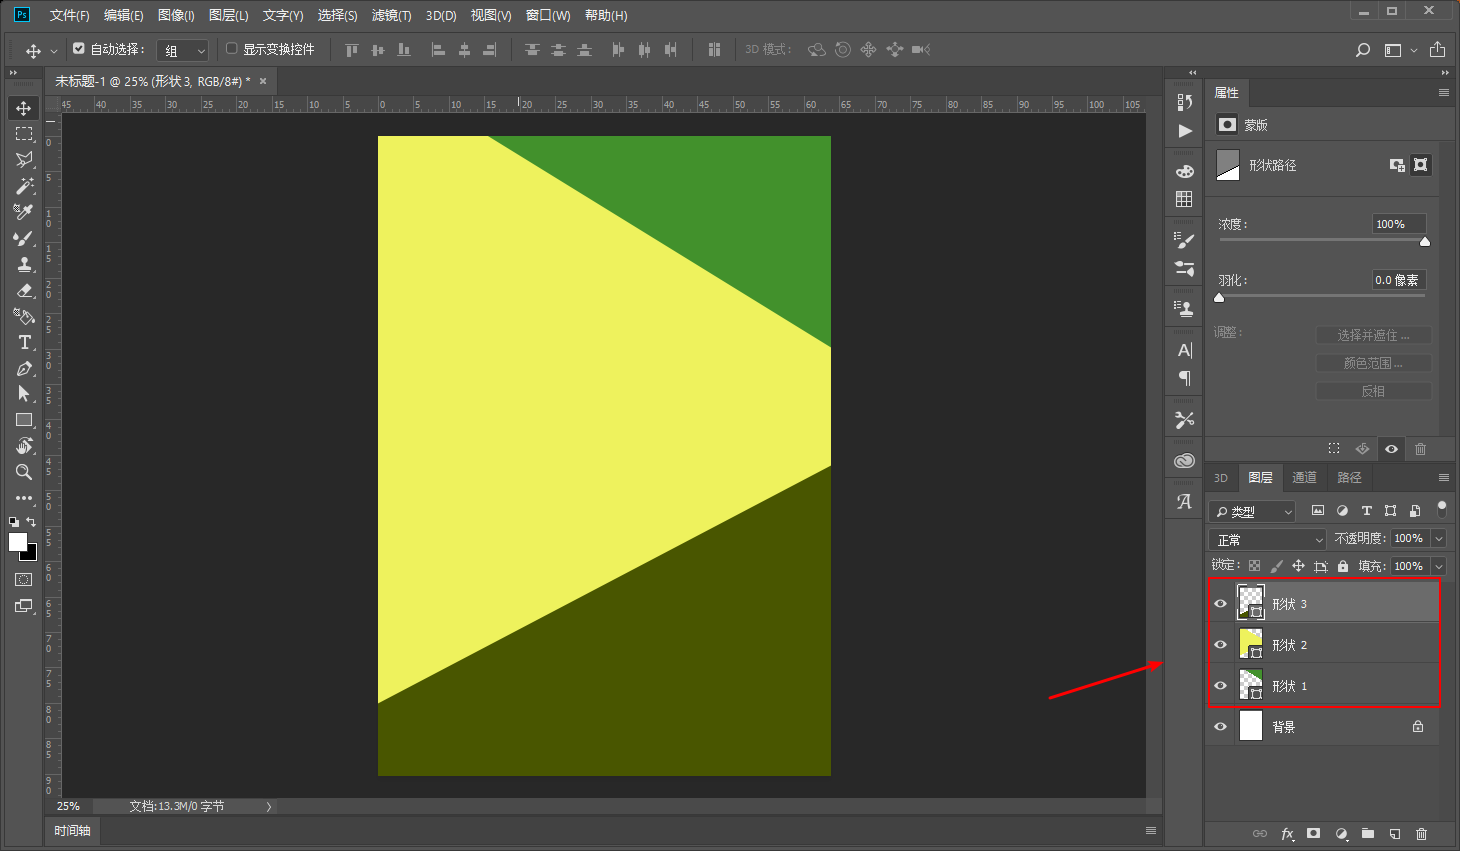
接下来就是在Ps里操作啦,先画出类似这样的形状:
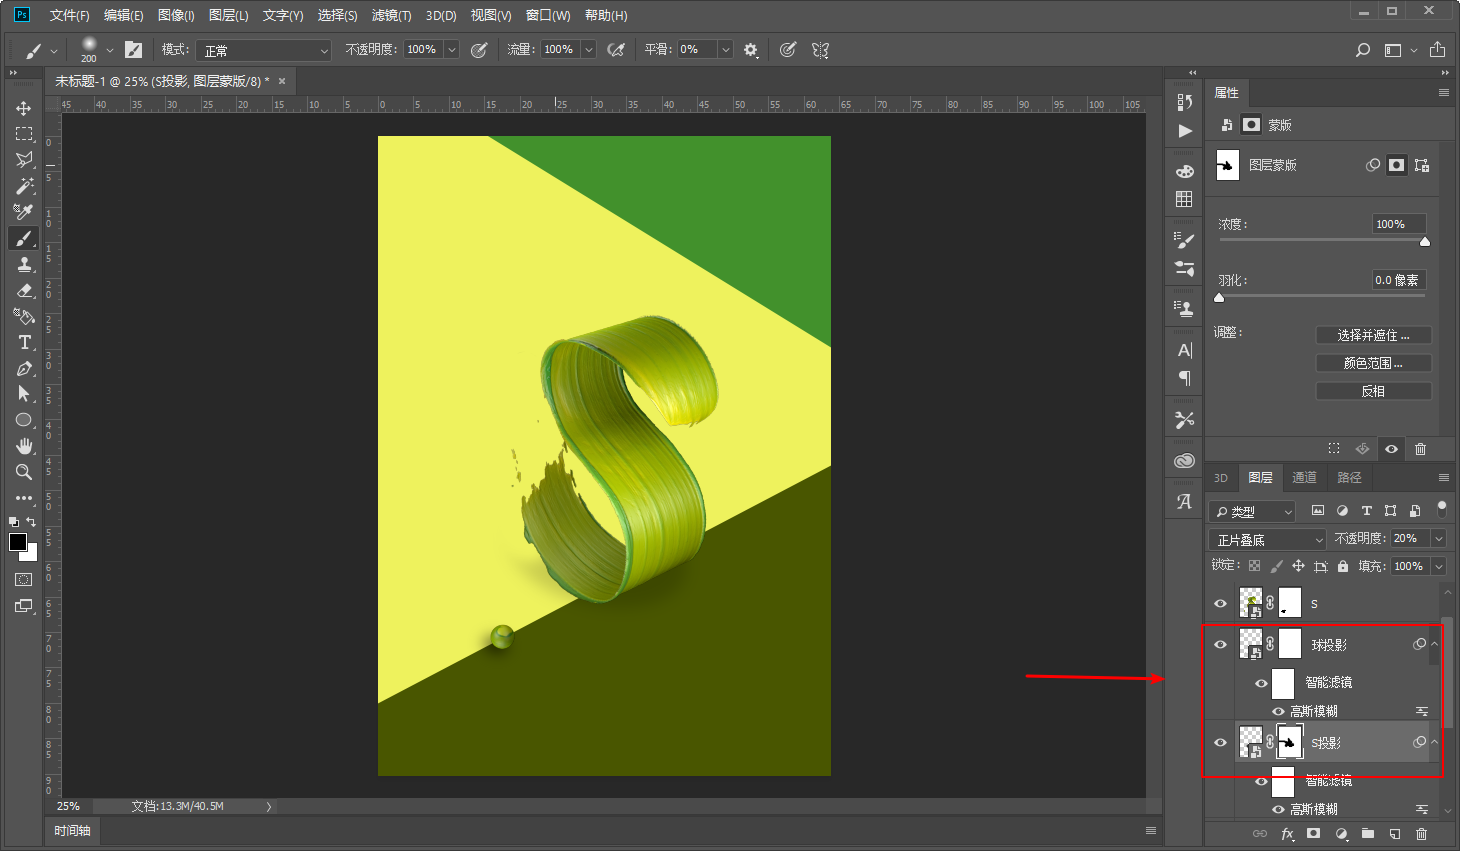
把字母和球分别摆放到合适的位置,这一步不用多说吧:

用深色椭圆,高斯模糊以后做投影,这一步也不用多说吧:
再搞一个投影装饰:
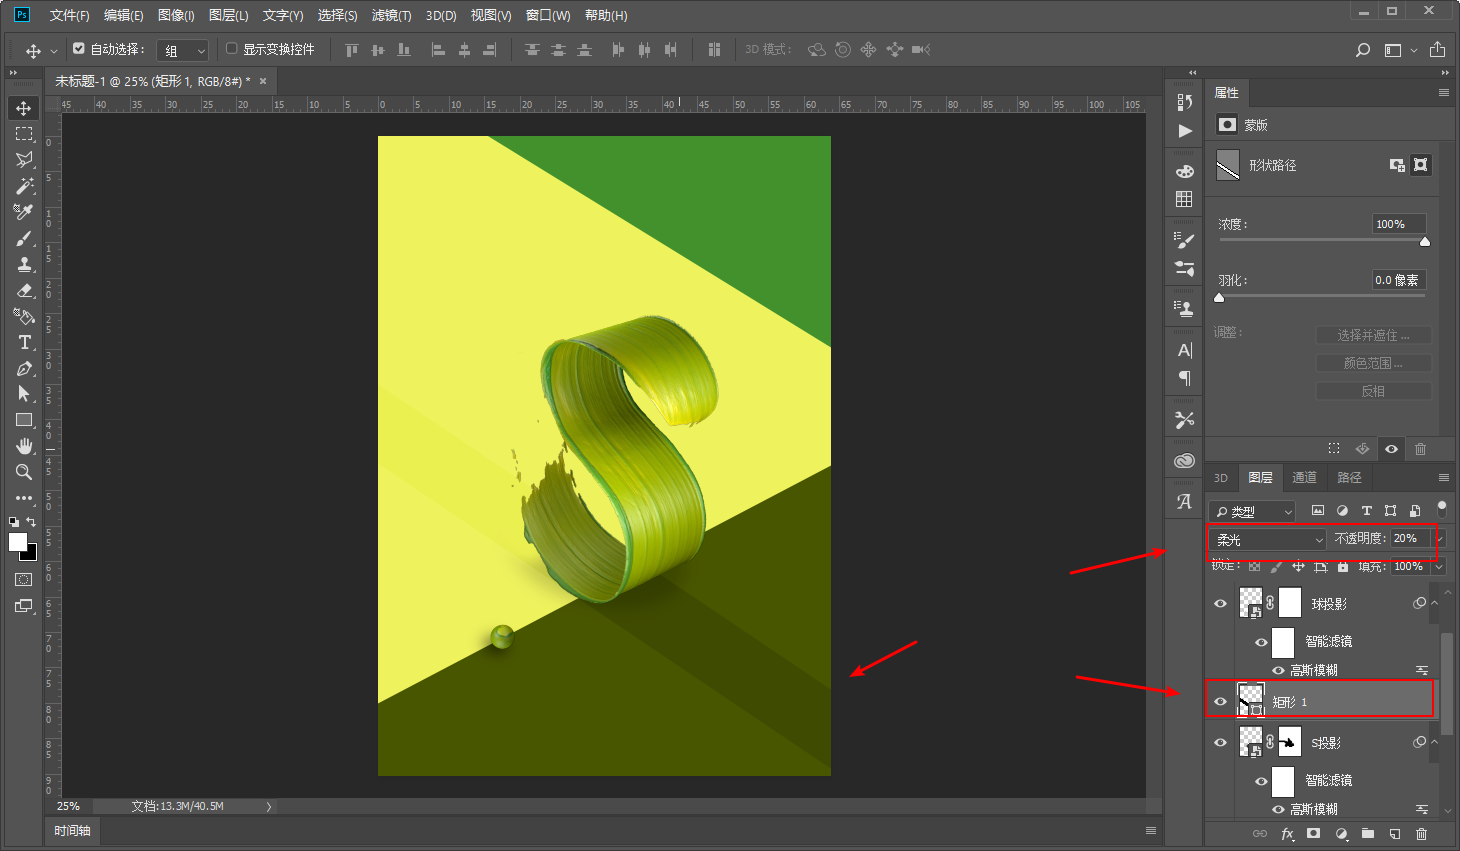
根据自己的喜好调一下色吧:
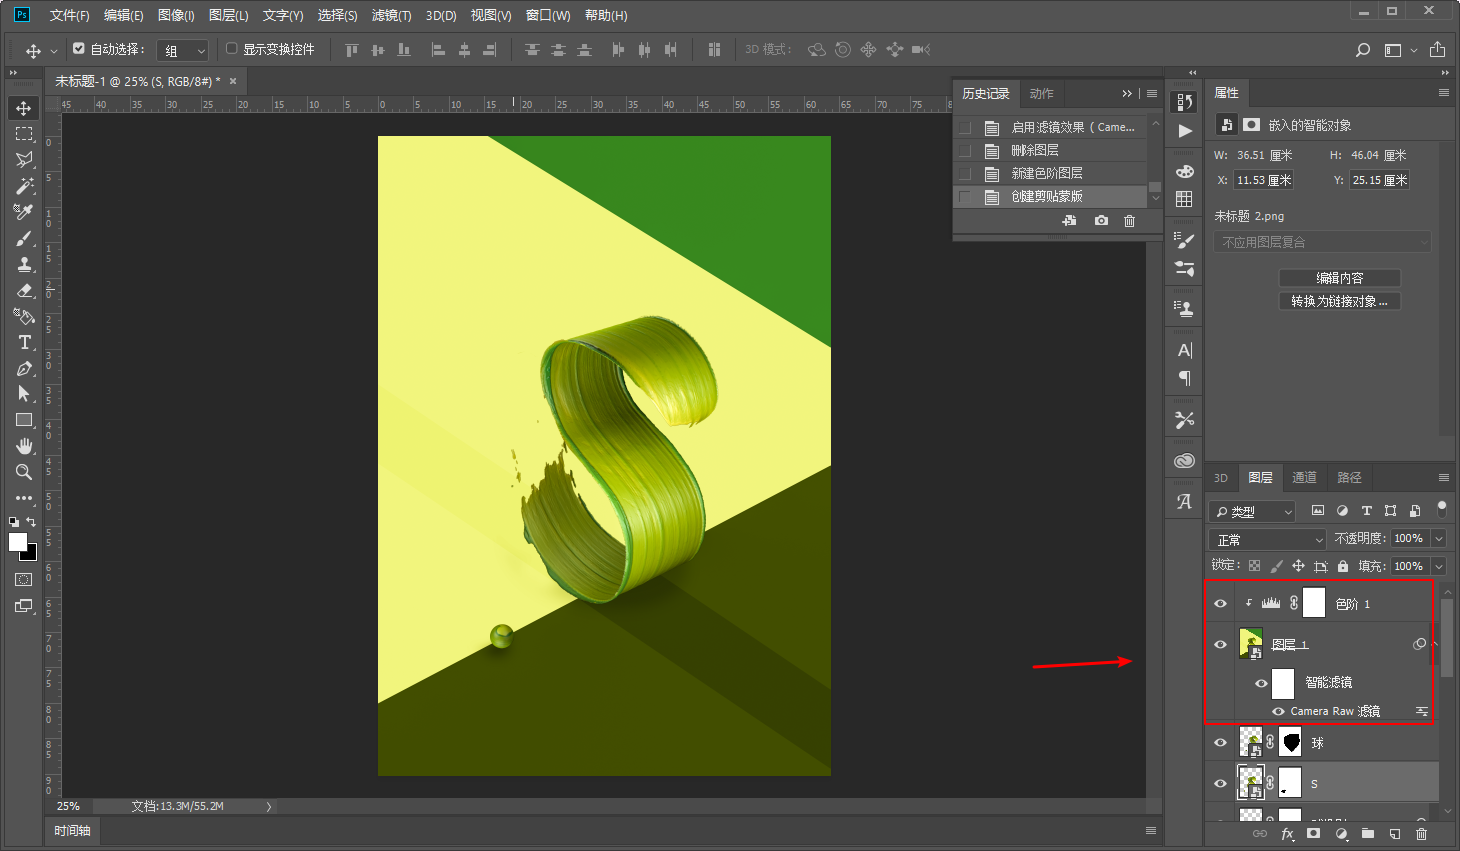
最后简单的排版导出图片看看效果吧:
大概就这样吧,我尝试过用Ai的3D贴图来做,但是太卡了,不如用C4D来搞。
好啦,今天的分享就到这里,想要练习的童鞋后台撩我获取笔刷及源文件吧!
本文由“野鹿志”发布
转载前请联系作者“马鹿野郎”
私转必究

Keep Curiosity Keep Learning
公众号ID:yeluzhi666
微信ID:maluyelang666
文章为用户上传,仅供非商业浏览。发布者:Lomu,转转请注明出处: https://www.daogebangong.com/articles/detail/C4D%20Wild%20TutorialHow%20to%20make%20the%20OPPO%20R15%20font.html
 支付宝扫一扫
评论列表(196条)
测试