"Designing with Axial Symmetry" Axisymmetric PPT Courseware in Life Simple campus recruitment activity planning plan summary enterprise and institution recruitment publicity lecture PPT template is a general PPT template for business post competition provided by the manuscript PPT, simple campus recruitment activity planning plan summary enterprise and institution recruitment promotion Lecture PPT template, you can edit and modify the text and pictures in the source file by downloading the source file. If you want more exquisite business PPT templates, you can come to grid resource. Doug resource PPT, massive PPT template slide material download, we only make high-quality PPT templates!
| 文件名 如何下载使用 | 下载次数 | Download Points | 下载地址 |
|---|---|---|---|
| "Designing with Axial Sy... | 1500次 | 0.00 | Free Download |
Tips: If you open the template and feel that it is not suitable for all your needs, you can search for related content "Designing with Axial Symmetry" Axisymmetric PPT Courseware in Life is enough.
How to use the Windows system template
Directly decompress the file and use it with office or wps
How to use the Mac system template
Directly decompress the file and use it Office or wps can be used
Related reading
For more detailed PPT-related tutorials and font tutorials, you can view: Click to see
How to create a high-quality technological sense PPT? 4 ways to share the bottom of the box
Notice
Do not download in WeChat, Zhihu, QQ, built-in browsers, please use mobile browsers to download! If you are a mobile phone user, please download it on your computer!
1. The manuscript PPT is only for study and reference, please delete it 24 hours after downloading.
2. If the resource involves your legitimate rights and interests, delete it immediately.
3. Contact information: service@daogebangong.com
"Designing with Axial Symmetry" Axisymmetric PPT Courseware in Life, due to usage restrictions, it is only for personal study and reference use. For commercial use, please go to the relevant official website for authorization.
(Personal non-commercial use refers to the use of this font to complete the display of personal works, including but not limited to the design of personal papers, resumes, etc.)
Related reading
For more detailed PPT-related tutorials and font tutorials, you can view:Please click to see



Authoritative PPT Summary
"Designing with Axial Symmetry" Axisymmetric PPT Courseware in Life
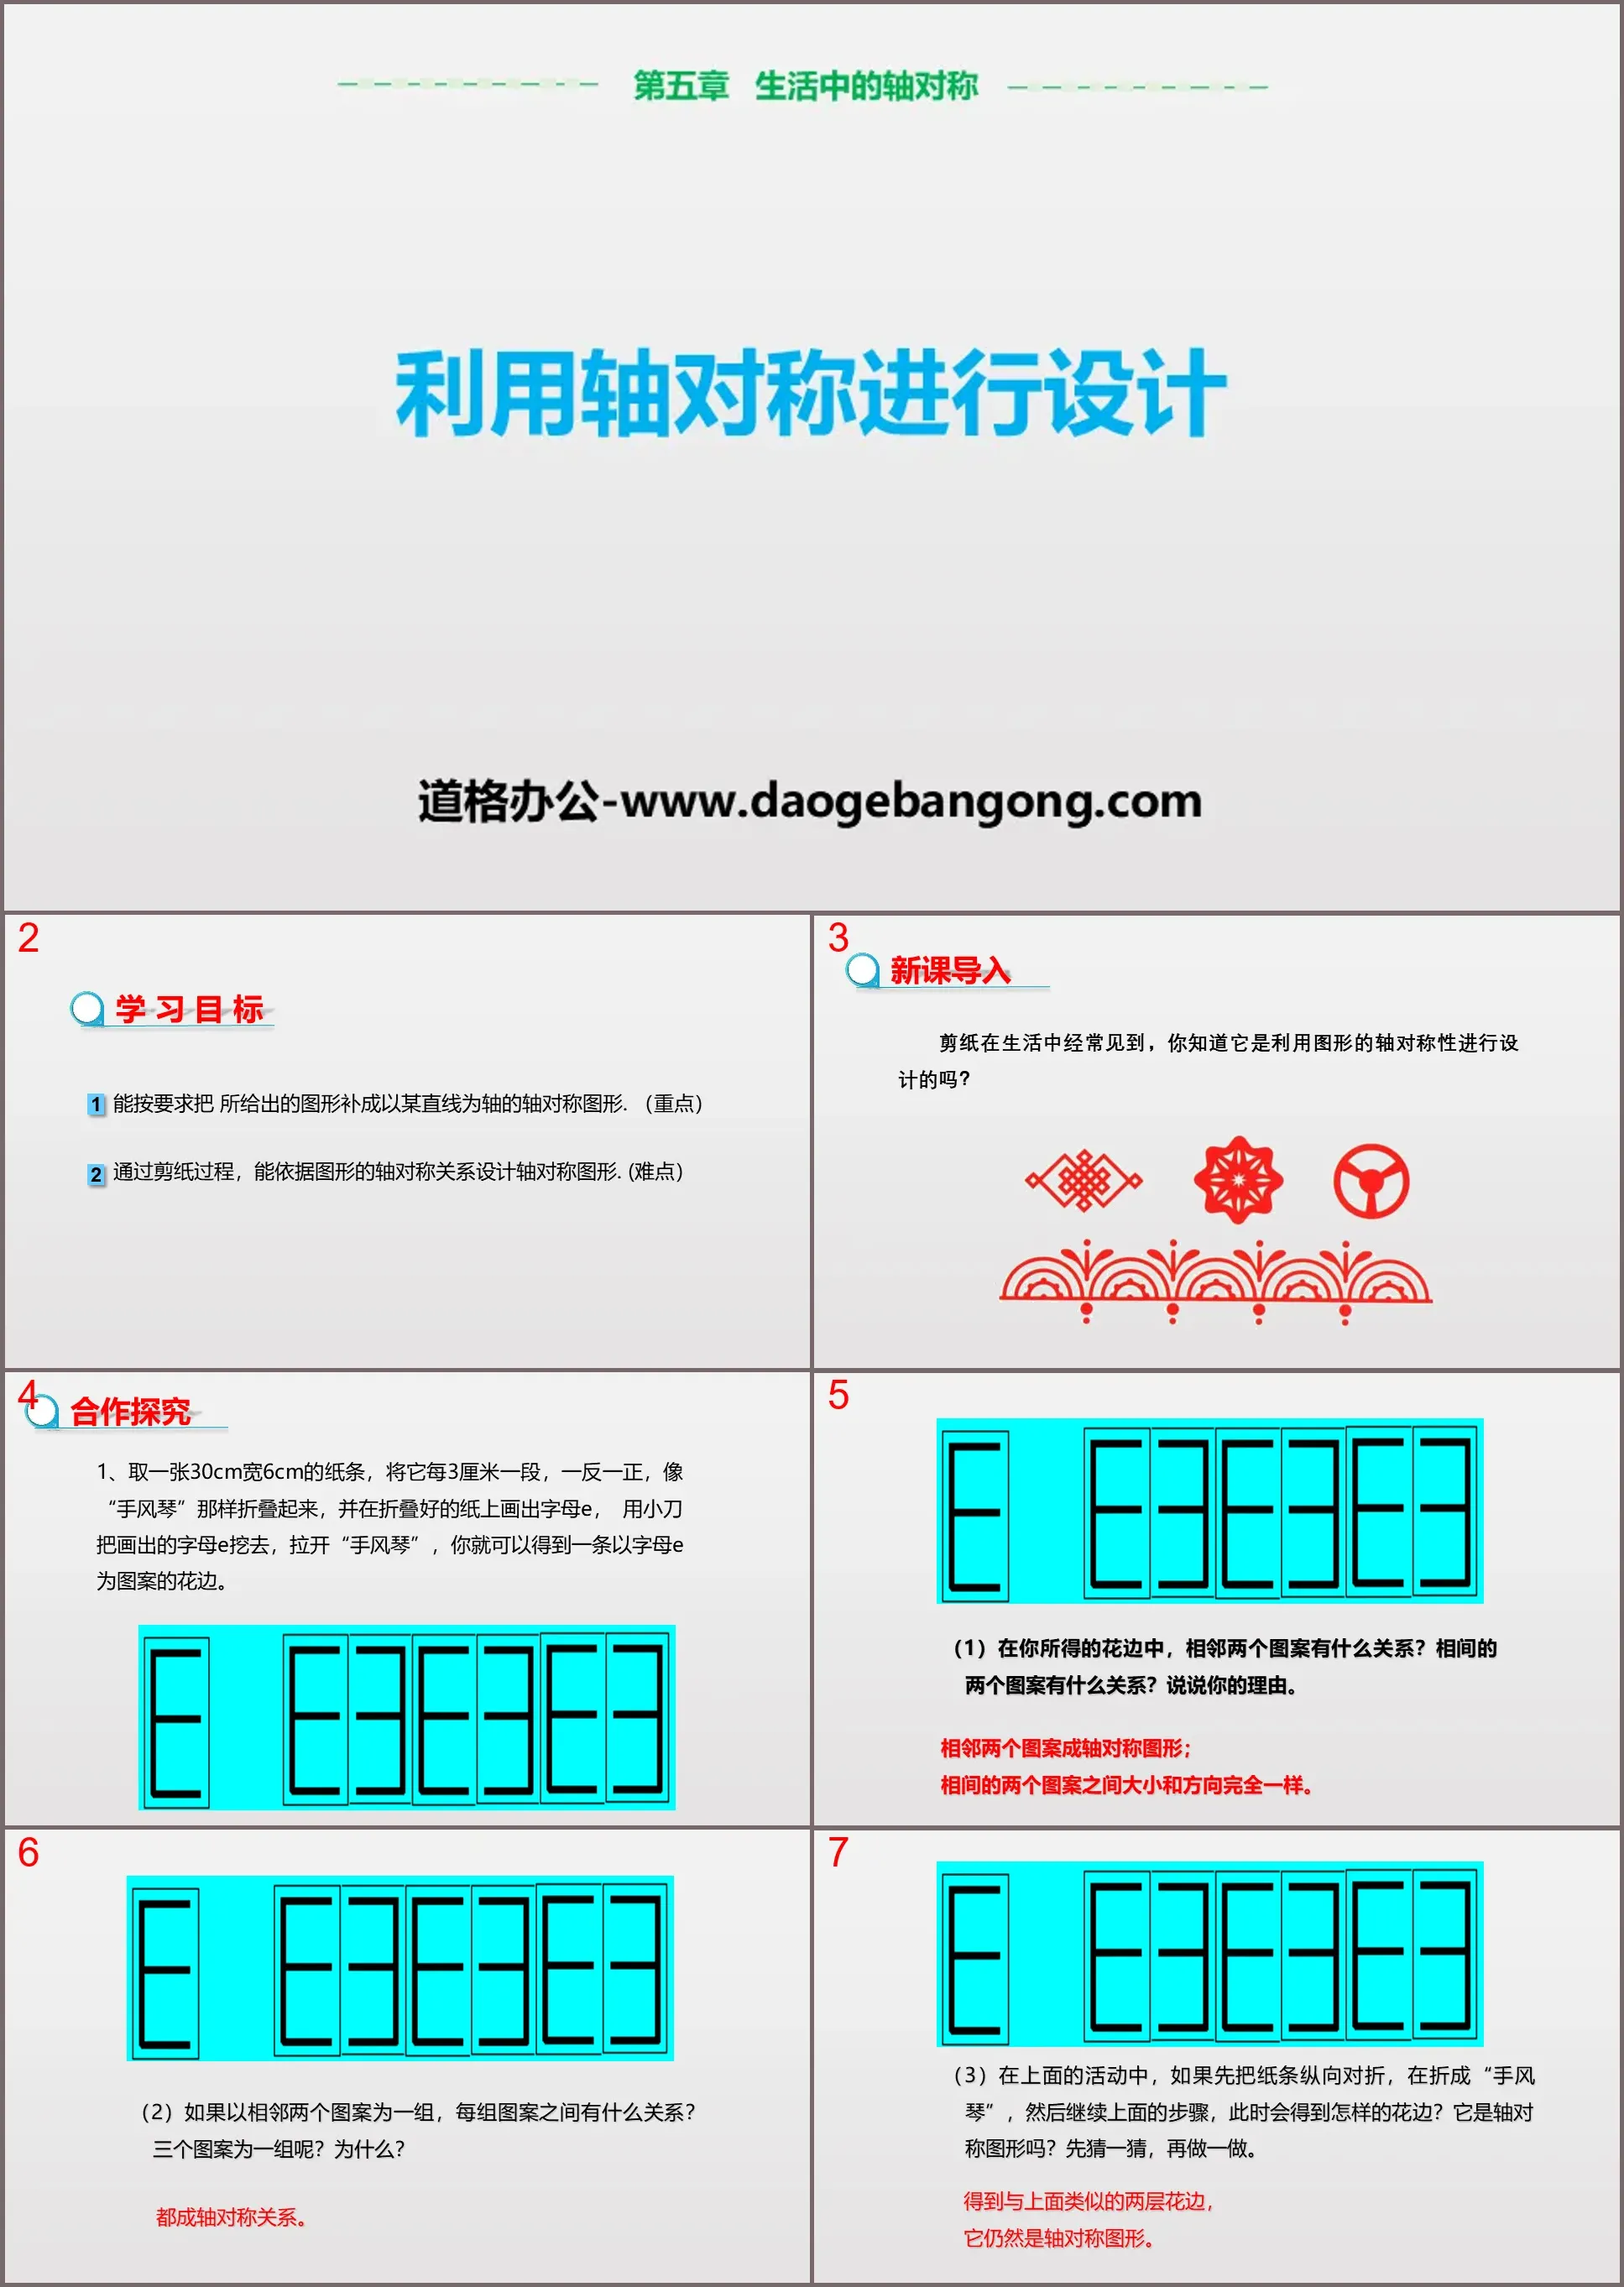
Part One: Learning Objectives
1. Be able to complete the given figure into an axially symmetrical figure with a certain straight line as the axis as required. (Key points)
2. Through the paper-cutting process, you can design axially symmetrical graphics based on the axially symmetrical relationship of the graphics. (Difficulty)
Using axial symmetry to design PPT, part 2: collaborative exploration
1. Take a piece of paper 30cm wide and 6cm wide, fold it into sections every 3 centimeters, in reverse and forward, like an "accordion", and draw the letter E on the folded paper. Use a knife to cut the drawn Dig out the letter E and open the "accordion", and you will get a lace with the letter E as the pattern.
(1) In the lace you obtained, what is the relationship between two adjacent patterns? What is the relationship between the two alternate patterns? Tell us your reasons.
Two adjacent patterns form an axially symmetrical figure;
The two alternate patterns are exactly the same size and direction.
(2) If two adjacent patterns are grouped together, what is the relationship between each group of patterns? What about a set of three patterns? Why?
All are axially symmetrical.
(3) In the above activity, if you first fold the paper strip in half lengthwise, then fold it into an "accordion", and then continue the above steps, what kind of lace will you get? Is it an axisymmetric figure? Guess first, then do it.
Get a two-layer lace similar to the one above, which is still an axially symmetrical figure.
2. As shown in the picture: take a thin square paper and fold it in half along the diagonal line to get an isosceles right triangle. Then fold it in half along the high line on the bottom edge and fold the resulting graph paper along the black line in the picture. Cut, remove the 90-degree corner, unfold the folded paper, and lay it flat.
(1) What pattern will you get? Guess first, then do it.
Obtain a figure with two axes of symmetry.
(2) Can you explain why you get such a pattern? Give it a try using what you learned about axial symmetry.
In fact, it is equivalent to folding out the two axes of symmetry of the square.
(3) If you fold the square paper in half three times as shown above (as shown in the picture), then cut it along the arc and remove the smaller part, what will be the result after unfolding? Why?
In fact, it is equivalent to folding out the four axes of symmetry of the square.
(4) When the paper is folded twice, how many axes of symmetry will the cutout have? What about three times?
When the paper is folded twice, the pattern cut out has at least two axes of symmetry;
When the paper is folded three times, the pattern cut out has at least four axes of symmetry.
Using axial symmetry to design PPT, the third part: in-class training
1. Do you know how to cut out the pattern below?
Can you cut out a similar pattern?
2. Can you turn a rectangular paper into a line pattern with just one cut?
Fold it three times along the dotted line and then cut it once.
Using axial symmetry to design PPT, part 4: Class summary
Design patterns using axial symmetry
Obtain an axially symmetrical figure from a plane figure
Design patterns using axial symmetry
Using axial symmetry to design PPT, Part 5: On-site inspection
1. As shown in Figure 1, fold a square piece of paper once diagonally, then dig a round hole in each of the three corners of the resulting triangle, and finally unfold the square piece of paper. The resulting pattern is ( )
2. As shown in the picture, fold the rectangular piece of paper in half to the right along the dotted line AB in the direction of the arrow, then fold it in half along CD, then cut out a small triangle, and then open the piece of paper. The unfolded picture is ( )
3. Fold a square piece of paper in half twice as shown in Figure ① and Figure ②, and then dig out a small triangular hole as shown in Figure ③. The expanded shape will be ( )
4. Use two circles, two line segments, and two triangles to design an axially symmetrical pattern, and explain your design intention and the meaning you want to express.
Keywords: Free download of Beijing Normal University edition seventh-grade mathematics volume 2 PPT courseware, using axial symmetry to design PPT download, axisymmetric PPT download in life, .PPT format;
For more information about the PPT courseware "Using Axis Symmetry to Design Axial Symmetry in Life", please click the Axis Symmetry in Life PPT tag.
"Designing with Axial Symmetry" Axisymmetric PPT download in life:
"Designing with Axial Symmetry" PPT Download of Axial Symmetry in Life Part One: Teaching Objectives 1. Able to make axially symmetrical figures of simple plane figures as required. 2. Appreciate axially symmetrical graphics in real life and be able to use axial symmetry to design some patterns...
"Designing with Axial Symmetry" Axisymmetric PPT in Life:
"Using Axial Symmetry for Design" Axial Symmetry in Life PPT Part One Content: Learning Objectives 1. Experience the process of using axial symmetry for pattern design, further understand axial symmetry and its properties, accumulate experience in mathematical activities, and develop spatial concepts. 2. Understand axial symmetry Now...
"Design using axial symmetry" Axisymmetric PPT courseware 3:
"Designing with Axial Symmetry" Axial Symmetry PPT Courseware 3 Symmetry is an idea through which people pursue throughout their lives and create order, beauty and perfection. In the world we live in, many beautiful things are designed using axial symmetry , they not only decorate me...