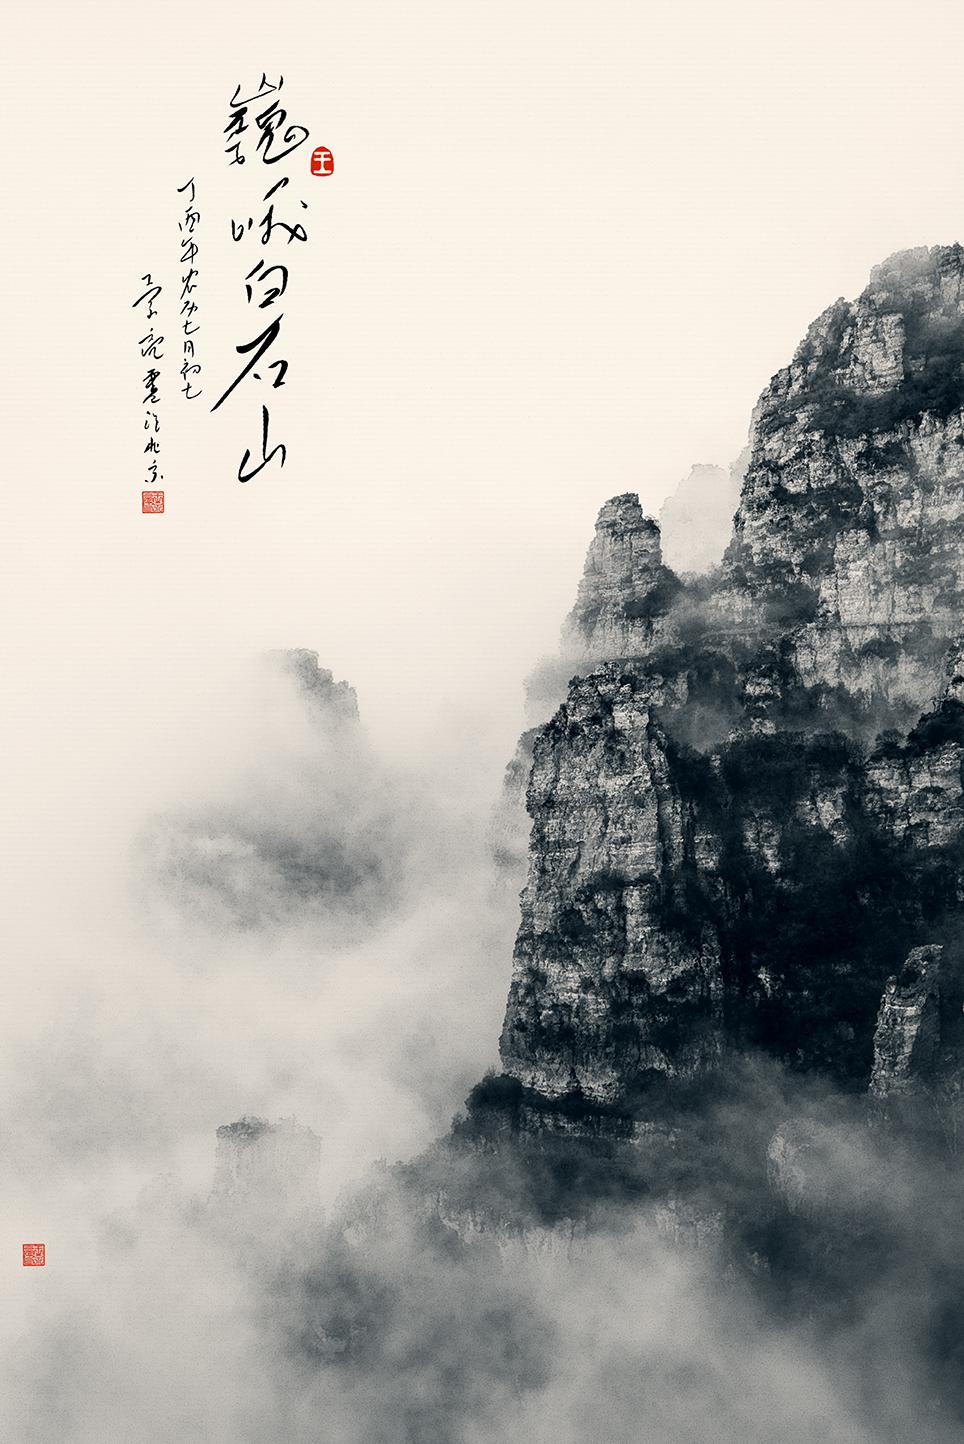
Dear donors, I am here again! What Lao Na brings to you today is how to write handwritten calligraphy works. Calligraphy works can be applied to the traditional Chinese painting style photography works introduced earlier. If you don’t know calligraphy, then you must read this article, yes you must read it!
Because our calligraphy works are only decorated with photos from portrait photography and landscape photography, there is no need to study it so thoroughly. We don’t care about cursive script, official script, running script, Wang Xizhi’s or Yan Zhenqing’s. What we write is our own style. , has its own school. What I write is called Liangliang School, which can also be called Liangshu. It sounds nice!
Without further ado, let’s get to the point. First, you need to download a calligraphy generation software. The name of the software is Calligraphy Generator. You can find it by searching online and download it. Of course, you can also download it through this address. This is the link shared by my cloud disk: http://pan.baidu.com/s/1geBgBWB Password: 2lv0. After downloading, it is a compressed package. You can open the compressed package directly without installation because it is a green version.
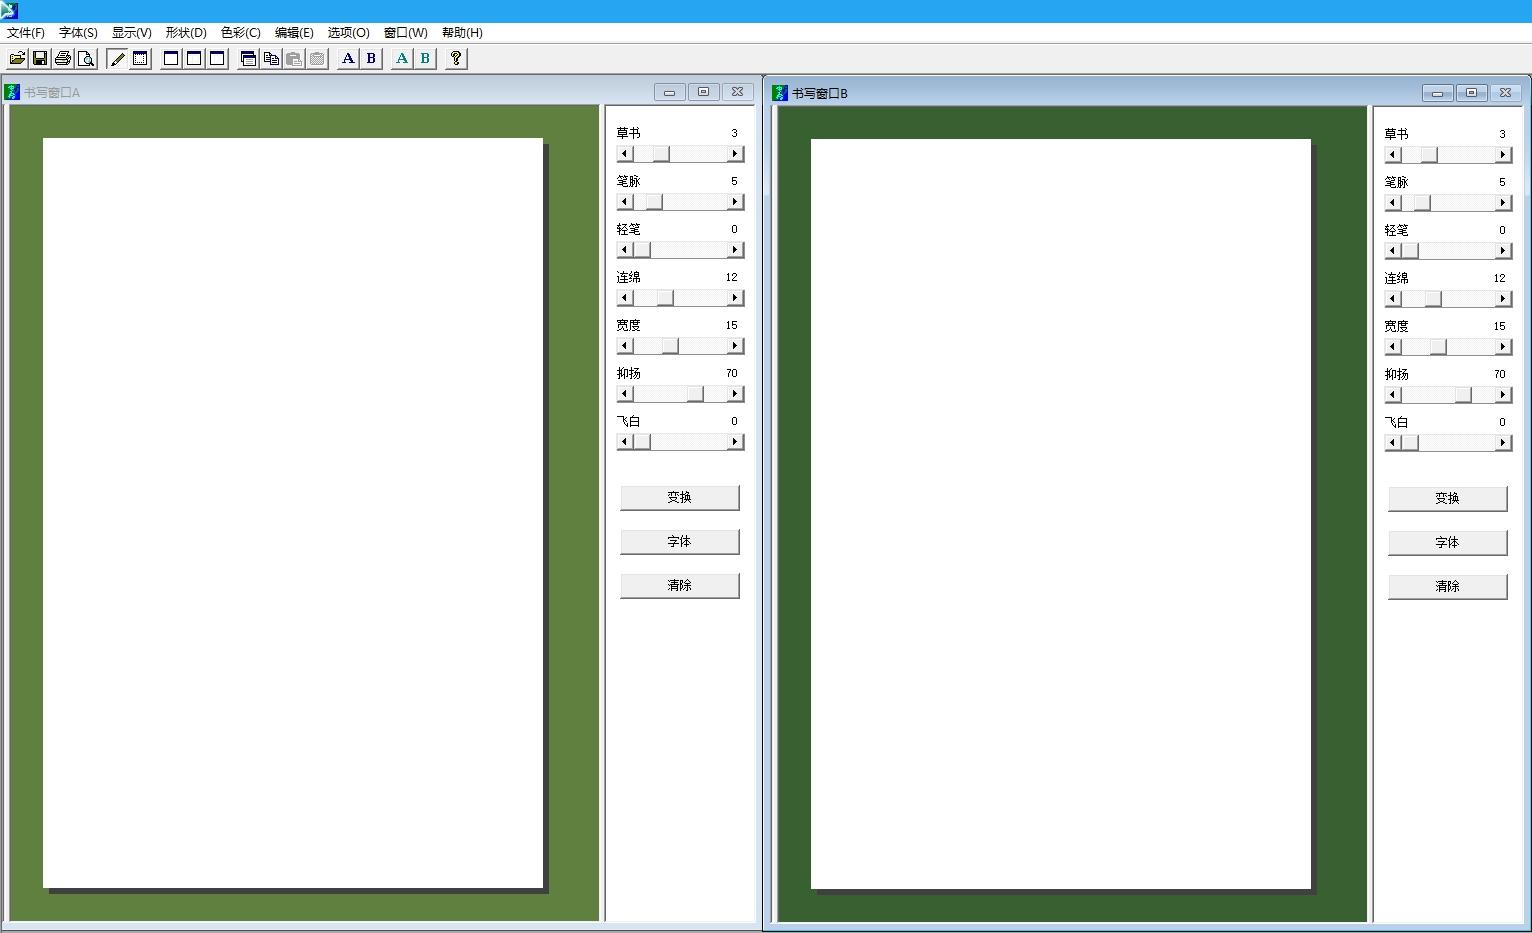
01. After opening the compressed package, double-click the Ougishlb14.exe file to open the calligraphy generator.

02. After the software is opened, two writing pad windows will appear. You can just choose one to use.
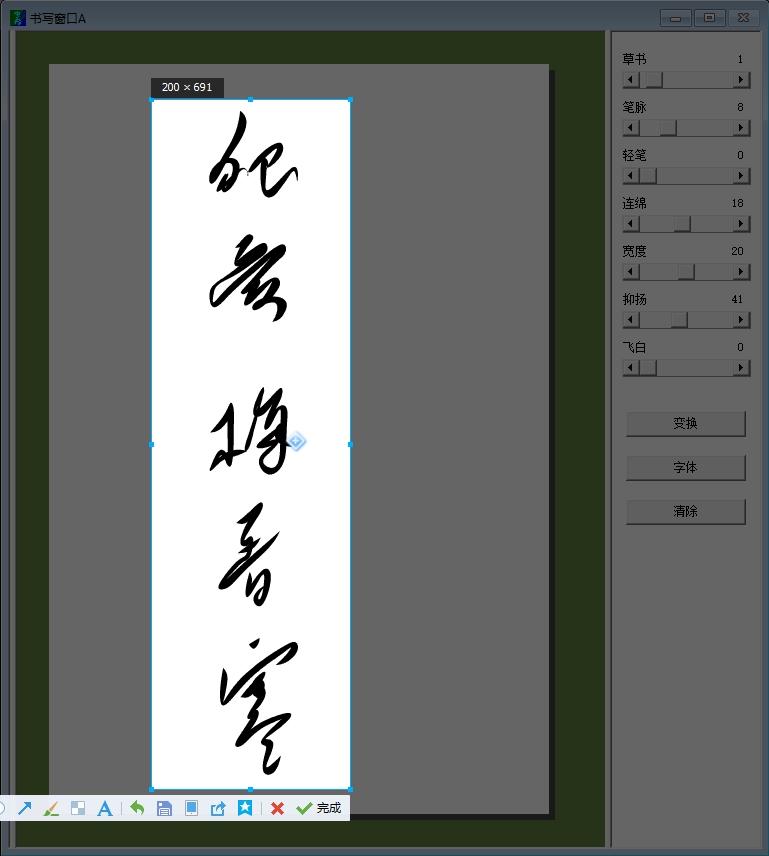
A few words: This can be written directly with the mouse. If you have a hand-drawn tablet, it will be even better. It will be more beautiful if you write it directly with a hand-drawn tablet. I chose to write a self-written five-character poem called "Plum Blossom Fragrance Cold": There are thousands of kinds of flowers, but I only love the plum fragrance cold. The proud snow is competing for spring, smiling in the wind. How is it? Can I be a poet? I have talked too much nonsense, please read on, donors!
03. Since the writing window is not very large, just write sentence by sentence. Write the first sentence first. After you finish writing, click the transform button on the right side of the writing window. Your unsightly handwriting will turn into smooth calligraphy. This is really awesome software. If you are not satisfied, you can adjust the parameters yourself or change the fonts of different styles. You’ll know what each adjustment item does if you explore it yourself, so I won’t go into details.

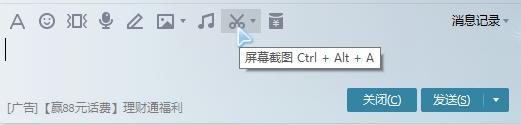
04. After all adjustments are made and you feel satisfied, you can process the written text in the form of pictures, but the only way to convert them into pictures is by taking screenshots. You can use the screenshot function that comes with the QQ software, open the QQ software, find any chat window, and you can see a scissors icon below, that's it. Of course, you can also use the shortcut key directly, Ctrl+Alt+A.
05. When taking screenshots, there is no need to take too many screenshots, which is wasteful. You only need to take a screenshot of the written text.

06. No, I will just take a screenshot of this part. It will be useless if there is too much white paper in other areas.

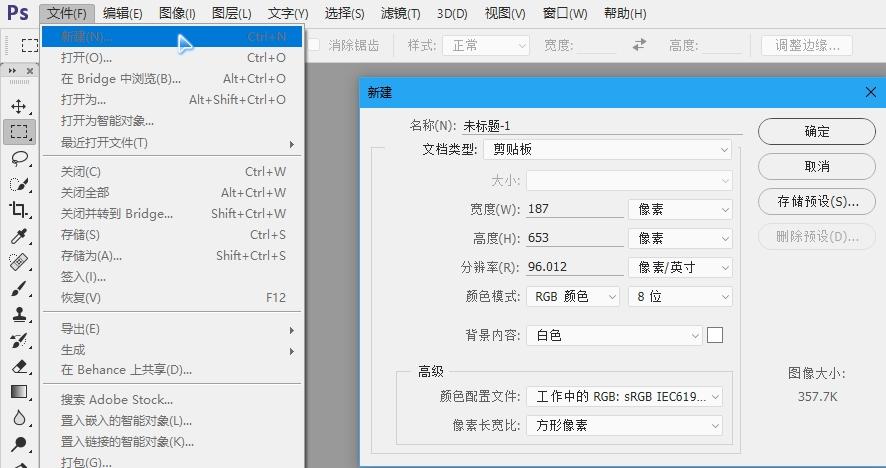
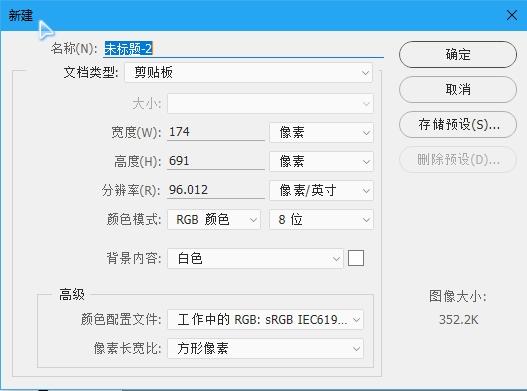
07. Taking a screenshot does not mean it is already a picture. The screenshot is only saved in the clipboard. At this time, you need to open the PS software. After entering the PS software, click New under the File menu. Do not change the size. This size is created based on the size of your screenshot.
08. After creating the file, you must paste the screenshot content in, open the edit menu, and select Paste.

09. Return to the calligraphy generator software and write the second sentence. After writing, use QQ to take a screenshot, or only take a screenshot of the text part.
10. After taking the screenshot, go back to PS and create a new one. No need to change the size!
11. After creating the file, edit and paste it below again to let the screenshot content enter the newly created file.

12. Return to the writing software and write the third sentence.

13. Write the fourth sentence. Remember to take a screenshot of each sentence as before, then enter PS to create a new one and paste it!

14. After writing the content of the poem, write the name of the poem, the name of the author, the writing time and other contents. You still need to take a screenshot and paste it.

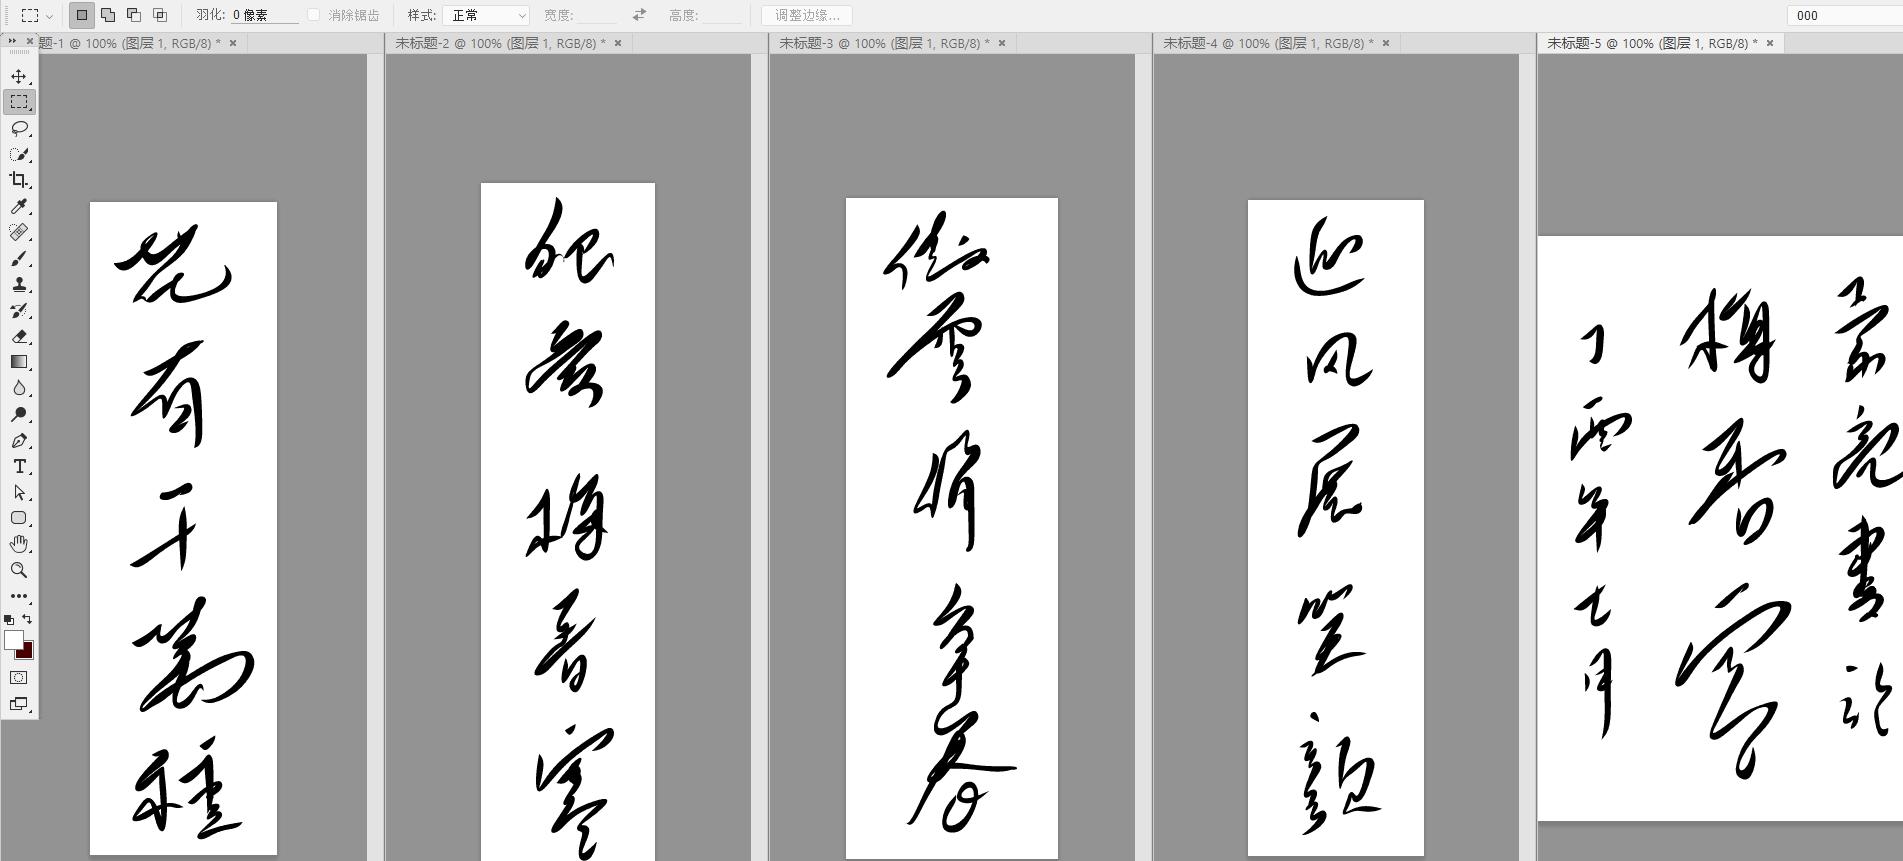
15. After writing all these, go back to PS. At this time, every sentence we wrote appears in the cursive script of the picture. Isn’t it spectacular?
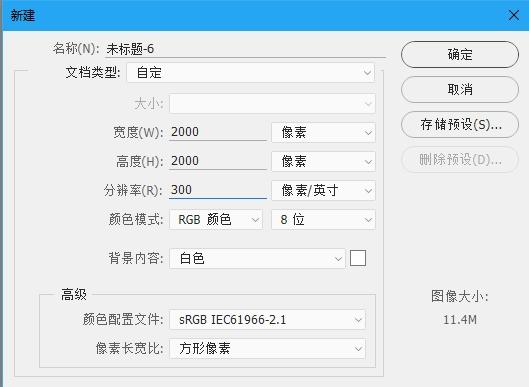
16. Create a new file again. The size of this file needs to be changed. I set a square file with a size of 2000 pixels by 2000 pixels and a resolution of 300 pixels/inch.
17. Use the color range to cut out the text, select a calligraphy text picture, and open the color range under the selection menu.

18. Use the habit of clicking on the black text to select the color you need to select. Adjust the tolerance value appropriately. When the text turns white and the background turns black, it is OK.

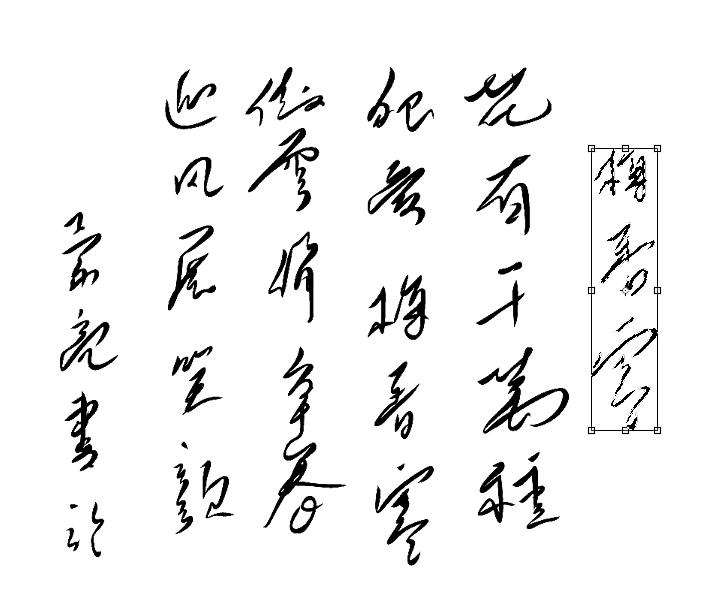
19. After confirming, get the selection, use the move tool to drag the text in the selection directly to the newly created square file.

20. Perform the same operation for other pictures, drag and drop the text cutout into the newly created square file.
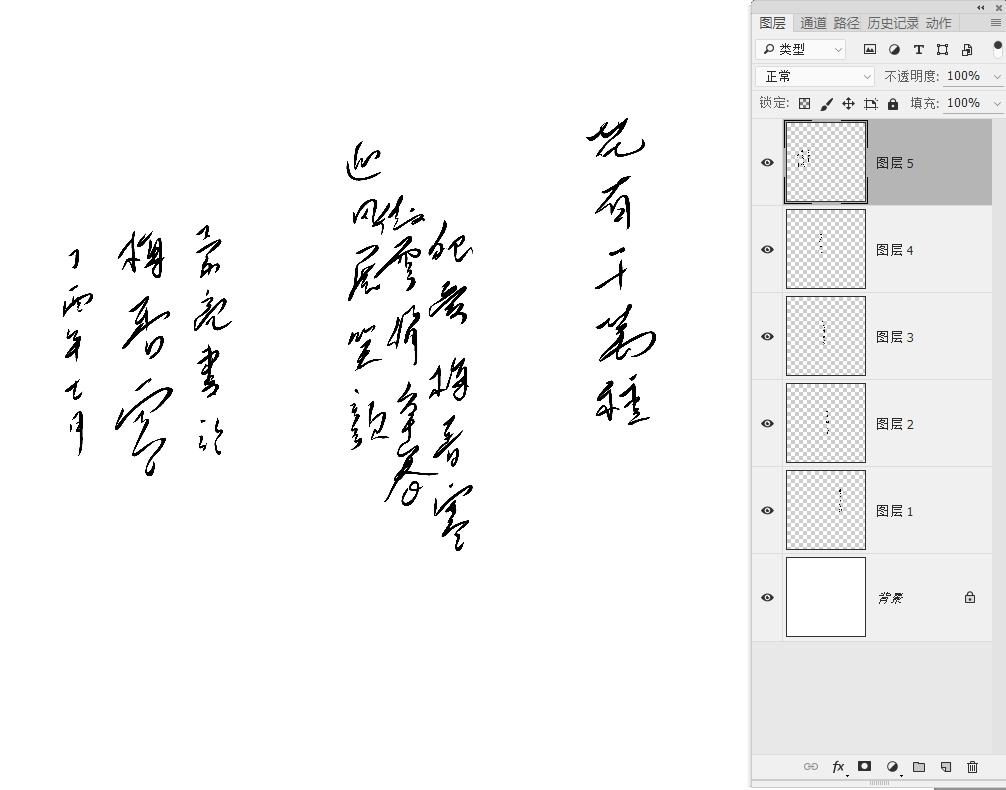
21. Select all text layers at the same time, and freely transform and adjust the size and position.
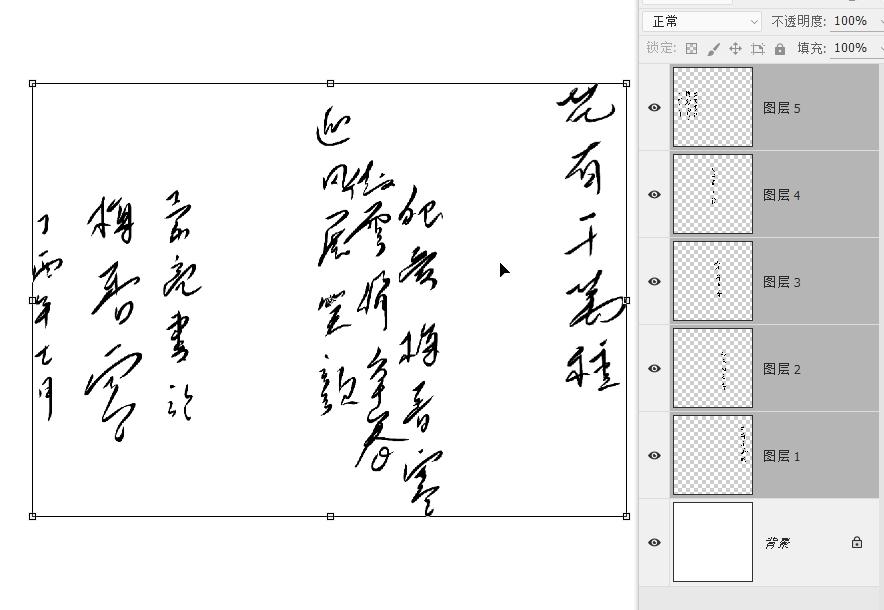
22. If you want to move part of the area, remember to use a rectangular marquee or locking tool frame to select it, then select the right layer and move it with the move tool. If the size is not suitable, you can select it and use free transformation to adjust it.
23. After adjusting the size and position, you can merge all the text layers, and then use the seal engraving we made earlier to decorate the text. Once the seal cutting is in position, you can combine the layers with the text. Remember not to combine them all, but keep the bottom background layer unjoined.

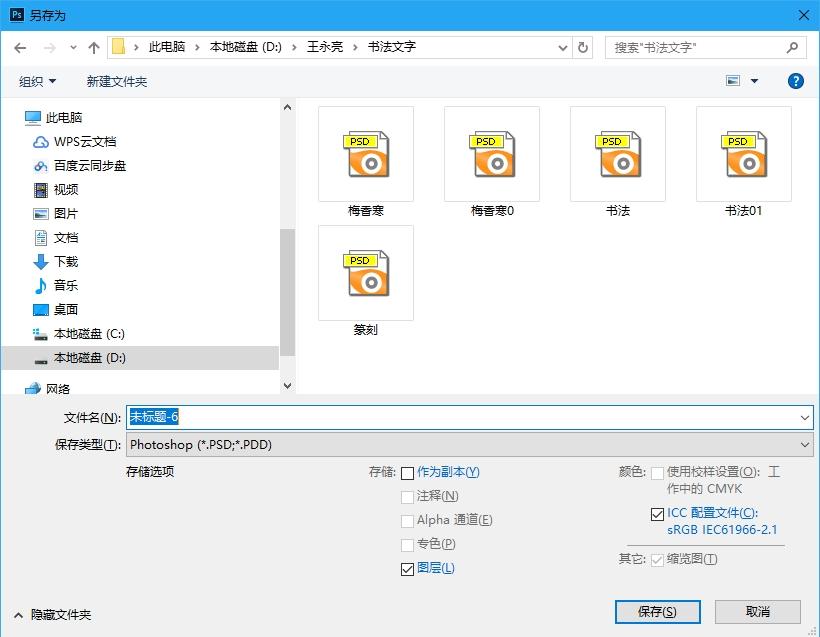
24. Now the calligraphy is finished, save it as a psd file and layer it. What I will use in the future must be psd.
How are you, fellow donors? Do you feel a sense of accomplishment? You can finally have your own calligraphy work. Hurry up and combine it with traditional Chinese painting to create your masterpiece. I look forward to your work coming out soon!
If you like my course, please forward it. If you need this software, please send me a private message!
If you want to learn more about portrait photography and landscape photography retouching taken with digital cameras, send me a private message!
Articles are uploaded by users and are for non-commercial browsing only. Posted by: Lomu, please indicate the source: https://www.daogebangong.com/en/articles/detail/ru-he-zi-ji-chuang-zuo-shu-fa-wen-zi-yong-zai-shu-ma-xiang-ji-pai-she-de-ren-xiang-she-ying-ji-feng-guang-she-ying-zhong.html
 支付宝扫一扫
评论列表(196条)
测试