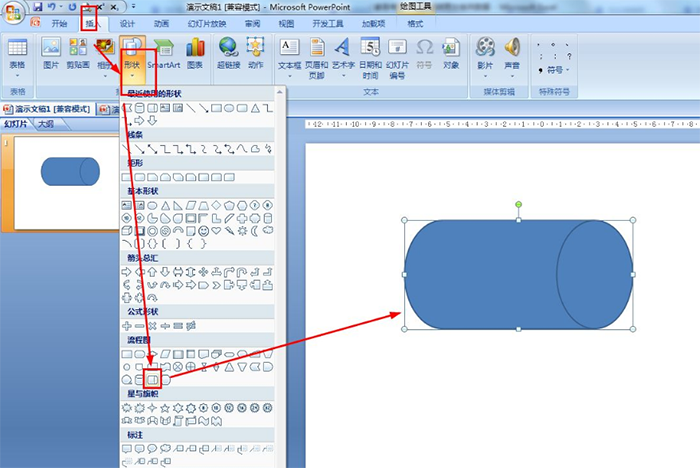
To fill the right cylinder with a picture on the right side of the PowerPoint flow chart, you can follow the steps below:
1. Click the "Insert" menu, select "Flowchart" in "Shape", then click on the cylinder icon on the right to draw A larger cylinder shape.
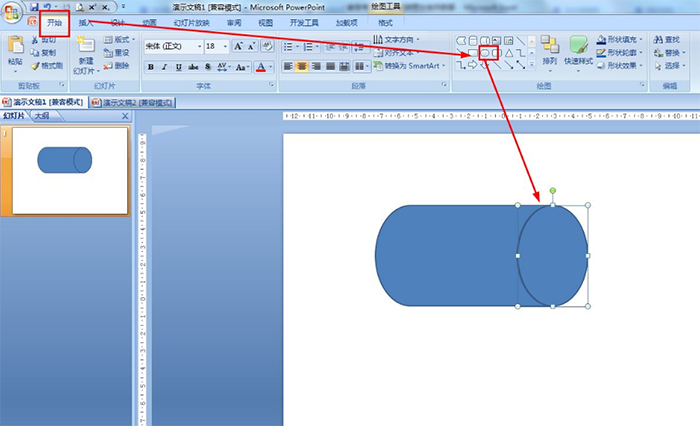
2. Select "Drawing" in the "Home" tab, then select "Ellipse" to draw an upper and lower cylinder. ovals of the same size.
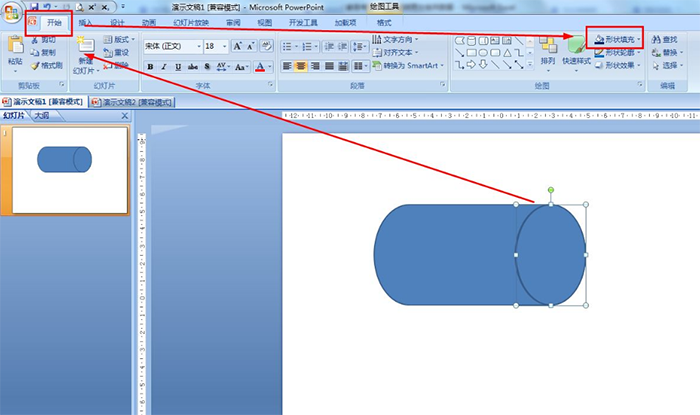
3. Select the ellipse you just drew and select "Shape Fill" in the "Home" tab.
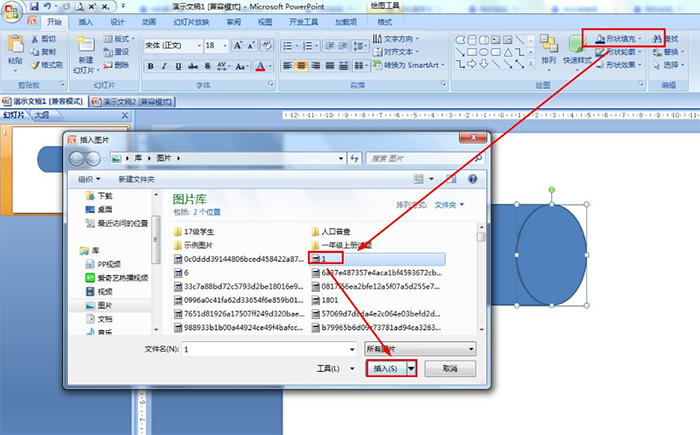
4. Select "Picture" in the pop-up menu, browse and select the picture on the computer, and then click "Insert" to add it to the ellipse.
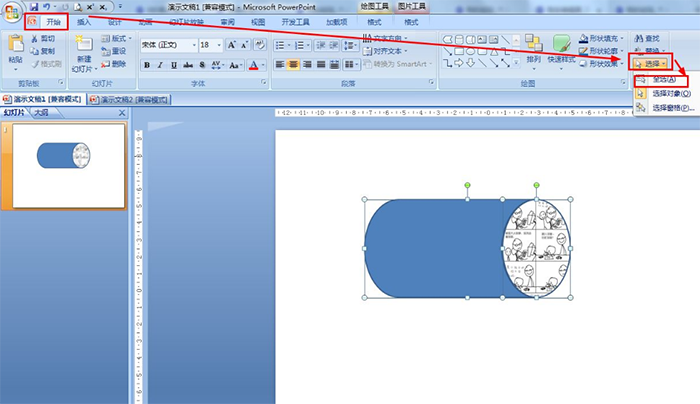
5. In the "Home" tab, click "Select All" in "Select", and then press Ctrl+G combination key to group all the shapes together.
Articles are uploaded by users and are for non-commercial browsing only. Posted by: Lomu, please indicate the source: https://www.daogebangong.com/en/articles/detail/ru-he-zai-PPT-liu-cheng-tu-zhong-wei-you-ce-yuan-zhu-ti-shang-di-tian-jia-tu-pian-tian-chong.html
 支付宝扫一扫
评论列表(196条)
测试