
1. Open a classical pattern background and set the foreground color to #a9834f.
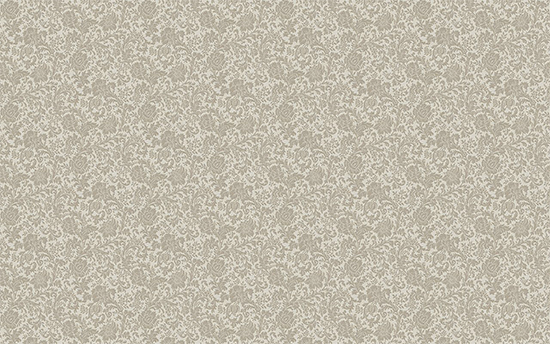
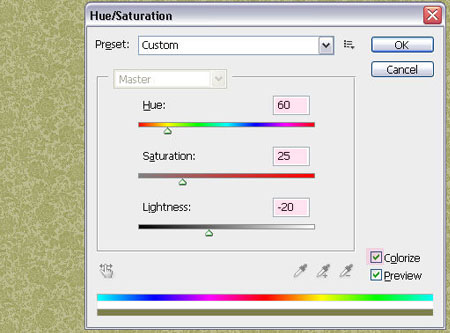
Go to Image > Adjustments > Hue/Saturation, or press Ctrl/Cmd+U, and check the "Colorize" box. Then, change the values as shown below.
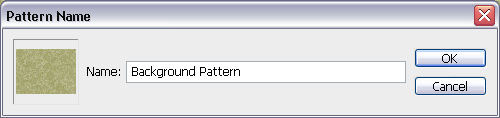
Edit - Customize the pattern and name it "Background Pattern"
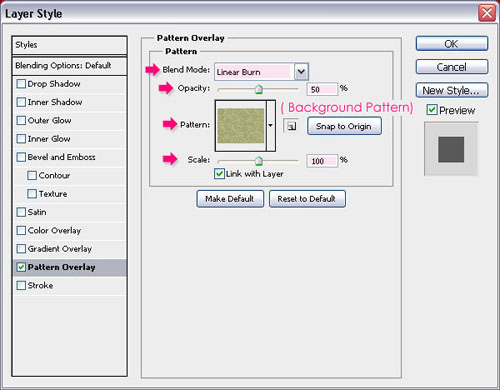
2. Open a new 1280 x 1024 px document, set the foreground color to #e5636f and the background color to #970214, then click on the center of the document and drag the Move to one of the corners to create a radial gradient. Lace BG Step 2Double click on the layer and apply the Pattern Overlay effect, change the blending mode to Linear Burn , change the Opacity to 50%, and select the pattern you just defined.
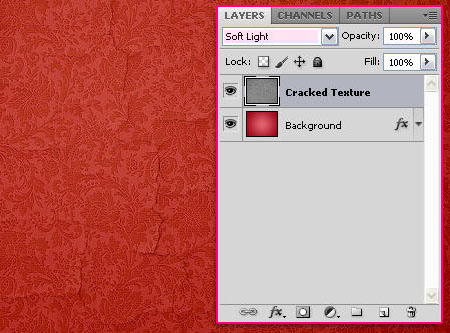
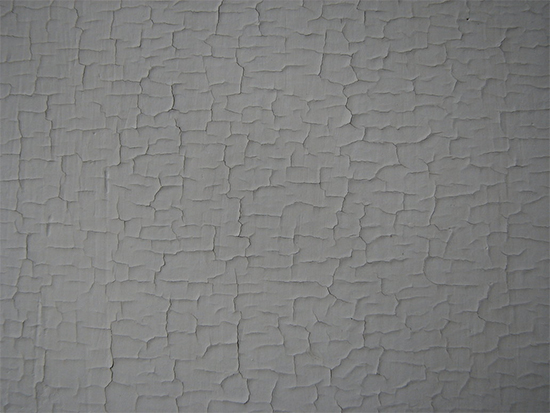
Place the textured cracked wall image on top of the background layer and change its blend mode to Soft Light, This will create a nice background.
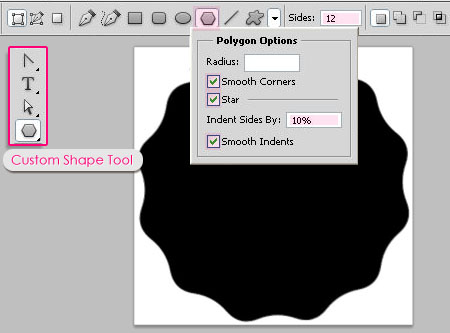
3. Create a new 270 x 270 px document and select the custom shape tool. In the Options bar, click the Polygon Options popup menu and check the Smooth Corners, Asterisks, and Smooth Indents boxes, change the Indent Sides to 10% of Sides to 12. Draw the shape so it fits the document and make sure its color is black.
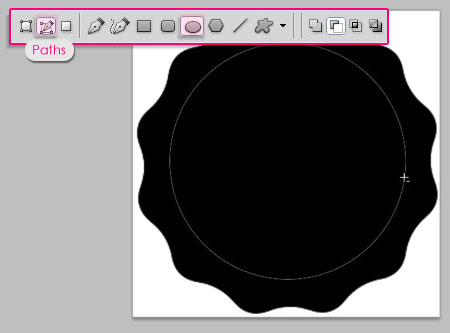
Select the Ellipse Tool and click the Path icon in the options bar. Create an elliptical path as shown below.
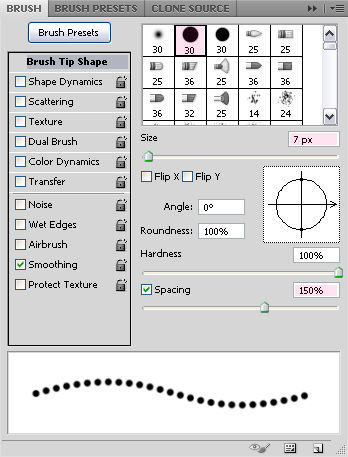
Select the hard round brush, then open the Brush panel (Window > Brush), change its Size to 20 px and the Spacing to 180%.

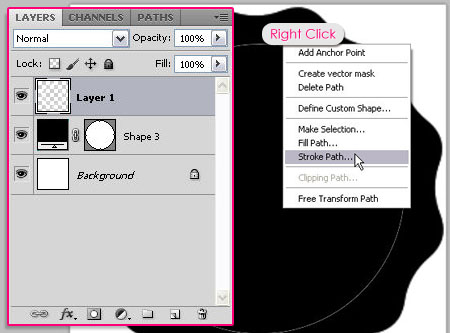
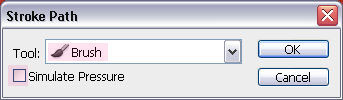
Create a new layer on top of the shape layer, set the Foreground color to white, select the Ellipse Tool again, and right click on the path to choose Stroke Path.
Select "Brush" from the "Tools" drop-down menu and make sure the "Simulate Pressure" box is not unchecked.

This will strike the path with a white circle. Hit enter/return to get rid of the working path.
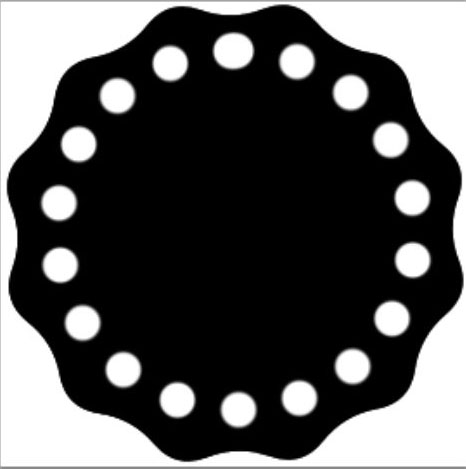
With the ellipse tool still in effect, draw another path that is smaller than the previous one.
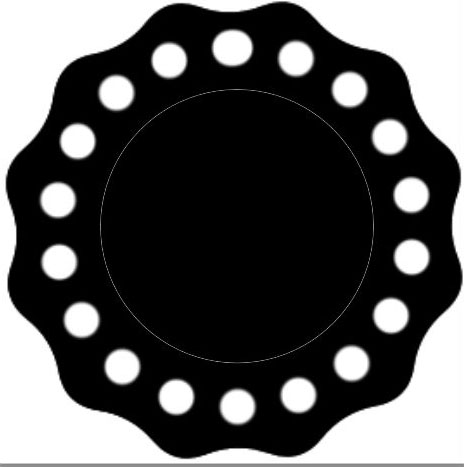
Select the Brush Tool, change the Size to 7 px and the Spacing to 150%.
Select the Ellipse Tool again and follow the same steps with the new brush to strike the new path.

Remove the eye icon next to the white background to make it invisible, then go to Edit > Define Brush Preset, and Enter the lace in the canvas.
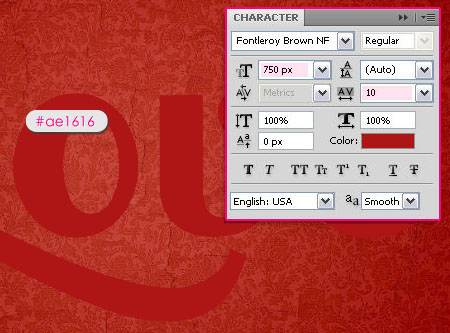
4. Go back to the original document and create the text using the color #ae1616. The font used is FontleroyBrown with a size of 750 pixels. I also changed the Tracking value to 10 to avoid overlapping.
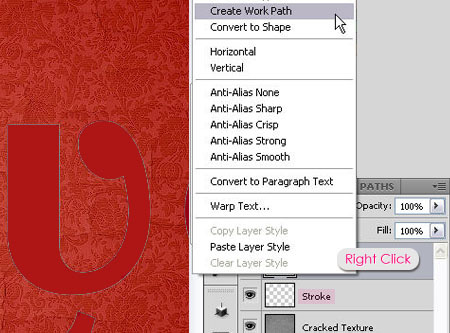
Create a new layer under the text layer and call it Stroke. Then right click on the text layer and select Create Work Path. After creating the path, select the "Stroke layer" again.
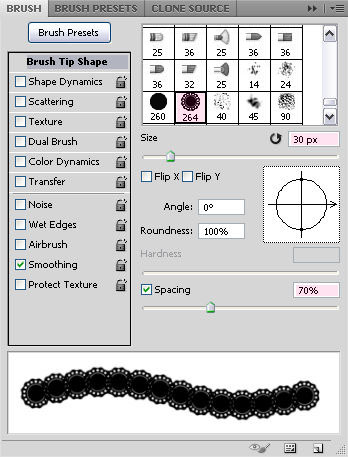
Select the lace brush you just created, and in the Brushes panel change the Size to 30 px and the Spacing to 70%.
Set the Foreground Color to #f5f4e6, choose the Direct Selection Tool, and right-click on the path to choose Stroke Path.
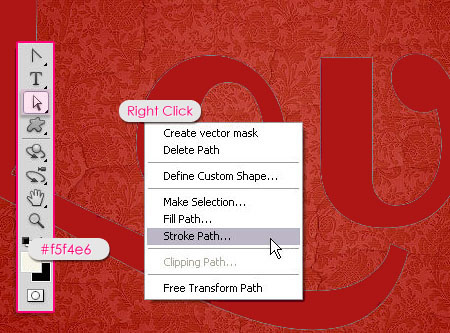
Select "brush" from the "Tools" drop-down menu and make sure the "Simulate Pressure" box is not unchecked.

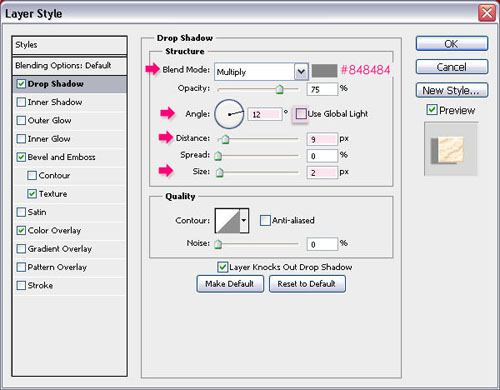
5. Double-click the "Stroke" layer to apply the following layer styles:
- shadow
Color: #848484
Uncheck the Use global light box
angle: 12
Distance: 9
Size: 2
Bevel and Emboss
depth: 375
Size: 1
Uncheck the Use global light box
Angle: 120
Altitude: 30
Shadow Mode - Color: #dad1d1

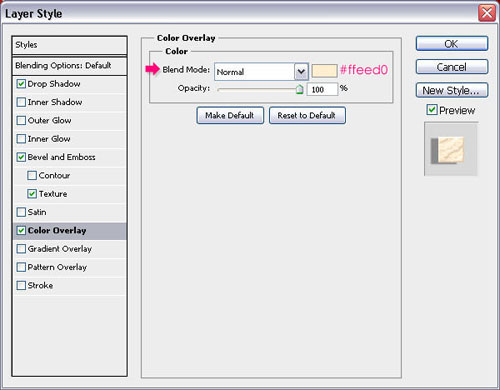
Color overlay
Color: #ffeed0
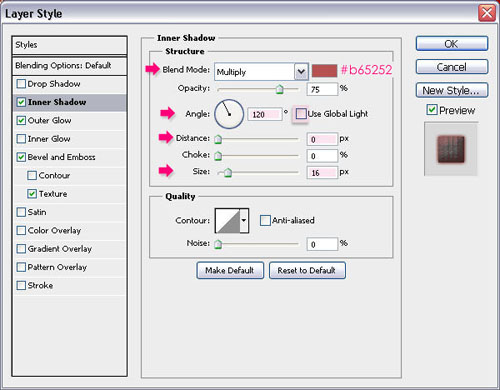
6. Double-click the original text layer to apply the following layer styles:
- inner shadow
Color: #b65252
Uncheck the Use global light box
Angle: 120
Distance: 0
Size: 16
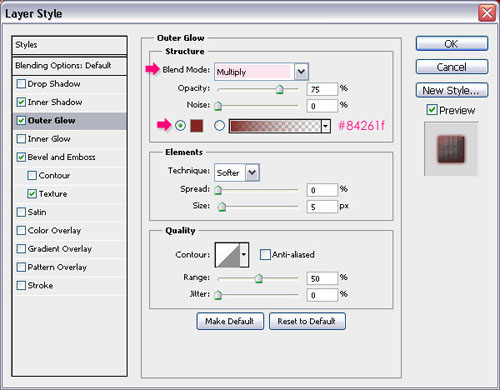
- Outer Glow
Blending Mode: Multiply
Color: #84261f
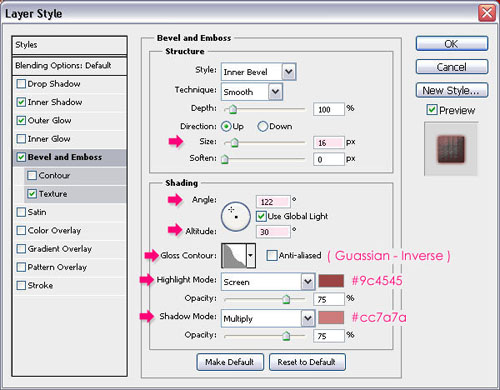
Bevel and Emboss
Size: 16
Uncheck the Use global light box
Angle: 122
Altitude: 30
Gloss Contour: Guassian reverse
Highlight Mode - Color: #9c4545
Shadow Mode - Color: #cc7a7a
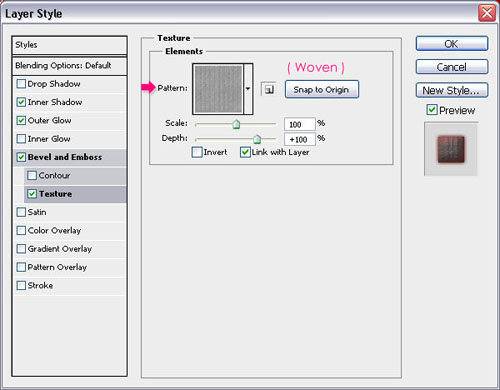
Pattern overlay, add the following patterns to all layers,
Look at the final result

Articles are uploaded by users and are for non-commercial browsing only. Posted by: Lomu, please indicate the source: https://www.daogebangong.com/en/articles/detail/lace%20font%20effect.html
 支付宝扫一扫
评论列表(196条)
测试