PS’s 3D function is not as good as 3DMax, Maya, C4d and other professional 3D software, but it is still relatively easy to make simple effects. We will introduce you to the PS 3D function through a small case. And basic usage process:
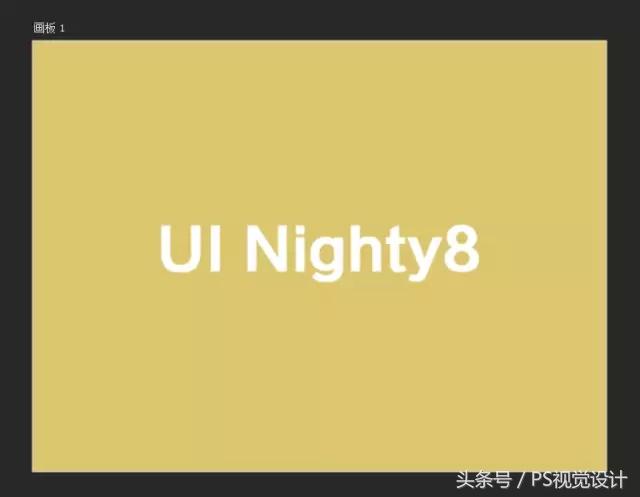
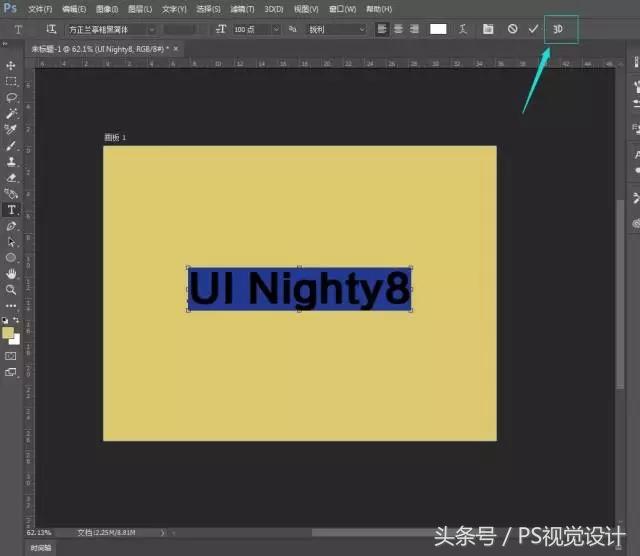
1. Create a new 1024*768 canvas, fill it with any color, and type text. It is best to use sans serif fonts.
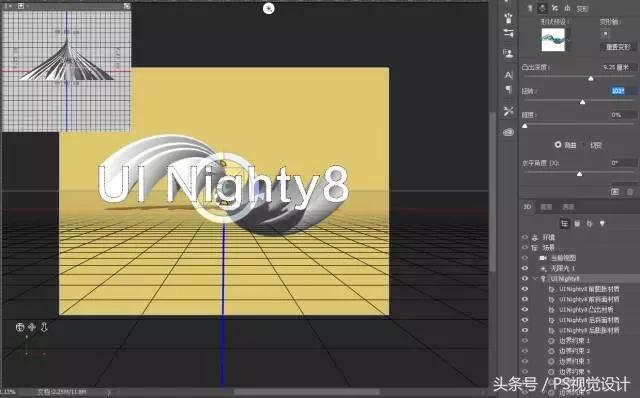
2. Click on the text to create 3D.
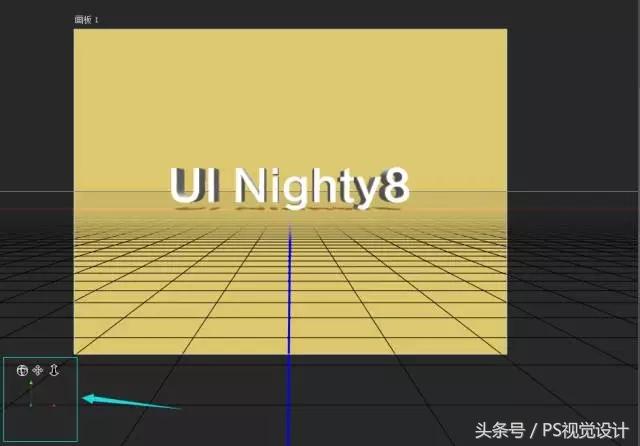
3. After entering the 3D view, there are three small buttons in the lower left corner. The left one is for the camera to rotate 360 degrees, and the second one is for the camera to move freely "up, down, left, and right" on the surface parallel to the text. The third is that the camera moves freely "back and forth" on a line perpendicular to the text.
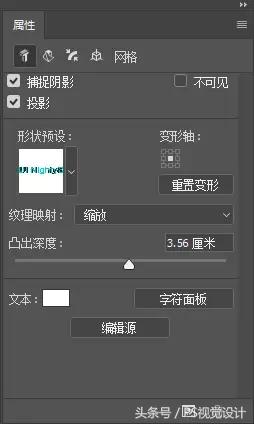
4. Adjust the bulge depth in the 3D properties. If you want to add projection yourself later, you can also turn off the projection first.
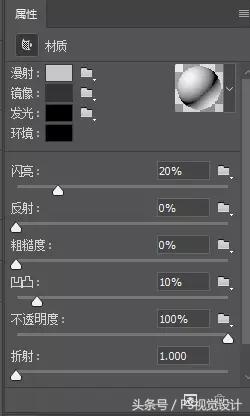
5. Click the second small button in the 3D properties, find the rotation and taper, set the taper to zero, and the rotation angle can be customized~
6. Try to avoid pure white for diffuse reflection to avoid overexposure.
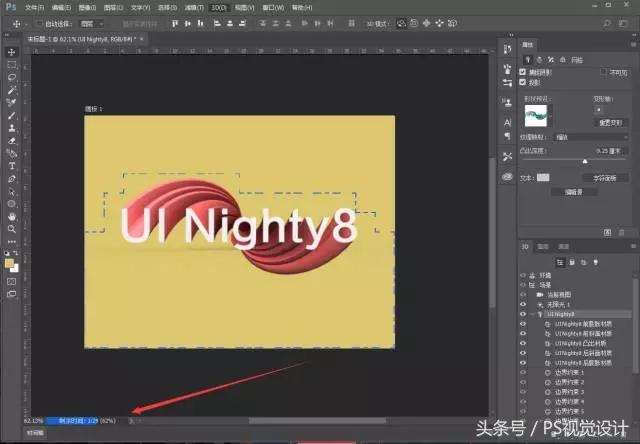
7. You can change the color of the front expansion material, front bevel, and protruding material. Then find Rendering in the 3D menu bar. While waiting for rendering, you can press esc on the keyboard to cancel.
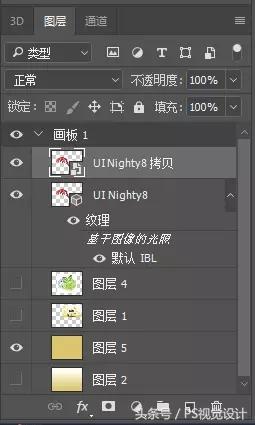
8. After rendering, copy the layer and convert it to a smart object.
9. Add noise and make a shadow directly below (draw a long ellipse, multiply, adjust mask feathering, and adjust opacity).

10. For the background color, use two gradients up and down to create a sense of space. Human vision is like this. If you look at dark colors, you will feel that they are far away from you, and if you look at light colors, you will feel that they are close to you. So I made the gradient slightly darker on both seams.

11. Of course, you can also adjust the hue and try a few more colors.

12. Or you can click on the window-timeline to make the picture move.

Or you can also do some other synthesis, such as spheres, cubes, human bodies...
WeChat public account: PS visual tutorial (xiaoyong920922)
Articles are uploaded by users and are for non-commercial browsing only. Posted by: Lomu, please indicate the source: https://www.daogebangong.com/en/articles/detail/jiao-ni-yong-PS3D-gong-neng-chuang-jian-li-ti-zi.html
 支付宝扫一扫
评论列表(196条)
测试