
Follow me to get more coquettish operations and ideas hole
I haven't written and pushed orz for a long time
I've been really busy recently
The finished film was not washed
Pr tutorial may stop for a while
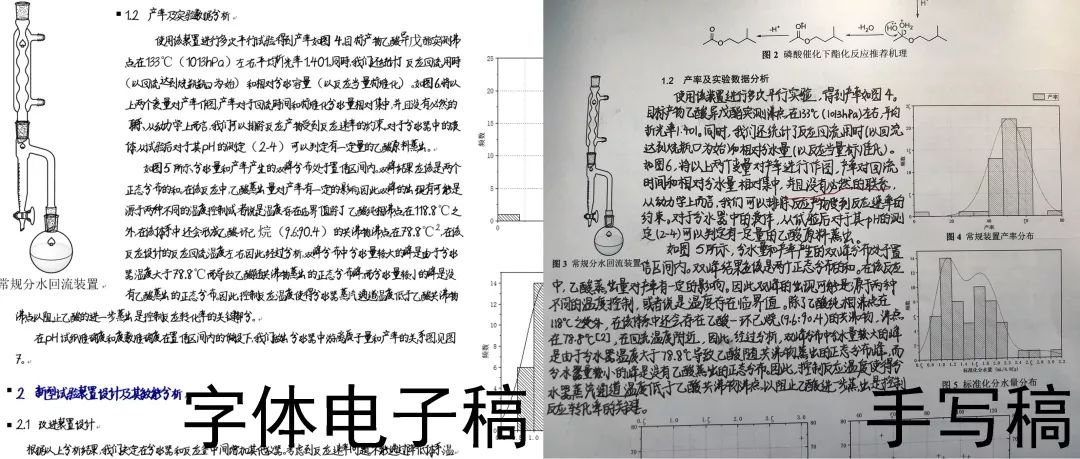
Another explosive semester. Two experimental classes a week and four experimental reports are really troublesome and tiring. You should know that our experimental reports must be handwritten! !
I suddenly had an idea in a liver experiment report: If I write my own words Make it into a font, and you will not be afraid to write anything by hand in the future!
This is really a coquettish operation~
So, I decided, make a font of my own!
We know that the fonts installed in windows and macOS are usually ttf fonts (True Type Fonts), so I started to frantically search for the encoding mechanism and documentation of ttf files on search engines. Unfortunately, there are too few relevant materials, and it seems that the idea of manually writing ttf fonts is shattered.
Can't write code by myself, can't I use off-the-shelf software?
I searched the Internet for a while and found a software called Font Creator , the software has many functions, so I decided to use this software to write fonts.
The first is the entry of fonts:

We know that Chinese characters are encoded in GBK , which has a corresponding character in Unicode. In order to meet the needs of production and life and reduce the workload of font making, general fonts are made according to the GB2312 standard. This standard contains 6763 Chinese characters and 682 non-Chinese graphic characters. It is a coded Chinese character set for information exchange proposed by the National Bureau of Standards in 1980. The GBK standard is compatible with all internal coding standards in GB2312, and at the same time supports all CJK Chinese characters of ISO/IEC10646-1 and GB13000-1 in terms of vocabulary, with a total of 20902 characters.
Compared with other standards (such as GB13000), GB2312 contains a smaller vocabulary and is more practical. It contains 3755 first-level Chinese characters and 3008 second-level Chinese characters, and the included Chinese characters account for 99.75% of the frequency of Chinese characters in mainland China , is the best standard for personal font design. Of course, for some names and ancient Chinese characters, GB2312 may be slightly weak, which gave birth to the emergence of the GB 18030 Chinese character set.
Well, let me say something human, the next thing to do is to Enter these 6763 Chinese characters into the computer, and then use the software Font Creator to import the glyph pictures and process them into fonts.
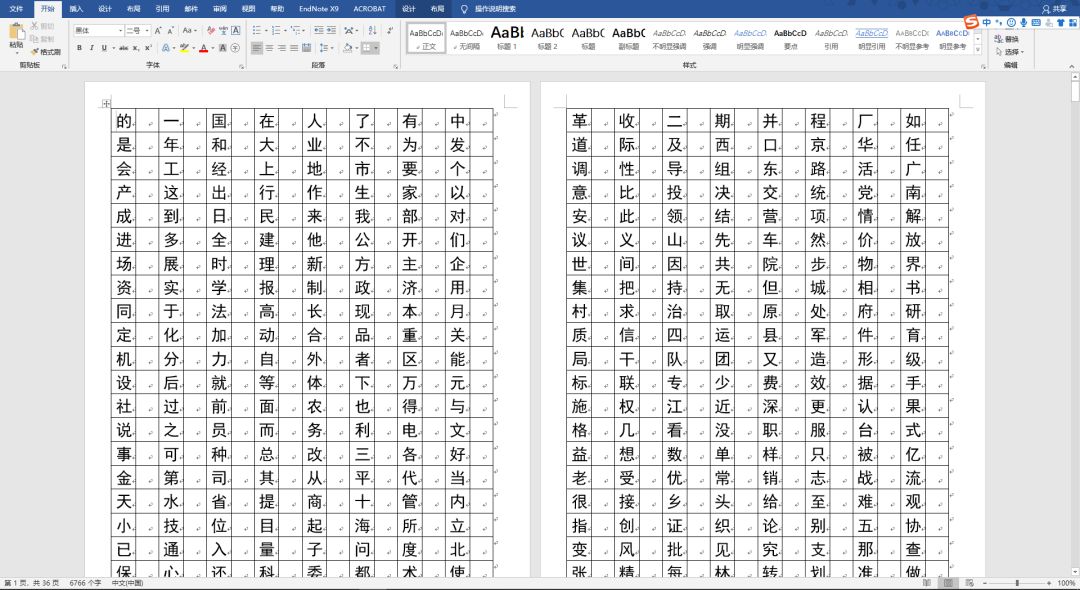
GB2312 Chinese character library made with Word
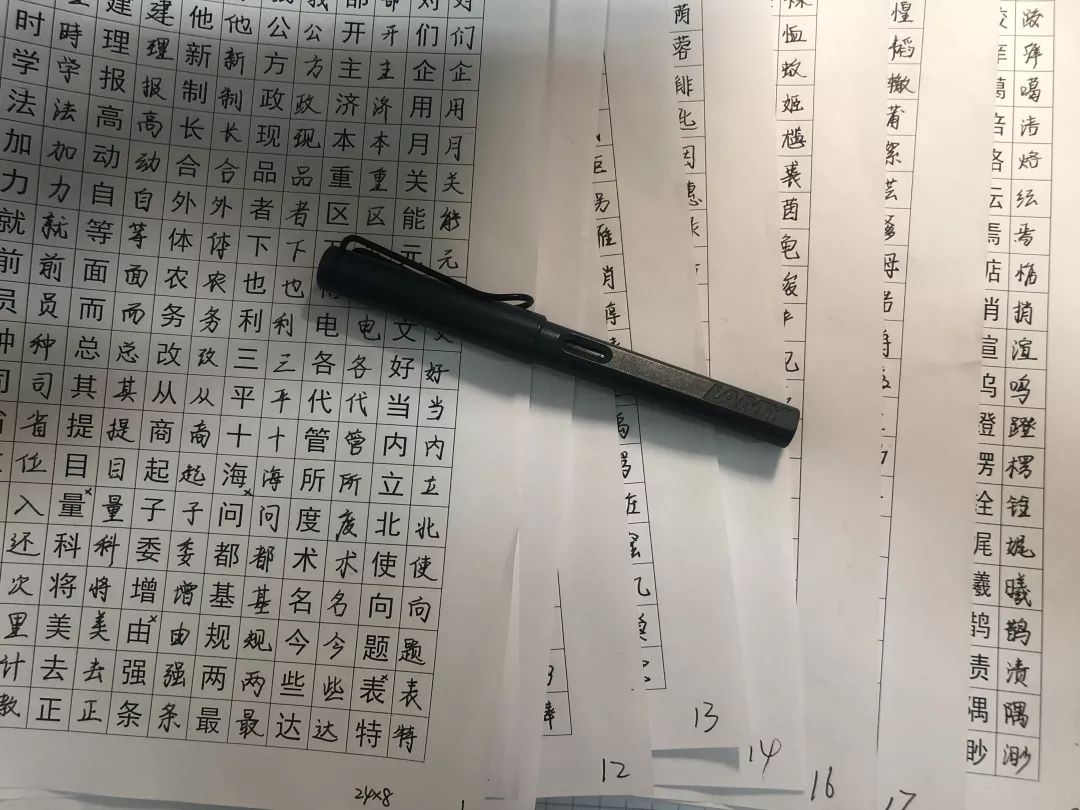
First I found all the 6763 Chinese character files of GB 2312, then I thought I decided to design an "answer sheet" to write Chinese characters on the corresponding area, scan them into images by a scanner, and then use a computer to recognize and cut them into individual Chinese characters. .
Utilize the powerful data processing capabilities of Python, use seven More than ten lines of code easily complete the work of segmenting the picture. The specific implementation principle is as follows:
from PIL import Image
import os
import cv2< br >import imutils
from imutils.perspective import four_point_transform
def cut_edge(img_file):
image = cv2.imread(img_file, 1)
# Adaptive binarization method
blurred = cv2. GaussianBlur(image, (5, 5), 0)
edged = cv2.Canny(blurred , 50, 150)
cv2.imshow('', edged)
cv2.waitKey(1000< /span>)
# Find the contour from the edge map, and then initialize the contour
cnts, hirerachy = cv2.findContours(edged,
cv2.RETR_EXTERNAL,
cv2.CHAIN_APPROX_SIMPLE)
docCnt = None
# Make sure at least one contour is found
if len(cnts) > 0:
# Sort contours in descending order of size
cnts = sorted(cnts, key=cv2.contourArea, reverse=True)
# loop through sorted contours
for c in cnts:
# get approximate contour
peri = cv2.arcLength(c, True)
approx = cv2.approxPolyDP(c, 0.02 * peri, True)
# If the approximate contour has four vertices, then the answer sheet is considered to be found
if len(approx) == 4:
docCnt = approx
break
paper = four_point_transform(image, docCnt.reshape( < span >4, 2))
cv2.imwrite(img_file, paper)
file_dir = '/ManualScript/'
files = os.listdir(file_dir)
file_list = []
for _ in files:
file_list.append(file_dir + _)
files = file_list
is_cut = input('Cut: (Y/N)? ')
if is_cut.lower() == 'y':
for _ in files:
cut_edge(_)
label_file = r'text.txt'
with open(label_file) as f:
labels = f.readlines()
for _ in labels:
_ = _.strip()
H = 268.69
W = 179
w_0 = 11.6
h_0 = 0
dw = 22.4
dh = 11.2
w = 10.45
h = 10.9
for img_file in files:
i = 1
number = int(img_file.split('/')[-1].split('.')[0] )
img = Image.open(img_file)
img_size = img.size
a = img_size[0] #image width
b = img_size[1] #image height
for y in range(24):
for x in range(8):
index = (number - 1) * 8 * 24 + i
img.crop(((w_0 + x*dw + 0.1)*a/W, (h_0 + y *dh + 0.1)*b/H, (w_0 + x*dw + w)*a/W, (h_0 + y*dh + h)*b/H)).
save('/split/{}.jpg'.format(labels[index].strip()))
i += 1
< /span>
Picture cutting code written in Python, slide left and right to view
Image read-grayscale conversion-Gaussian blur-binarization-identify edge -Coordinate reading-four-point transformation-character recognition-picture cutting-generate single character pictures.
However, the opencv library is not as friendly as imagined, and the running code is Traceback, unexpectedly The cpp file from the library reported an error, and no problem was found after careful inspection of the code and the input image file.
After half an hour of debugging, I found that even the object of the imread function is empty. So I suspect that there is a problem with the image reading. Changing to remove the escape character r and forward slash still reports an error, and finally found that does not support Chinese paths.
After Debug is finished, the code will work normally. The table is cut into individual characters. After a little fine-tuning of the program cutting boundary, the annoying frame is basically gone.
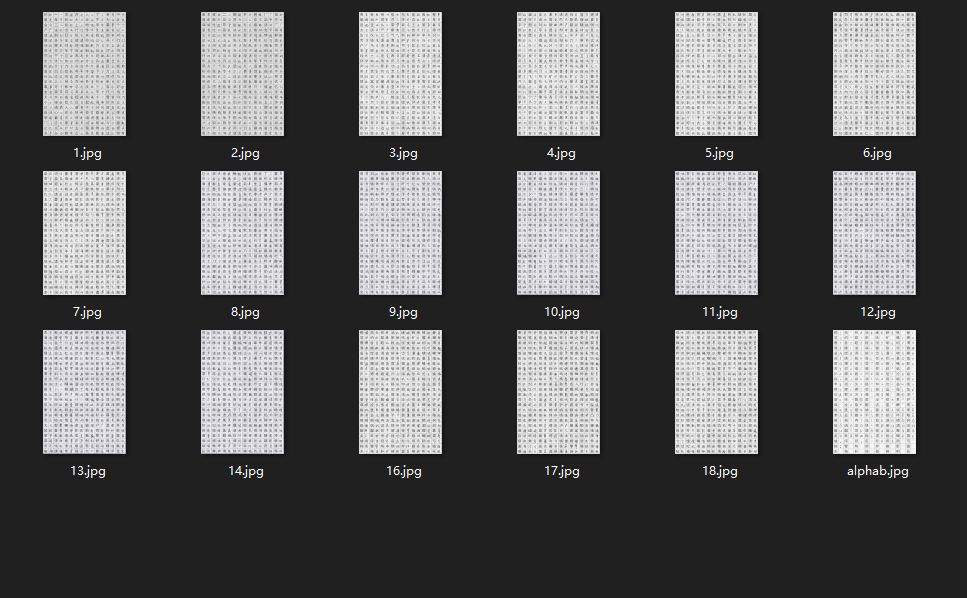
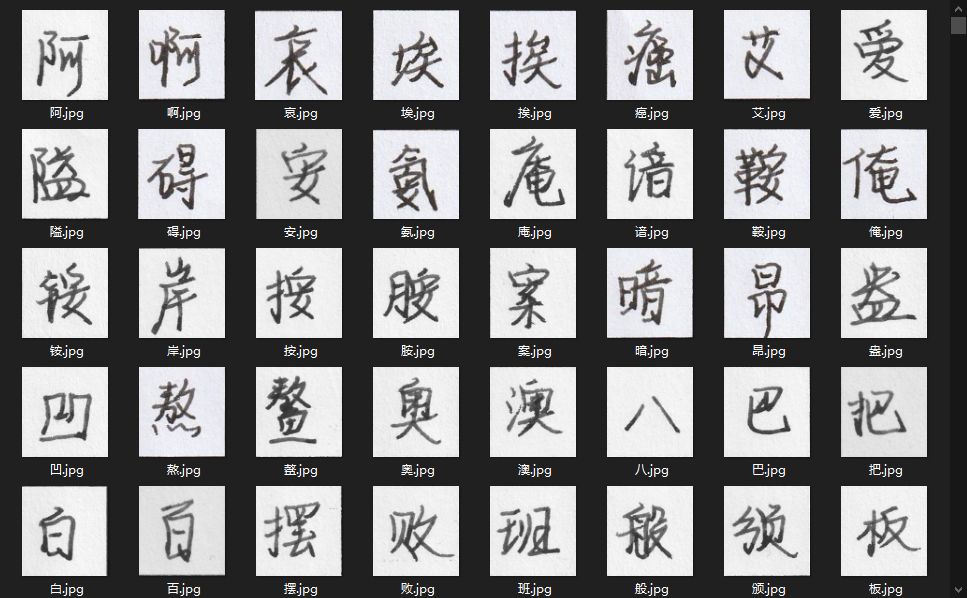
The cut word picture, the residual border is basically removed

The following is to import the glyph image into Font Creator. Unfortunately, this software can only be imported manually one by one. Maybe the person who wrote the software only thought of Western font design (it would be too silly to manually import more than 6,000 characters).
Of course not manually! I took out the show operation that has been hidden for many years: Key Wizard. This script is so powerful that it can simulate mouse and keyboard actions and system operations, and it can also read files.
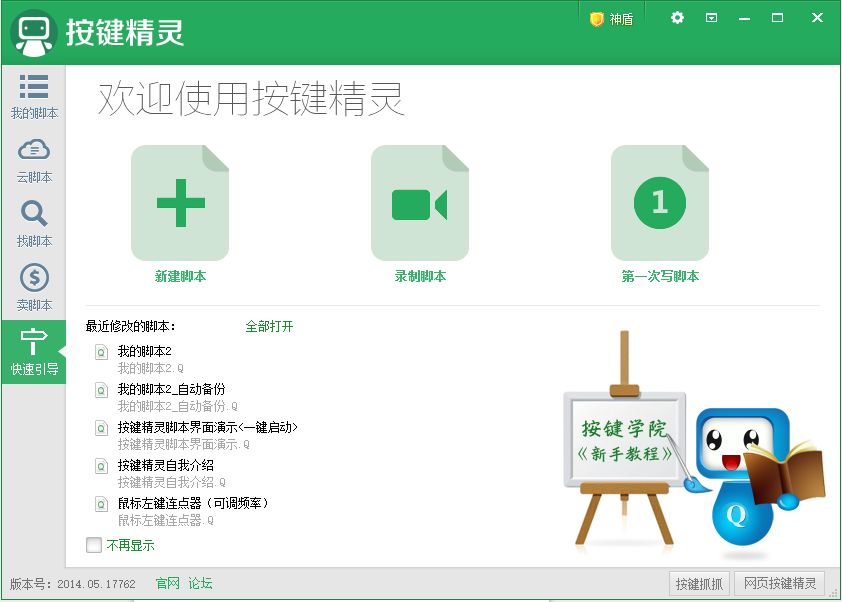
I have to say that the writing process of this script is very similar to writing Turtle, the whole MoveTo

Then it is fine-tuning and running the program to wait for the result.
It took more than an hour to enter 3500 words one after another.

The next step is to adjust the word size, line spacing, word spacing, left and right borders, top and bottom Location.
Fortunately, I found the corresponding batch script in the software, which runs automatically , It's really cool.
When adjusting the upper and lower positions of characters, the lowermost boundaries of all characters cannot be aligned. Instead, the visual center of gravity of the characters should be aligned so that it will not appear unnatural when displayed. There should also be a difference in the size of the lettering, at this point I kept the relative size of the original writing on paper.
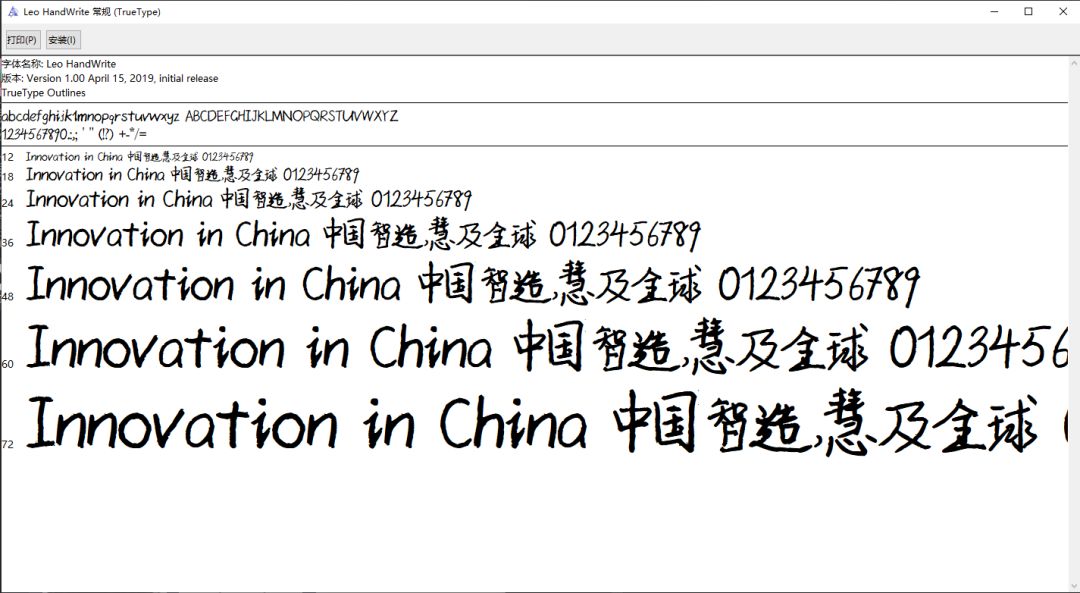
After making some adjustments, I made the symbols again, and then tested Check out the font, it looks great!
Considering the word frequency, I first made 3750 words, and the remaining 3000 Write the words slowly.
In order to simulate the real situation, I deliberately wrote some words wrong, after printing out Then cross them out with a pen and change them to the correct ones, imitating the situation of writing typos. Opentype fonts seem to have some random stroke algorithms, which can make writing more realistic, and I'm still working on it.
The final effect is as follows:
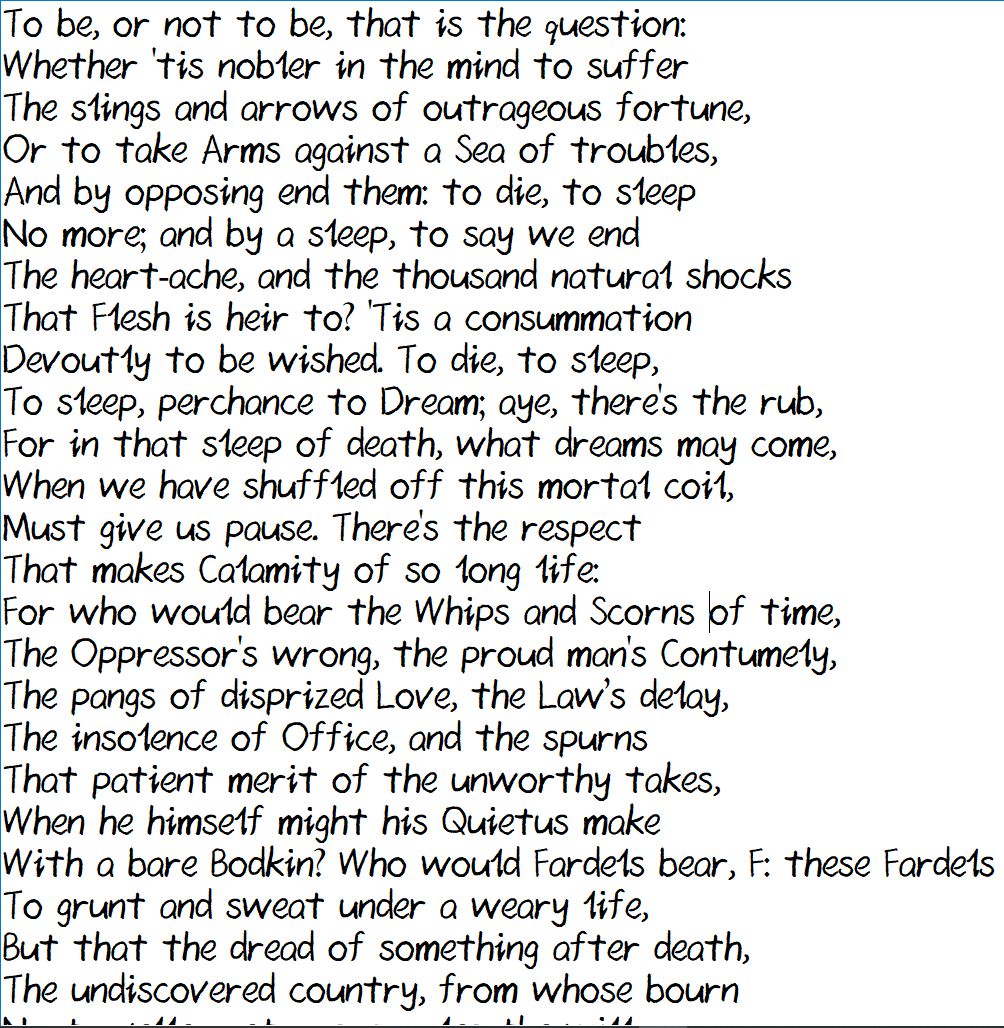
I first tested it with some text, such as Shakespeare's Hamlet Snippet:
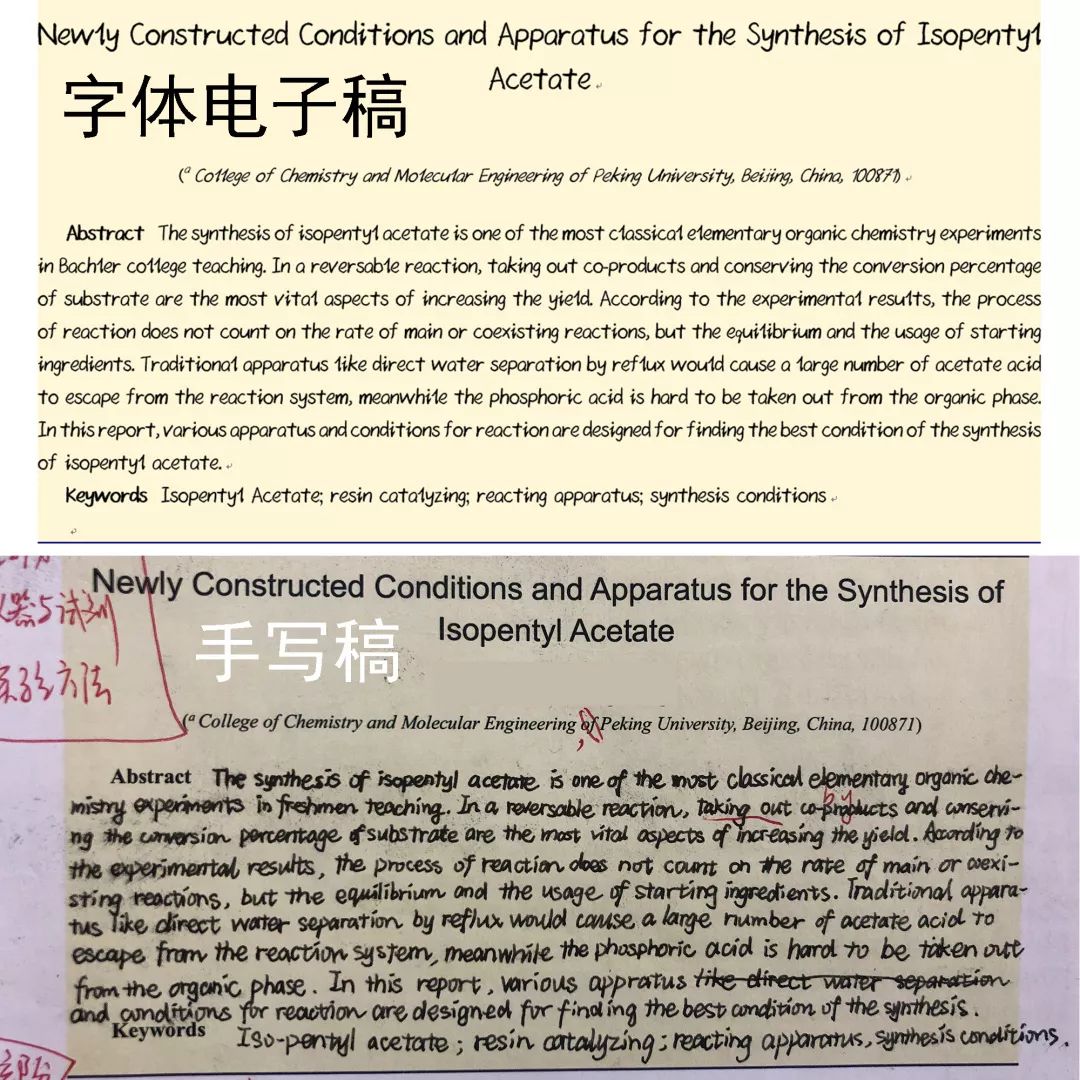
Then I changed my previous experiment report to handwritten :
Hahahahahahahahahahahahahahahahahahahahahahahahahahahahahahahahahahahahahahahahahahahahahahahahahahahahahahahahahahahahahahahahahahahahahahahahahahahahahahahahahahahahahahahahaha !
Although I finished writing all the lab reports for this semester before I finished the font (
However, word can't display my font, which makes me very frustrated, and debug again After a while, it’s ok for no reason, but word still can’t display my font in the next version of the font, and all Chinese characters have become squares. After carefully studying the encoding of the font file, I found that when the font is generated, it is necessary to specify its Unicode character range, select the character range as CJK and other necessary symbols to display Chinese characters, and also need to set the font to " Latin Handwriting", otherwise Word cannot recognize it as an available font. (If set to Latin block, the font becomes monospaced, causing some overlap).
After solving the font display problem, I found that it is not possible to directly input the font, but needs to take effect by setting the font of the already written text to Latin handwriting.
However, Latin handwriting seems to be unstable, and finally set the font Panose to "no Suitable"
In the end, I found that other computers have no problems, but mine can't, I'm afraid it's not a problem fake word...
Do you want your own font?
I will decide whether to make a font making tutorial according to the situation~ come and vote :
Articles are uploaded by users and are for non-commercial browsing only. Posted by: Lomu, please indicate the source: https://www.daogebangong.com/en/articles/detail/have%20your%20own%20handwritten%20font.html
 支付宝扫一扫
评论列表(196条)
测试