Whendo in When reporting on a PPT cover, most people do the following: Find a random picture and paste the title text on it,< /span>What if you also want to make a creative PPT cover?
Here I summarized8method
Method 01: Creative PPT cover
1. Brush
2.SMART ART
3. Creative shapes
4. Table
5. Grid
6. Cutout
Method 02: Use ugly pictures to make PPT cover
1. Symmetrical cropping
2. Mask
01 brush
Step one: Search online For brushes, I recommend Huaban.com (https://huaban.com/follow)
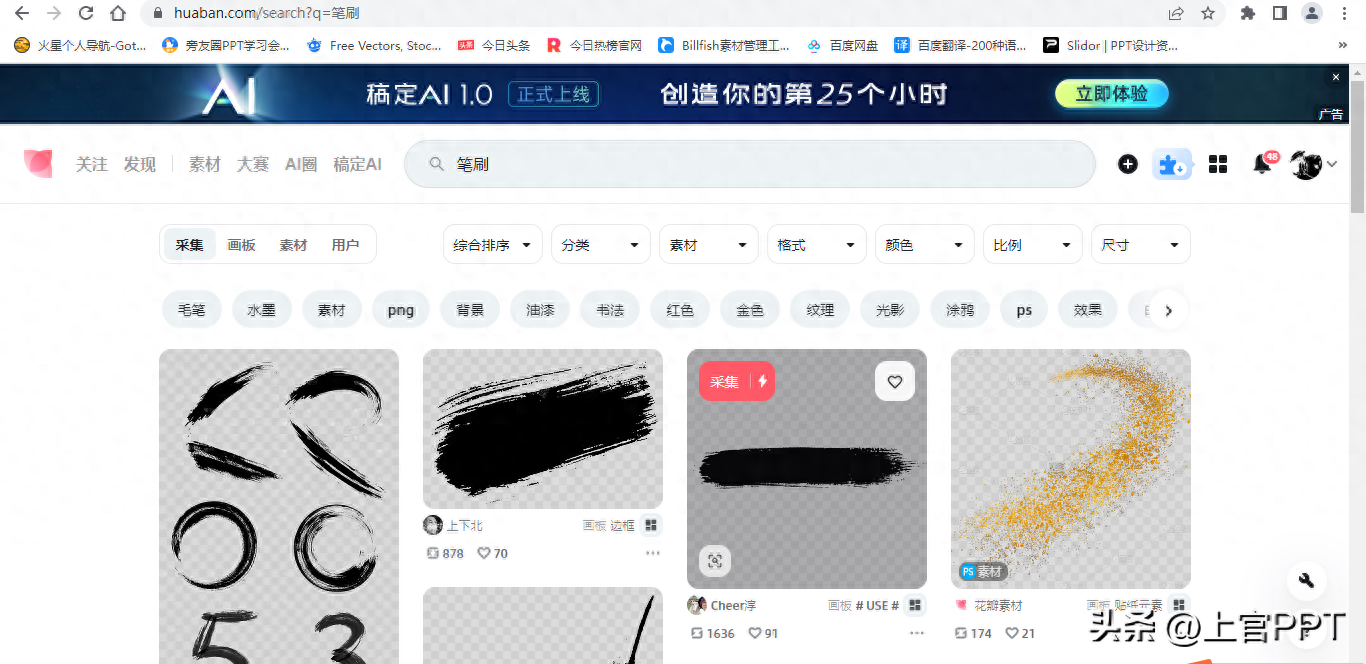
Picture source: petals.com
Step 2: Download the pen After brushing, go to this website to convert the image format to SVG (https://svgconverter.com/zh/)

Image source: SVG Converter
Step 3: Brush format After the conversion, import it into PPT, select the brushes and ungroup them, then select and group all, right-click and select - Format Shape, select image or texture fill - select from clipboard, and a brush cover is ready!
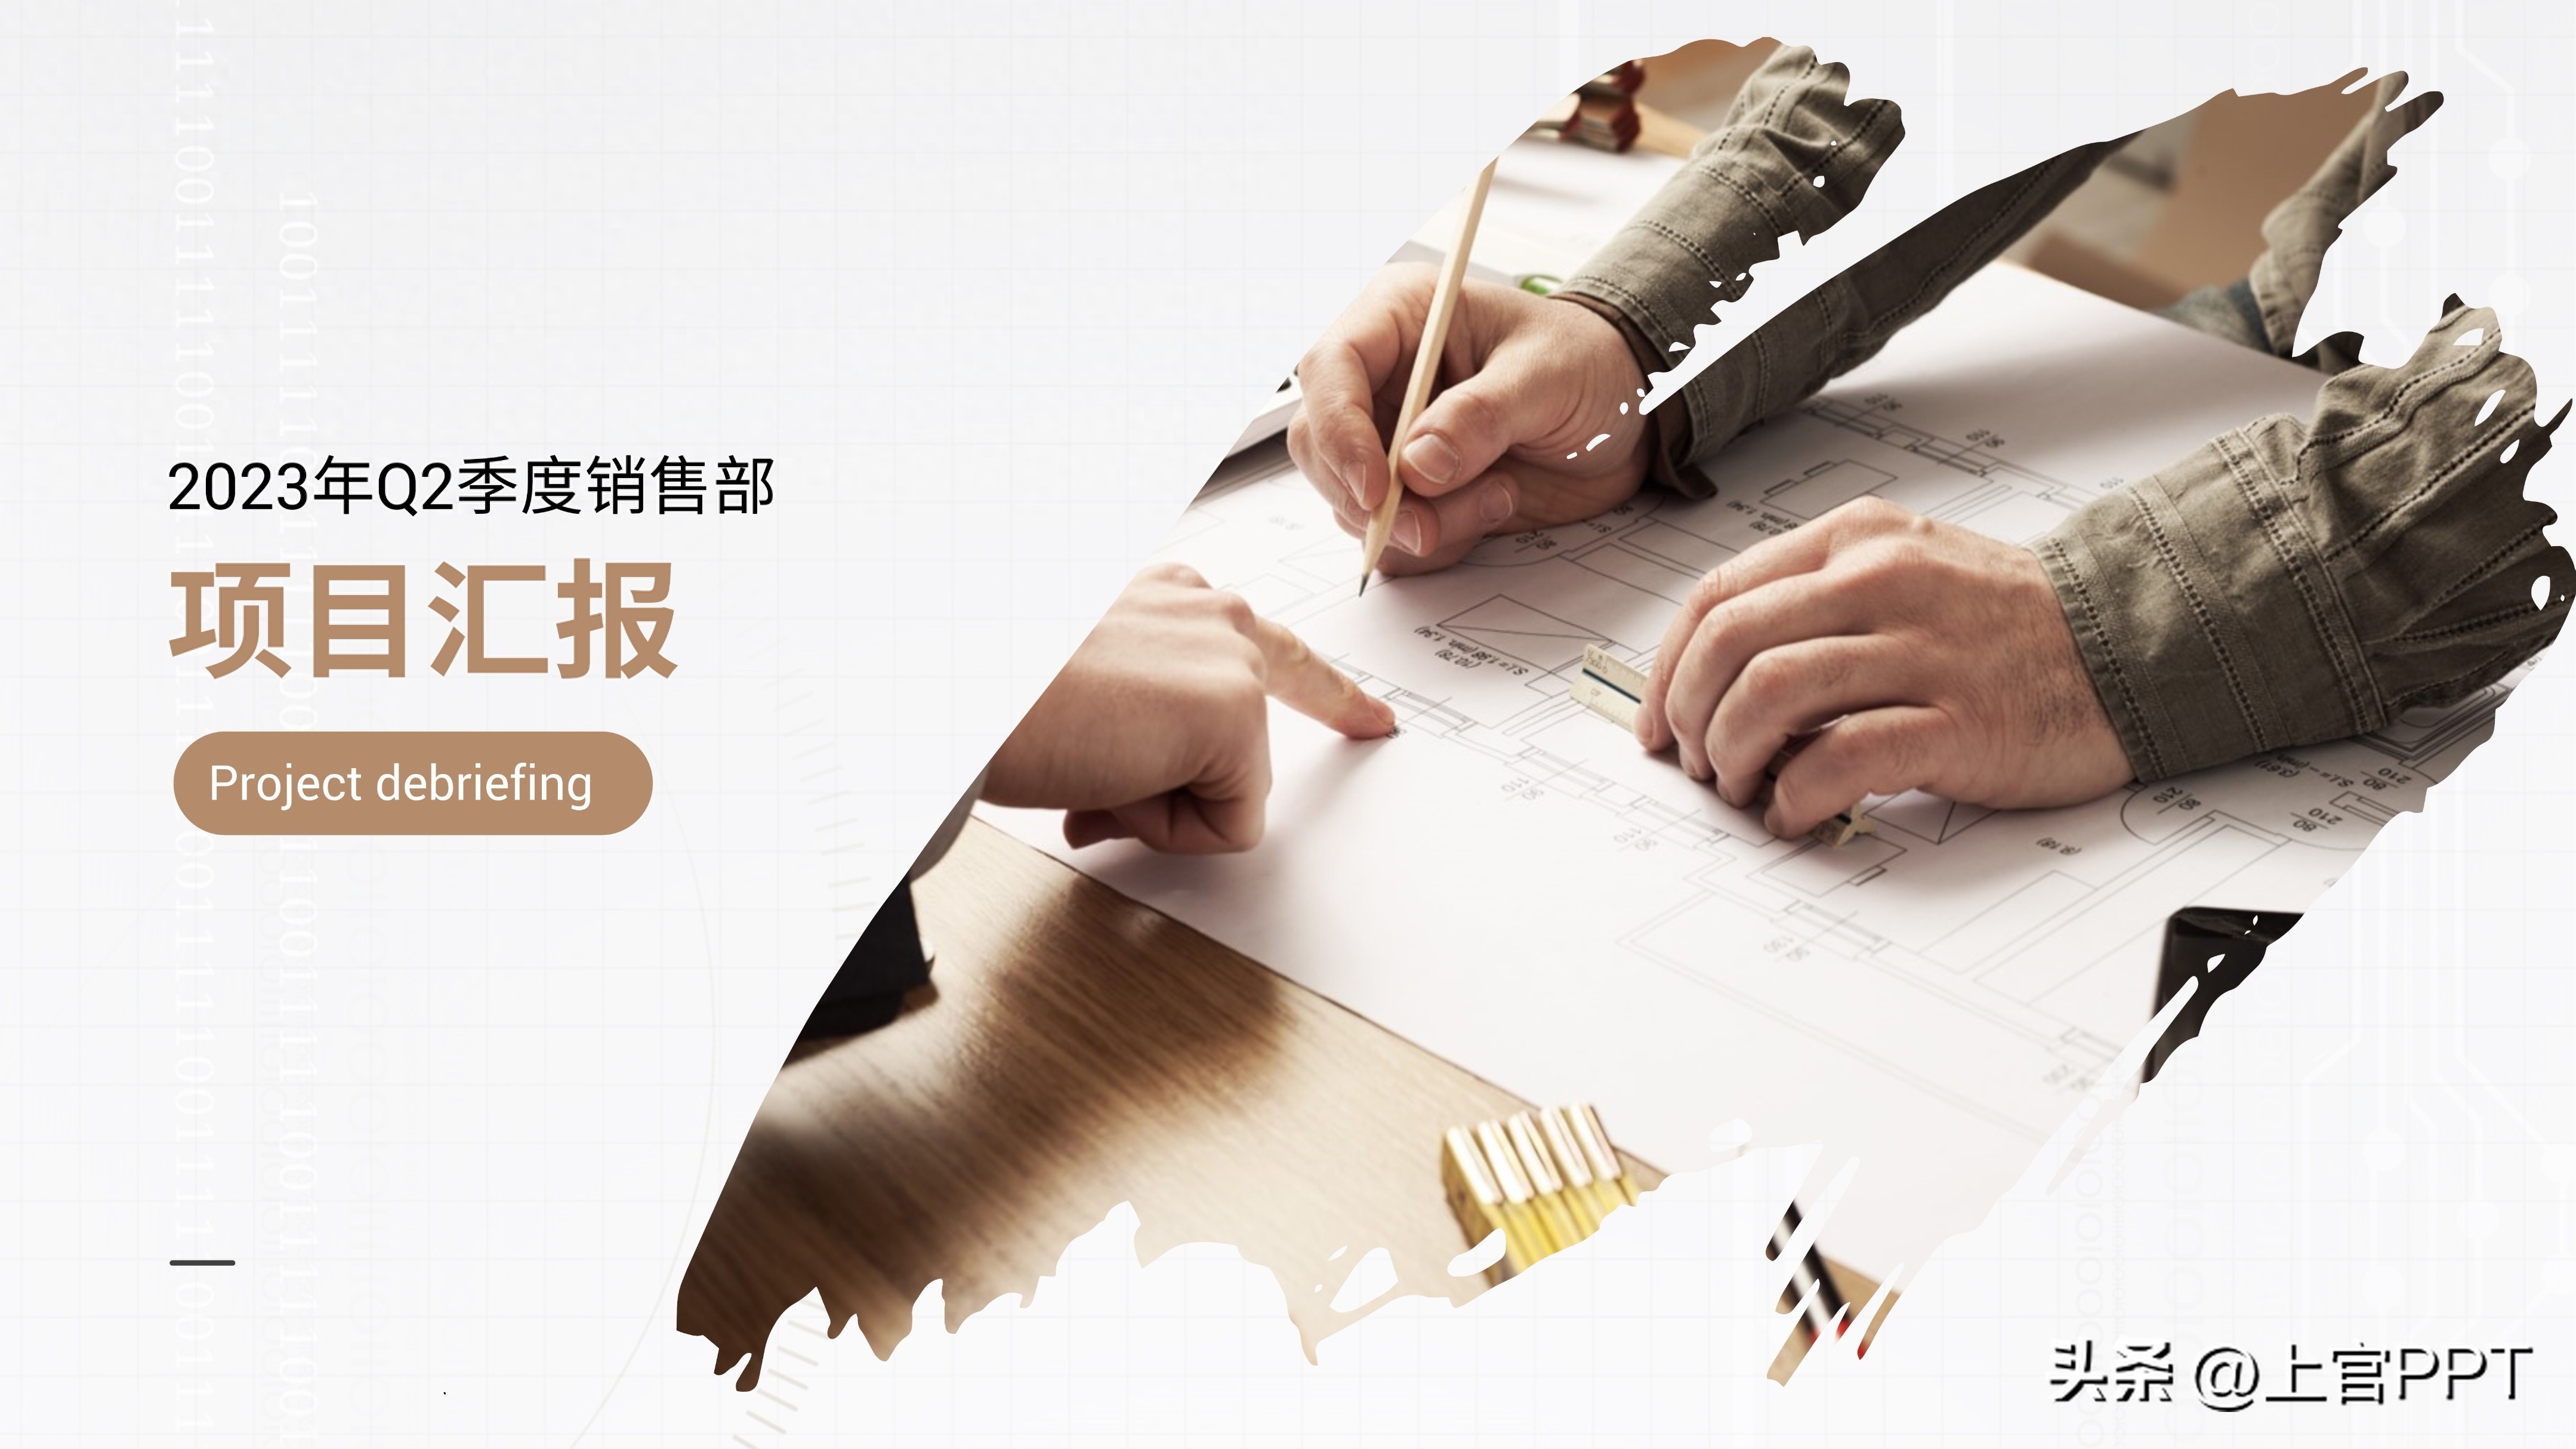
Image source: Qianku.com
02 SmartArt
Step 1: Click-Insert -Smart Art-Select alternating hexagons
Step 2: Ungroup, Copy multiple hexagons, select all hexagons, click Shape Format - Merge Shapes - Combine
Step 3: Right-click - Settings Shape format - choose picture or texture fill - choose from clipboard, and a creative SmartArt PPT cover is ready!

Image source: Qianku.com
03 Creative Shapes
Step 1: Click-Insert -Shape-select rectangle
Step 2: Right-click the rectangle- Edit vertices - adjust vertex positions - copy the adjusted creative graphics for later use
Step Three: First We right-click on the rectangle - Format Shape - Picture or Texture Fill - Select from Clipboard. For the second rectangle, we adjust the arc slightly and then fill it with a nice gradient color. We let the second rectangle be exposed a little, so that it looks good. The creative graphic cover is ready!

Image source: Qianku.com
04 Form
Step 1: Click-Insert -Table-spread the table across the entire page
Step 2: Select the table- Table Design-Shading-No Fill
Step 3: Select the right side of the table Click-Format Shape-Picture or Texture Fill-Select from Clipboard, select a few grids, then select white fill in the shading, and put the copy, so you can use the table to make a creative cover!

Image source: Qianku.com
05 grid
Step 1: Click-Insert -Shape-Text Box-Insert a string of horizontal bars
Step 2: Select the shape format -Text effect-select the groove in the transformation down
Step 3: Place the crossbar Fill two-thirds of the page with symbols, right-click - Format Shape - Picture or Texture Fill - Select from Clipboard, and a creative grid PPT cover is ready!

Image source: Qianku.com
06 Cutout
Step one: Find one For pictures of buildings, go to this free cutout website (https://www.remove.bg/zh/upload) and cut out the main body of the building

Image source: remove.bg
Step 2: Go to this free Video website (https://pixabay.com/) to download sky video

Image source: PIXABAY
Step 3: Set the video At the bottom of the building, such a moving PPT cover is ready!
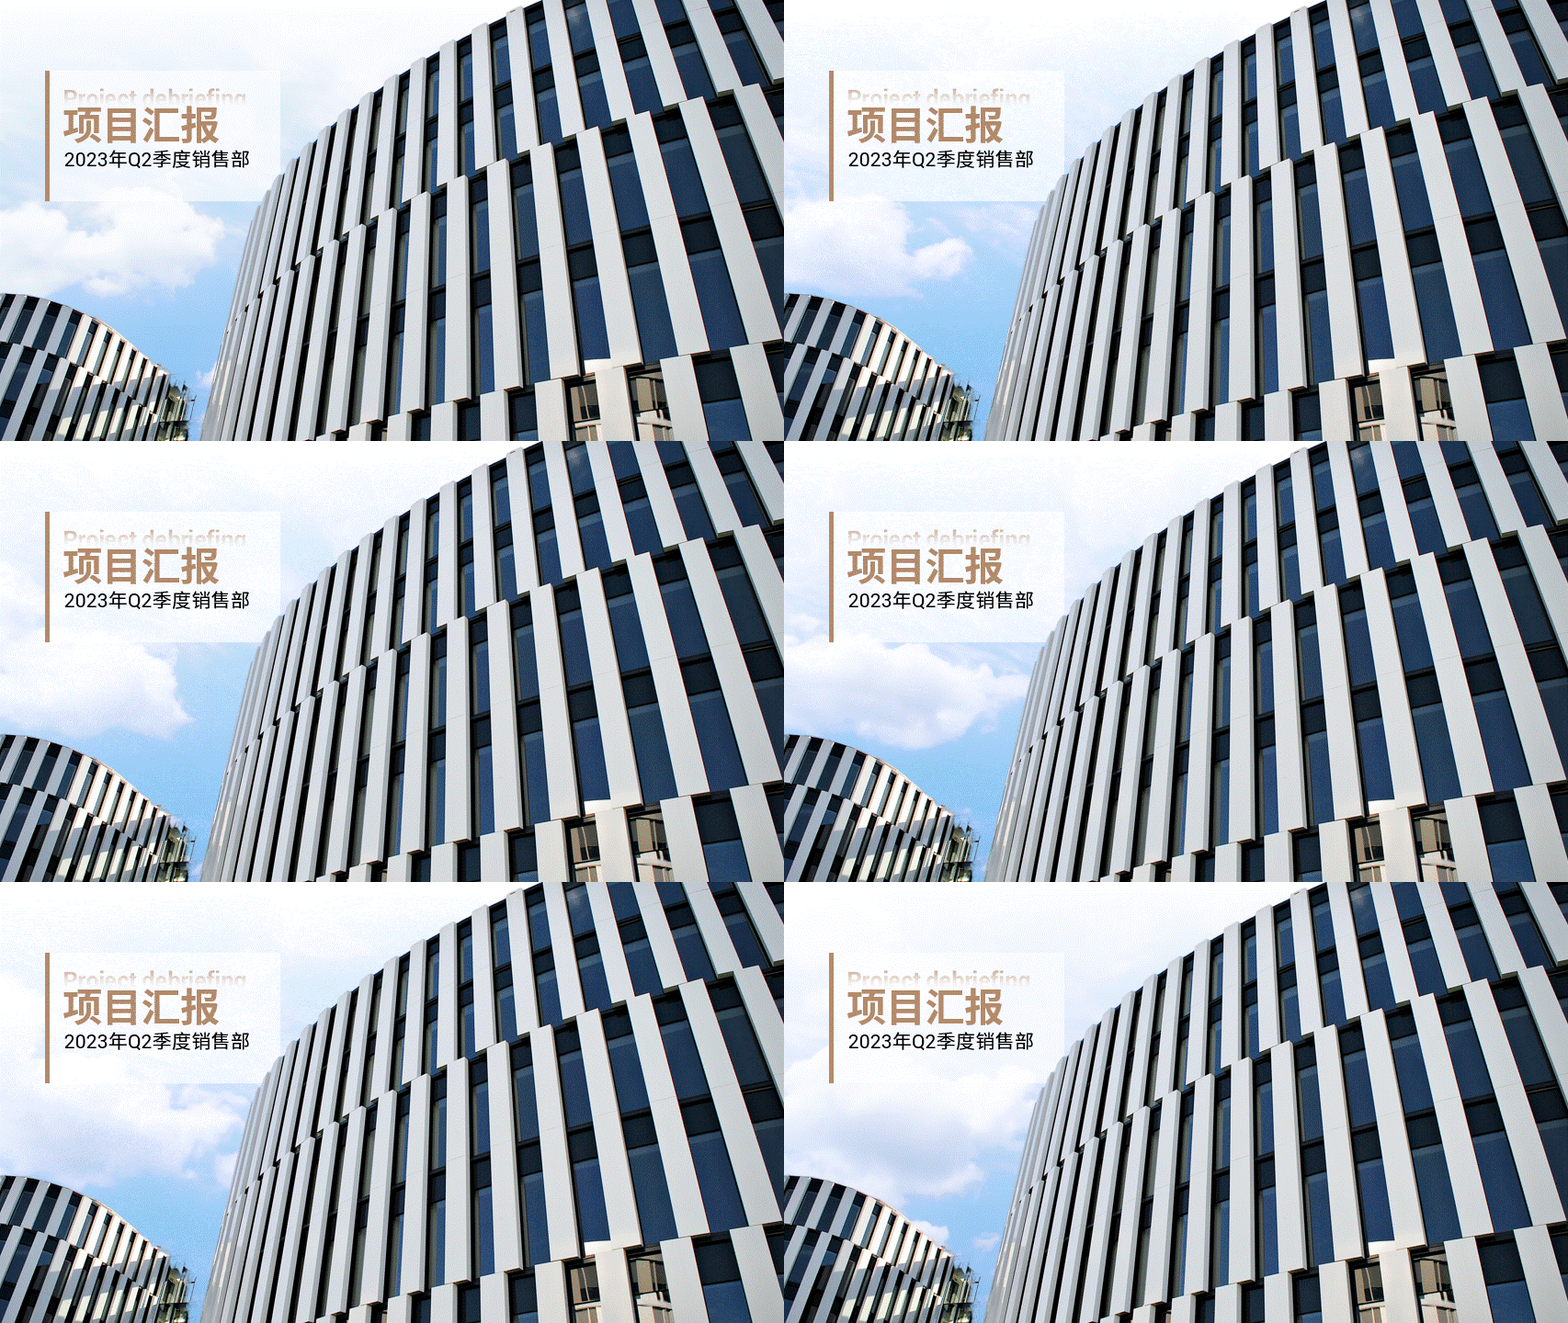
Image source: Qianku.com
07 Symmetrical cropping
Step 1: Crop the image Go to the appropriate location and make a copy
Step 2: Copy Flip the pictures horizontally, then stitch the pictures together, combine them, right-click to cut the pictures, and then paste them as pictures
Step 3: Correct the image Zoom in and adjust the position of the picture, then put the corresponding copy, and a cover using symmetrical cropping is ready!

Picture source: Baidu Pictures (infringement and deletion)
08 mask
Step 1: Set the image format , adjust the image saturation to 0
Step 2: Insert a and A rectangle as big as the picture - right click - set shape format - picture or texture fill - select from clipboard - set the picture transparency to 90%, and adjust the transparency according to the actual situation
Step 3: Insert a Set the gradient fill of the full-screen rectangle, place the processed ugly image on top of the rectangle, and then put the copy, so that the processed ugly image becomes taller!

Picture source: Baidu Pictures (infringement and deletion)
If you think my The article is helpful to you. Please click on the avatar to follow. There will be more exciting content waiting for you in the next issue!
Articles are uploaded by users and are for non-commercial browsing only. Posted by: Lomu, please indicate the source: https://www.daogebangong.com/en/articles/detail/bu-hui-zuo-PPT-feng-mian-lai-ma-zhu-zhe-8-zhong-fang-fa-rang-ni-qing-song-zuo-chu-gao-ji-gan-PPT-feng-mian.html

 支付宝扫一扫
评论列表(196条)
测试