In PPT, ordinary tiled menus take up too much space on the page. If the menu can be made into a retractable effect, it will definitely save a lot of valuable space for the slides. Using the "erase" in the entry and exit animation effects in PPT, and matching the trigger settings, the retractable menu is very easy to create. Next, we will create an animation effect in which the menu expands when the "+" icon is clicked and the menu retracts when the "-" icon is clicked (Figure 1).
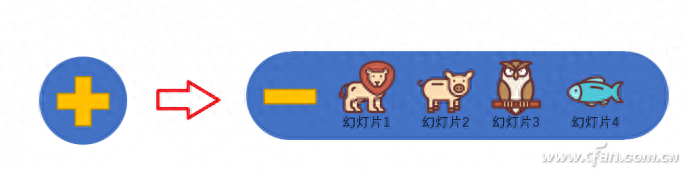
First, insert a perfect circle from the AutoShape into the slide (that is, hold down Shift and then draw the circle), set the fill color, and have no lines. Select this circle, copy it, and paste it twice in succession. Drag and drop the two pasted circles into the blank space, separate them by a certain distance (the distance is determined by the number and size of the required submenus), and align the tops; draw another rectangle. The length of the rectangle is the distance between the centers of the two pasted circles, the width of the rectangle is the diameter of the circle, the fill color is the same as the circle, and there are no lines. Place this rectangle between the centers of the two circles, aligned with the tops of the two domes. Select the two circles and rectangles at the same time, select the "Format" tab, and click "Merge Shapes → Union" to form the background graphic of the menu. Use the "+" and "-" in the formula shape in AutoShape to draw the plus sign and the minus sign respectively on the slide, set the required fill color and lines, and adjust their size so that they are smaller than the first positive The diameter of the circle. Insert the icons required for the submenu, use the text box to insert the submenu, and combine each submenu with the corresponding icon. In this way, all the elements needed to make the menu are completed (Figure 2).

Next, select the combined bar chart as the menu background, set its entry animation effect to "Erase", click "Animation Pane", in the animation pane, right-click the "Erase" effect, and select "Effect Options" ", in the "Effects" tab of the pop-up window, the direction is "From the left", in the "Timing" tab, the start is "At the same time as the previous animation", and the period is "Very fast (0.5 seconds)" ", click "Trigger", select "Start the effect when the following objects are clicked", select "plus sign" in the drop-down list; then select the combined bar chart, click "Add Animation", and select "Exit the animation effect" Erase", the direction is "from the right", the start is "at the same time as the previous animation", the period is "very fast (0.5 seconds)", click "Trigger", select "Start the effect when the following objects are clicked" ", select "minus sign" in the drop-down list; select the submenus with icons respectively, set their entry animation effect to "fade out", and set the starting point to "after the previous animation"; select these submenus respectively again, set Their exit animation effect is "disappear", and the start point is set to "at the same time as the previous animation"; in the animation pane window, drag and drop the "fade out" animation effect when these submenus enter under the "plus sign" trigger , adjust the upper and lower relationship according to the order in which the submenus appear, and then drag and drop the "disappearance" animation effect of these submenus when they exit under the "minus sign" trigger, and adjust the upper and lower relationships according to the order in which the submenus exit. .
Select the "-" graphic, set its entry animation to "erase", the direction to "from the left", the start to "when clicked", the trigger to the graphic "plus sign", click "Add Animation", and set its exit The animation is "erase", the direction is "from the right", the start is "when clicked", the trigger is the graphic "minus sign", drag and drop the entry animation effect of the minus sign graphic under the "plus sign" trigger At the top, drag and drop the exit animation effect of the minus sign graphic to the top under the "minus sign" trigger. Adjust the hierarchical relationship of each element, put the perfect circle on the bottom layer, the "+" sign on the second to last layer, the combined bar chart on the third to last layer, the "-" sign and submenu move up one level, and the minus sign and submenu Move to the top level. Finally, just place the positions of these elements (Figure 3).

Tip: Use the submenu to jump between slides. Just right-click the icon in the submenu, select "Hyperlink", and link to the corresponding content.
Articles are uploaded by users and are for non-commercial browsing only. Posted by: Lomu, please indicate the source: https://www.daogebangong.com/en/articles/detail/ban-gong-xiao-ji-qiao-zhi-zuo-PPT-shou-fang-shi-cai-dan.html
 支付宝扫一扫
评论列表(196条)
测试