Hi, friends, I'm Xiaomu.
When teaching PPT, I often use a sentence to fool people:
When doing PPT, the most important thing is not how complicated operations you know, but how big your brain can be.
The "picture cropping" technique I want to teach you today is a real bronze-level operation:

But it is such a simple technique, if you can combine your imagination, you can also create a king-level effect!
Today, Xiaomu will talk to you about what shocking tricks you can play with only the [Crop] function in PPT!
• Change image shape
• Zoom in on part of the image
• Create picture-in-picture effects
• Create smooth animations

Change image shape
As I said above, many people know that right-clicking on a picture and clicking [Crop] can crop the picture to modify the size or proportion of the picture.
But many people don't know that in addition to modifying the size or proportion of the picture, the [Crop] function can also change the shape of the picture~
for example:
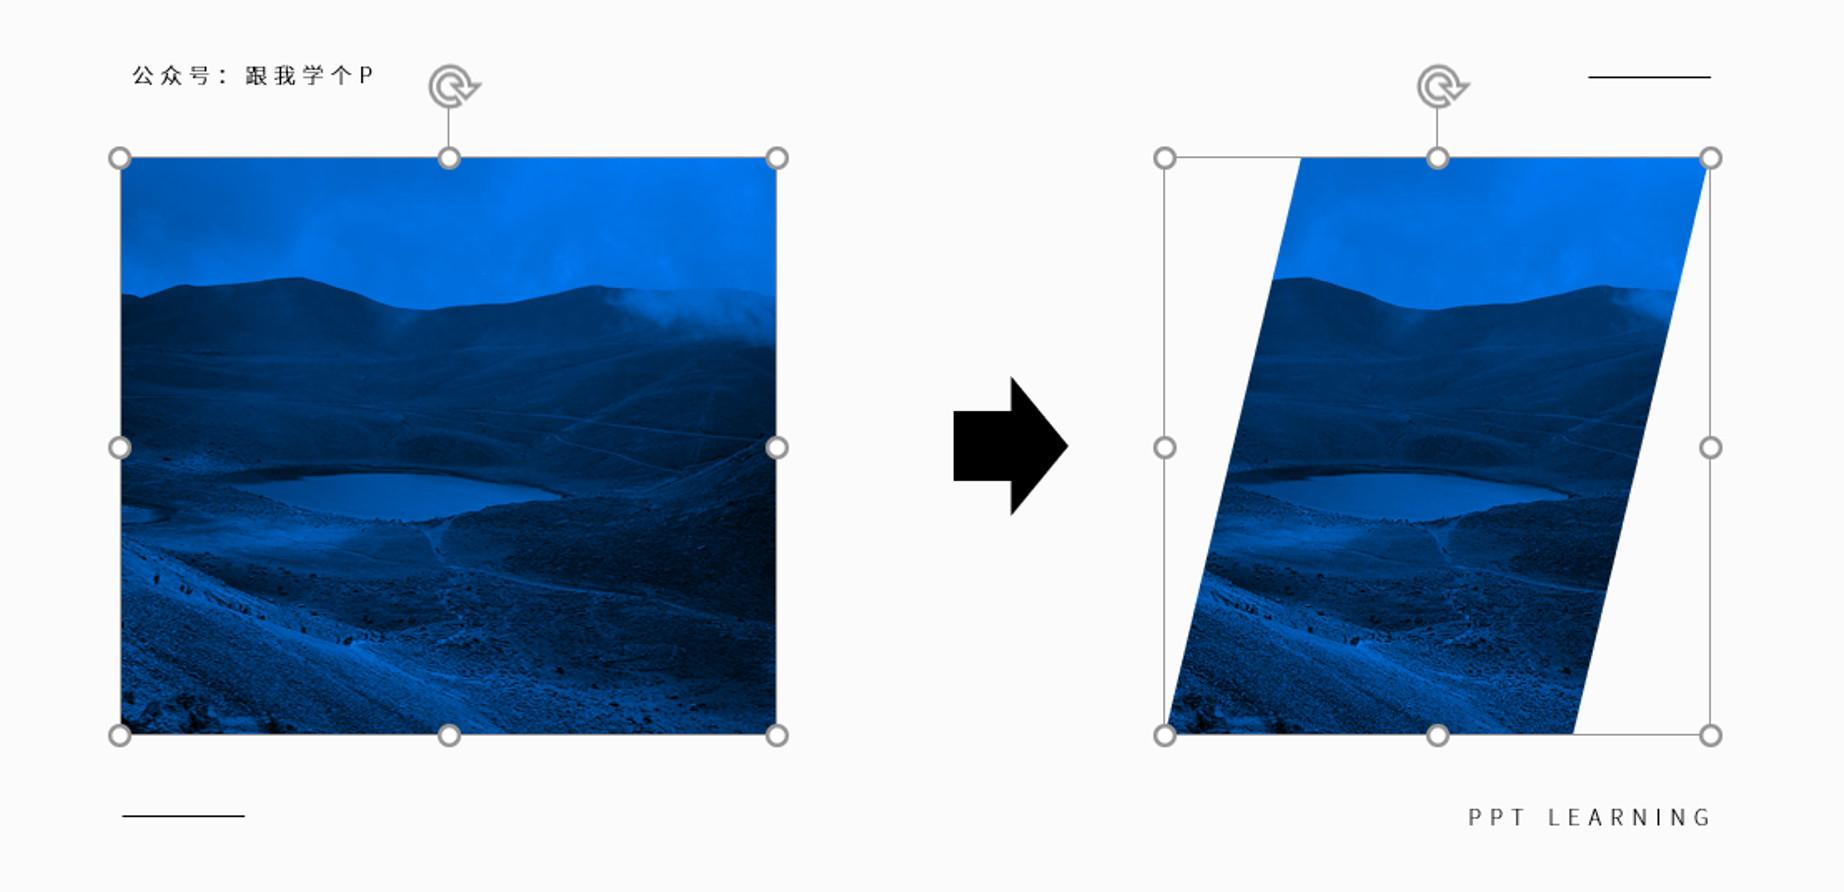
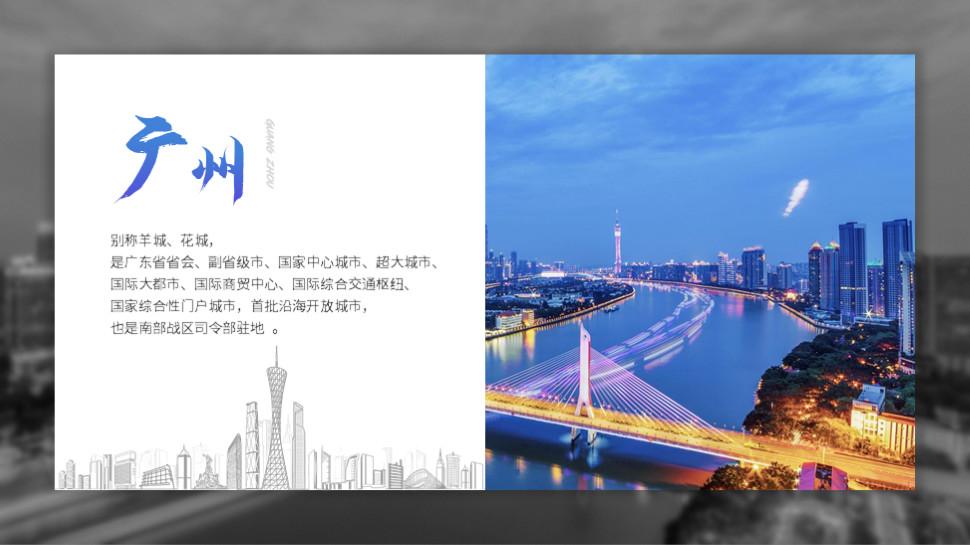
Once you have a picture of this shape, you can create a more creative layout like this:


How to use the [Crop] function to modify the shape of the picture?
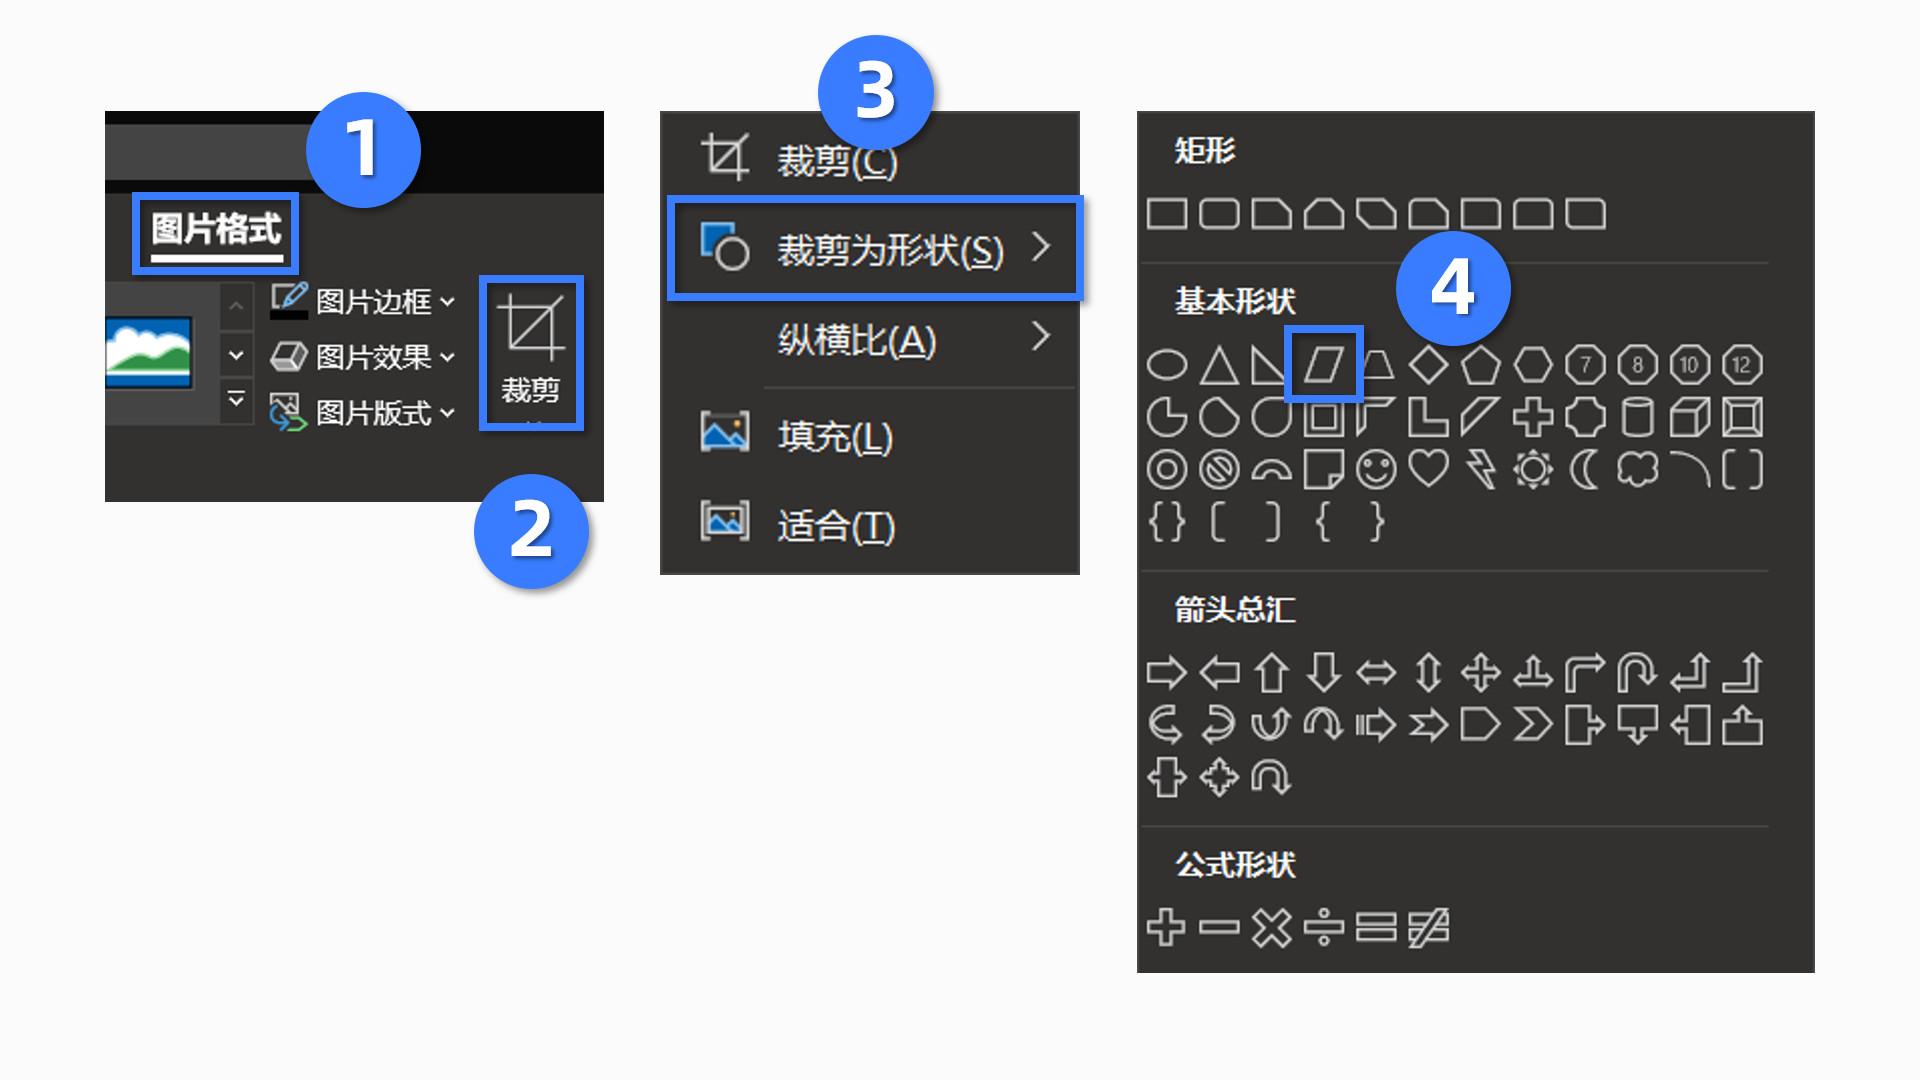
It's very simple, select the picture, click [Picture Format] - [Crop] - [Crop to Shape] - choose a shape you want:
What needs to be reminded here is that the aspect ratio of the cropped shape is consistent with the original image.
What? Can't understand?
Don't panic, let me give you an example:
Suppose you want to crop out the circular picture in the PPT below:

If you directly crop the image into a ring shape, then you may get the following squashed ring:
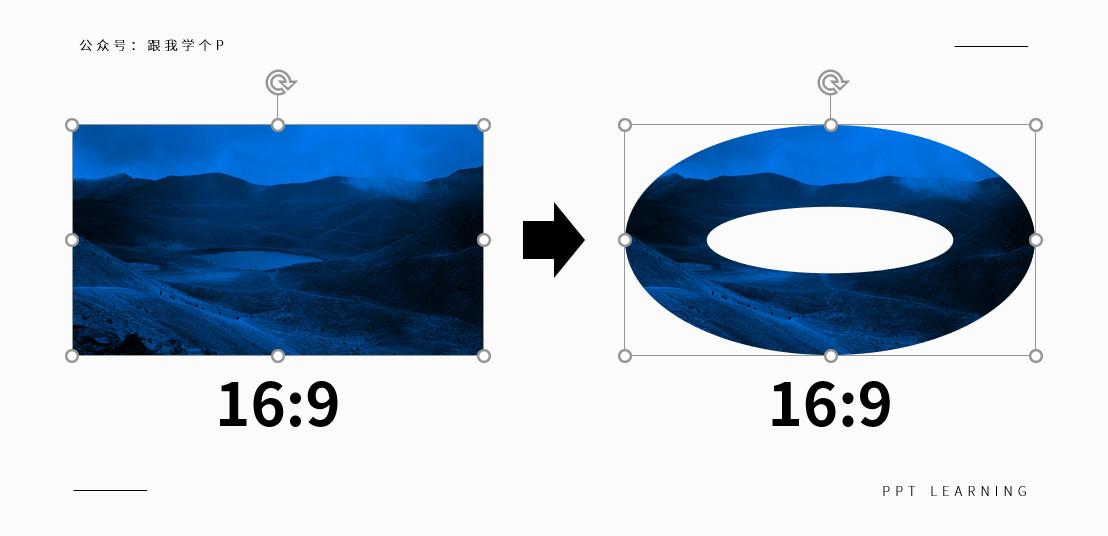
why? Because the ratio of your picture is 16:9, the shape you cropped is also 16:9.
If you want to cut out a square or circle shape with an aspect ratio of 1:1, you need to do one more step before cutting.
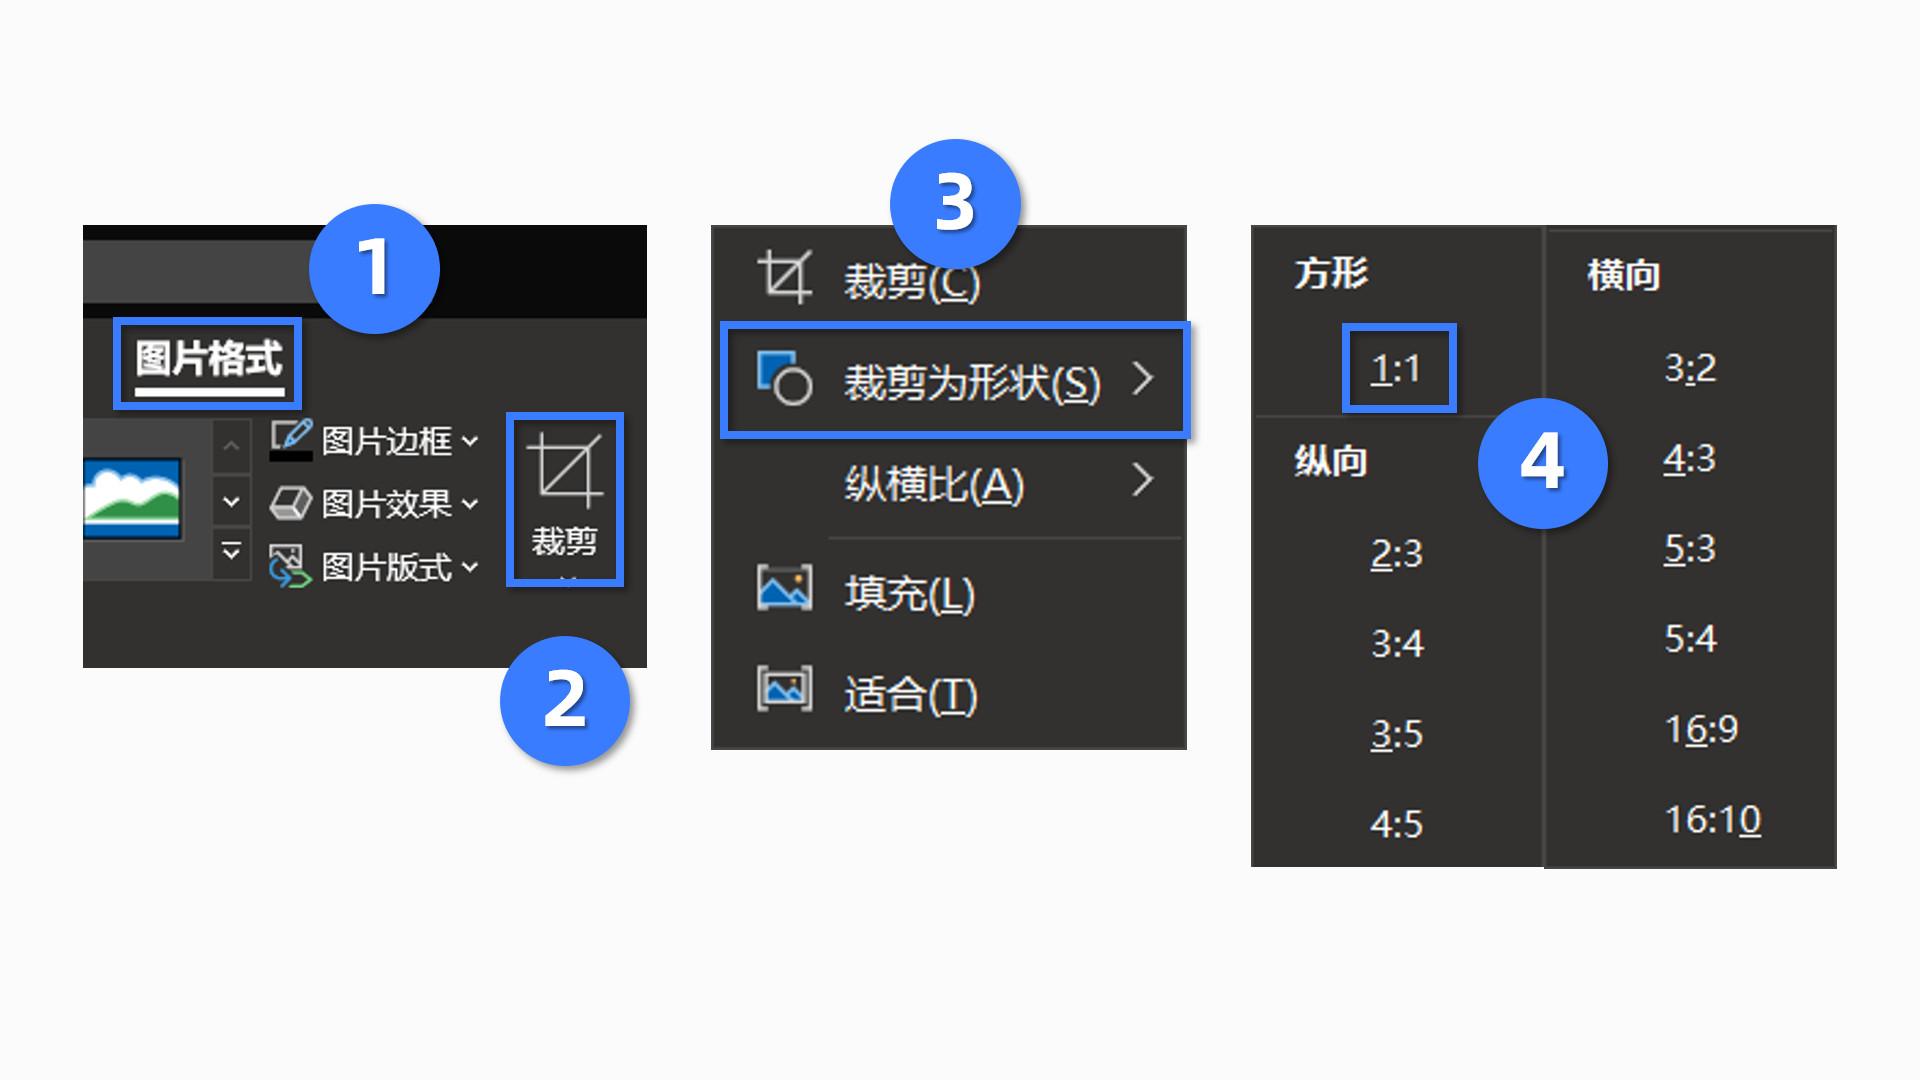
Select the picture, click [Format] - [Crop] - change the [Aspect Ratio] of the picture to [1:1]:
After getting a picture with a ratio of 1:1, you can cut out a shape with an aspect ratio of 1:1 when you perform the [Crop to Shape] operation:
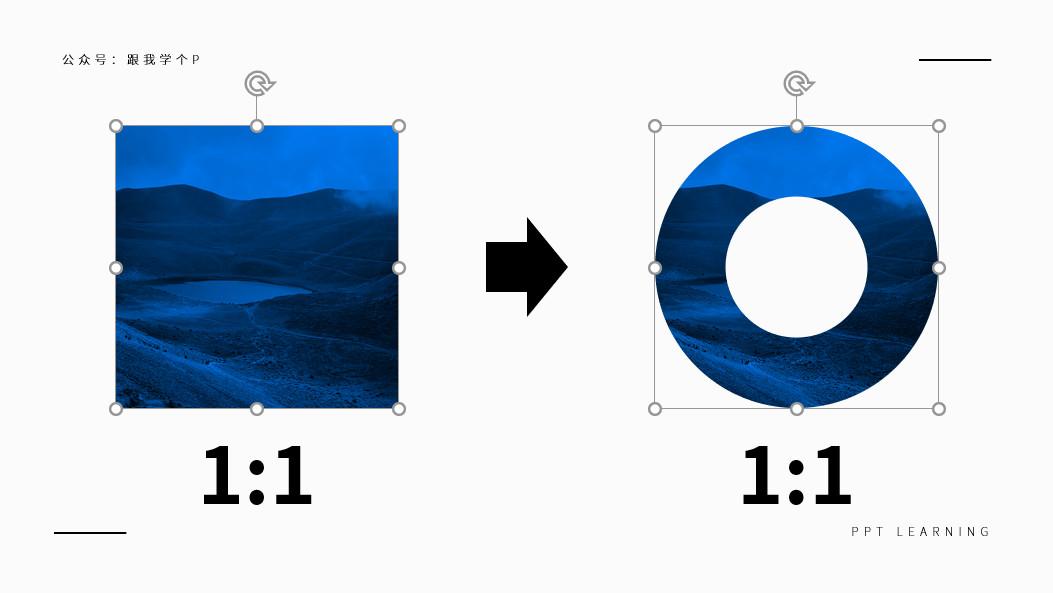
That's the end of the example, now you know what is called "the shape obtained after cropping, its proportion will be consistent with the proportion of the picture itself"?
In other words, if you want to crop a shape with a specific ratio, you must crop the ratio of the picture before cropping.

Enlarge part of the picture
When displaying pictures in PPT, we occasionally encounter a situation: that is, we need to zoom in on the picture to see the details somewhere in the picture.
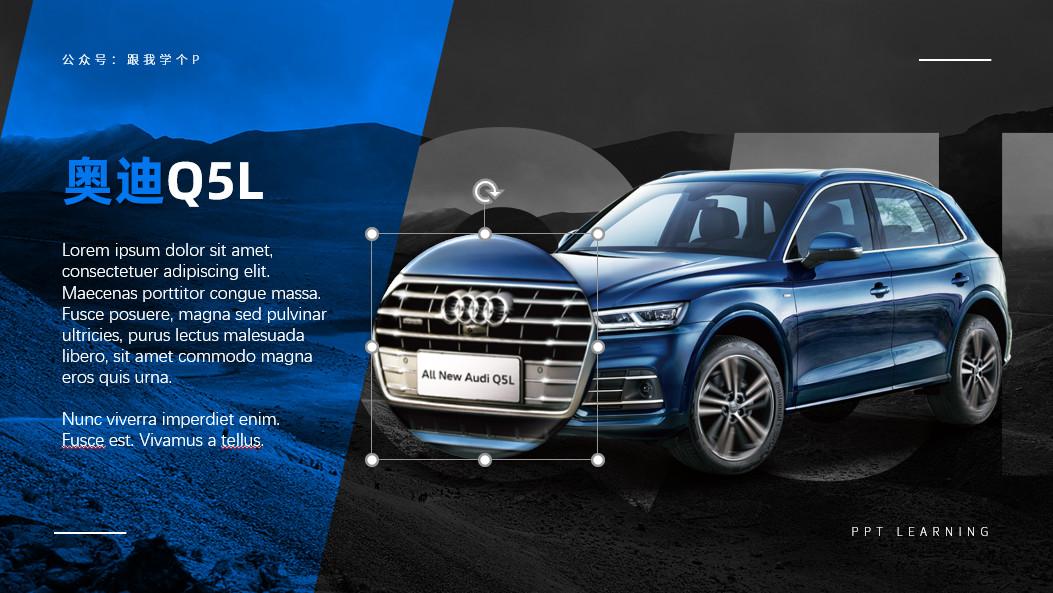
For example, when making product introductions, you often need to do this.
When most people encounter this situation, they will only typeset like this:
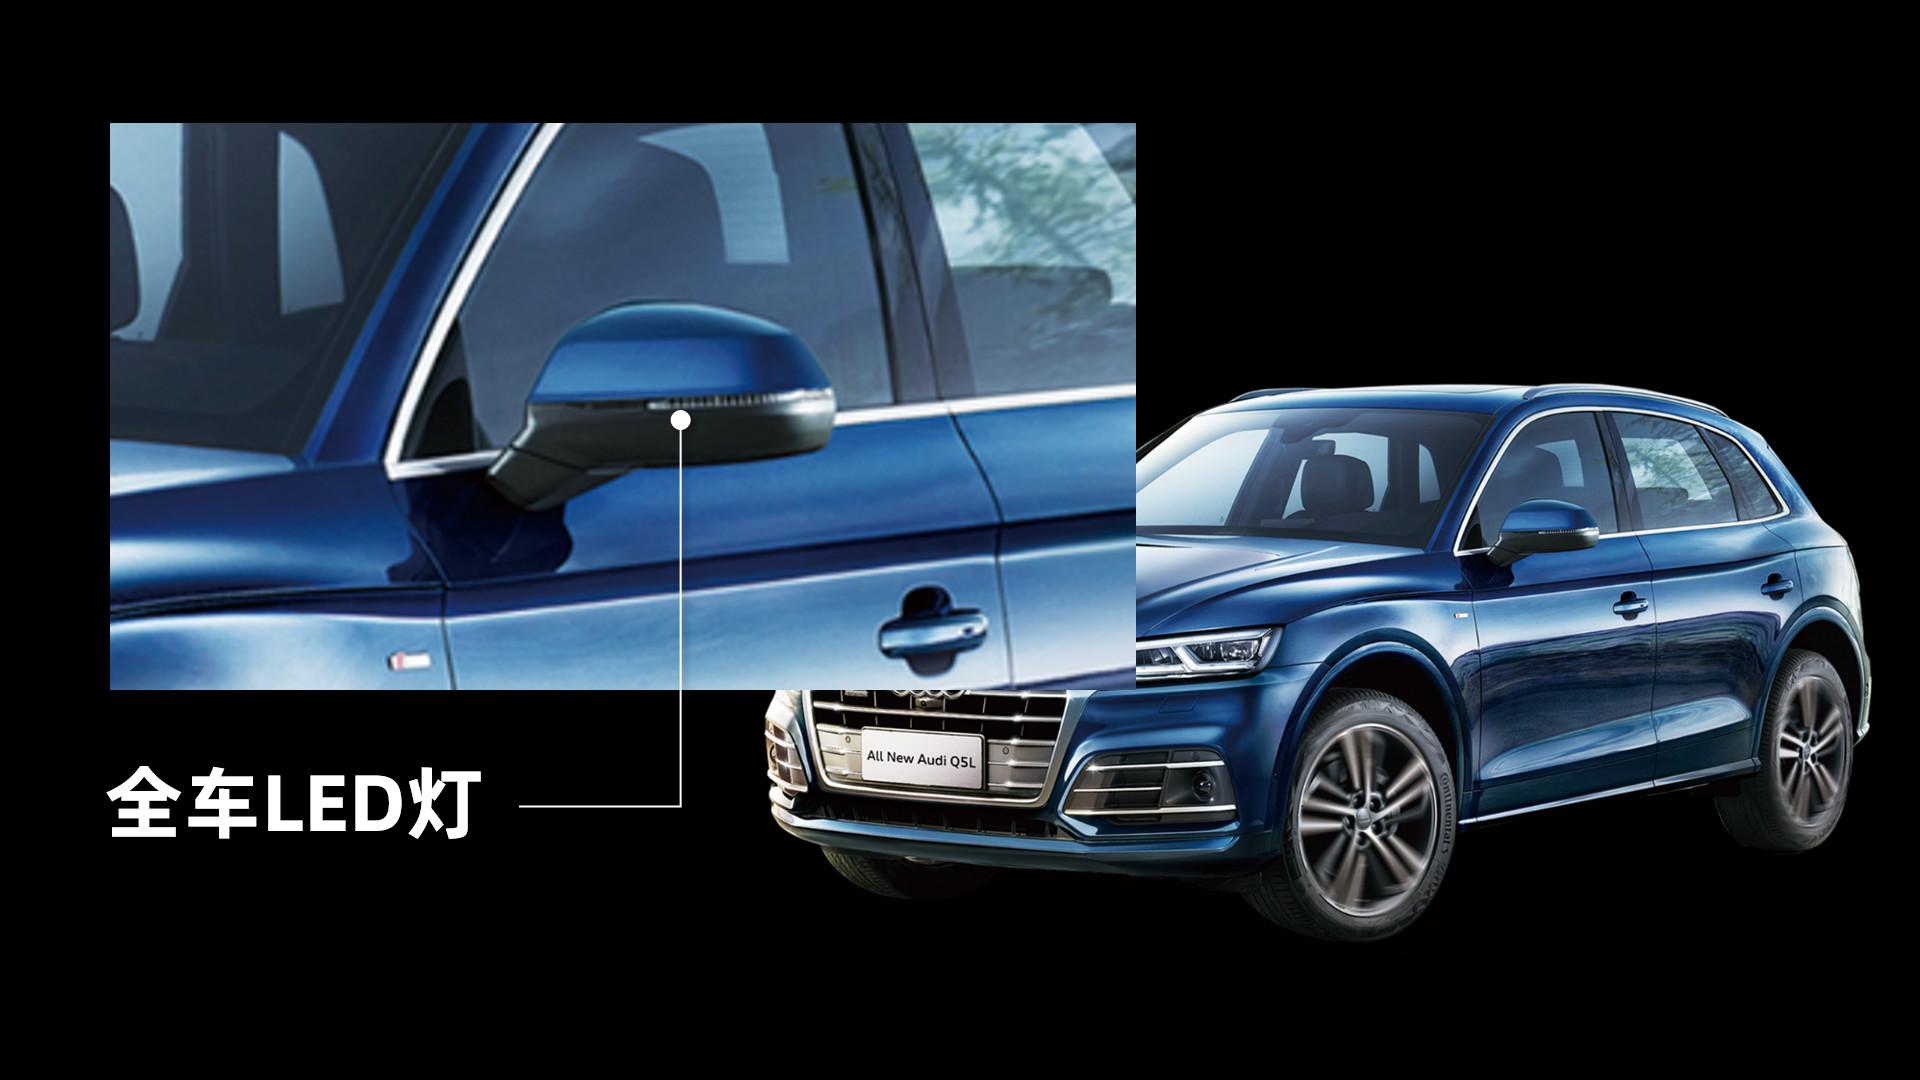
And tall, rich and handsome people like me with an annual income of hundreds of millions will use the following typesetting:
The magnifying glass-like effect is quite witty...
The production of this effect is actually using the function of [cutting the image into a shape] we mentioned in point 1:
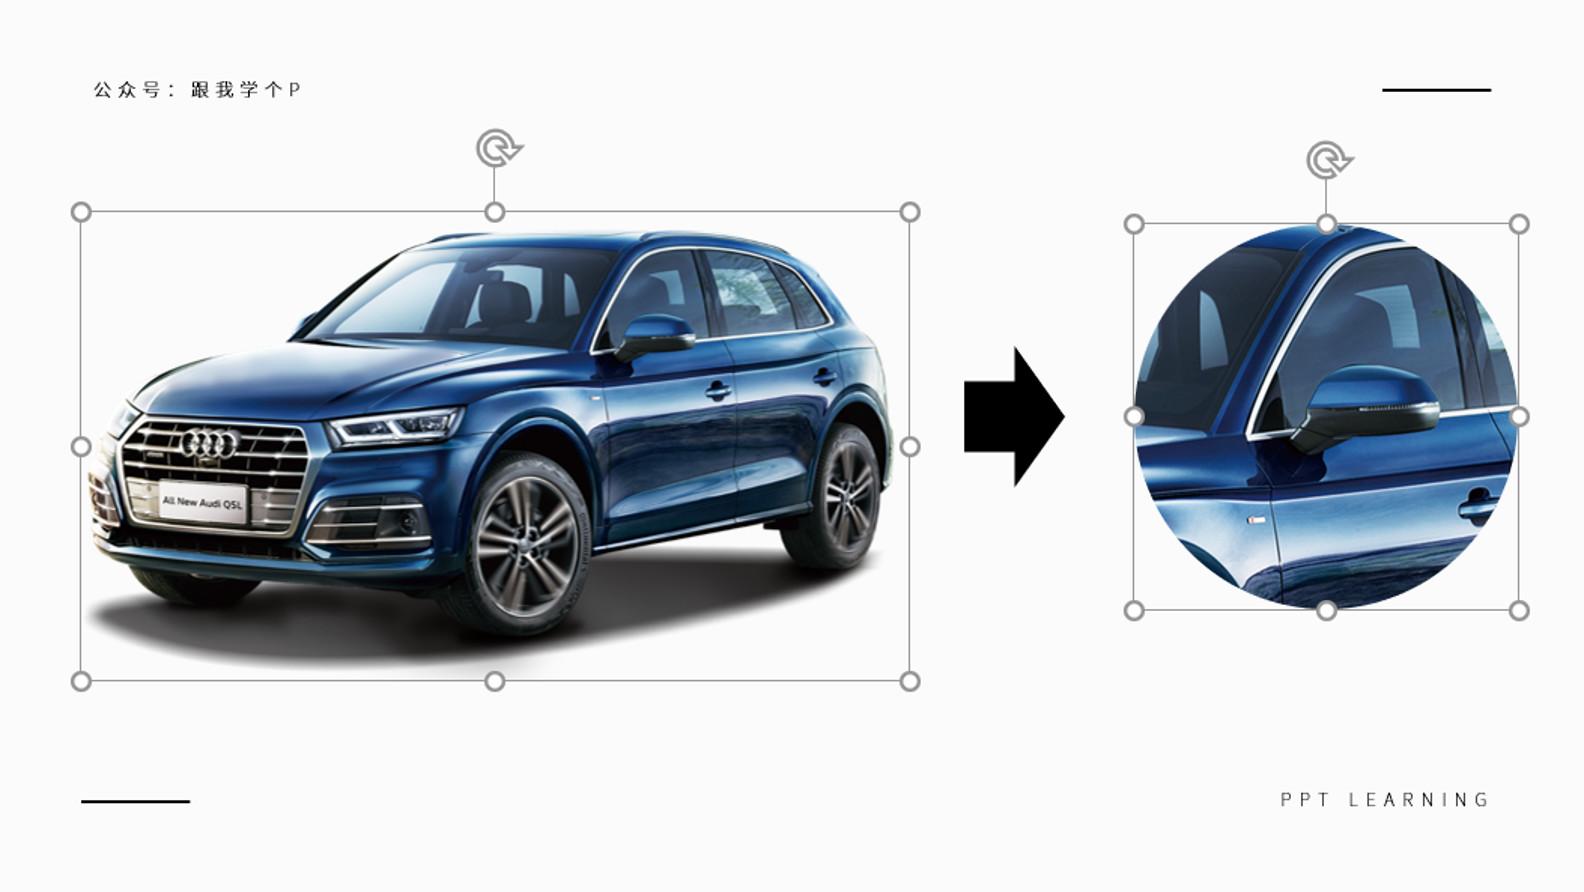
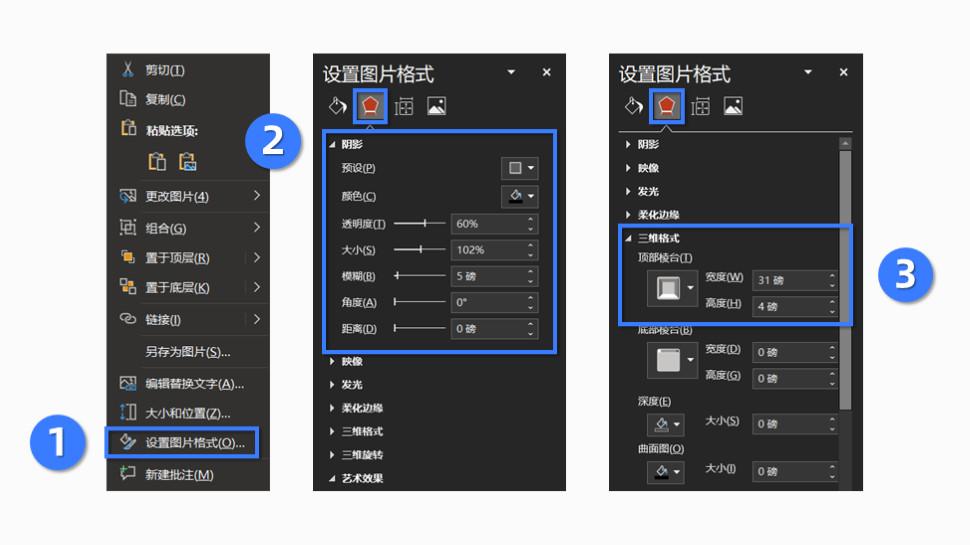
After cropping, right-click the picture, click [Set Picture Format], and then blindly set the effects of [Shadow] and [3D Format], perfect~

▲It is recommended to click on the picture to enlarge it
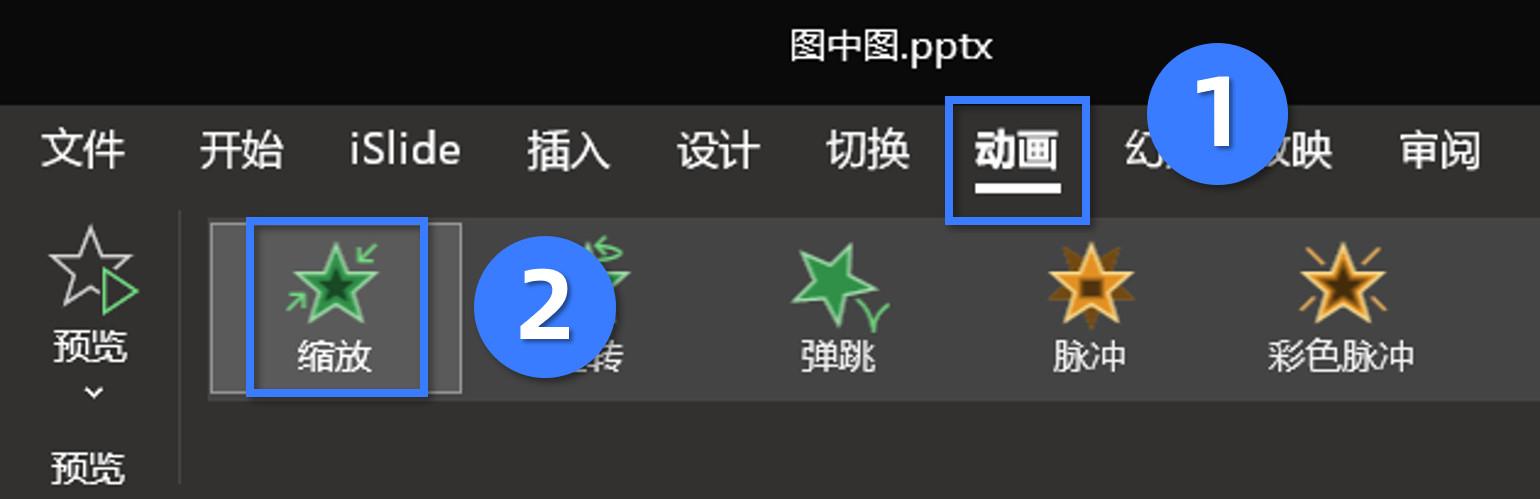
Finally, put this circle on the picture, and set the simplest [zoom] animation for it, perfect~

Make picture-in-picture effect
Speaking of the picture-in-picture effect, I still remember that night...
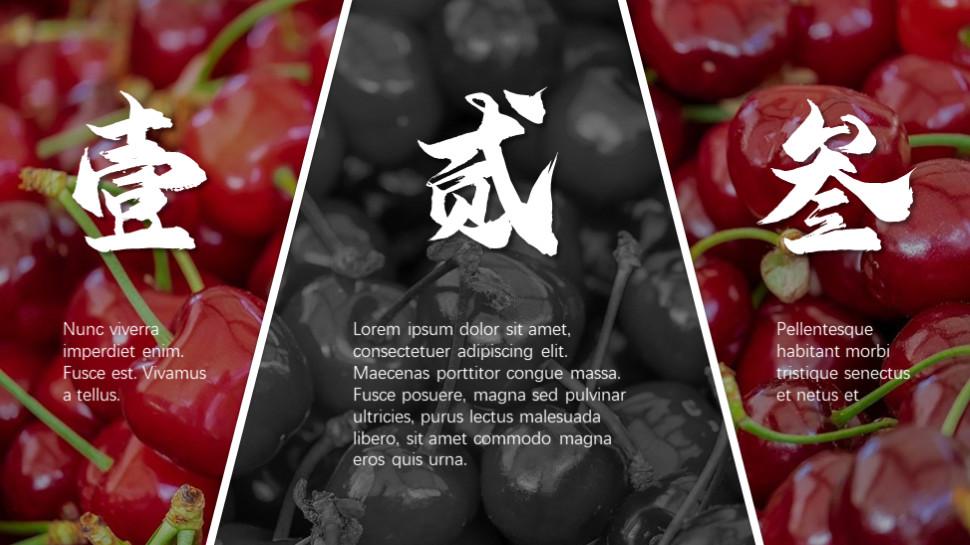
A former beauty colleague sent me some pictures similar to the ones below, and told me that if she can’t achieve this effect, she will have to work late tonight, and I may need to take her home:
Hearing her say so pitifully, how could this straight man let a girl suffer such grievances? !
Three times, five divisions and two, I wrote a tutorial on the backhand and threw it over!
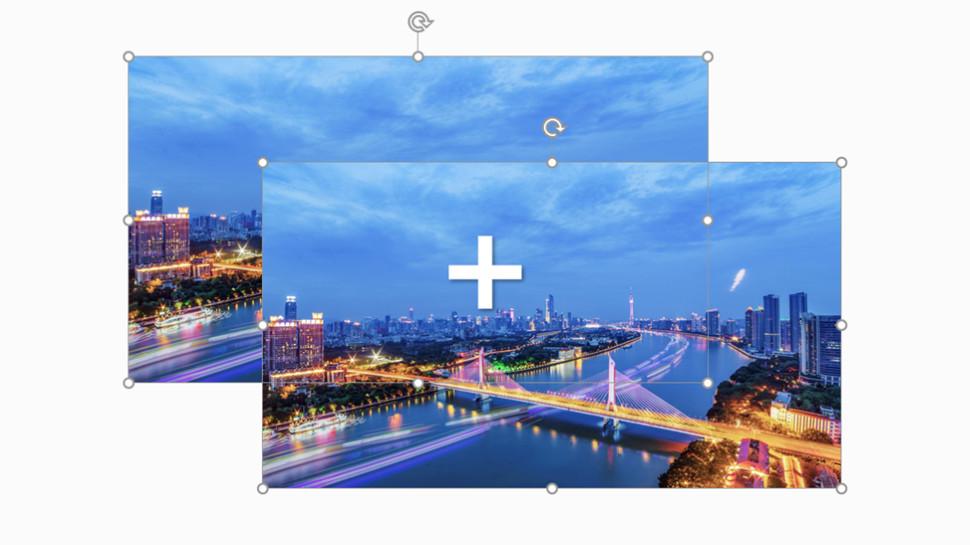
1) Insert the picture, copy one more, and overlap them completely:
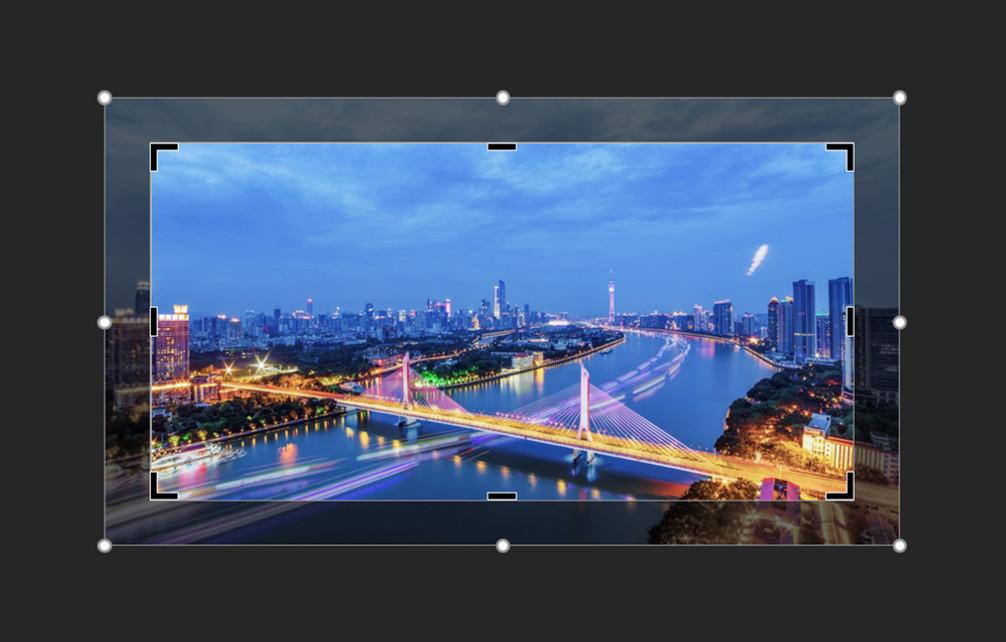
2) Select the picture at the top, right-click and select [Crop] to cut it into the shape you want:
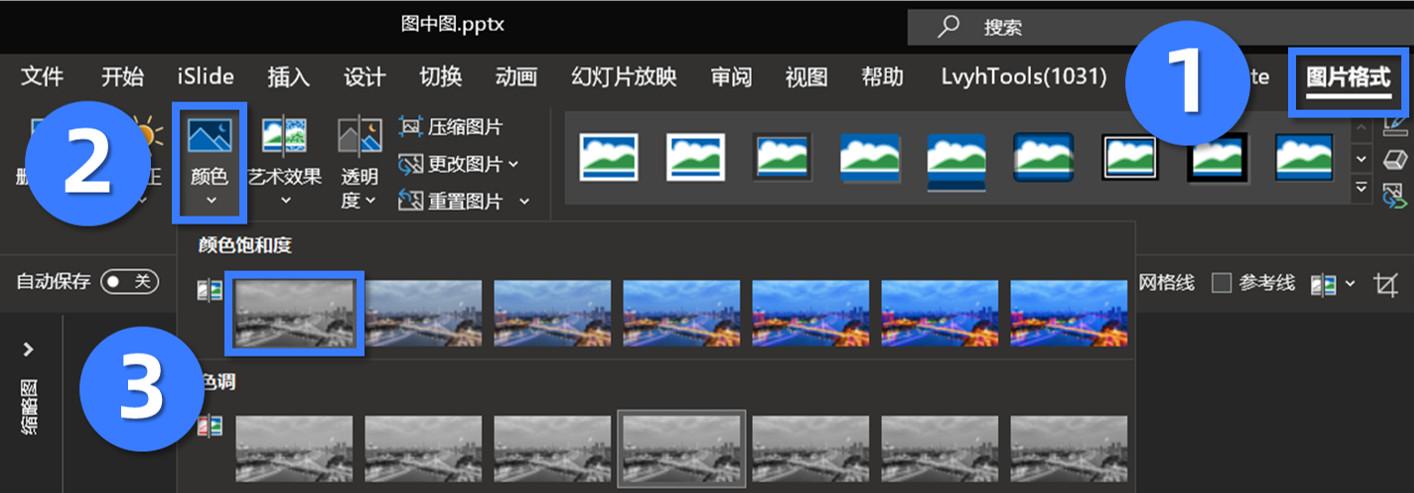
3) After cropping, select the picture you want to change color, click [Picture Format] - [Color] - adjust [Color Saturation] to the lowest:
At this point, you can make this part color part black and white effect:
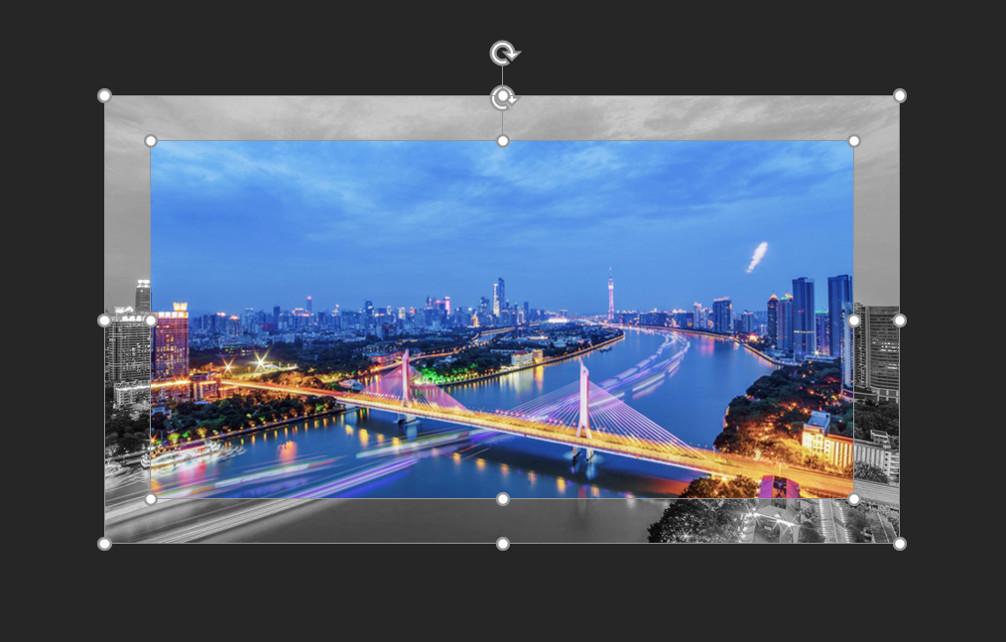
4) Finally, add the [Shadow] effect to the top picture:
Add shape, copy, and typesetting, perfect:
What? You ask me how was the follow-up of that night?
The follow-up was that she only said Oh after seeing the tutorial. To this day, this straight man still thinks she is very rude.

Create smooth animation
The three effects mentioned above using the [Crop] function can only be regarded as low-level effects among kings...
The really advanced ones are smooth animations like the following:

Isn't that quite 6!
What's even more insane is that this effect is still made with the [Crop] function!
Take the PPT of Digital Animation as an example.
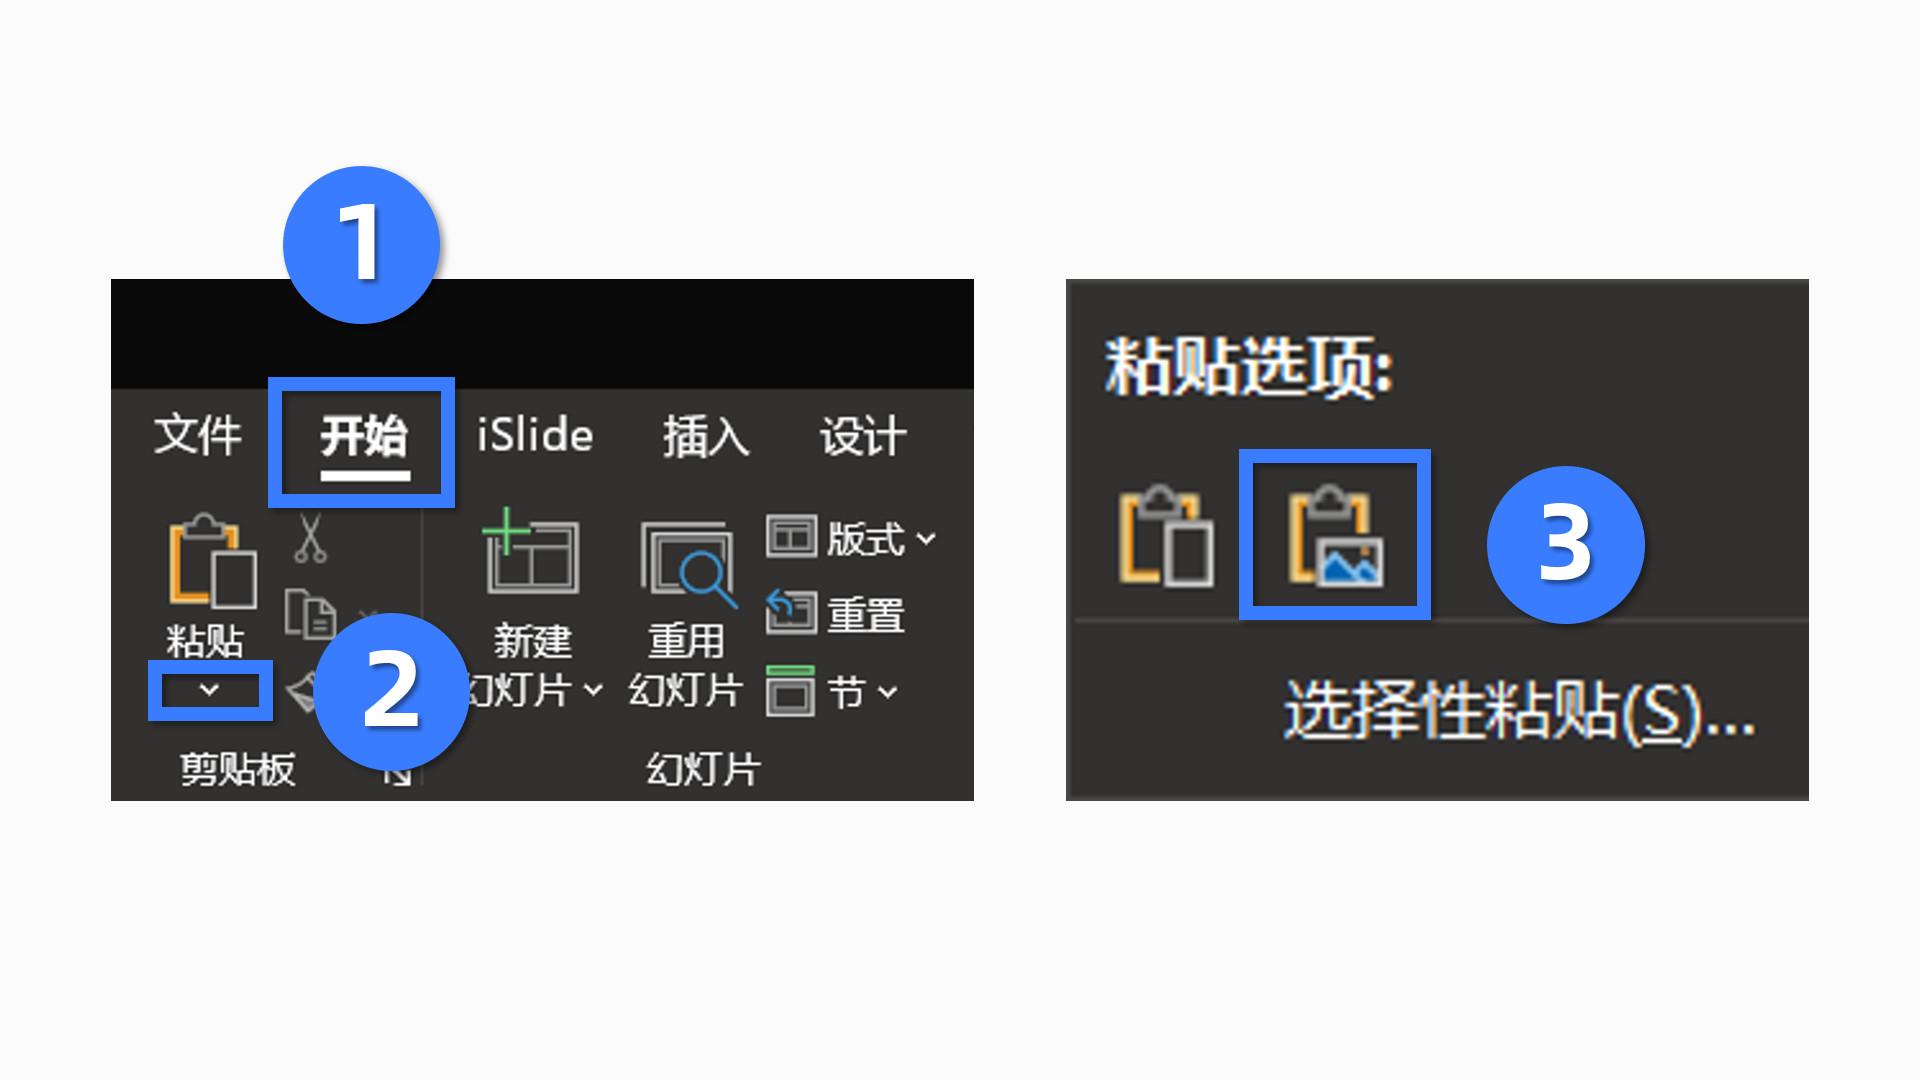
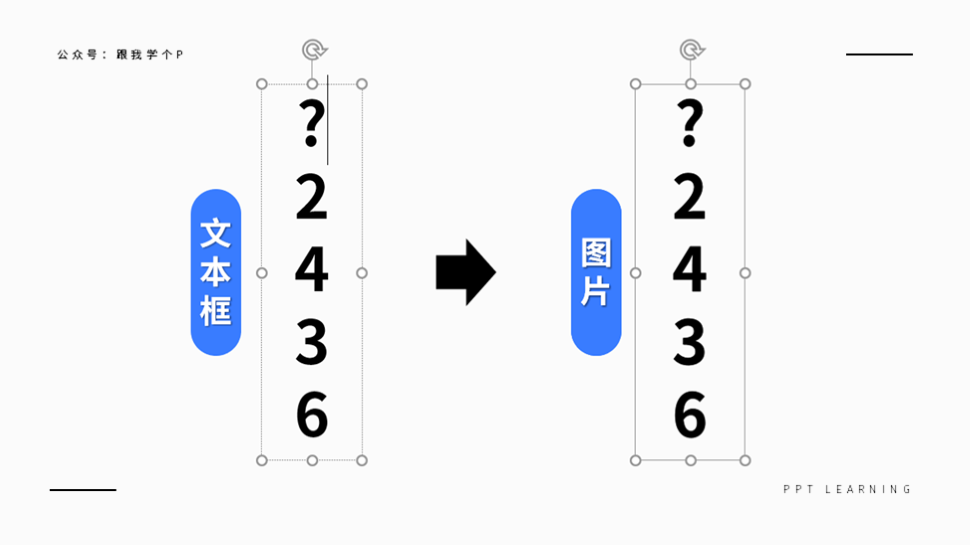
1) Turn the text box into a picture;
Insert a text box and enter a bunch of numbers, then press [Ctrl+C] to copy the text box.
Click [Start] - [Paste] - [Paste as Picture], and then you can turn the text box into a picture:
2) Crop the picture;
[Crop] This digital picture, keep the first number:
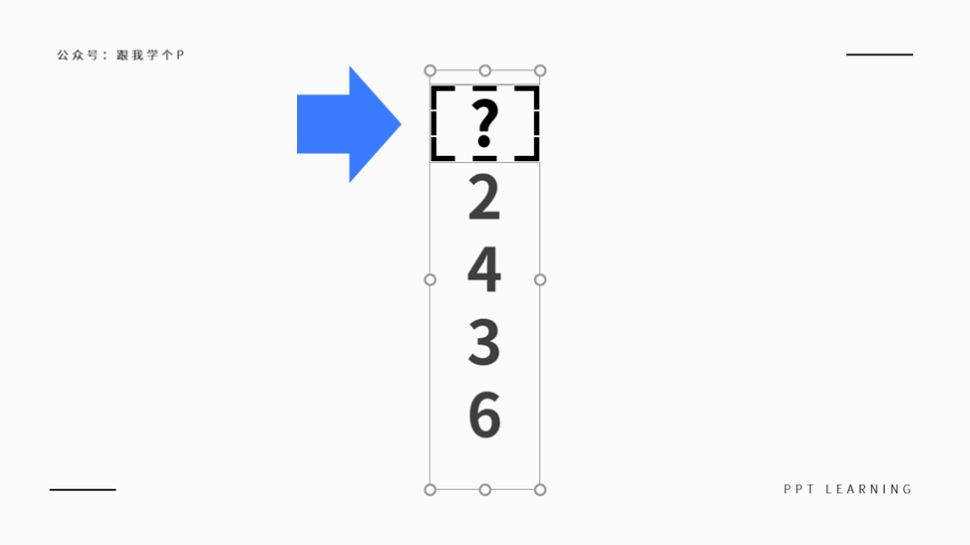
Then copy the current page of PPT to one more page.
In the newly copied page of PPT, [crop] the digital picture again, and keep the last number this time:

▲Rough tip: remember to hold down the shift key when dragging
3) Set the smooth transition effect;
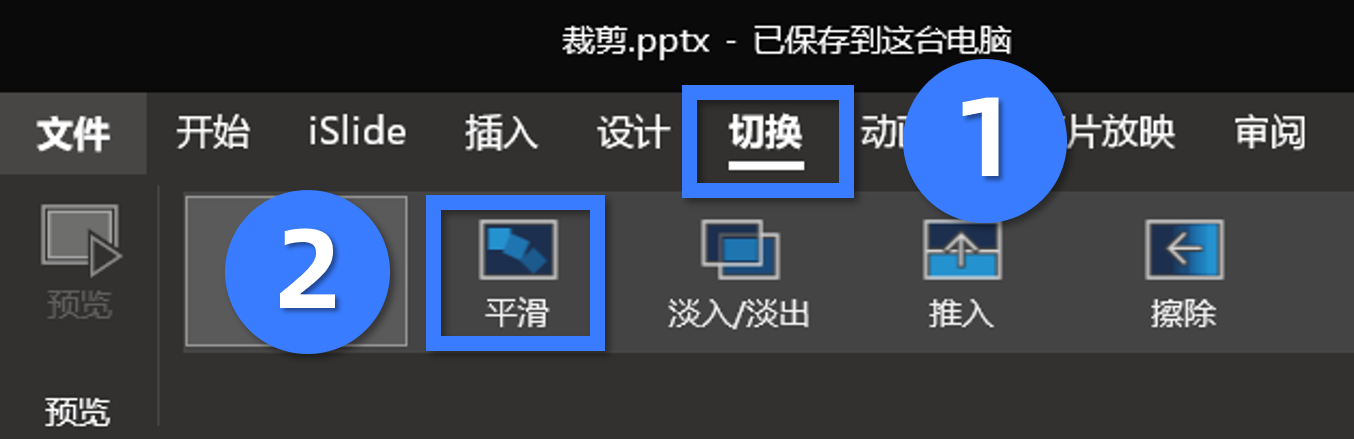
After re-cropping the picture, place the two pictures on two typeset pages:


Finally, set [Switch]-[Smooth] for these two pages separately, and you're done!
The principle of this smooth animation is actually very simple: set the first frame and the second frame, and the transition part of the PPT will be automatically generated for you.
So now you can understand how the magnifying glass animation works?
Insert the picture first, and then crop it into a circle:
Copy this page of PPT to another page, and re-cut the circle in the newly copied page of PPT, and move it to another position:
▲Gift demonstration
Finally, add [Smooth] switching effect to the newly copied page of PPT, done!
Finally, let's summarize what effect you can make with the [Crop] function!
• Change image shape
• Zoom in on part of the image
• Create picture-in-picture effects
• Create smooth animations
Alright, now you can enter the familiar link of deducting 6 points...
Let's be cheap next time!
I'm Xiaomu, I'm with my brother, I'm useful for P!
This article was first published by the public account "Learn a P with me".
Articles are uploaded by users and are for non-commercial browsing only. Posted by: Lomu, please indicate the source: https://www.daogebangong.com/en/articles/detail/Want%20to%20make%20PPT%20look%20good%20This%20cutting%20method%20has%20to%20be%20learned.html
 支付宝扫一扫
评论列表(196条)
测试