1. Create a new document, determine the size according to the size of the font
2. Drag in the material background, adjust the color balance to your favorite tone, and merge the layers
3. Press T to enter the letter, adjust the color position, ctrl +j to copy
4. Change the color of the copied font (white), rasterize (for the next step to rasterize)
5. ctrl +T, press and hold ctrl to adjust the uncovering effect, and then Perspective + deformation
6. ctrl+J to copy the background of the material and move it to the top
7. Hold down alt, place the mouse between the two layers, left click to create a mask
8. Add Curve (only for the next layer), lower the color
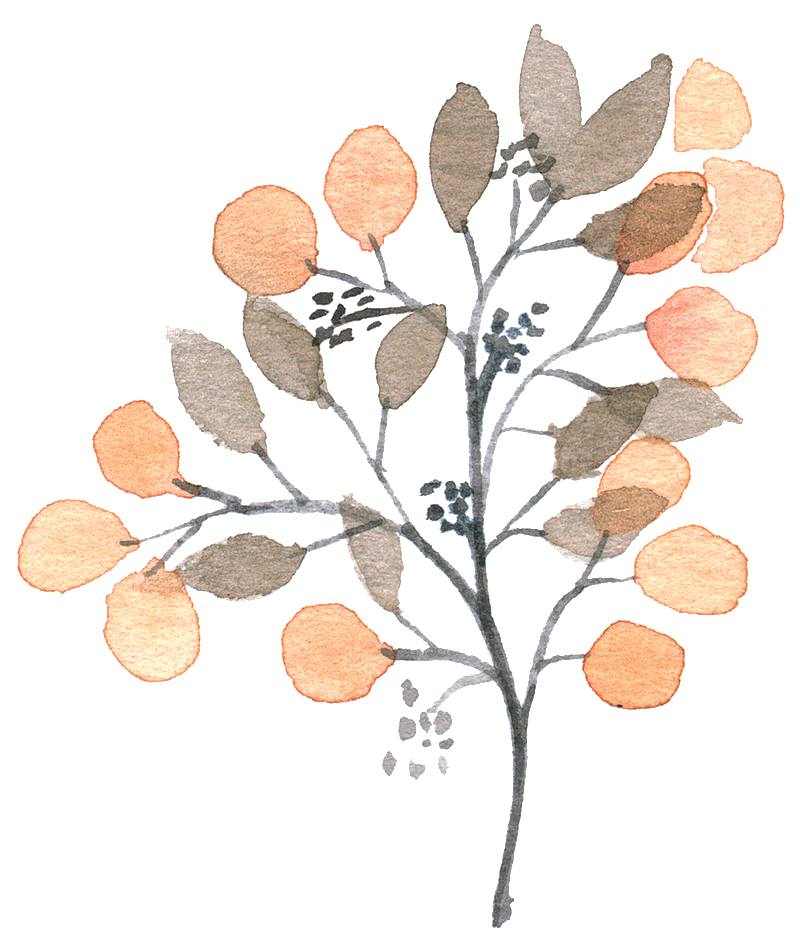
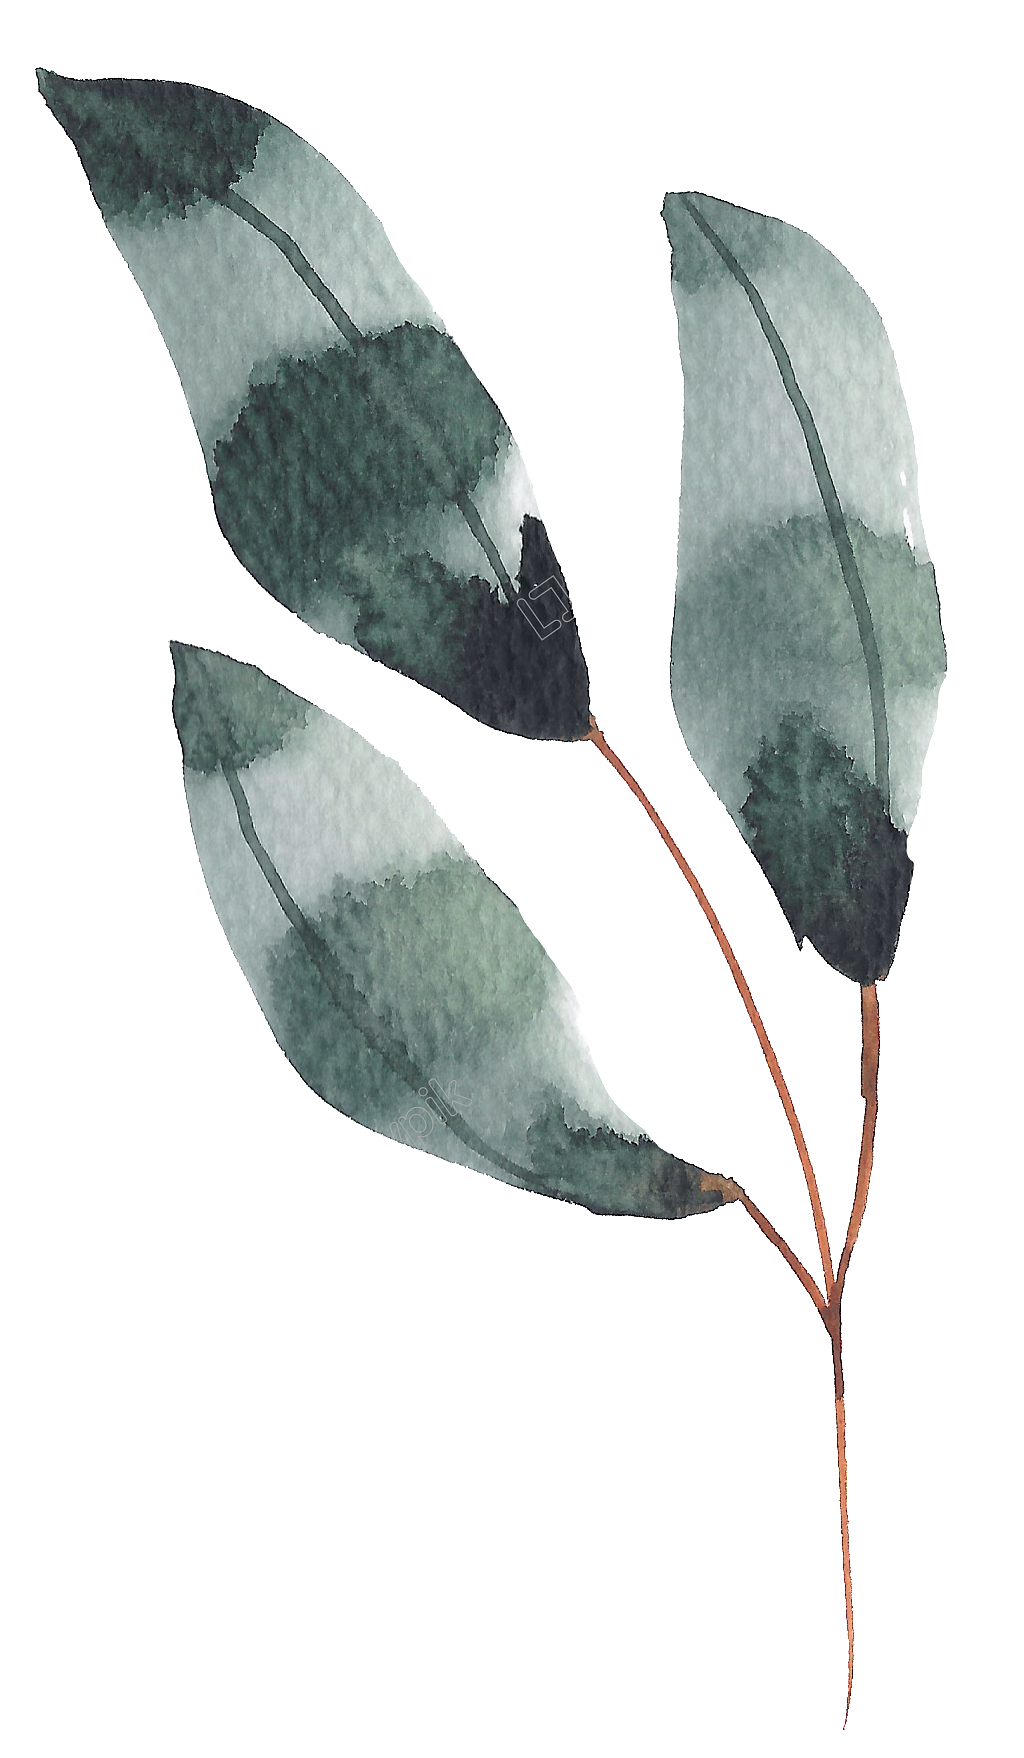
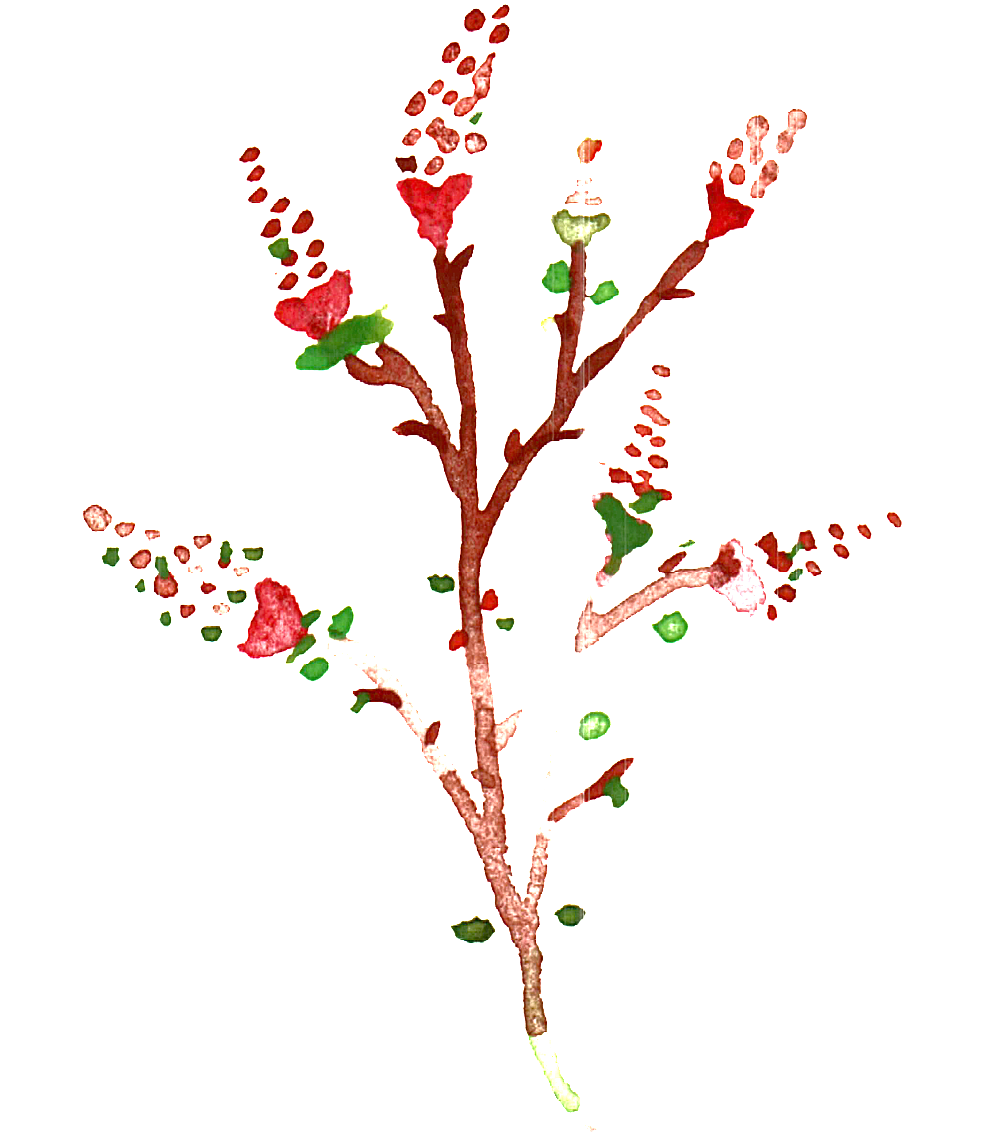
9. Drag in the material flower leaves, determine the size and position for occlusion. Press and hold ctrl to select all the flowers, ctrl+g to form a group, double plus to rename.
10. Click on the HUA group, hold down the ctrl key, click on the back T to select it, create a mask, and put the flowers into the letters of the back layer.
11. ctrl+j copy the letter of the back layer, put it on the upper layer of the flower, fill it with zero, and add the inner shadow effect.
12. On the letter layer with flowers, create a mask, press X to switch the brush B to white, and wipe the required flowers.
13. Create a mask on the letter layer with inner shadow, brush black, and erase the shadow on the flower.
14. Create a rectangular frame, fill it with nothing, and stroke it to make a border for the color.
15. ctrl+A to select all, center and align.
16. Add a stroke to the upper letter.


Articles are uploaded by users and are for non-commercial browsing only. Posted by: Lomu, please indicate the source: https://www.daogebangong.com/en/articles/detail/Use%20ps%20to%20make%20flowery%20fonts%20including%20tutorials%20and%20materials.html

 支付宝扫一扫
评论列表(196条)
测试