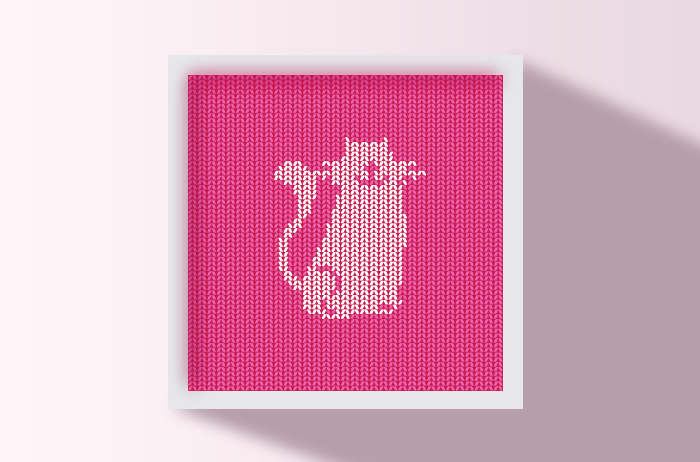
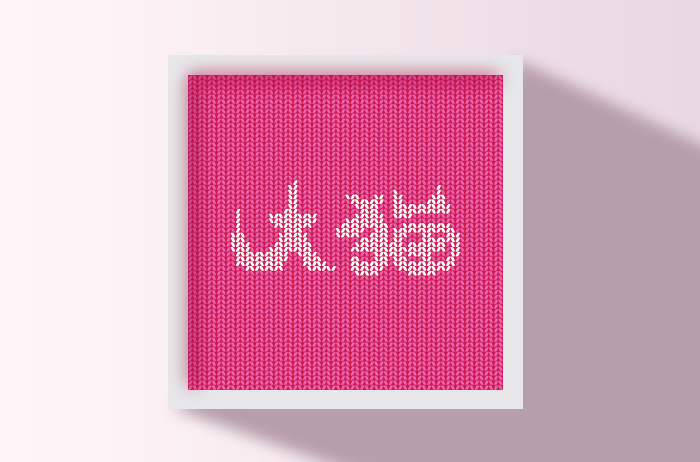
The following steps are shared with you:
Sweater knitting is mainly knitted by basic stitches one by one. Let's draw the basic stitches of the sweater first.
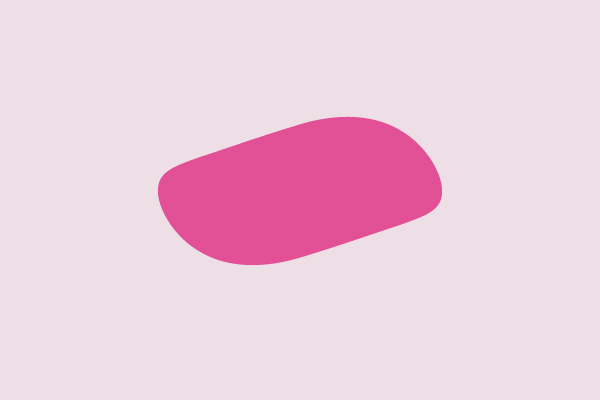
1. Open the Illusrator software, first draw an ellipse, and fill it with rose red.

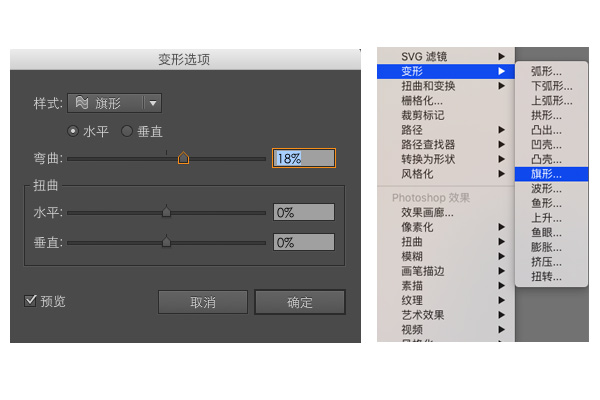
2. Select this ellipse, select Transform-Flag Shape, set the bending value to 18%, and then execute Object-Extend Appearance.
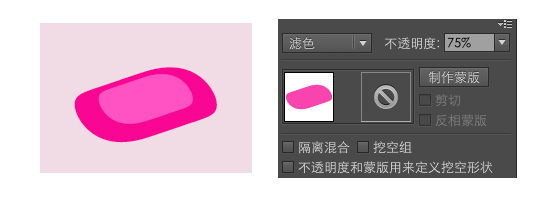
3. Duplicate this shape, shrink the copied shape slightly, select the shrunken shape, set its transparency to 75%, and change the layer blending mode to "screen". This process is mainly to bring out the highlights in the fabric texture.
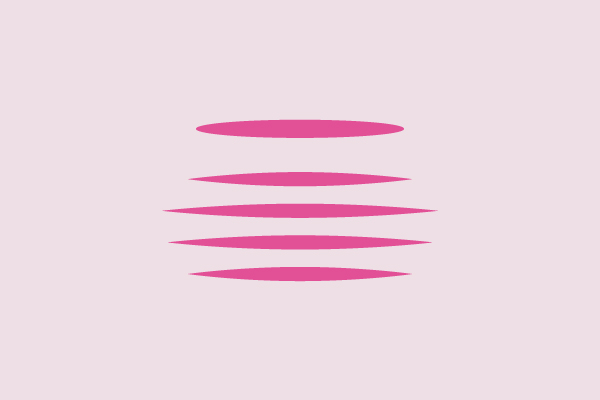
4. In order to increase the texture of wool, we draw a few lines, first draw an ellipse, use the tracing tool to sharpen the two ends, and then copy a few to form a group.
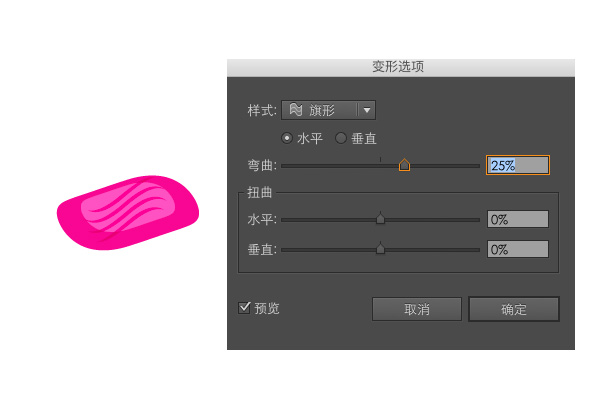
5. Select the drawn line group, execute Transform-Flag Shape, change the opacity to 52%, change the blending mode to Multiply, and place it above the graph.
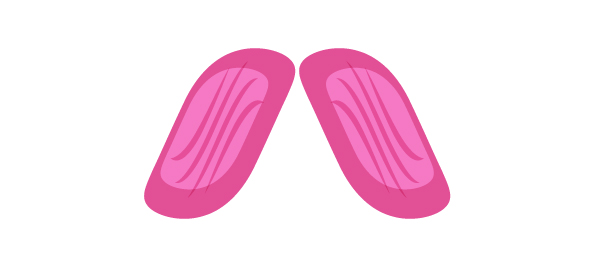
6. Group the drawn objects to copy and transform them symmetrically. After transformation, combine them into a group again, and a basic shape is completed.
7. Let's reduce the basic needle and put it in the drawing board. Let's take the picture as an example.
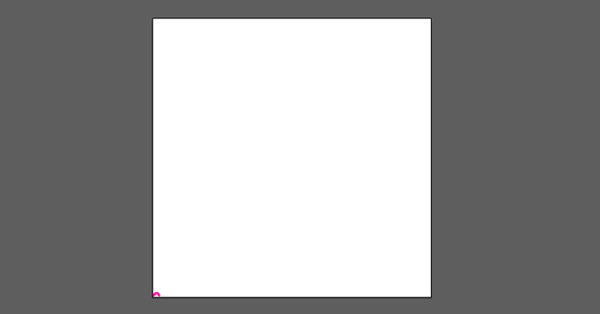
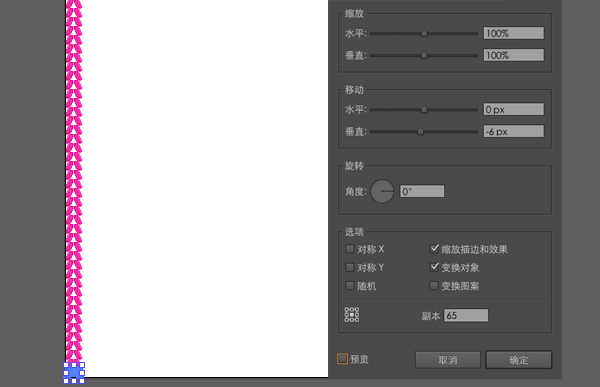
8. Select the finished basic stitches, perform effect-distortion and transformation-transformation, first increase the number of vertical stitches, set the vertical to 6, and the copy to 65.
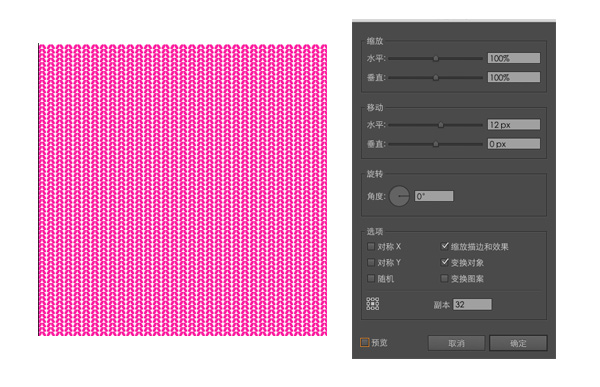
9. Then do the horizontal stitches, we continue to perform the effect-distortion and transformation-transformation, set the level to 12, and the copy to 32. If this step is done, the computer will be a little stuck.
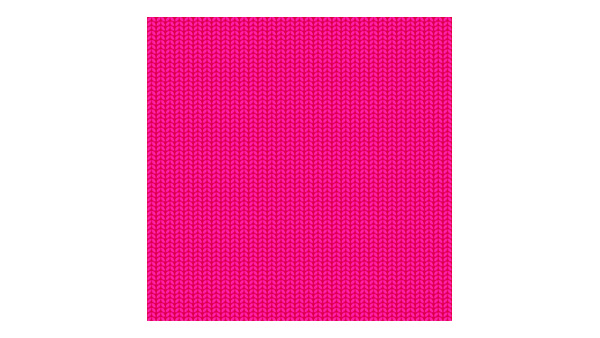
10. We use the rectangle tool to draw another background with a slightly heavier color. In this way, the effect of sweater knitting is done.
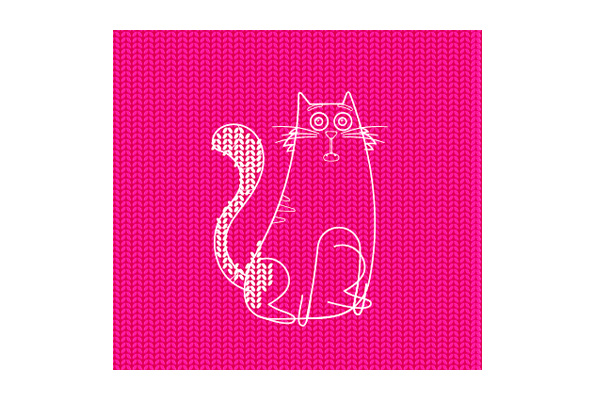
11. Next, we can draw graphics on this knitting texture. First, implement the knitting texture object-extended appearance, right-click to cancel the grouping, and cancel the grouping several times. The purpose of this is that we can Edit a base pin individually. Open the font or picture designed with AI, turn off the fill color, and only keep the stroke color. This is to draw the pattern compared to the path of the graphic. We select the basic needles in the graphic and change them to white. Here is an example of a big fat cat graphic:
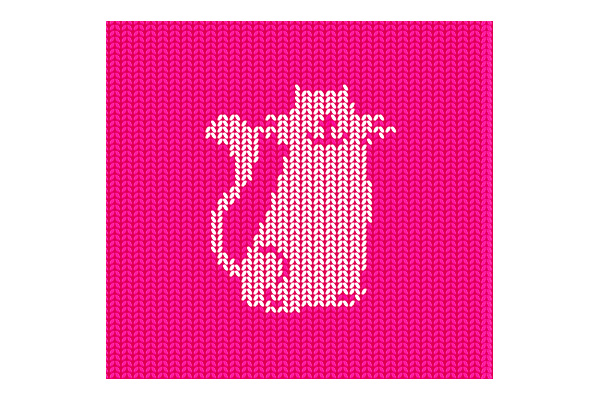
12. After drawing all the needles, if you are not satisfied with the graphics, we can continue to adjust. Here I modified the mouth of the big fat cat, and finally deleted the reference graphics.
13. Finally, we can copy it to PS to make a frame effect.

Articles are uploaded by users and are for non-commercial browsing only. Posted by: Lomu, please indicate the source: https://www.daogebangong.com/en/articles/detail/Use%20AI%20tools%20to%20make%20warm%20sweater%20knitted%20font%20effect.html

 支付宝扫一扫
评论列表(196条)
测试