
In drawing, it is often encountered that several curves are very close, and the legend is usually difficult to distinguish, which requires zooming in on the part. The usual method is illustrations, which still retain the coordinate axes, need to occupy the corners of the space, and make the overall picture complicated.
Dr. Huang from the University of Electronic Science and Technology of China proposed: Use a magnifying glass to partially enlarge the curve instead of traditional illustrations. This idea is very novel.
Some brilliant Origin drawings often need to use other software (such as CDR or AI) to modify the picture or add other graphics effects, but editor Tan reminds everyone that PPT is actually a very good drawing software, and some people have broken PPT ( For example:Zhang Laoshi's scientific research drawing). Bian Tan advocates using one or two familiar software to solve drawing problems. Today, Bian Tan uses the cropping tool of PPT to create the magnifying glass effect of Origin drawing.
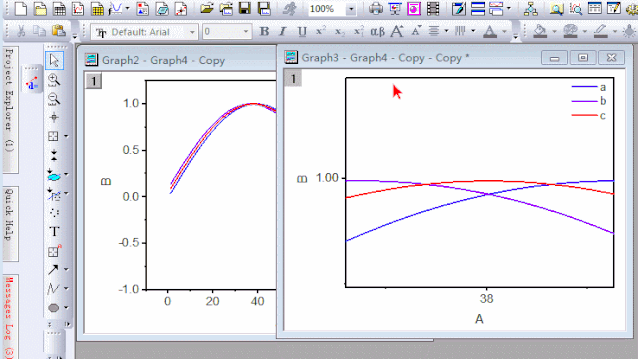
1First, we use Origin to draw a picture, and then copy a drawing. In the copied picture, click the magnifying glass on the left column, and drag to select a local curve to zoom in.
Then, select the enlarged picture, press Ctrl+J to copy (copypage), and paste in PPT as "picture (enhanced metafile)"

In PPT, adjust the width of the pasted picture to 12cm. Then select the inverted triangle under "Format-Crop", select "Crop to Shape", and select a circle. The graphic is cropped, but the cropping area needs to be adjusted. Click on the picture, then click on the "Crop" tool, 8 handles appear at this time, drag these handles to adjust. Finally set the picture format, set the "line" to 2 points, and a black circular border appears.

From the PPT, press Ctrl+c to copy the circular picture just cut out, in the original picture in Origin software, press Ctrl+v to paste, add the circle and arrow of the local mark, adjust the position of the circular magnifying glass, and it’s done.

The final result:

 Are you watching?
Articles are uploaded by users and are for non-commercial browsing only. Posted by: Lomu, please indicate the source: https://www.daogebangong.com/en/articles/detail/Tutorial%20%20OriginPPT%20draws%20a%20magnifying%20glass%20for%20curves.html
 支付宝扫一扫
评论列表(196条)
测试