
Today's knowledge point is to teach you how to transfer CAD graphics into commonly used software, such as Word, Photoshop and other commonly used software. Let's do these two examples today.
1. Transfer CAD graphics to Word software
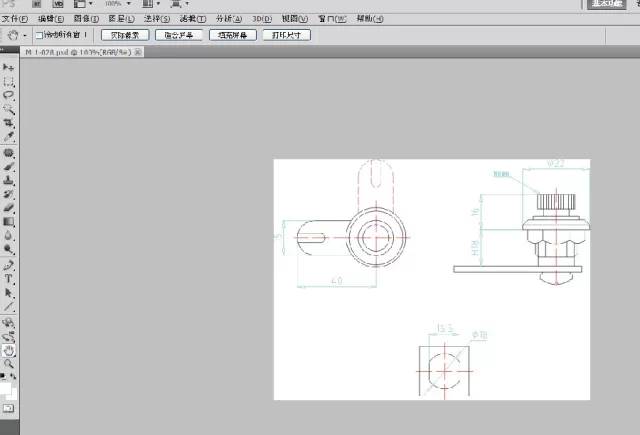
After we have finished making the product drawing in the CAD software, enter such a command: exp. After entering the command and then pressing the space bar, a dialog box will pop up. This dialog box allows you to choose the input path. You can choose to export to the desktop first. As shown in the picture:
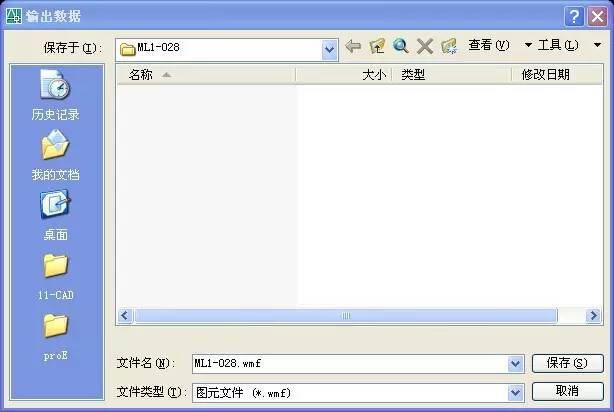
We can observe the type of the saved file, it is in wmf format, at least what format it is, we don’t need to worry about it, as long as it is imported into this format. After saving, we can see such a file on the desktop. As shown in the picture:

Here we have completed the preparatory work. Next, we need to open the Word software. I use WPS. The interface may be different in different versions, but the functions are the same. After we open the software, find the function of inserting pictures, click and select the file we just generated on the desktop, as shown in the figure:

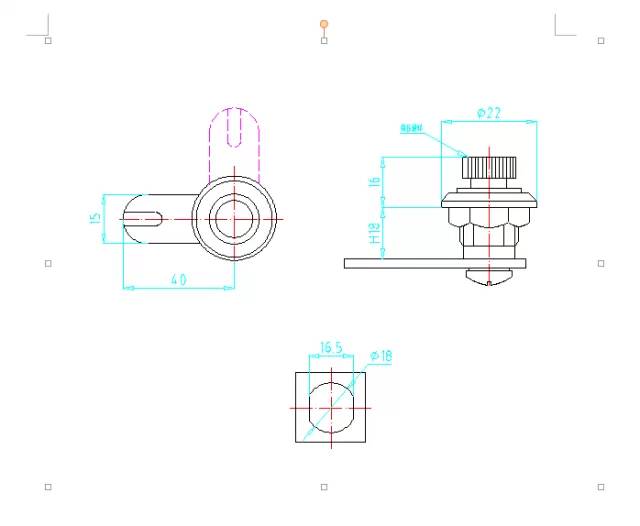
Looking at the picture above, the picture is too small to see clearly. Use the cropping function in the software to cut off the redundant white edges, as shown in the figure:

After cutting to such a small size as shown in the picture, drag and enlarge it until it can be seen clearly, as shown in the picture:
At this time, we can see that the color of the lines in the picture is still the color in the CAD software. If you want all the colors to be black, you must change the color to black in the CAD software in advance, otherwise import it to the Word software It cannot be changed after that.
This means the import is successful. Next we introduce the conversion into PS software. Here we need to import the file prepared on the desktop into the CDR software first, and then export it into PS format, that is, PSD format, through the CDR software. Then use PS software to open it directly and edit it. The actual operation below.
Second,Transfer CAD graphics to PS software
The first step is to open the CDR software, as shown in the figure:

Open the file we prepared on the desktop, as shown in the figure:

At this time, you can see that the picture is also very small, but it doesn’t matter, you can drag it to zoom in, the graphics are vector graphics, no matter how large you zoom in, they will not be blurry, what needs to be noted here is that we must put the graphics in this rectangular frame , because the software will only export the content inside the rectangular box when exporting later, and the content outside the box will not be exported.

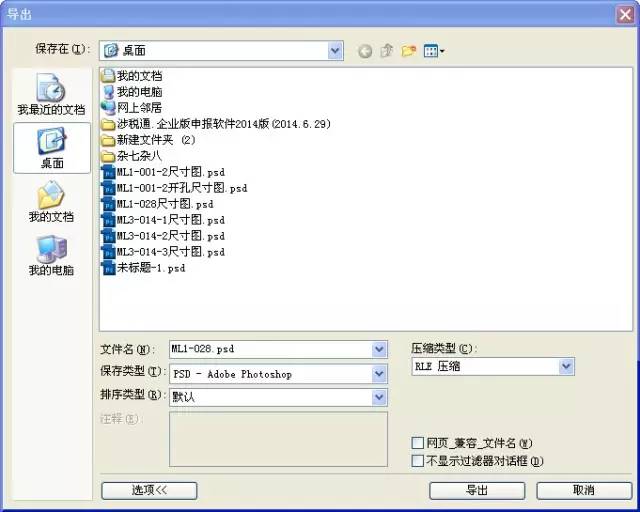
After adjusting the size, it can be exported. Press and hold the ctrl+e key combination on the keyboard, and a dialog box will pop up for you to choose the export location. Here we still choose the desktop. Here we must choose the psd format when we choose the export format. Yes, because it will be opened with PSD software later, if it is in other formats, it cannot be opened or edited, as shown in the figure:
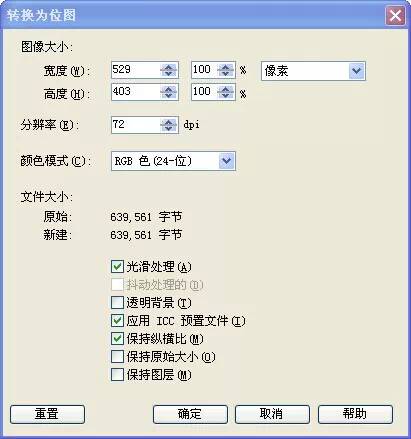
After selecting the export location and export format, we click the export button, and a size dialog box will appear after clicking, which means what size you want to export, here you can fill it in according to your needs, as shown in the figure:
After filling in, you can click OK, and a new file will be generated on the desktop, as shown in the figure:

This is the file we open with PS software, as shown in the figure:
In this way, we have successfully transferred to the PS software. One thing to pay attention to here is the exported size. Don’t export the size too small. I’m afraid that it will become blurred when you enlarge the size, because the PS software The picture in is a pixel map, and the more zoomed in, the blurrier it will be, so it is safer to set it to the size you want or slightly larger when exporting.
Have you learned it yet?
The following are CAD shortcut keys to help you draw quickly
Setting shortcut keys like this will help you break through the upper limit of CAD drawing speed!
CAD——Can you use these shortcut keys proficiently?
CAD Shortcut Keys Encyclopedia_Summary of common CAD shortcut keys
Common CAD shortcut commands and summary table
CAD font problem
How to retrieve CAD fonts
How to solve the garbled characters of CAD fonts
How to display traditional characters in AutoCAD
How does CAD replace the original font that cannot be found?
Free download of the most complete CAD font library in history
Where to put the cad font file and how to install it?
[Practical] How to deal with common font problems in CAD
Welfare——Download and installation of commonly used CAD font library
CAD download link
Mechanical Software Download Super Collection
CAD2010 software download and installation tutorial
CAD2013 software download and installation tutorial
CAD Installation Tutorial——With Download Link
CAD2015 software download and installation tutorial
CAD2017 software download and installation tutorial
CAD2018 software installation tutorial (with download link)
Welfare——Download and installation of commonly used CAD font library
The most complete in history - free download of CAD filling pattern
300G free download——CAD data of all walks of life
Summary——About CAD installation (software download at the end of the article)
CAD beginners, which version of software is better to use——with software download link
For more video tutorials, please press and hold the picture and select "Recognize the QR code in the image"

Reminder: A large number of fans have not yet formed the habit of liking after reading
I hope you will like it after reading it to show your encouragement!
Persistence is a belief, and concentration is an attitude!
Articles are uploaded by users and are for non-commercial browsing only. Posted by: Lomu, please indicate the source: https://www.daogebangong.com/en/articles/detail/Transfer%20CAD%20graphics%20to%20commonly%20used%20software.html
 支付宝扫一扫
评论列表(196条)
测试