Edit: Chopped Onion Author; I was the design wet the day before yesterday

Hello everyone, I am awkward with ps but not awkward with ai. Finally, finally, it is my turn to write a tutorial again~ In order to give back to the new and old friends, I decided to do something hard-core this time - use Ai to draw imitation 3D cartoon images. Don't ask me why I use Ai when it's not too bad to use PS! (Probably for the sake of being handsome).


Knowledge focus: Use the gradient tool and Gaussian blur to create a three-dimensional effect
Operating tools: mouse | Adobe illustrator
Difficulty of operation: Once the eyes are mastered, the brain is mastered, and the hands are mastered too!
Understand the principles of painting
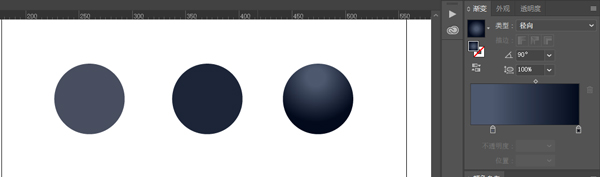
Although this tutorial does not require drawing, the mouse is used throughout. But before we start, we still need to briefly understand the relationship between light and shadow in sketches, that is, how to make a circle into a sphere. That is, three aspects and five major tunes.

[Three major surfaces] The light-receiving surface (bright surface) and the backlight surface (dark surface), plus the side-light surface (gray surface) in the middle layer, are often referred to as the three major surfaces: the backlight surface and the light-receiving surface , the photometric surface. Namely black, white, grey.
[Five major tunes] Objects produce light and shade under the irradiation of light. Moreover, objects are composed of many surfaces of different sizes, and the directions of each surface are different, and the angles of receiving light are also different, forming layers of different depths, which are generally called "five tones of light and shade". That is, highlights (bright surfaces), intermediate colors (gray surfaces), borderlines between light and dark, reflections, and shadows.
The five major keys are to make objects form a sense of three-dimensionality and space, so this tutorial is to use the five major keys to create a three-dimensional cartoon image.

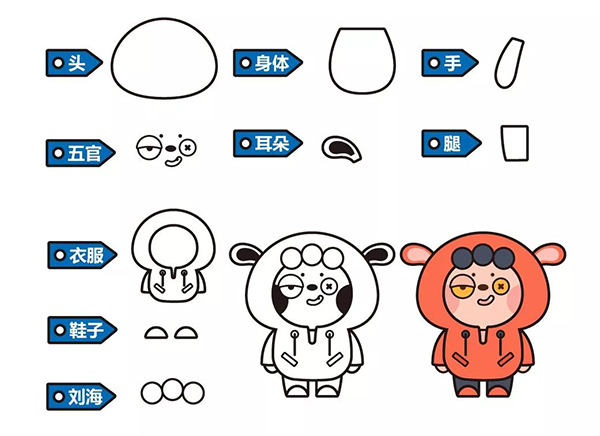
Before starting to create a three-dimensional image, you first need to design a main image. Again, the same old rules, after we put together an image in the old way, we dress him and color him.
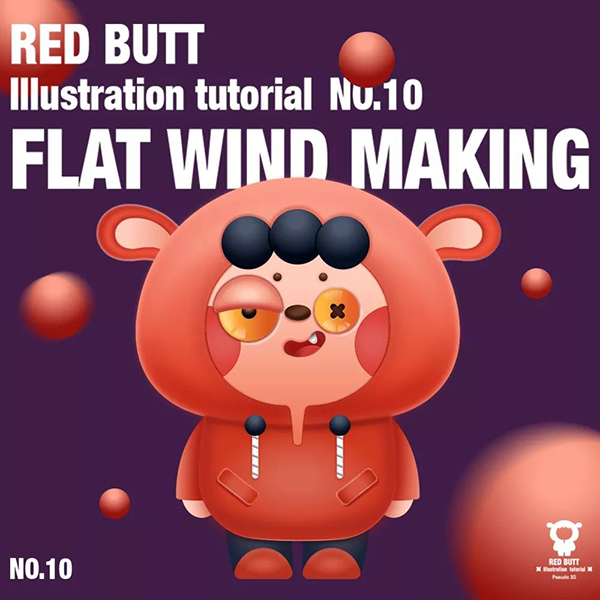
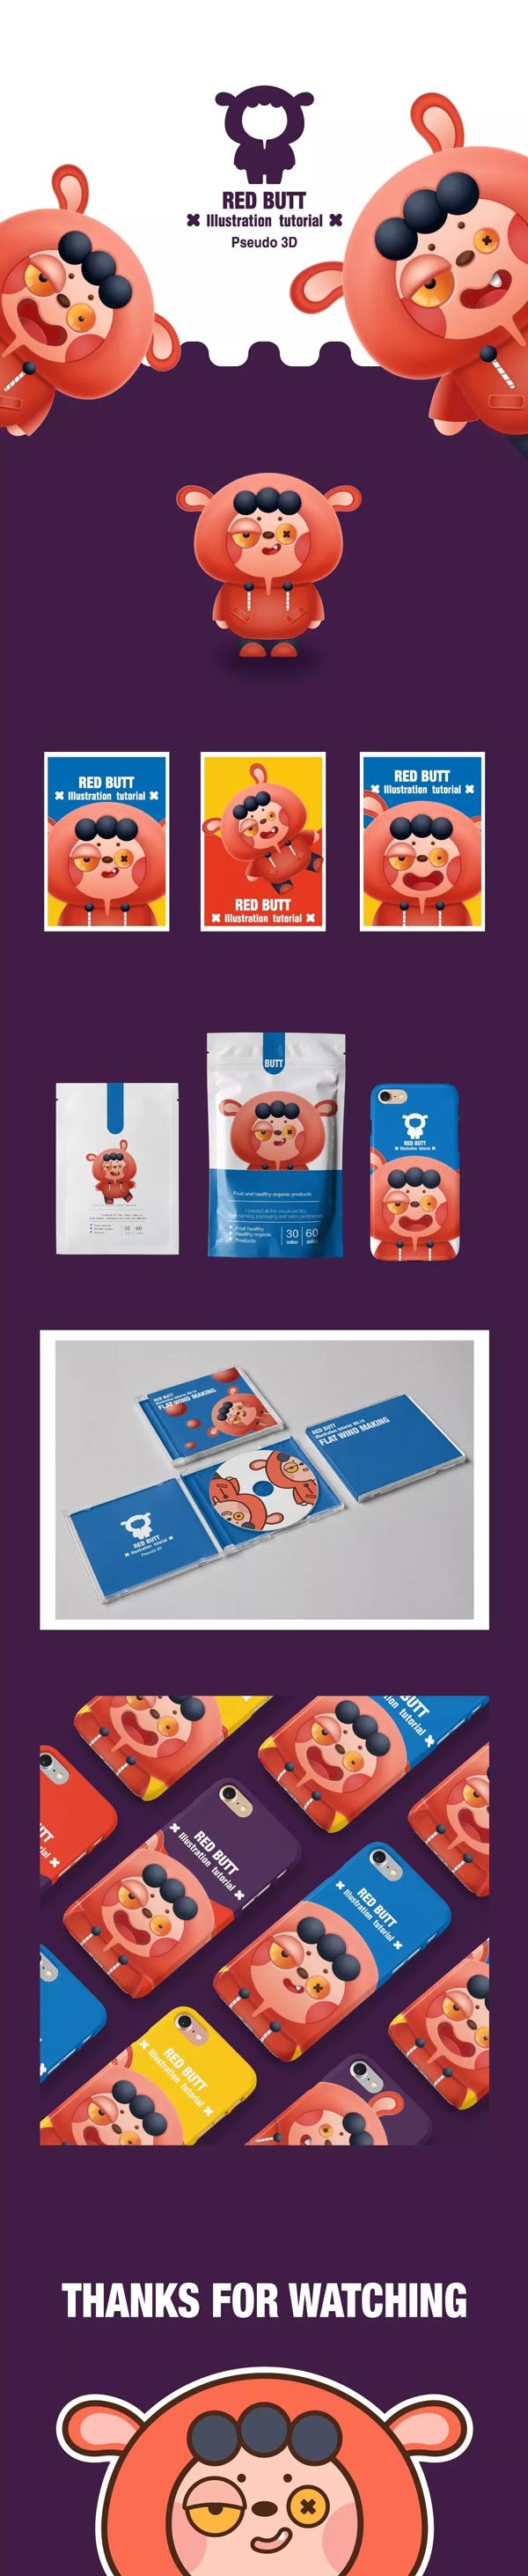
TIPS: After drawing the basic image, you can give him an interesting name in order to make you feel connected with him, so as to be more motivated to make him more handsome. But many classmates know that I am notoriously incompetent in naming, so I asked Mo Sisi who gave everyone nicknames the most in the studio. Finally, I named this image Red Butt.

Secondly, we use the [Object]-[Offset Path] mentioned in the previous stroke tutorial to make a full body spa for the red butt, and go to the stroke.
TIPS: After removing the stroke, there is no need to do other details, just copy a layer for backup.

Hit the key! ! ! ! This is the most important step in this tutorial!
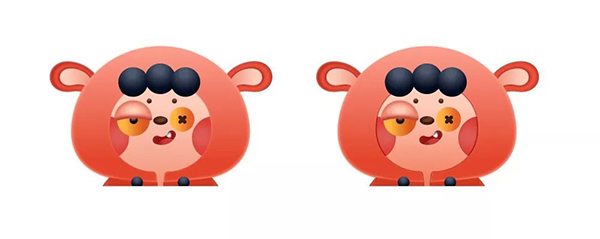
Because there is light, there is a relationship between light and shadow, so first of all, we need to confirm the position of the light source. In this tutorial, the top light is directly applied, so his highlights are basically concentrated on the upper part, and the shadows are on the lower part.
Let’s start with the smallest bangs first. It can be seen that the bangs alone are three balls. According to the five major keys mentioned above, we need to add highlights and shadows to him.
[Steps] Duplicate a layer of bangs, deepen his color (that is, the shadow color), and use the gradient tool to add a highlight color (the bright color of this tone) to him. Select the radial direction for the direction, and at the same time, use the gradient tool in the toolbar to select an angle for him.
TIPS: Since the gradient transition of AI is difficult to adjust, the contrast of the color should not be too strong. For example, do not use pure white or close to white for highlight color.
Other components are also adjusted using the gradient tool. But because our image is one piece, the head and body need to be disassembled to complete.
TIPS: Because the shape of the body and head is no longer a circle, the angle needs to be adjusted. We can use the gradient tool in the toolbar to stretch his angle.

Since this image is wearing a hat, you can simply make a dark edge to distinguish the hat from the face. Add a gradient stroke directly to the face that is darker than the face.
TIPS: The position of the blush requires additional dark strokes.

Because the gradient function of AI is often prone to faults, especially for students who are weak in color control, no particularly strong contrasting colors were used in the previous gradients. Therefore, we can use [Gaussian Blur] to strengthen the highlights and shadows to make the image more three-dimensional.
[Steps] Take the headgear as an example. Since the image is top-lit, we first draw an arc darker than the background color at the junction of the light and shade of the headgear, that is, under the headgear, and then use [Gaussian Blur] to adjust the value. Make the transition more natural.

Highlights are also produced in the same way.
TIPS: Since the Gaussian blur tool in AI is used too much, it is really stuck, so you can properly expand the Gaussian blur part and the gradient part. [Extended] - [Extended Appearance] in the toolbar.
contrast effect.
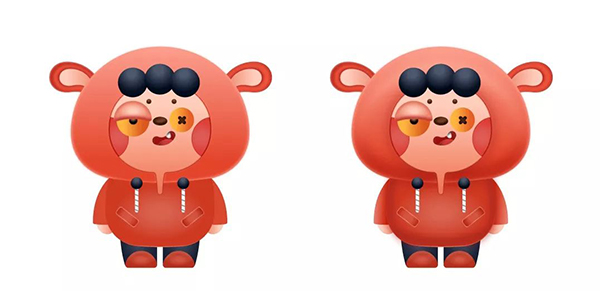
TIPS: If you don't need to pursue the three-dimensional effect, you can skip this step directly.

After the previous four steps, the lifeless red buttocks instantly become lively.
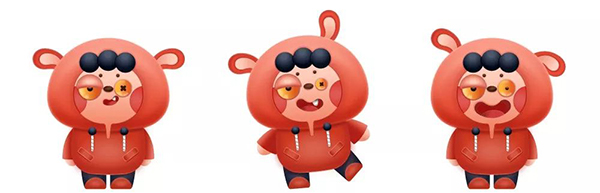
Then, we need to complete the last step, which is to add projection to the superimposed part, that is, hands and body, head and body, body and feet, and ears and head (because the ears of red buttocks are relatively small, I will omit them here. up).
【Steps】Example: body and left sleeve
We first duplicate a layer of the body in place, move it to the left, and then use [Pathfinder] to make an [Intersection] with the left-moved body and the sleeve.

Then use [Copy collar parts] - [Zoom in] - [Move down] - [Gaussian blur] to add projections to some small details, such as eyes, bangs, pockets, etc.

TIPS: It looks like the depression of the eyes, which looks complicated, but it is actually a layer of shadow to sink the eyeballs, and a layer of highlight to make the flesh around the eyes bulge to complete.
As the saying goes, the eyes are the windows of the heart. In order to make the eyes more bilingbiling, we use gradients to add reflections to the eyes.

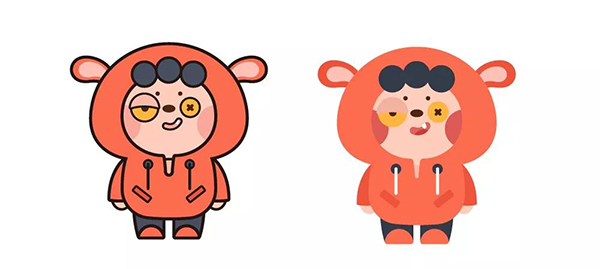
Finally, we have completed the drawing of the entire image. We can make him a more retarded red ass by changing the mouth size and movement.

Articles are uploaded by users and are for non-commercial browsing only. Posted by: Lomu, please indicate the source: https://www.daogebangong.com/en/articles/detail/Throw%20away%20the%20handpainted%20board%20and%20use%20the%20mouse%20to%20create%20a%20pseudo%203D%20cartoon%20image.html
 支付宝扫一扫
评论列表(196条)
测试