Hello! I am willing to help you decipher the production process of this PPT animation. What kind of animation effect do you want to know first?

Hi everyone, I am Particle! Today is Christmas, so I made a small Christmas animation with PPT for you. See the end of the article for how to get it
Then the question is, how is this animation made? Below, we will decipher the implementation of two animation effects for you.
The first thing to say is the snow falling animation at the beginning, which consists of 3 animations in total The components are path animation, rotation animation and disappearance animation. First, find some small icons of snowflakes, and place them randomly according to your mood. Select a small snowflake, click "Animation-Add Animation-Motion Path-Custom Path" to add path animation to the element (one is generated for each click path anchor). 
Right-click the animation you just added in the animation pane, and set Smooth Start/End to 0.
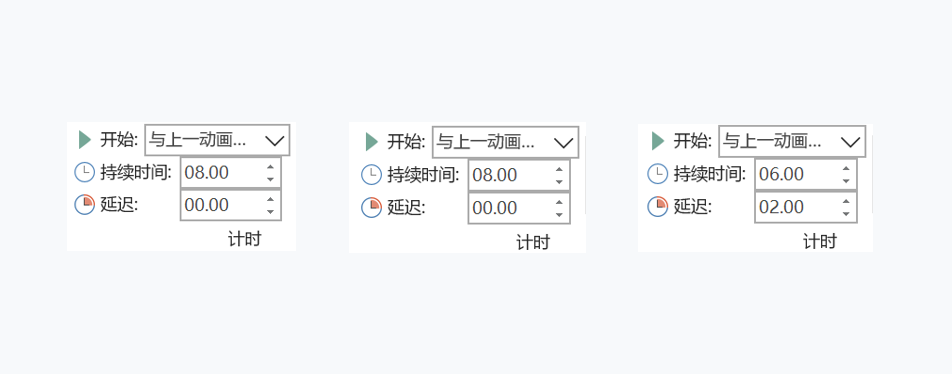
Next, add the rotation animation "Animation-Strengthen-Spin" and the disappearing animation "Animation-Exit-Fade", and set the start method to< strong>"Simultaneously with previous animation". Select the path animation and rotation animation respectively, and set the duration to 8 seconds; set the exit animation to a delay of 6 seconds, and the duration to 2 seconds. In this way, a complete snowflake falling animation is completed, and then you need to set the same animation for other snowflakes. Select the image that has been animated, double-click "Animation Brush" under the animation menu, the mouse will become a brush shape, and brush the other Snowflakes, the same animation can be added. Finally, in order to make the snowflakes drift more freely, we need to set a different path for each snowflake by editing the path. Finally, move the snowflakes outside the canvas, and a pile of snowflakes falling animation is completed. The second is the animation realization of two villains. Everyone should know the principle of animation, that is, switching between multiple static pictures within a certain period of time to achieve a dynamic effect. The text box animation is based on this principle. 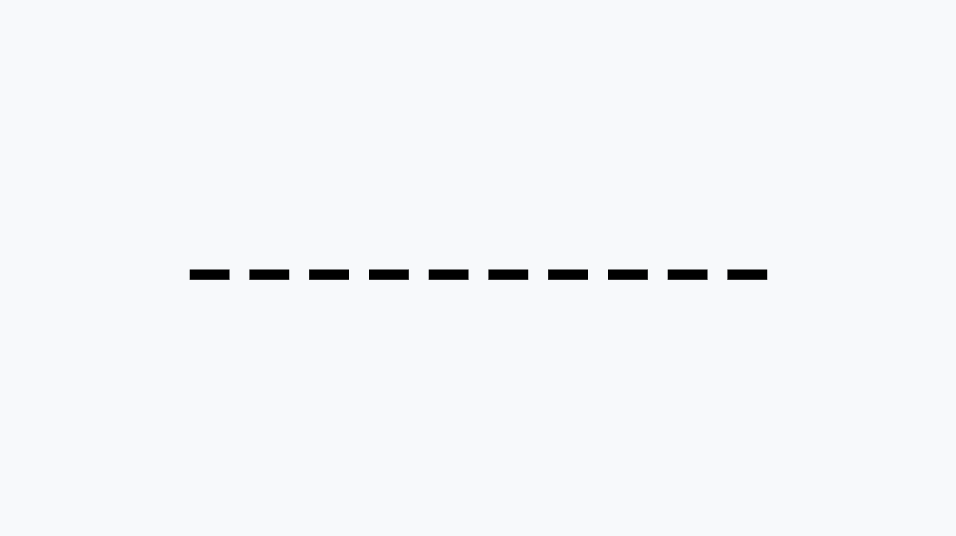
So, how to achieve such a frame-by-frame animation? Take the villain as an example
In the first step, we insert a text box, enter a certain number of “-” symbols.
Then select the text box, click "Format-Text Effects-Convert-Bend" in turn, select the first "Square", Get 10 rectangles of text. 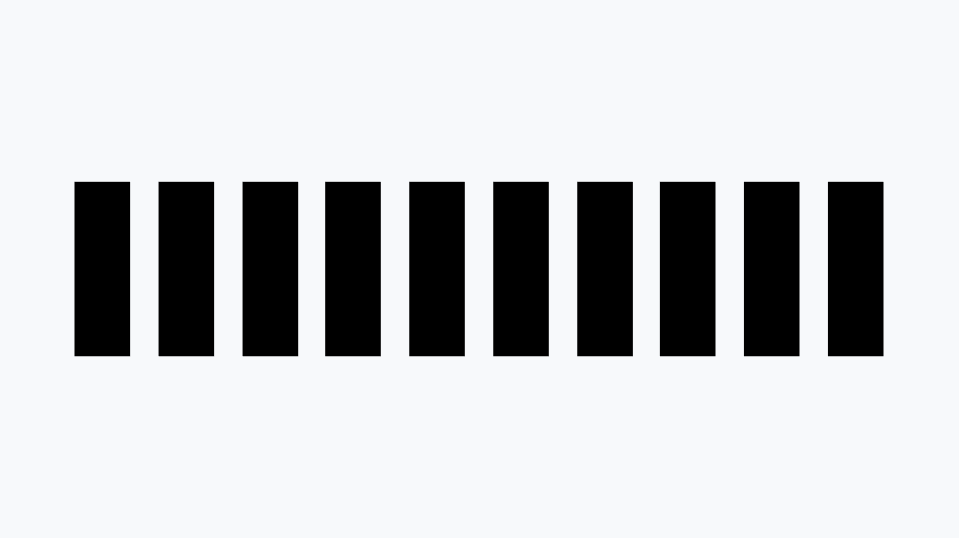
The second step is to fill the prepared pictures into the corresponding rectangular text one by one. 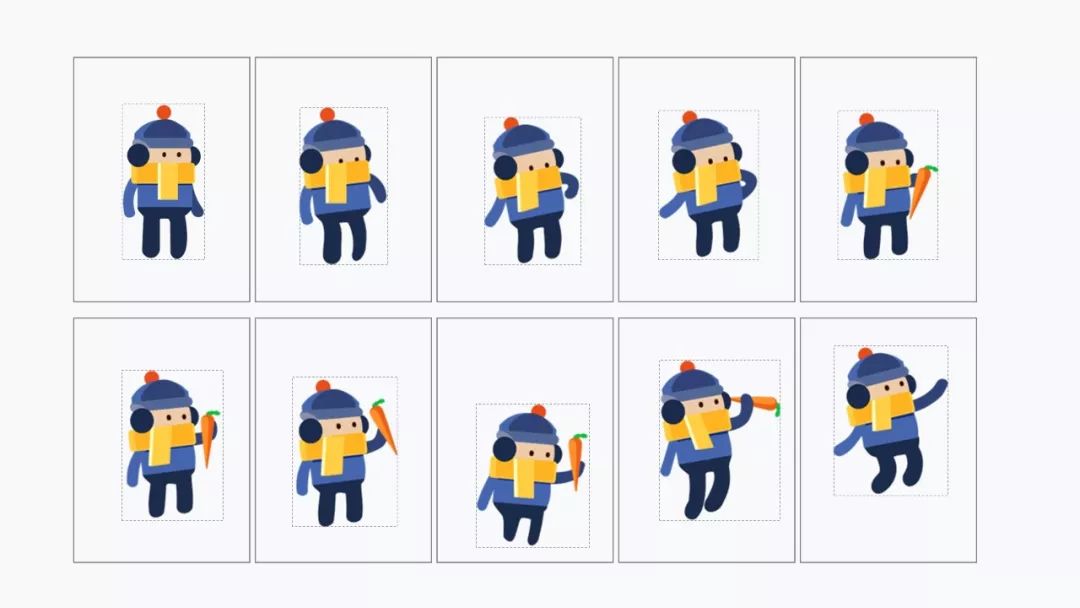
It should be noted here that the center of the filled picture needs to be kept consistent (or the size). For example, in the picture of the villain, because the movement position of the villain needs to be changed, it is necessary to set an animation center for the villain again. How to do it? In fact, just add a transparent rectangle of uniform size behind the villain. 
The third step is to adjust the text spacing, click the filled text box, right click and select "Font-Character Spacing-Spacing:Compression-Measurement: 100"< /strong>, make the rectangles overlap, and then pull the size of the rectangle to make it consistent with the original picture size. 
The last step, we can add animation to the villain. First click "Add Animation-Enter-Appear" to add an entry animation for the villain. Then click "Add Animation-Exit-Disappear" again to add an exit animation. Select the animation, right click to open the animation effect option pop-up window, find the setting text column, select "in alphabetical order Appears" with letter delay seconds set to "0.04s". 
After the settings are complete, set the exit animation to be at the same time as the previous animation, and set the delay time to 「0.04s」. In this way, a moving villain is completed. 
The space is limited, so I only talked about two important animations, but it doesn't matter, the source files are ready for disassembly and learning. How to get the source file Click [Looking at] in the lower right corner, Reply to the keyword [Merry Christmas] in the background to get the source file. Finally, Merry Christmas to everyone, see you next time! < /section>
Articles are uploaded by users and are for non-commercial browsing only. Posted by: Lomu, please indicate the source: https://www.daogebangong.com/en/articles/detail/This%20Christmas%20I%20will%20send%20you%20a%20PPT%20animation%20as%20a%20gift%20tutorial%20%20source%20file.html


 支付宝扫一扫
评论列表(196条)
测试