Hello everyone, the previous article has announced to you that we are going to publish a series of articles to teach Xiaobai to learn how to make PPT systematically
The Xiaobai mentioned here does not refer to students who don’t even know what software PPT is, but friends who have poor foundation, have used the software once or twice, or have never raised their awareness
Unless there are special circumstances, this series will be updated every Tuesday. As you all know, I may be more casual in updating articles, so I don’t plan how many times this series will be updated. It depends on everyone’s acceptance and the number of views of the article to be determined.
Today I will talk about some basic software settings before we officially start PPT production
In fact, there is no difference between PPT designers and those with poor foundation or zero foundation. It’s just that designers pursue higher efficiency, so they will set up some content that can be operated in batches in advance. Today, let’s talk about the Eight Tips to Improve PPT Production Efficiency
01: Settings are automatically saved to avoid computer or software failure
I have written a special article about this part of the content, and here I will take you to review it
First of all, after opening the PPT, click the [File] option in the upper left corner, click [Options] in the pop-up dialog box, click [Save], and change the time interval of saving and automatic recovery to 3-5 minutes

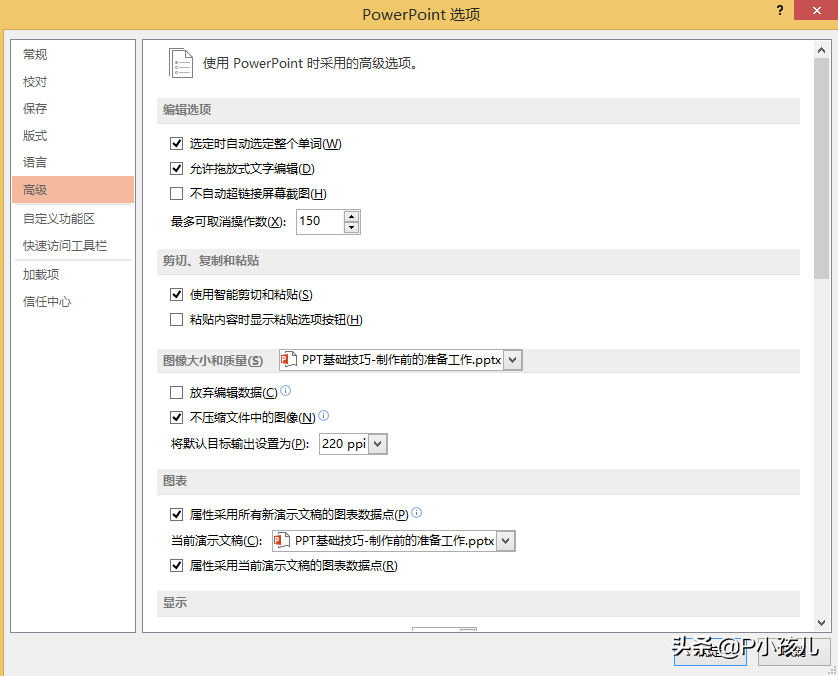
02: Set undo times
When we make PPT, we will inevitably make some wrong operations. At this time, we can use the shortcut key [ctrl] + [Z] to return to the previous operation, press twice to return two steps, and so on
If we make a lot of mistakes, and the number of undoes supported by PPT by default is only 20 times, if it is not enough, we can increase the number of undoes, and PPT supports up to 150 times
Setting steps: through [File] - [Options] - [Advanced], adjust the number of undoable times, the maximum is 150
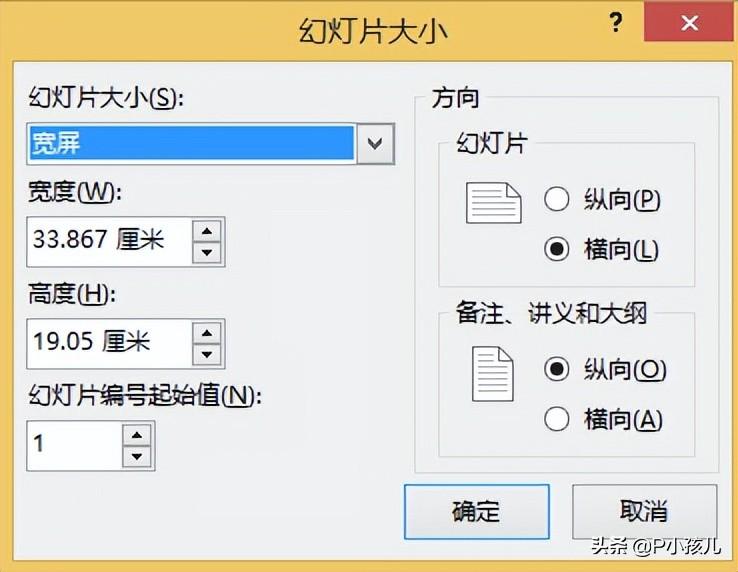
03: Set the PPT page ratio
The most commonly used page ratio is flat 16:9. This is because most of our current screens are 16:9, but it does not rule out that there are some special usage scenarios, such as: widescreen used in press conferences, The previous projection equipment supported 4:3, which is a special ratio for manual or vertical PPT. At this time, we have to adjust the page ratio of our PPT according to the needs of use.
Adjustment steps: Select [Design], click [Slide Size] on the upper right,
At this time, there are three options for us to choose: 4:3 ratio, 16:9 ratio, and a special ratio of [custom slide size]
Click on this tab, we can freely adjust the size and orientation of the page
04: Adjust PPT template and layout
The template is mainly to unify the style of PPT, for example: put LOGO, lines or other content in a fixed position, it would be too time-consuming for us to copy and paste page by page, at this time we only need to operate one page in the PPT template, If all pages use this layout, you will find that all pages have been batch-operated
Operation steps: Click [View], and select [Slide Template] in the pop-up dialog box

PS: If you find that you want to delete some content on the page, but the result cannot be deleted, try opening the slide template at this time
There is one more thing to add here. Many pages in the PPT template have placeholders. It will take time to delete one page at a time. At this time, we must learn to create a blank PPT page.
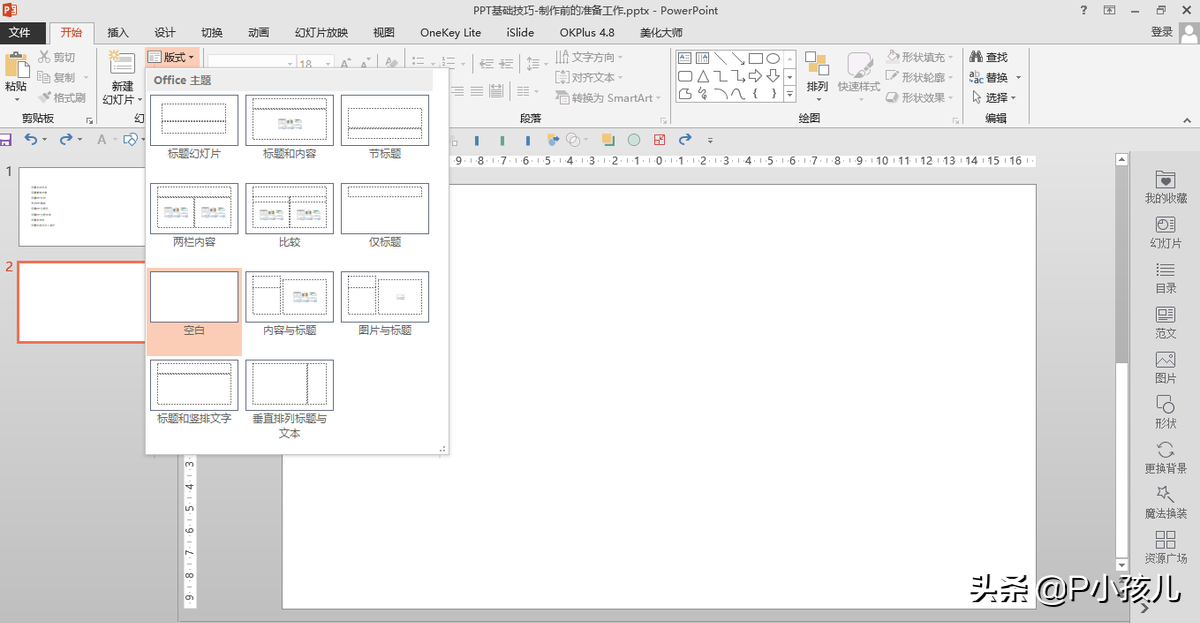
Click the [Start] option, select [Panel] to select a blank template page
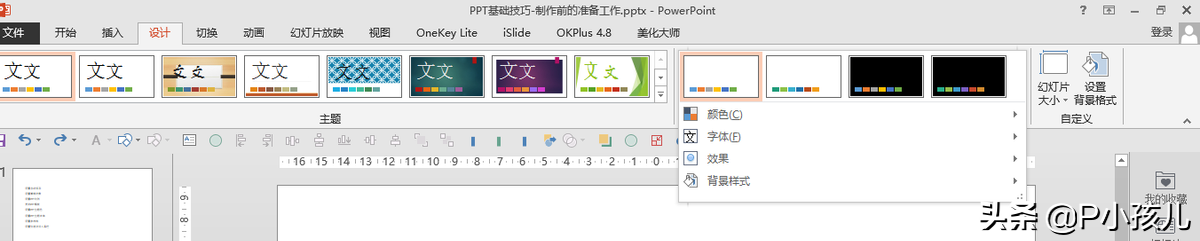
05: Set PPT theme color
The PPT theme color is used in two cases, one is the default fill color when we insert a shape
When we insert a shape, the default fill color of the system is blue, but if we want to make a PPT with a red theme, we need to set the shape to be filled with red. If there are many pages, the operation will be very troublesome
At this time, we adjust the theme of the PPT to red, and when inserting the shape, the default fill color will become red
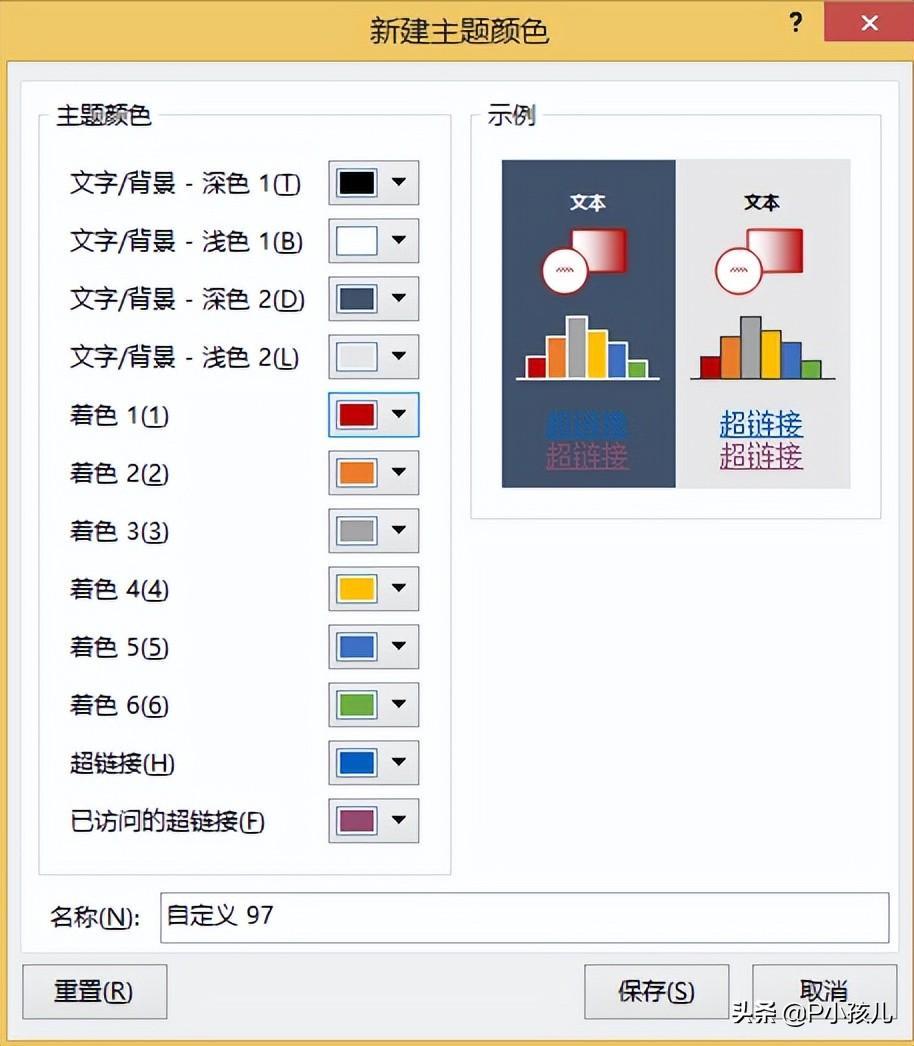
Click [Design], in the variant options bar, find the down sign on the right, click and select [Color], select [Custom Color] to change the color of [Coloring 1] to the theme we want to use color
If all the shapes in your PPT use the default color, when you change the theme color, all the fill colors in the PPT will be automatically changed, which is very easy to use
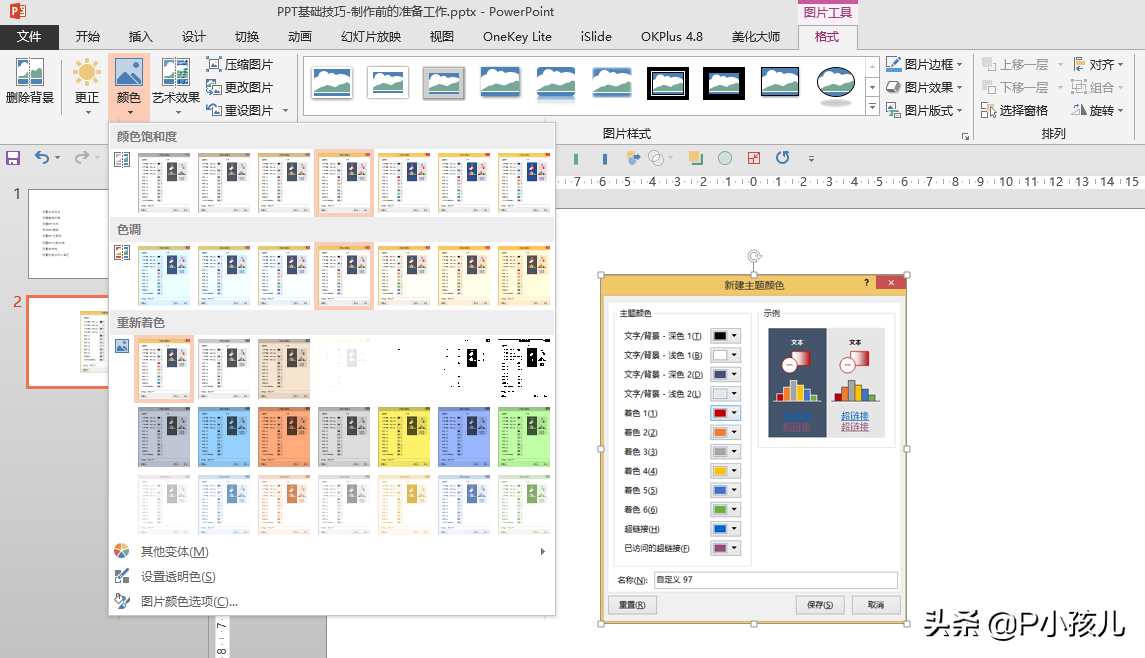
The second situation is that the color tone of the picture we choose does not match the theme color. After changing the theme color, we click on the picture, and in the options of [Format]-[Color]-[Recolor], it will appear A color that is similar to our theme color
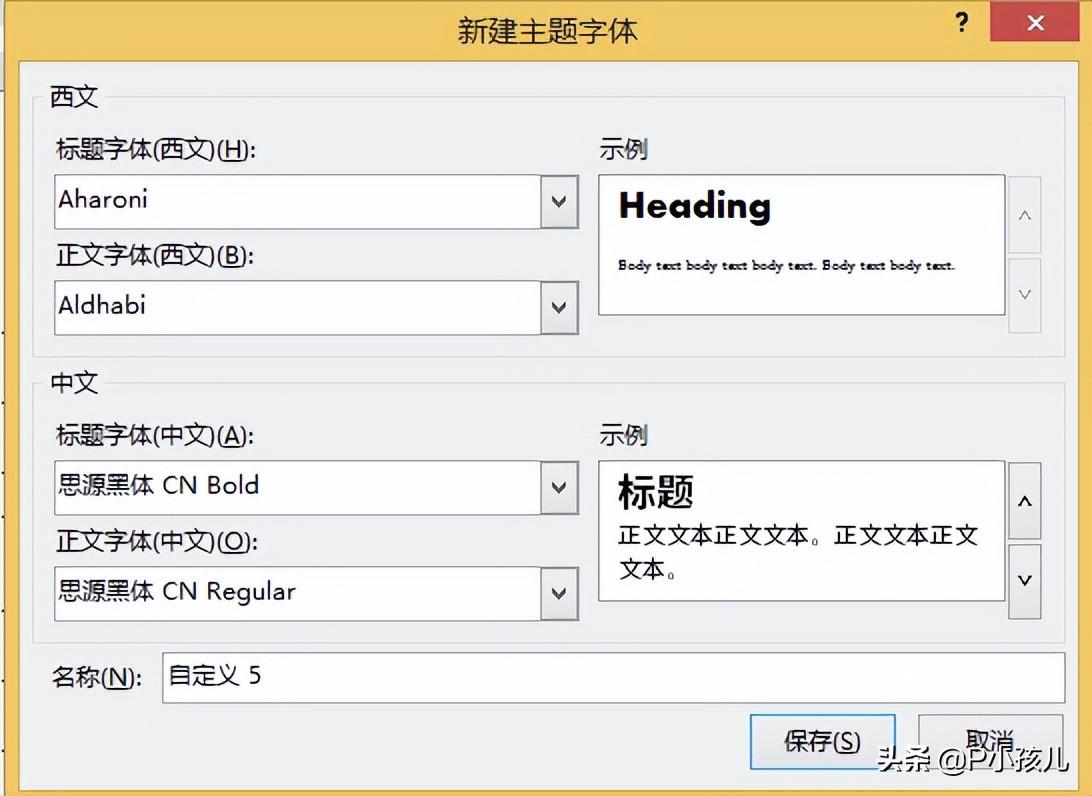
05: Set theme font
Depending on the version of PPT, the font of the default text box is different. The lower version may be Song typeface, and the higher version may be isolinear font. Most of the time, the default font is not what we want to use. At this time, we can adjust the theme font. The font when inserting the text box is changed to what we want to use
Click [Design], in the variation options bar, find the down sign on the right, click and select [Font], select [Custom Font]
Adjust Chinese and Western fonts to the fonts we want to use. This method is also applicable to one-click change of PPT fonts
07: Set guides, alignment of auxiliary elements
I wrote an article about the unity of the entire PPT, which mentioned the consistency of the title position and the layout
There is also the importance of "alignment" mentioned in the article on design principles, both of which we can achieve by setting reference lines
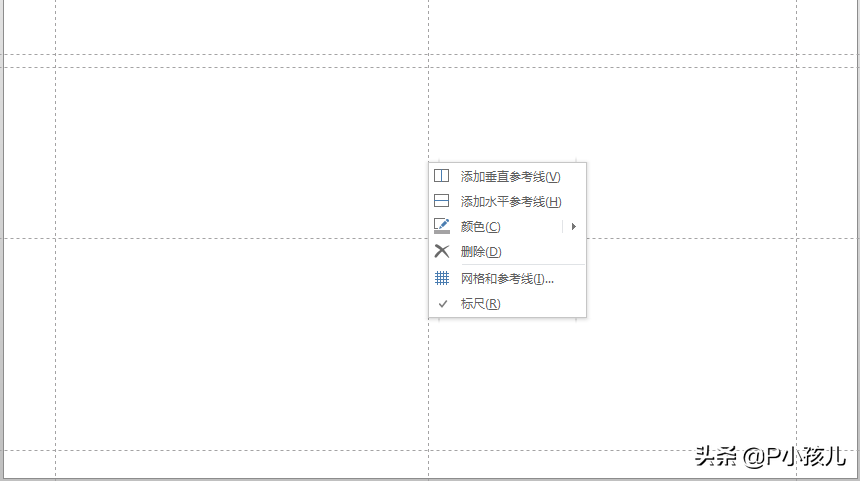
Click [View] and check "Reference Line" in the [Display] tab to display the guide line. Shortcut key: ALT+F9
At this time, there will be two horizontal and vertical reference lines aligned with the center points by default. Place the mouse on the reference line and right-click, select Add Horizontal/Vertical Guide Line, and drag it to the position we want to align with the mouse.
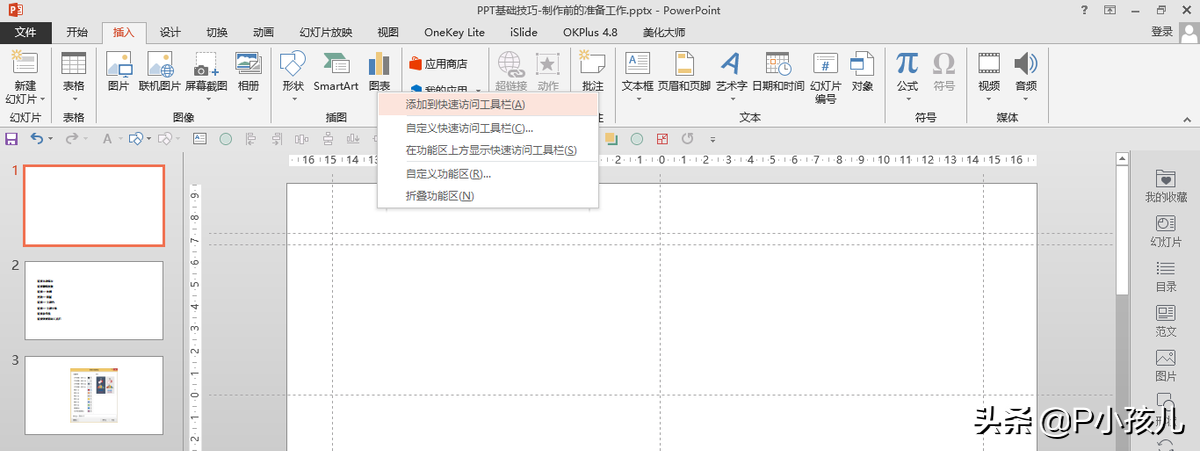
08: Quick Access Toolbar
This is an artifact that doubles your PPT production efficiency, not an exaggeration at all
Set some commonly used operations (insert shape, rotation, alignment, etc.) to the quick access bar, which can be called quickly when making a PPT, without the need to search layer by layer in the tabs.
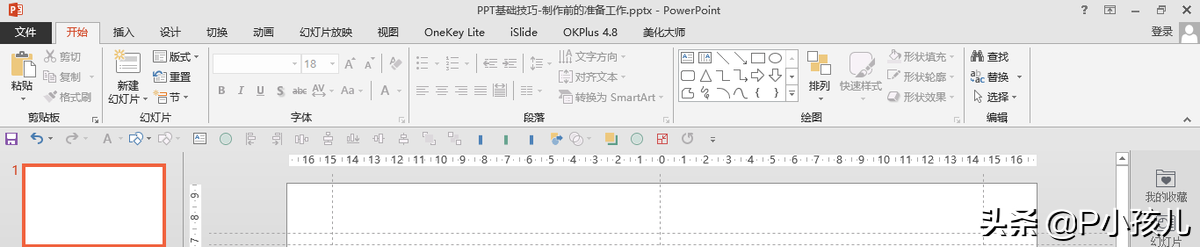
The bottom row is the Quick Access Toolbar
The setting method is very simple, just right-click on the one you like, and select [Add to Quick Access Bar].
That's all for today's article
If you are a PPT novice and want to learn how to make PPT, I hope that when you read the article, you can follow the operation while watching it, which can assist memory
Continue to pay attention to P children, let's improve together
I'll be cheap next time~
Articles are uploaded by users and are for non-commercial browsing only. Posted by: Lomu, please indicate the source: https://www.daogebangong.com/en/articles/detail/The%20first%20lesson%20of%20PPT%20selfstudy%20before%20doing%20PPT%20these%20functions%20must%20be%20set%20up.html
 支付宝扫一扫
评论列表(196条)
测试