Today I would like to share with you a tutorial on how to create a cool brush character effect. The effect is very good! I hope it will be helpful to friends who are learning font design! At the end of the article, the materials required for this tutorial are attached. Friends can download and practice!
Recommended reading "Cool Lighting Effect Online Creation Tool"
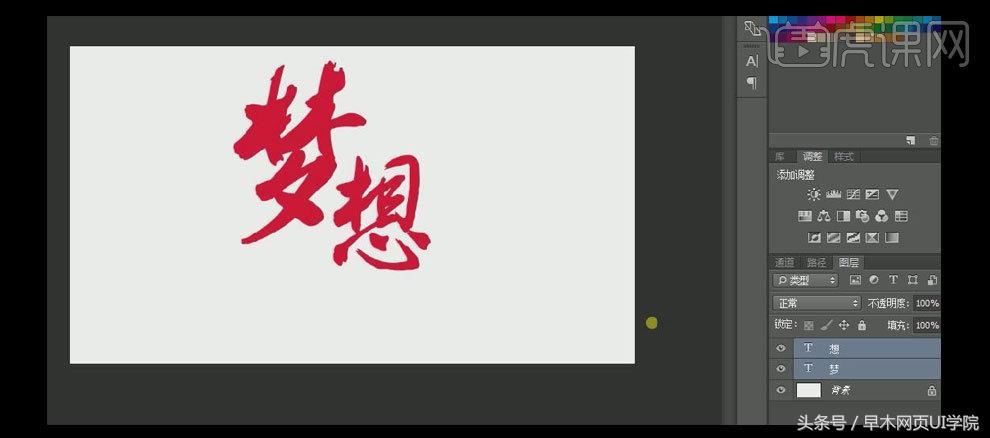
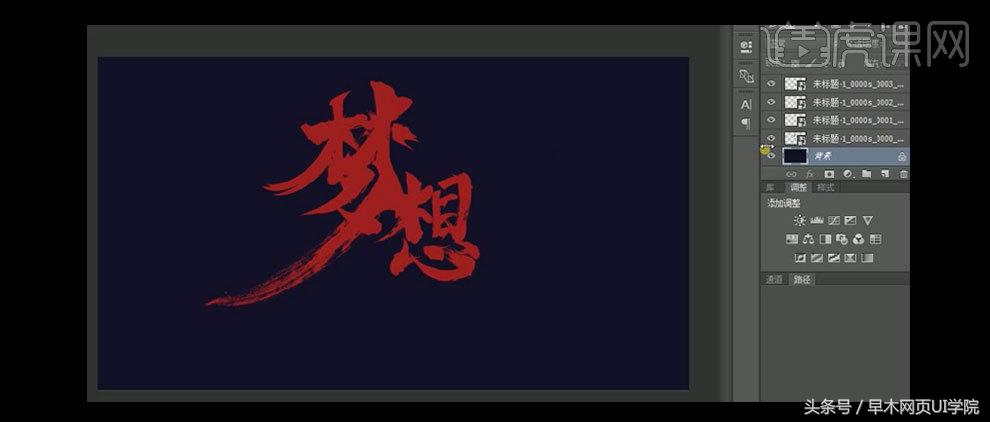
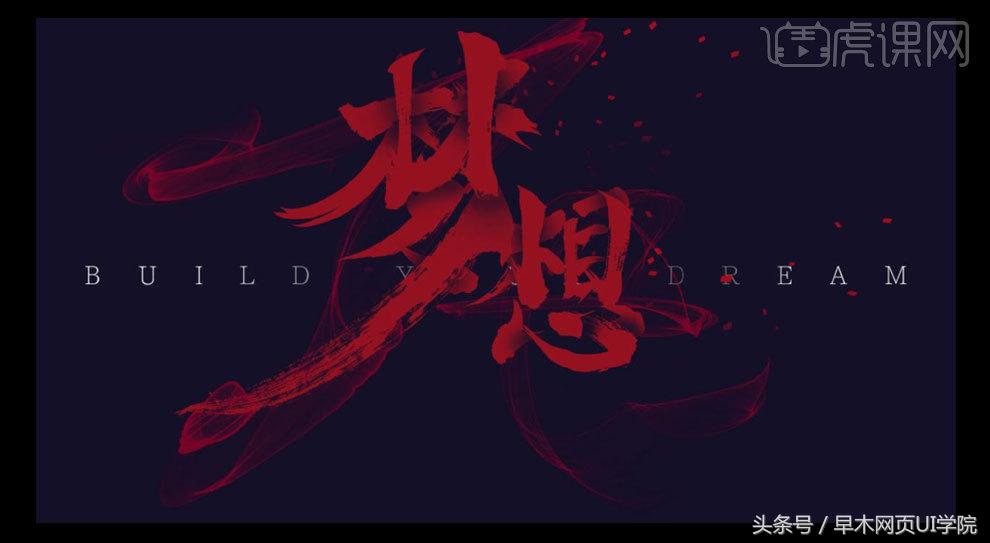
Let's first look at the final effect

1. [Open] PS software, [Create] a canvas of any size. The specific effect is shown in the figure.

2. Select [Text Tool], [Font] Founder Enlightenment, [Color] Red, enter the text in sequence, press [Ctrl+T] to freely transform, and arrange it to a suitable position. The specific effect is shown in the figure.
3. [Open] the stroke material, [Select] the appropriate stroke, [Drag] to the document, press [Ctrl+T] to transform freely, and place it in a suitable position on the screen. The specific effect is shown in the figure.
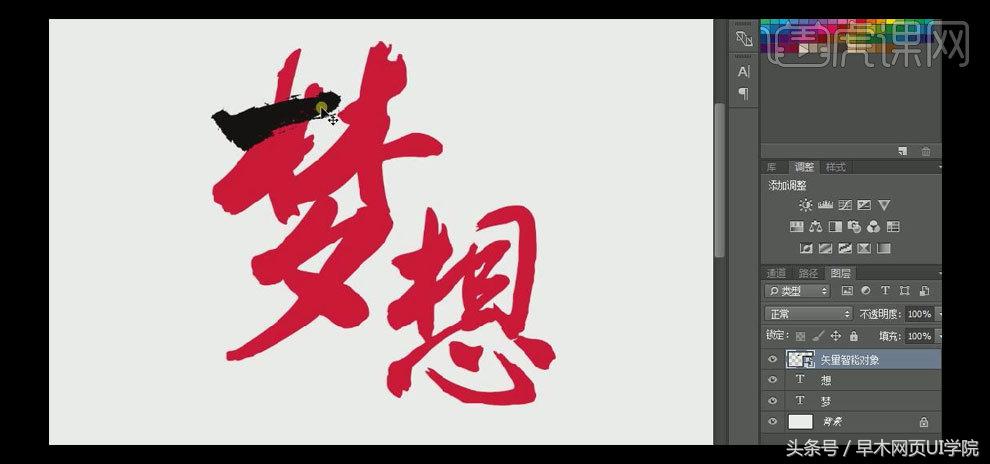
4. Using the same method, select a suitable stroke, press [Ctrl+T] to transform freely, and place it in a suitable position on the screen. The specific effect is shown in the figure.
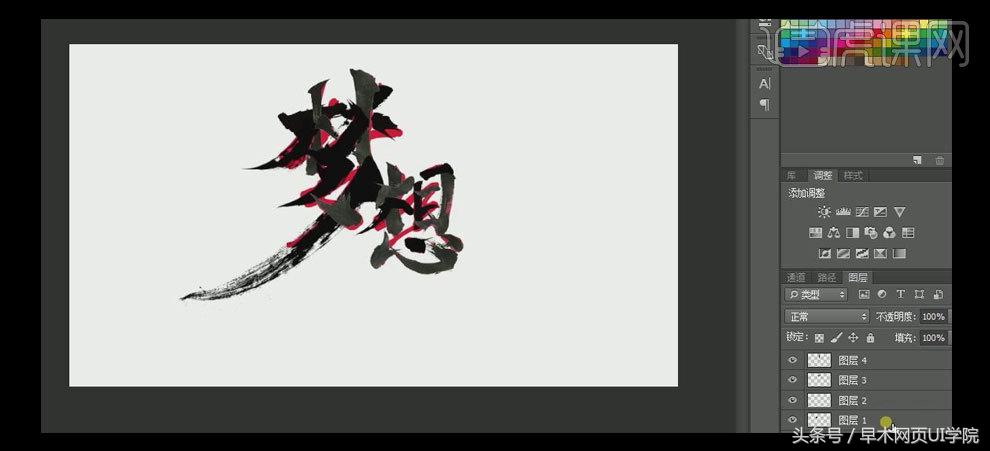
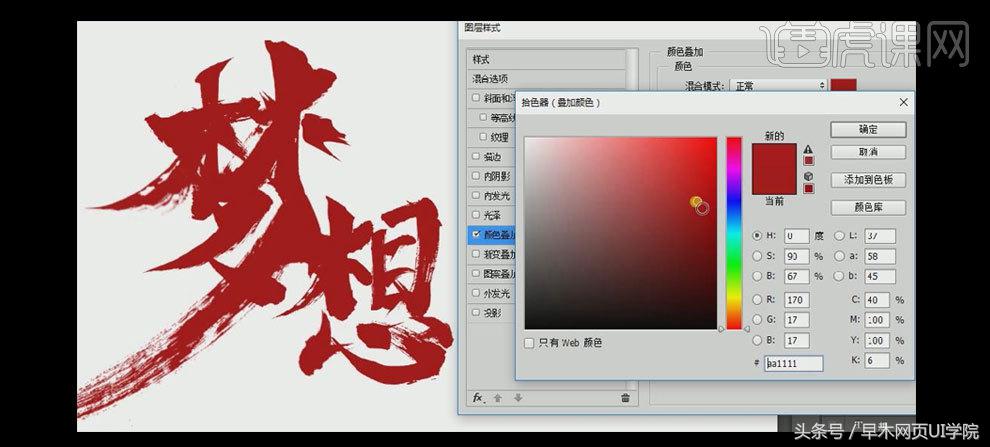
5. [Close] the text layer, [Select] all stroke layers, press [Ctrl+G] to group, open [Layer Style] - [Color Overlay], the specific parameters are as shown in the figure. The specific effect is shown in the figure.
6. [Click] File - [Export] - [Export Data Group as a File], [File Type] PNG, [Transparent Background]. First [drag in] the white base plate, and then [drag the stroke file] into the screen, and place it in a suitable position on the screen, select [background layer], [fill] dark blue. The specific effect is shown in the figure.
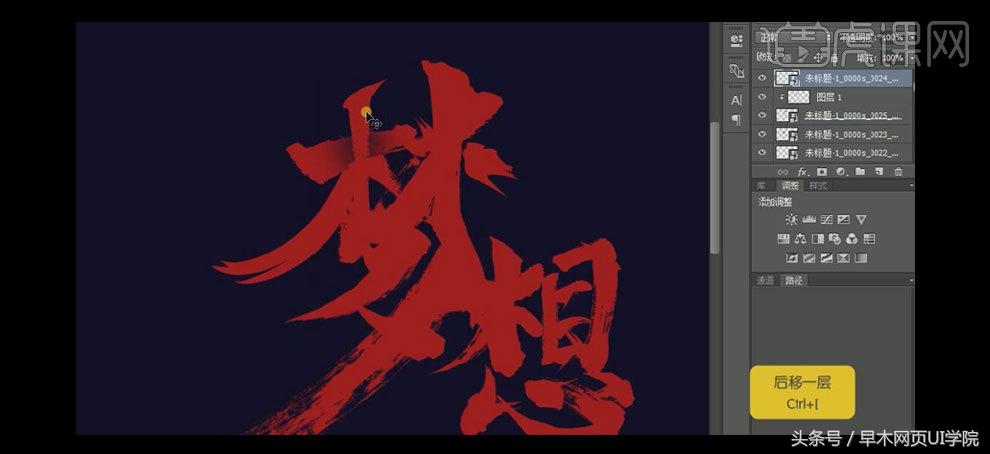
7. [Select] the horizontal stroke layer of Mengzi, [New] layer, press the Alt key and click [Create Clipping Mask], select [Brush Tool], adjust the appropriate flow and transparency, and create a suitable horizontal stroke Paint the position, press [Ctrl+[] to move back one layer. The specific effect is shown in the figure.
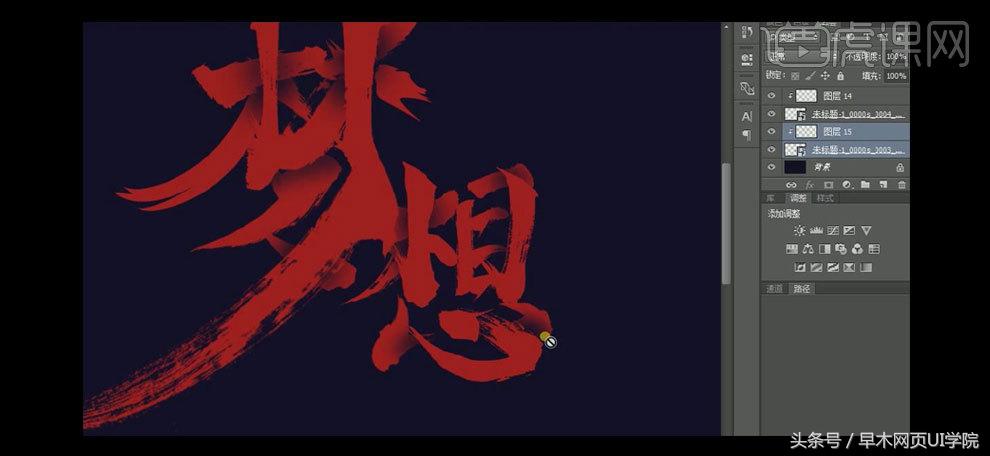
8. Using the same method, add the same effect to the other stroke layers. The specific effect is shown in the figure.
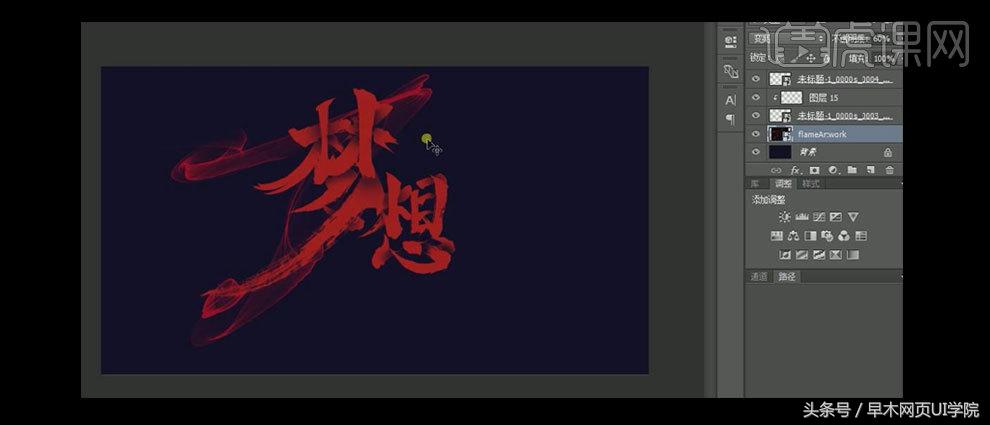
9. [Open] the glare production software, create a suitable effect and save it. [Drag in] the glare file, brighten the [Layer Mode], and [Opacity] 60%, press [Ctrl+T] to transform freely, and place it in a suitable position on the screen. The specific effect is shown in the figure.
10. Use the same method to create a glare effect, and [drag it into] a suitable position on the screen. Select [Text Tool], enter auxiliary text, select a suitable font, [Color] white, press [Ctrl+T] to freely transform, and place it in a suitable position on the screen. The specific effect is shown in the figure.
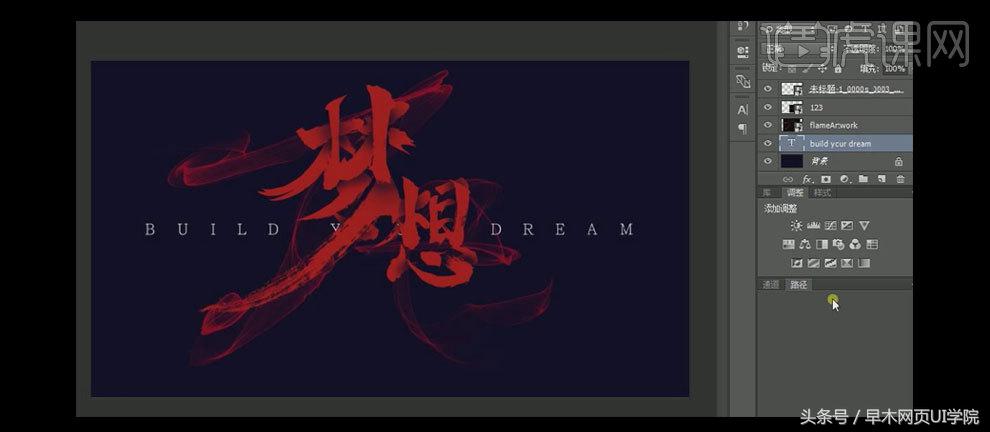
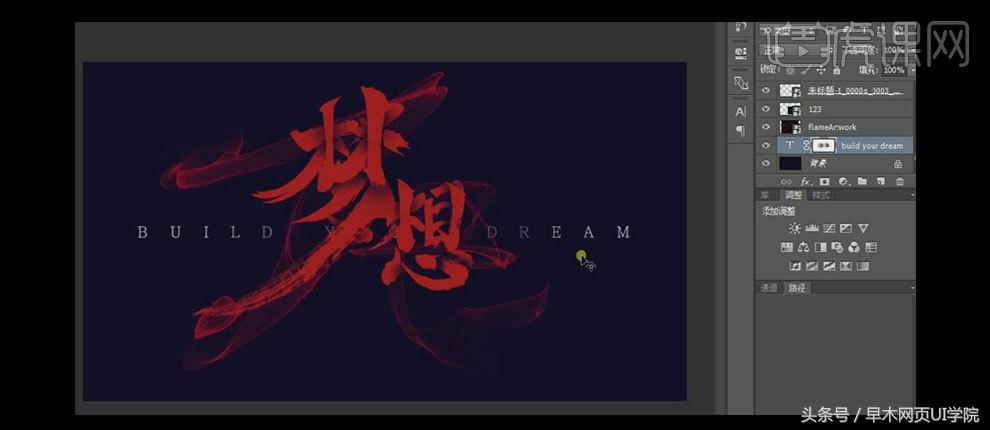
11. [Select] the English layer, [Add] the layer mask effect, select the [Brush Tool], and lightly paint on the appropriate position of the screen. The specific effect is shown in the figure.
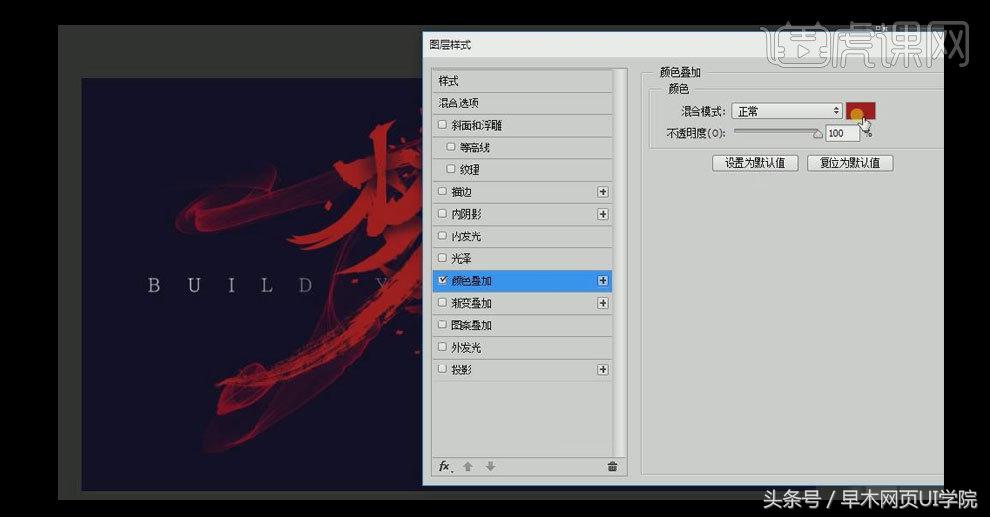
12. [Drag in] the decorative material, open [Layer Style]-[Color Overlay], the specific parameters are as shown. The specific effect is shown in the figure.
13. [Add] layer mask effect, select [Brush Tool], and paint the redundant part of the picture. The final effect is as shown in the figure.
Tutorial material display:
Add group 587751709 if you need material practice
Articles are uploaded by users and are for non-commercial browsing only. Posted by: Lomu, please indicate the source: https://www.daogebangong.com/en/articles/detail/Text%20effect%20PS%20making%20cool%20calligraphy%20tutorial.html
 支付宝扫一扫
评论列表(196条)
测试