Font used: The Historia
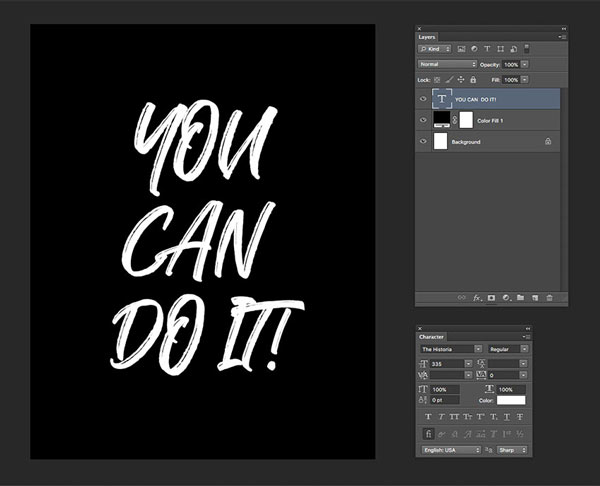
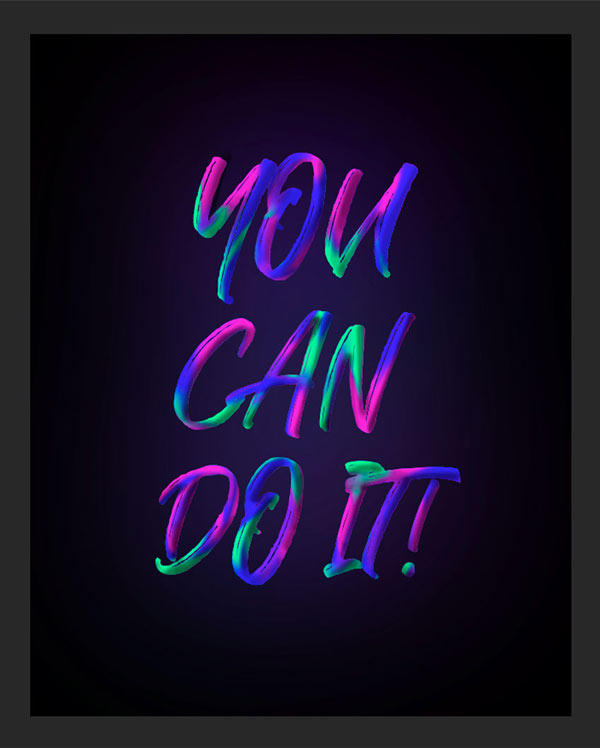
1. Create a new layer and fill the background color with black. Enter the text "YOU CAN DO IT". The font size can be set larger.
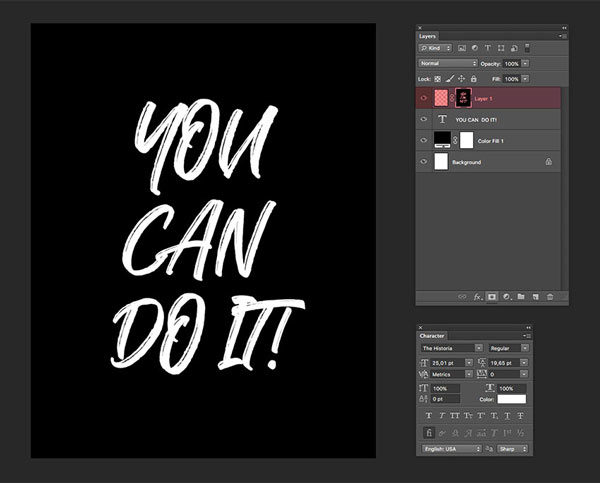
2. Hold down the Command key and click the "text" layer to keep it active, then create a new layer and add a layer mask, then the text will be used as a mask.
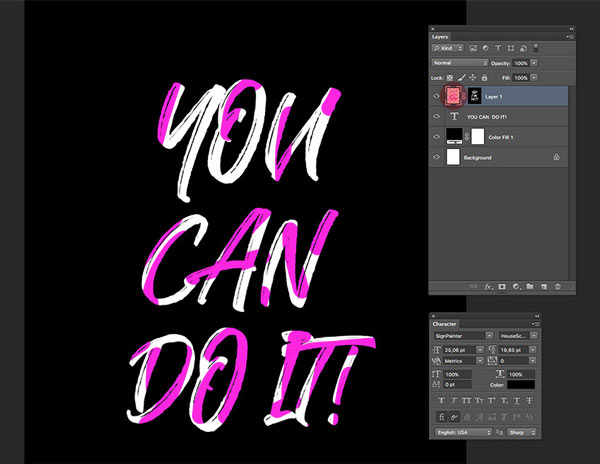
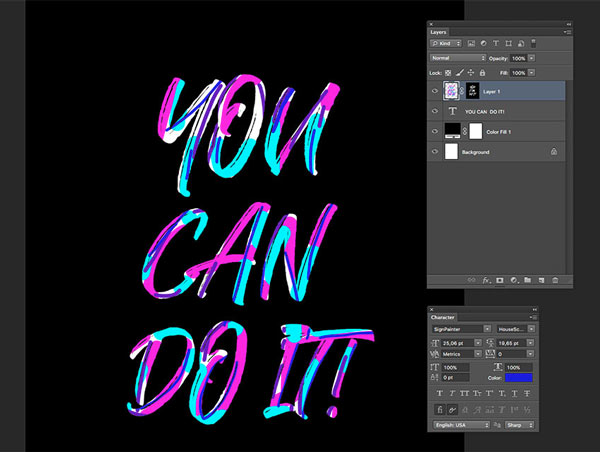
3. Select the "Brush" tool, right-click on the artboard and set the brush size to 45 pixels, set the hardness to 100%, double-click the foreground color and set it to #f600d4, brush over the text Through a different color, make sure to select the regular layer and not the layer mask, as shown in the image below.
4. Change the brush size, and use different colors to brush back and forth on the text, cyan: #00f0ff,Purple: #6017b4,Blue: #2300d7, It looks ugly at this time, but Don't worry, adjustments will be made later.
Step 4
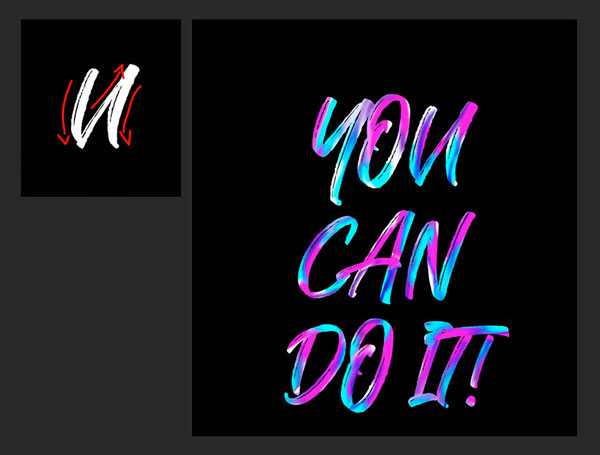
On the same layer, go to the tool bar and select the smudge tool, right click on the brush and select size as the width of the letter stroke, on the options bar, set the intensity to 20%, you can smudge any color The letters blend them together, trying to follow the strokes of the strokes. For example, the callout for the letter U on the left image.
5. Repeat step 4 to refine the letters. This time, we will brush over the white parts, adding a green color to cover them.
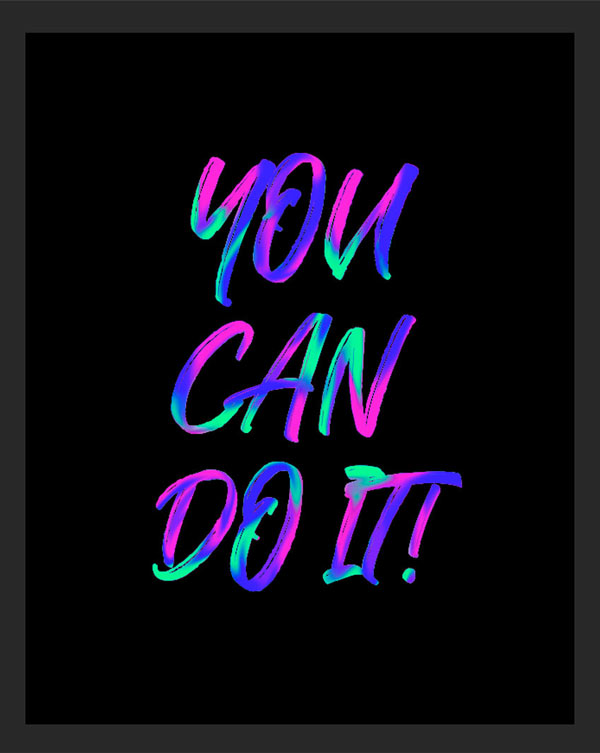
6. In order to make the letters more three-dimensional, we add shadows to the parts blocked between the letters. At this time, create a new mask layer, just like we did in step 4. Set the Foreground to black and pick the Brush Tool (B), set the Brush Size to 40 px, the Hardness to 0% and the Opacity to 10%, brush over the sides of each letter that you want to shadow.
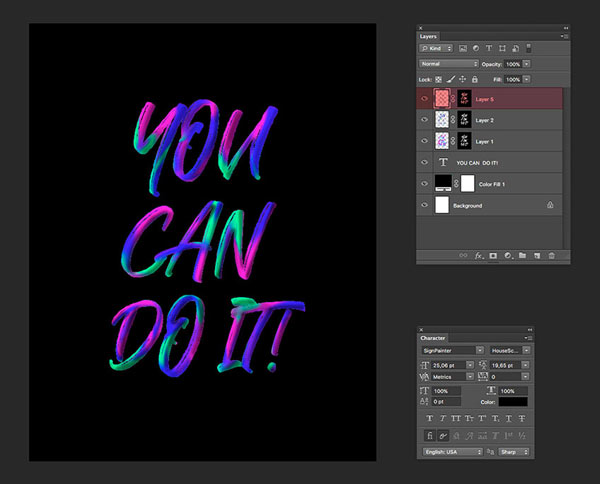
7. In this step, we will make some reflections on the background, copy all the used color layers and merge them, then select Blur-Gaussian Blur, copy the blur layer and merge it with the original layer .
8. Copy some shadows to make the effect stronger, and then go to Filter-Noise-Add Noise to make the background richer.
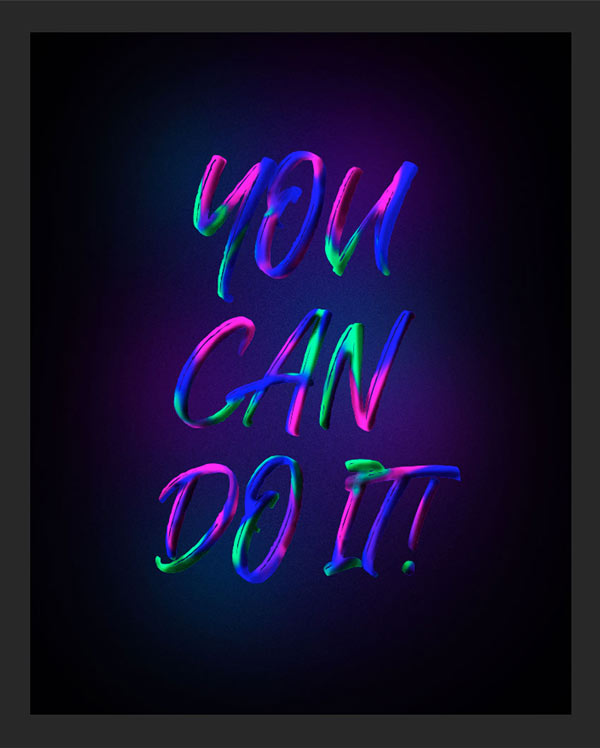
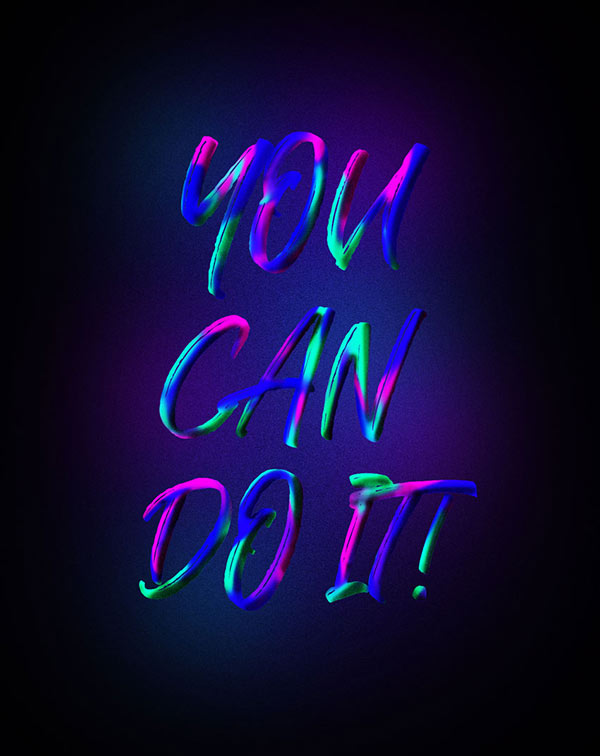
9. Finally, let's add an adjustment layer, adjust the overall tone and it's ok.

Hope to shoot
Articles are uploaded by users and are for non-commercial browsing only. Posted by: Lomu, please indicate the source: https://www.daogebangong.com/en/articles/detail/Teach%20you%20to%20use%20PS%20software%20to%20make%20a%20color%20paint%20font%20effect.html
 支付宝扫一扫
评论列表(196条)
测试