Hello, everyone, my name is Xue Hai.
Everyone knows to do wellThe cover is very important. The cover determines the tone of a PPT. A good-looking cover can catch the audience's attention strong>, so how can the cover be made with a sense of luxury?
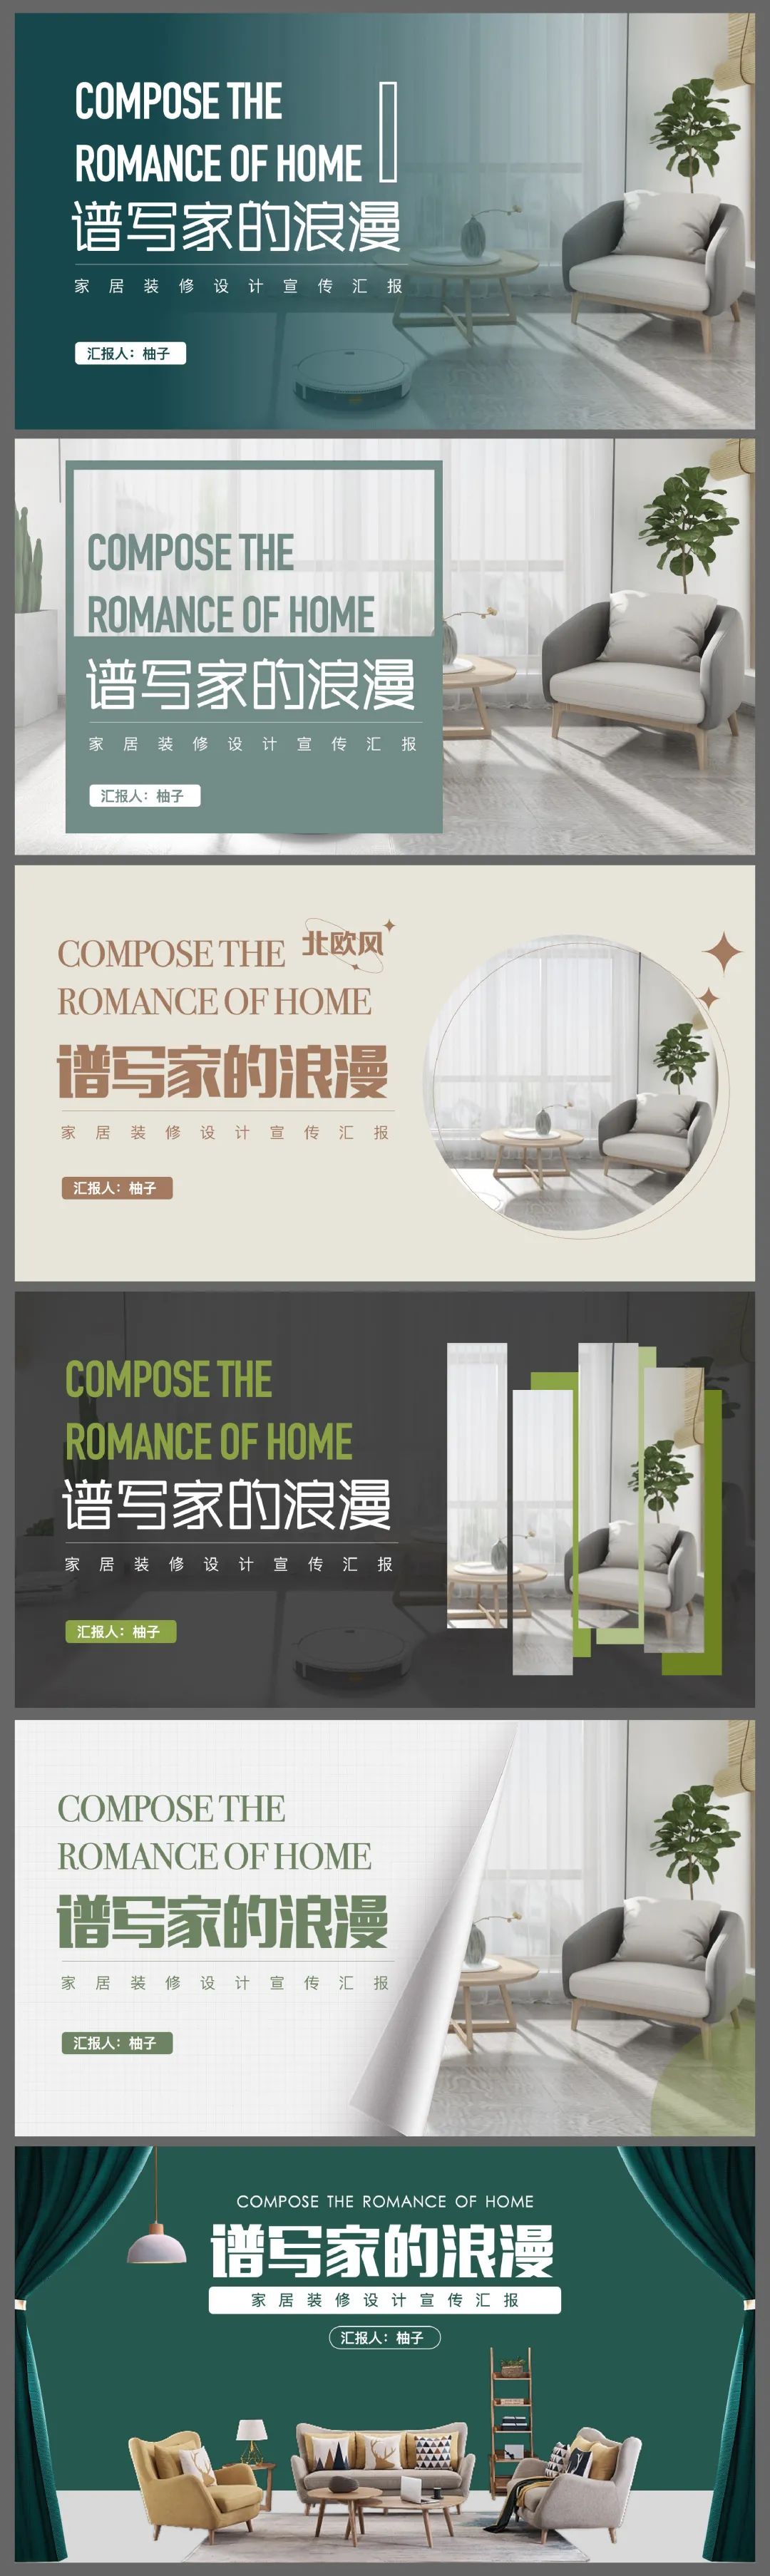
Today I will bring you a modification case about the cover. The operation is very detailed and practical.
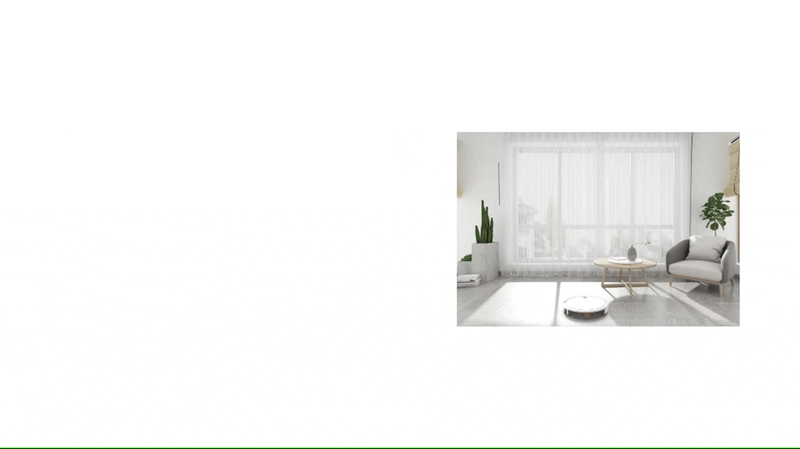
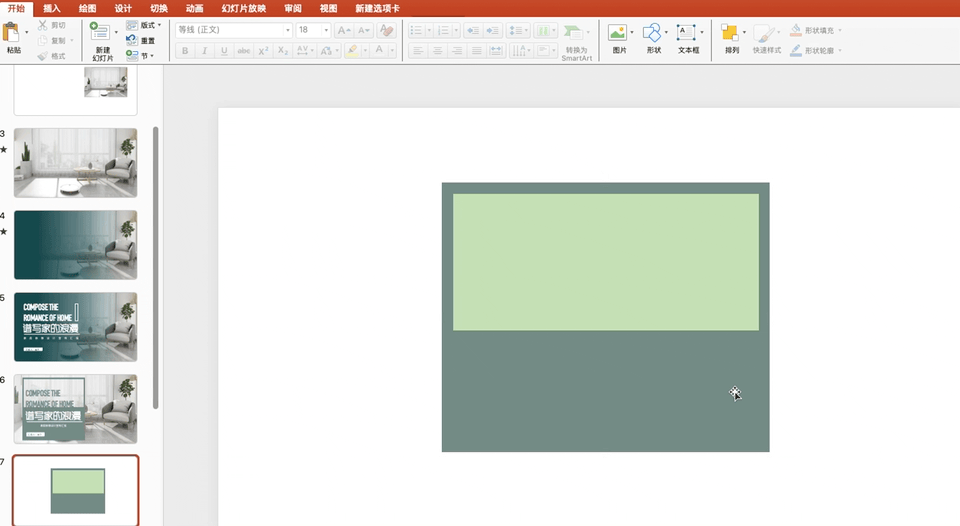
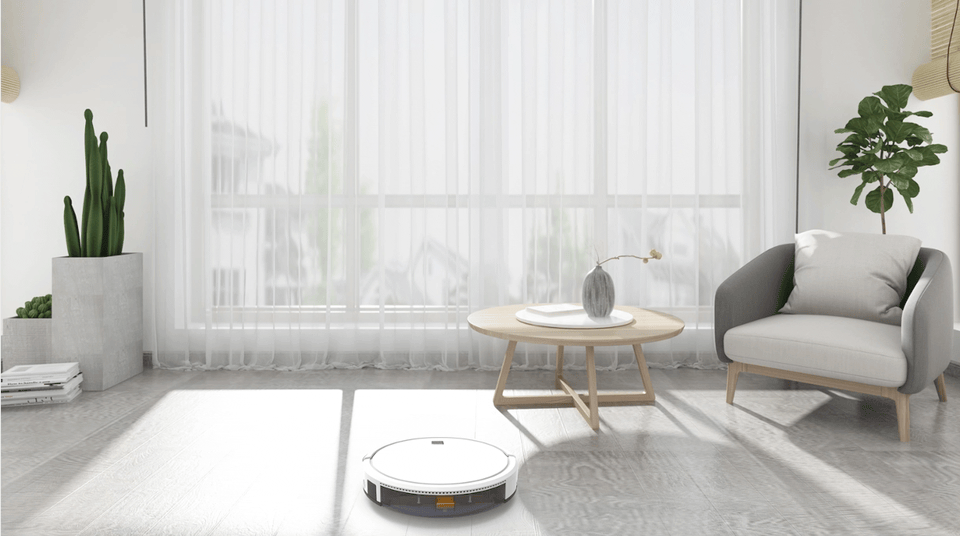
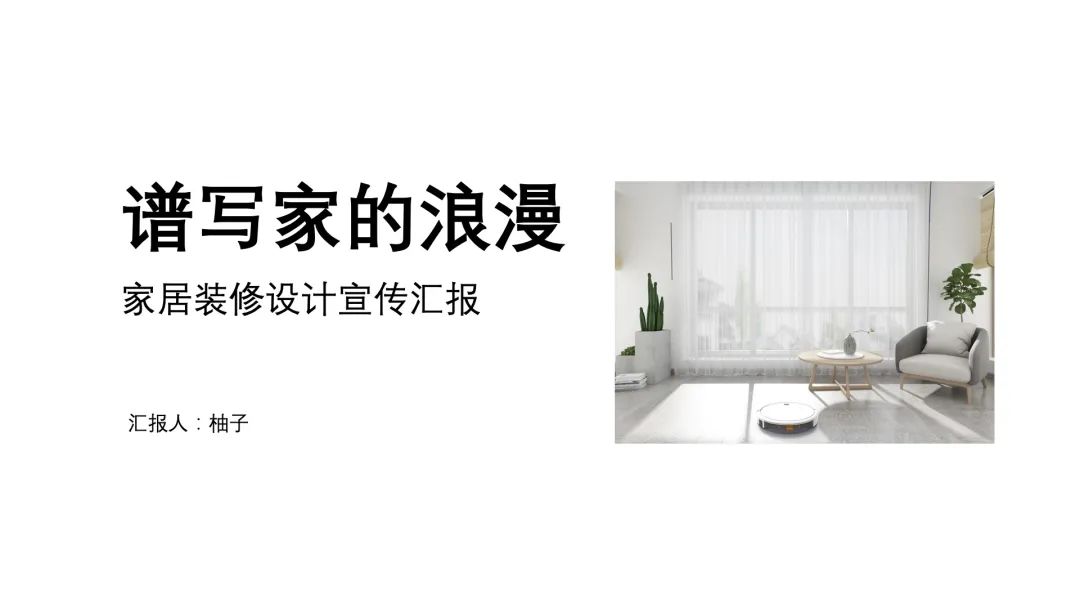
Let’s take a look at the original page first:

01
Making a cover is actually very simple, just typesetting the copy and matching it with a picture and it’s OK .
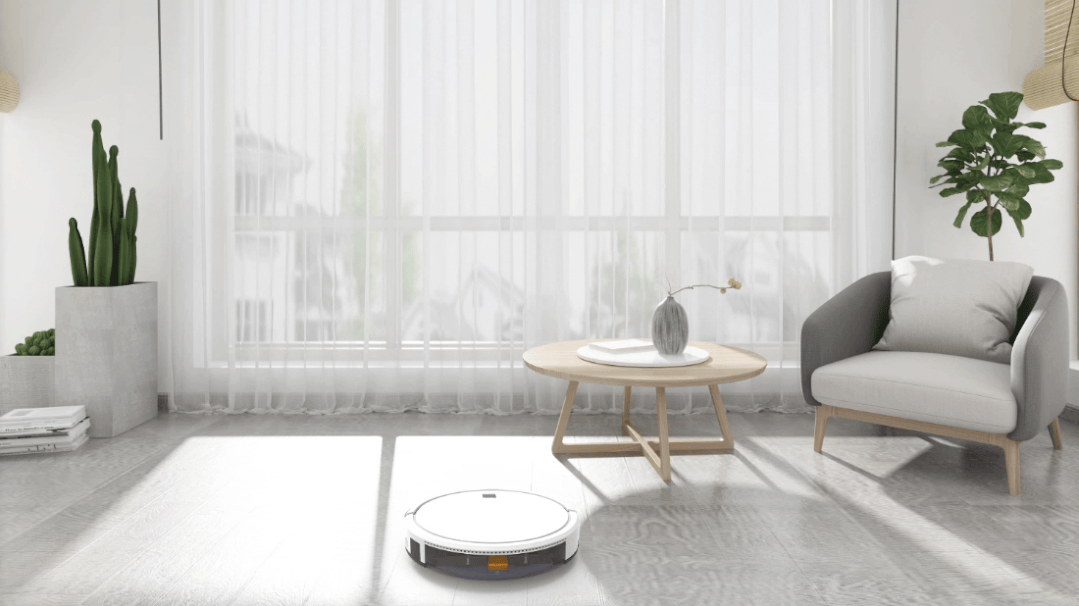
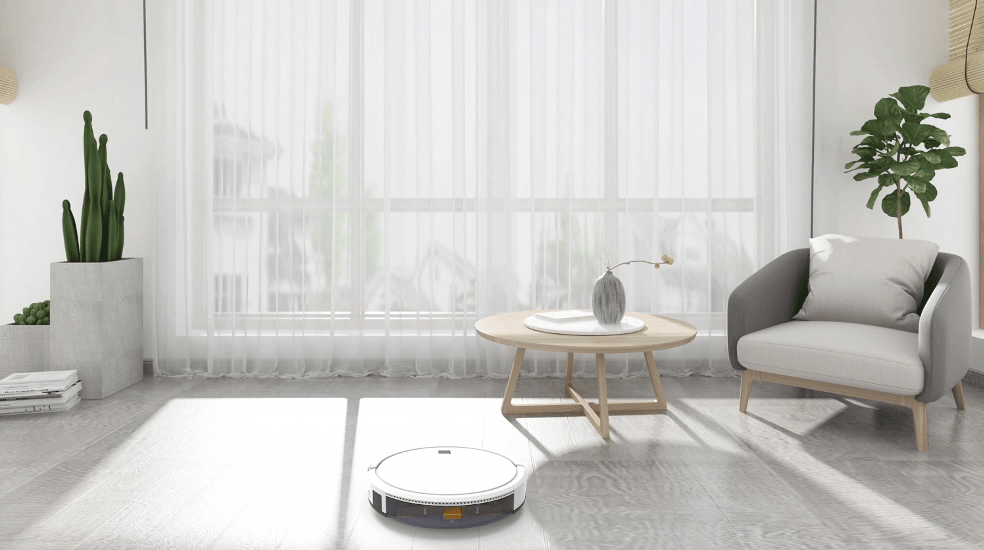
First of all, let's process the image, enlarge the image to the entire page, and crop the redundant part.
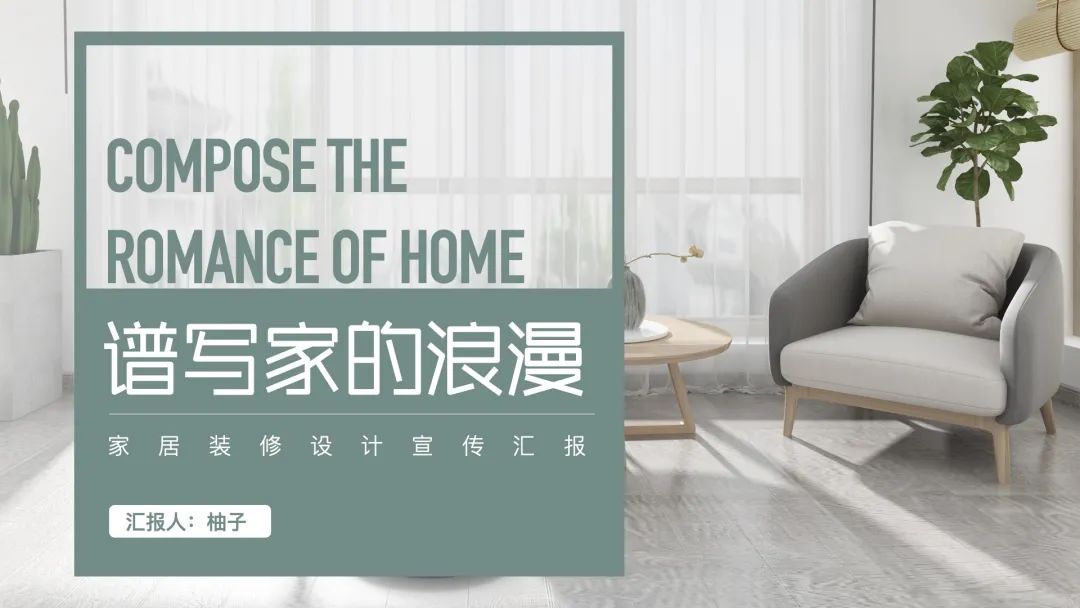
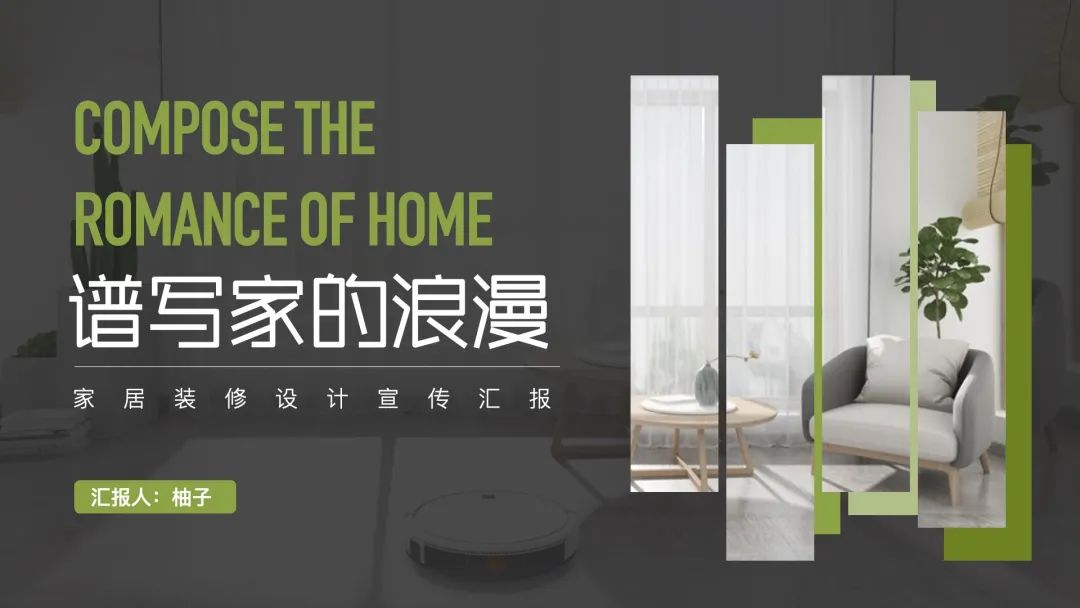
The easiest way to become advanced is to add a mask, I added a left to Gradient mask with increasing opacity on the right.
Generally, the alignment of the cover text is "left alignment" and < strong>"Center Alignment", less right-aligned.
Let's adjust the font size and alignment of the copy.
A simple and atmospheric cover page is ready.

02
In addition to adding masks, you can also use color block layout.
I made a hollow rectangular frame to carry the text, which is more creative.
This cutout rectangle is also very simple to make.
Just draw two rectangles of different sizes, and then click【Merge Shape】 strong>cut] option, you can get a hollow shape.
03
What if your picture is not suitable for covering the entire page?
Then we can change the shape of the image.
For example, you can cut the picture into a circle, and then decorate it, which is also very textured.

Careful students may see that I used a four-pointed star shape here, how to make it What about?
The operation is also very simple:
First draw four circles, select [Combine in [Merge Shape] /strong>].
Then draw a square, select two shapes, and [cut] to complete.
04
In addition to circles, we can also make various irregular and creative graphics.
Add a translucent black mask first, then use a rectangle Arrange the shapes and then fill them into the picture, and then overlay a few color blocks at the bottom of the picture to increase the layering of the page.
The text layout is placed on the left side, and the effect is also very advanced.
05
In addition, I also made a cover with the effect of page turning three-dimensional.
The page turning effect is also very good. I found a png picture of folding page< from a material website /strong>, and then I draw a rectangle on the left side, edit the vertices, adjust the side length, and combine the two to get a flip page.
Add the above text, draw two circles in the lower right corner, and set the transparency. Isn't it super textured.

06
If you don’t want to use left and right typesetting, we can also center typesetting.
Here I first build a scene with the material.

Then typesetting the copy in the center, such a beautiful PPT cover will be fine.

Look at the PPT comparison before and after modification~
Before modification:
After modification:
The above is all the content shared today.
Don't just bookmark, remember to help me"Forward" "Share " click~
Articles are uploaded by users and are for non-commercial browsing only. Posted by: Lomu, please indicate the source: https://www.daogebangong.com/en/articles/detail/Such%20an%20advanced%20PPT%20cover%20I%20made%20six%20in%20one%20go.html
 支付宝扫一扫
评论列表(196条)
测试