1. Create text
Create a 1500*1000px canvas filled with white. Use the uppercase font of Peace Sans Regular, and set the font size larger to show the details better. Here set the font size to 500pt and font spacing to 100. You can also set the spacing of other values according to your preferences.

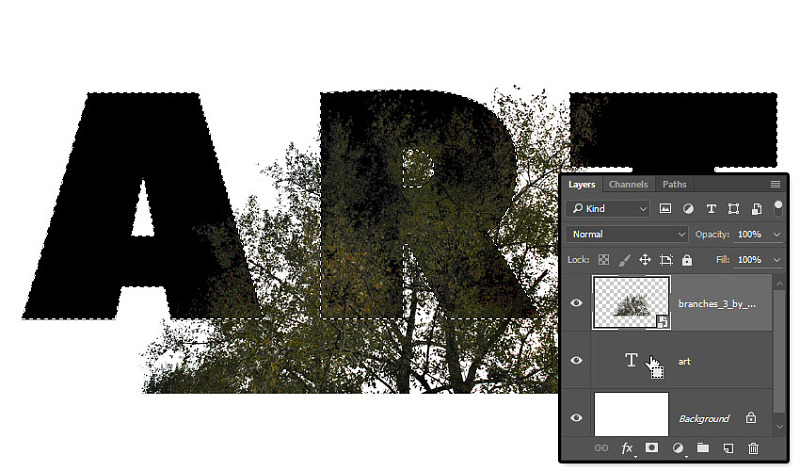
Place the image of Branches above the text layer and resize it as needed.
2. Create text
Hold down the Command key and click on the thumbnail of the text layer to create a selection.
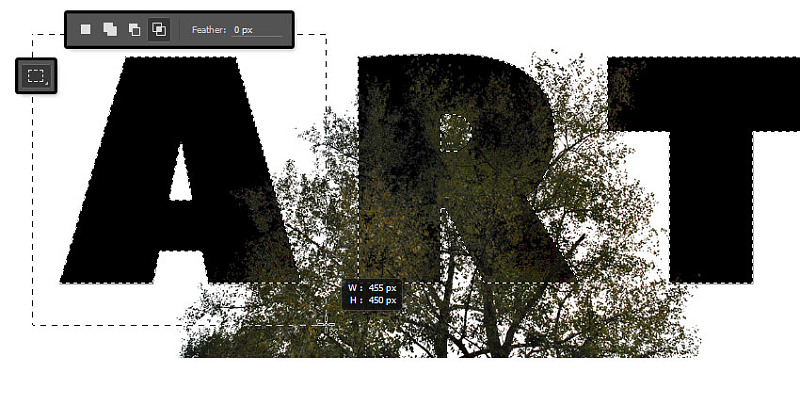
Select the Rectangular Marquee Tool and click the Intersect with Selection button in the Options Bar. Click and drag to select the first letter and release the mouse.
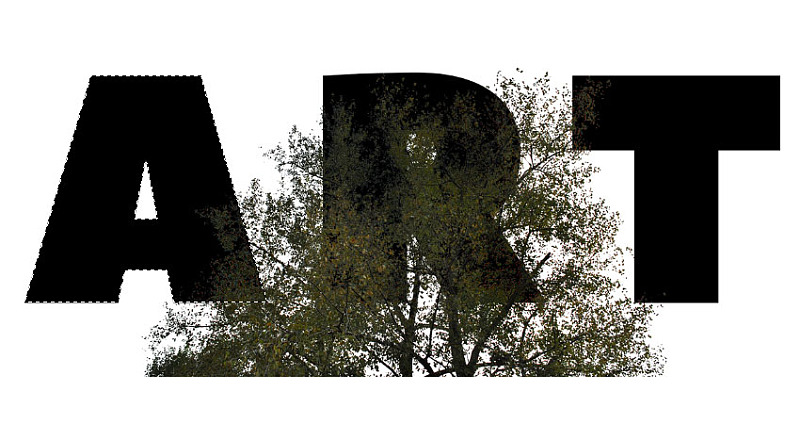
Click and drag to select the first letter and release the mouse.
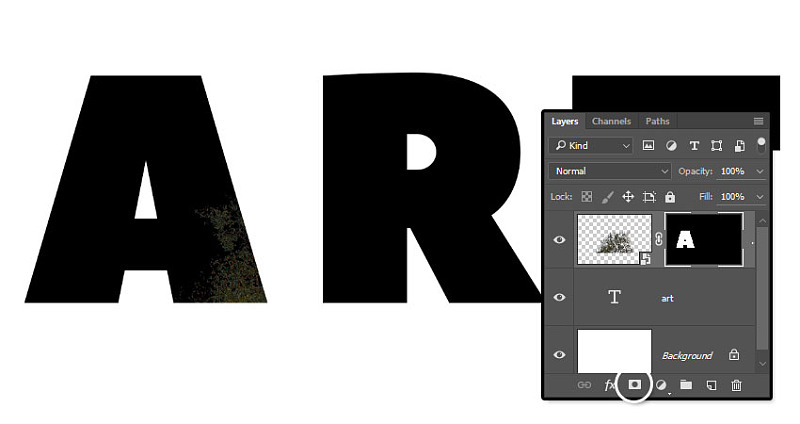
Select the branches layer and click the layer mask button at the bottom.
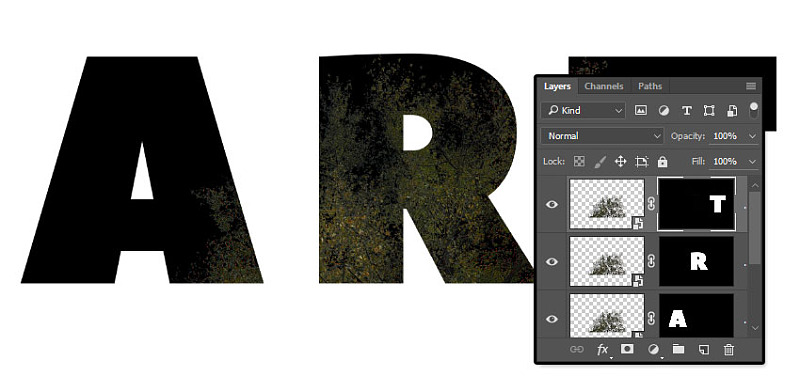
Copy branches and repeat the above operation.
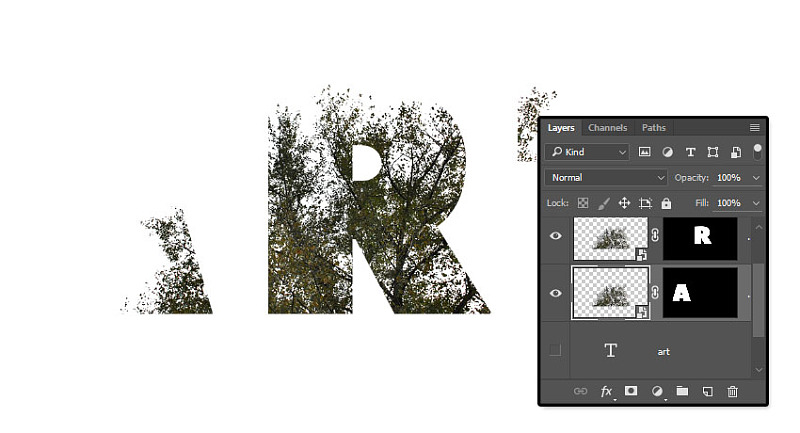
3. Adjust the position of branches in the text
Click on the eye in front of the text layer to make it invisible.
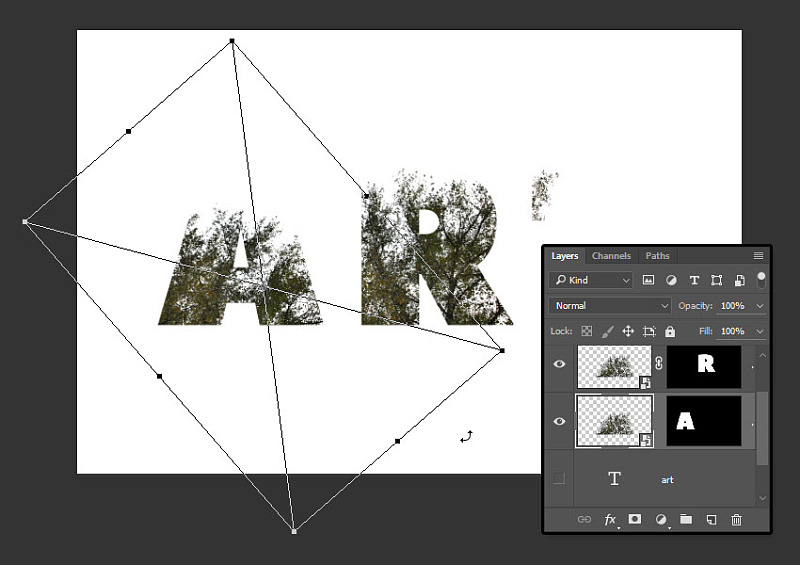
Click the link button between the layer and the mask to unlink the two. Press the command+T key to enter the free transformation, move, rotate, and scale the branch in the font to make it the style you like, and press Enter to confirm.
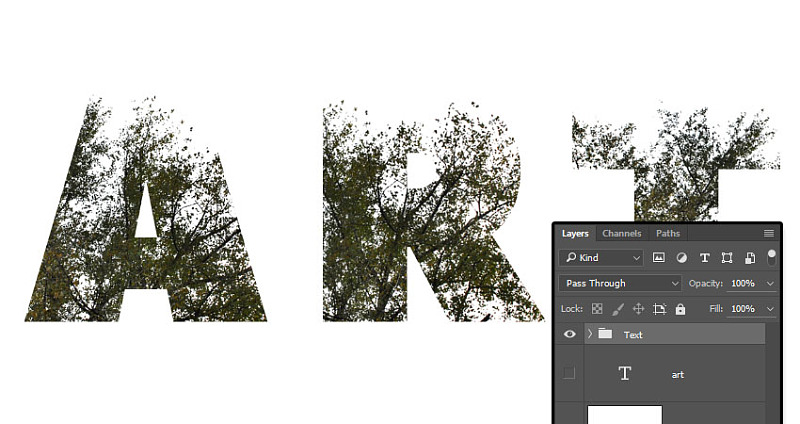
Repeat the above operation, and don't forget to click the link again when you are finished modifying. Group these three layers and name them Text.
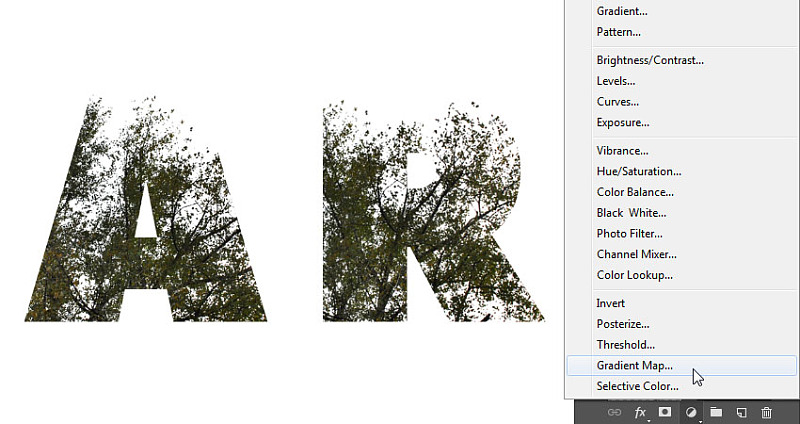
4. Create a gradient map for creating the text and add an overlay texture
Click the Create New Fill or Adjustment Layer button at the bottom of the Layers panel and choose Gradient Map.
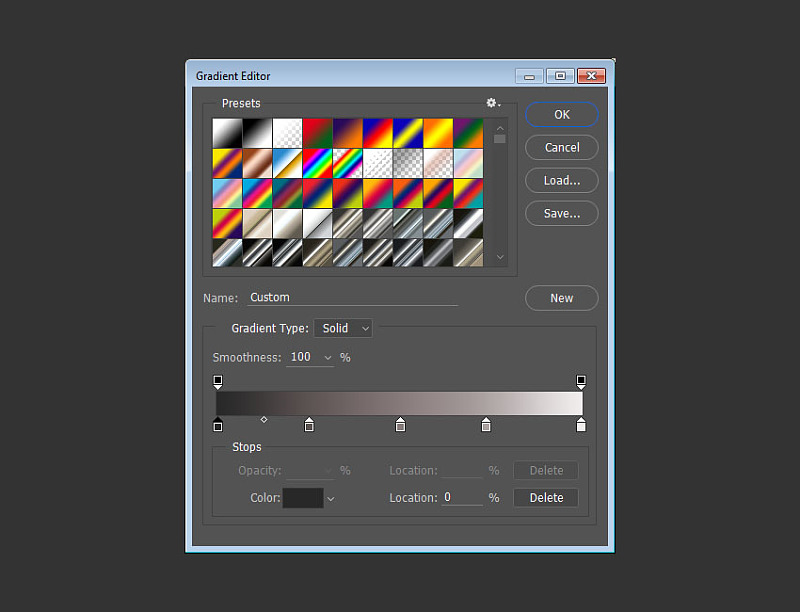
Click on the gradient bar to create a gradient, set as follows:
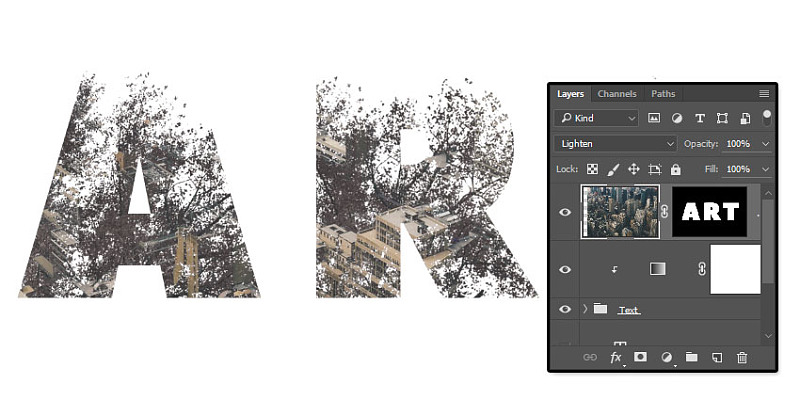
Place the city image on top of the layer, resize it as needed, and switch its layer to lighten mode. Click the text thumbnail to create a selection, and create a mask for the city layer. This completes the double exposure effect, but we will add some color adjustment layers to improve the final effect.
5. Adjust the color
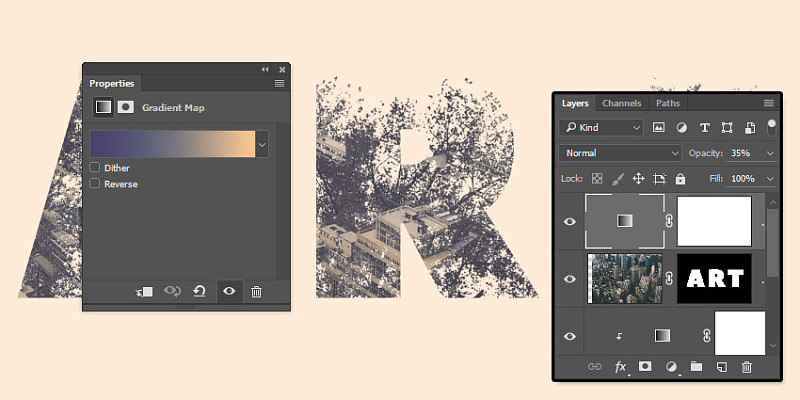
Add Gradient Maps, set once for left #48406e , middle @76747e , right #fbc690 . Then adjust the opacity of this layer to 35%.

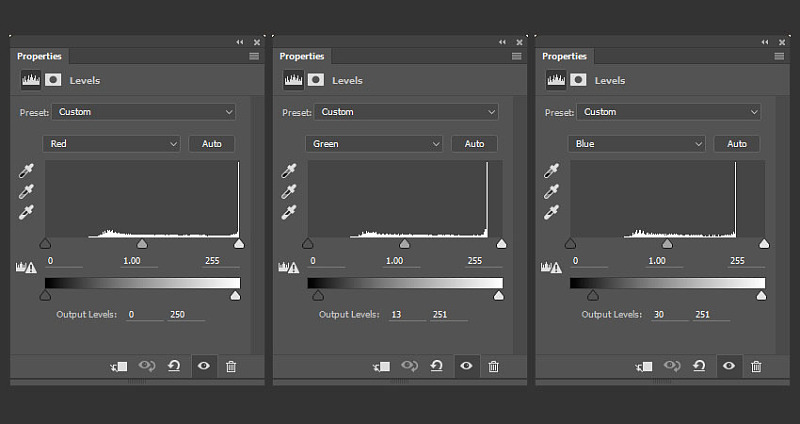
Add a Levels adjustment layer above all layers with the following settings:

Congratulations, it's done. In this tutorial, we created a text with branches masked separately in each letter. Then, we shifted the position of the branches in each text, adjusted the color of the gradient map, and we added an overlay texture to create the double exposure effect. Finally, we use some adjustment layers to adjust the final color. Please leave your comments, suggestions, and results.
Articles are uploaded by users and are for non-commercial browsing only. Posted by: Lomu, please indicate the source: https://www.daogebangong.com/en/articles/detail/SelfTranslated%20Tutorial%20Typography%20Double%20Exposure.html

 支付宝扫一扫
评论列表(196条)
测试