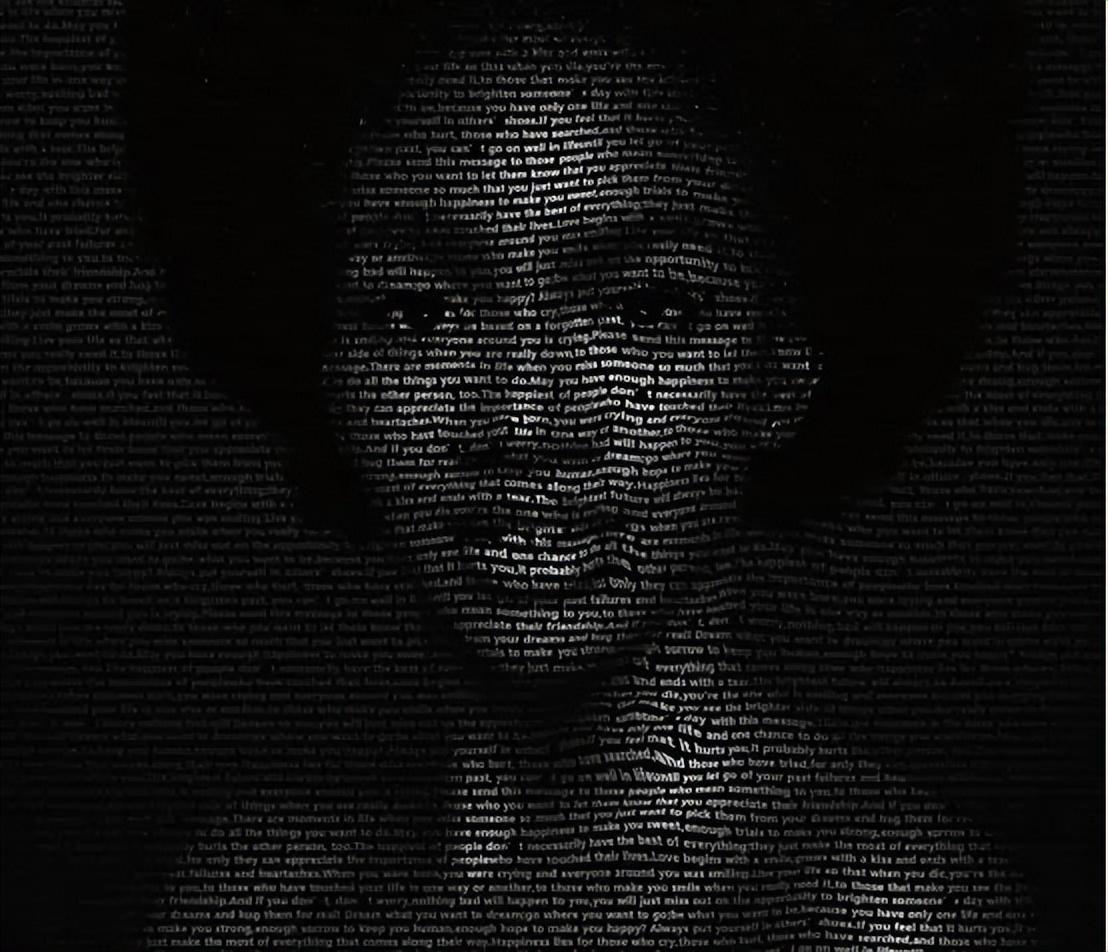
About portrait text synthesis, please take a look at my method tutorial ~
one
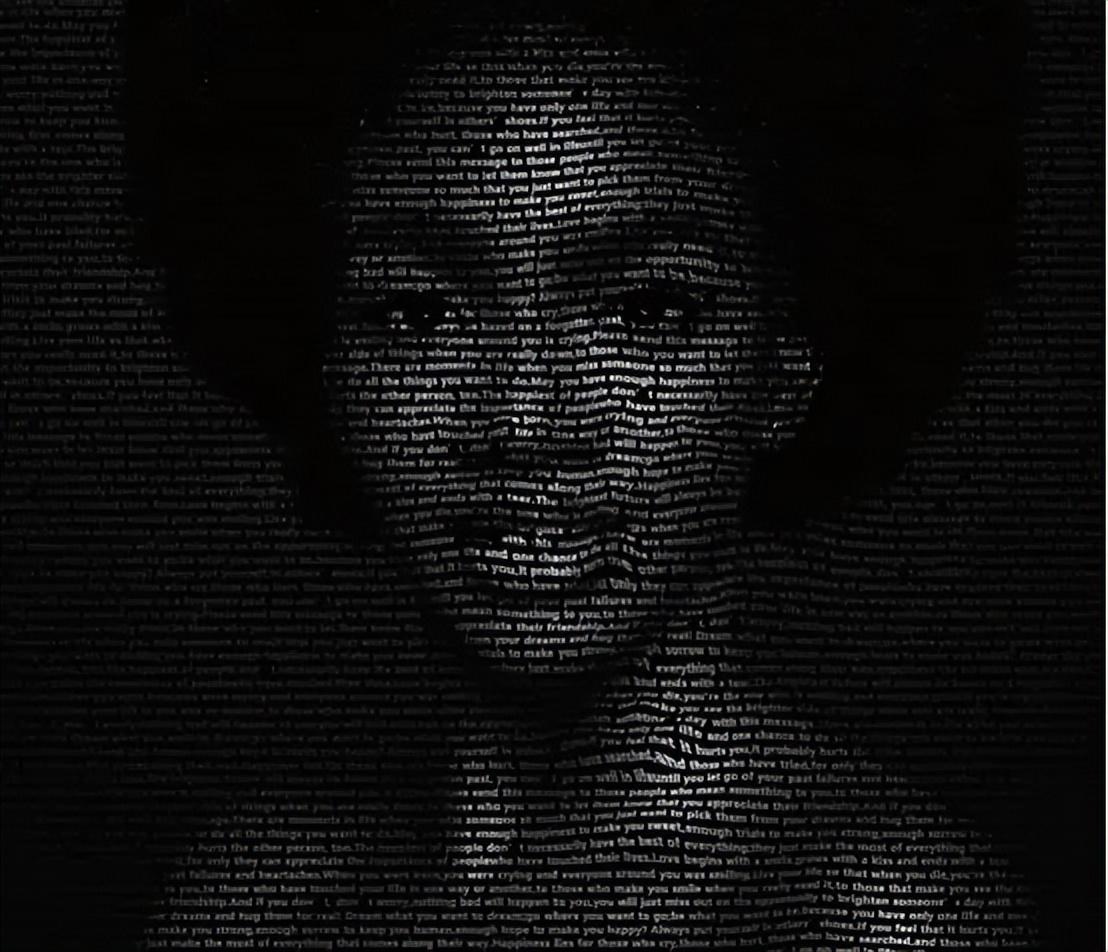
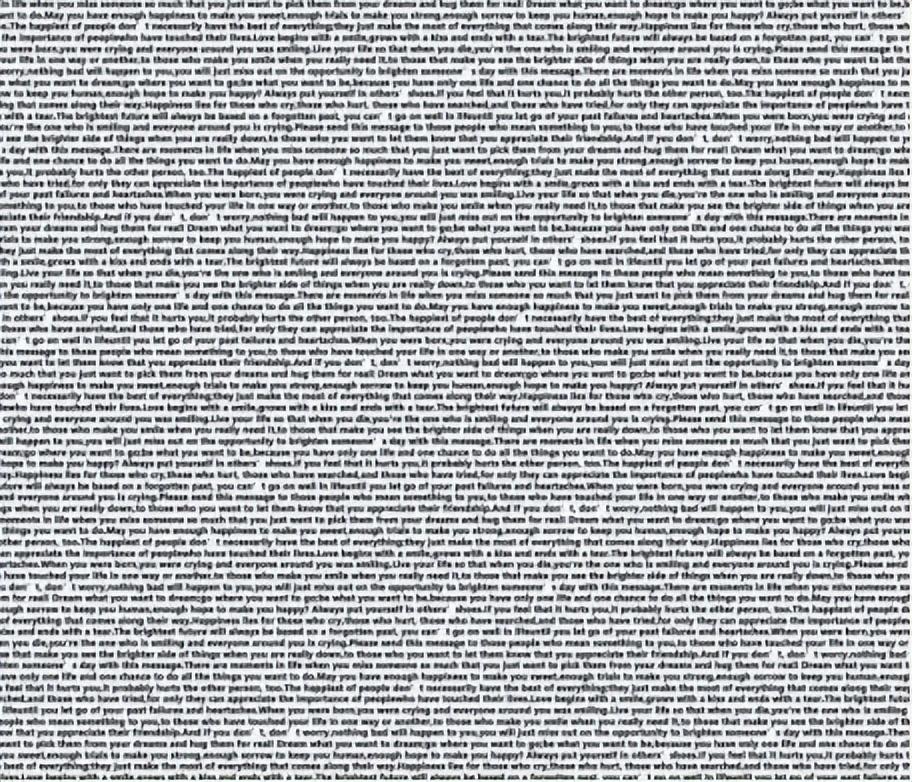
Two materials are required, 1 portrait and 2 text.

two
Open the materials "Black and White Girl" and "English", select the picture "Black and White Girl", press Ctrl+L shortcut key to open the [Color Scale] dialog box, adjust the parameters, and execute [Filter]-[Blur 】-[Gaussian Blur] menu command. Save the processed file as PSD format and name it "Displacement Map".

three
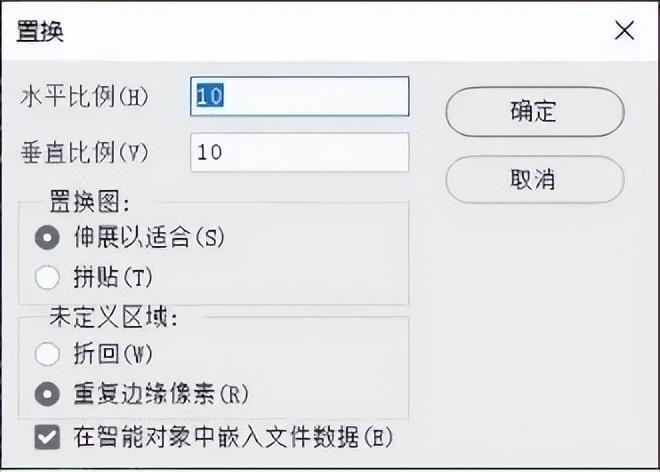
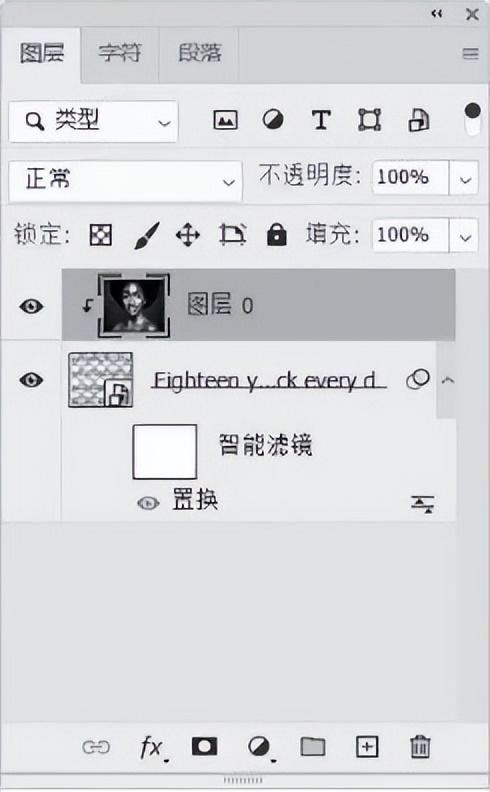
Go back to the "Black and White Girls" document, drag "English" onto the "Black and White Girls", and execute the [Filter]-[Distort]-[Replace] menu command to convert the layer to [Smart Object], adjust [Horizontal Scale] to 10, and [Vertical Scale] to 10, then select the displacement map saved in step [1].
four
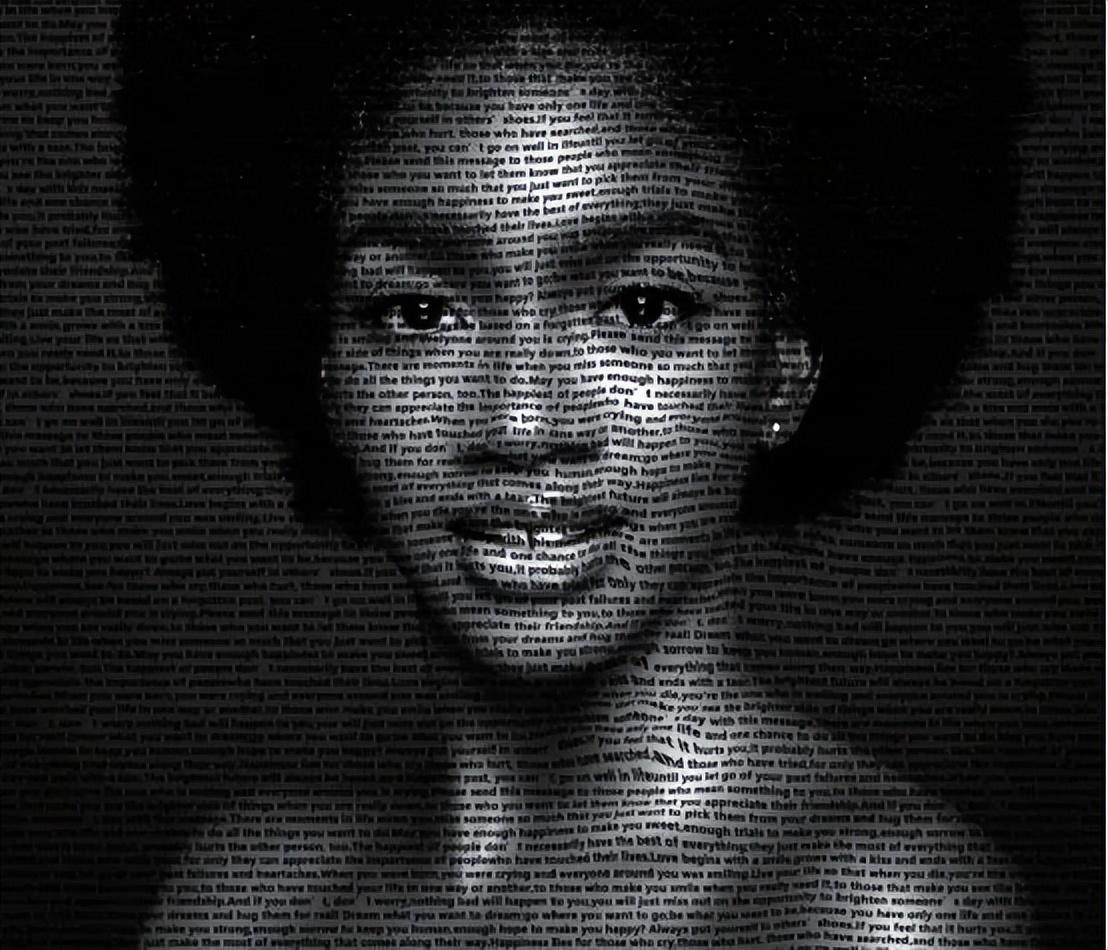
Press and hold the Alt key to unlock the background layer, name it "Layer 0", move the layer "Layer 0" to the top of "English", right click on the layer "Layer 0" Select the Create Clipping Mask option.
five
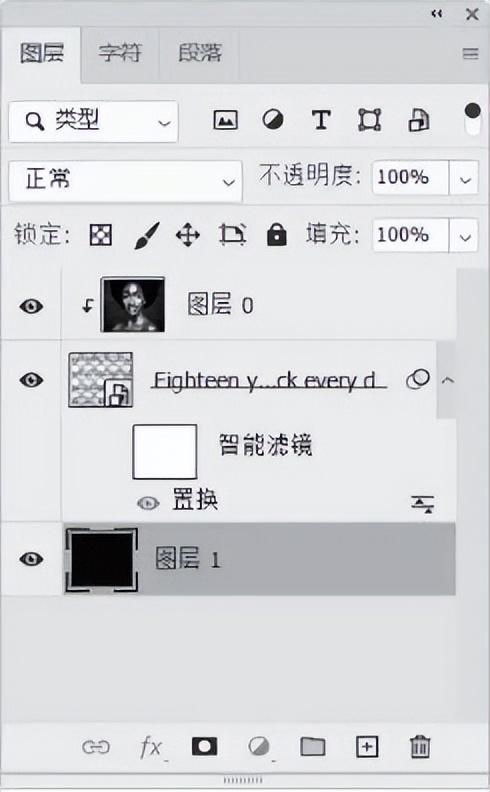
Create a new layer "Layer 1", fill it with black, move the layer "Layer 1" to the bottom of the layer list, and the effect is completed!
This tutorial is complete! You can give it a try~
Articles are uploaded by users and are for non-commercial browsing only. Posted by: Lomu, please indicate the source: https://www.daogebangong.com/en/articles/detail/Ps%20design%20portrait%20text%20synthesis%20effect.html
 支付宝扫一扫
评论列表(196条)
测试