Author: Little Hedgehog I am Design Wet
Time is so fast, a new LOGO tutorial is here again.
Originally, this article was intended to write the LOGO ideas and skills of the beauty industry according to the comments, but in view of the previous tutorial, many students had more questions about the practical part. So make a temporary adjustment. This time we will take the portrait LOGO as an example to teach you an upgraded version of "drawing" LOGO. While leading you to do a few cases to summarize common problems, we will also summarize some commonly used techniques.
Portrait Logo Design Tips
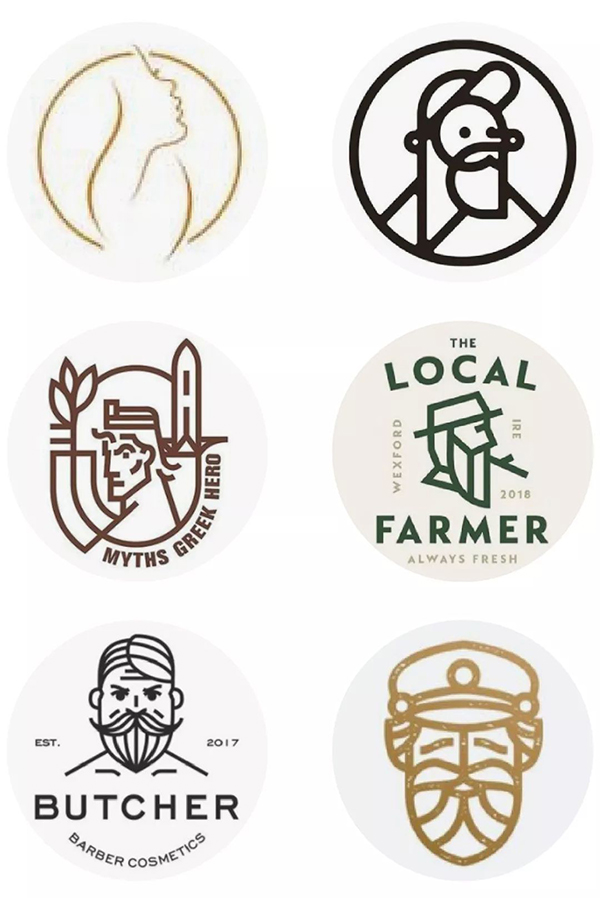
This tutorial tends to have more technical components, so we will focus on practical cases. Still before starting the design, we need to have a basic and clear understanding of the different common portrait LOGO types. According to the difference in techniques, I roughly divide the difficulty of portrait LOGO into 6 major techniques from shallow to deep, namely block surface generalization method, block surface shadow method, detail optimization method, block surface geometry method, line generalization method, and creative combination method . Although each method has obvious differences, the core has certain similarities and relevance. We follow up with a detailed analysis of the case and practical operation.
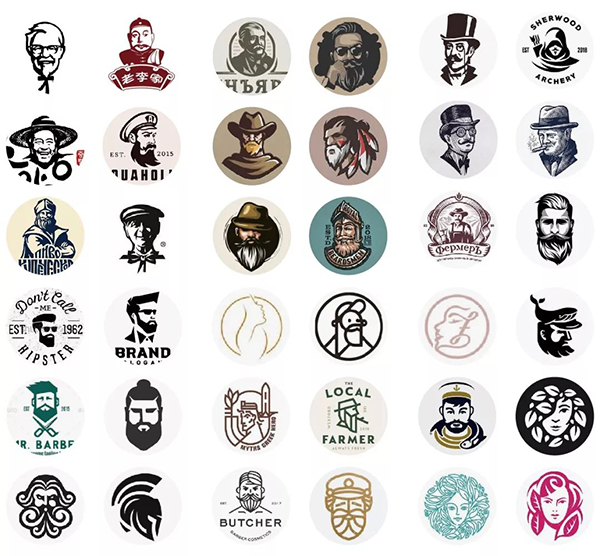
Six skills of portrait LOGO
[1] block generalization method
[2] block shadow method
[3] Details optimization method
[4] block surface geometry method
[5] Line generalization method
[6] Creative combination method
01 generalization method
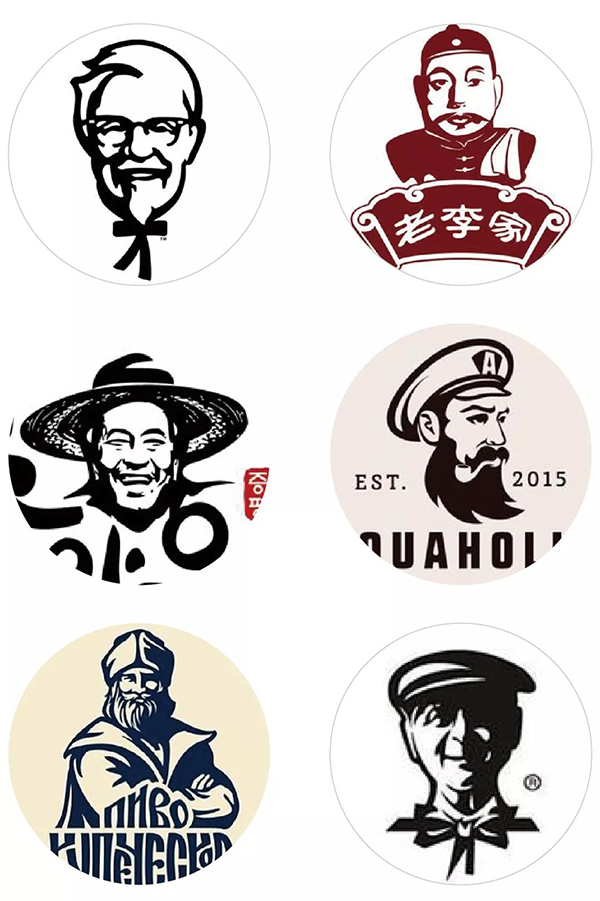
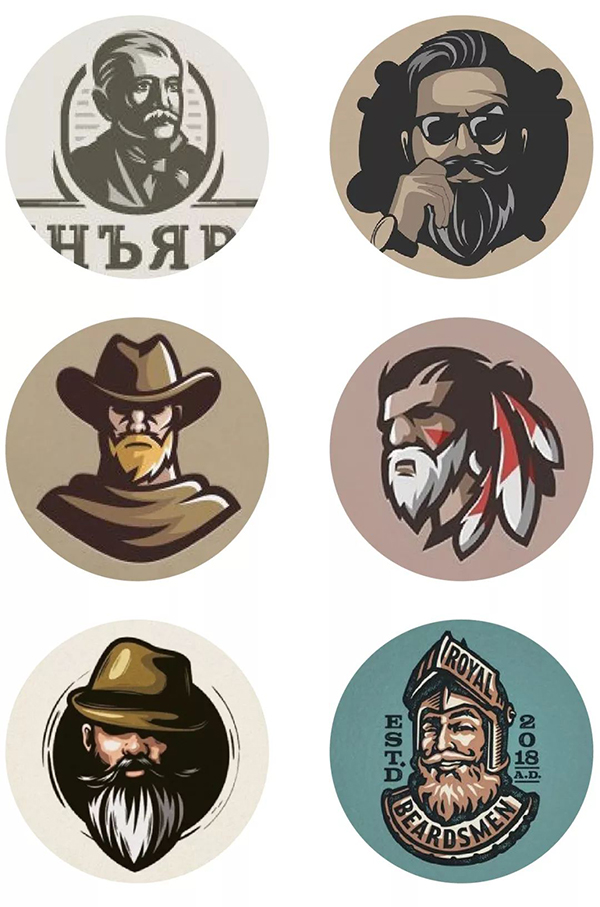
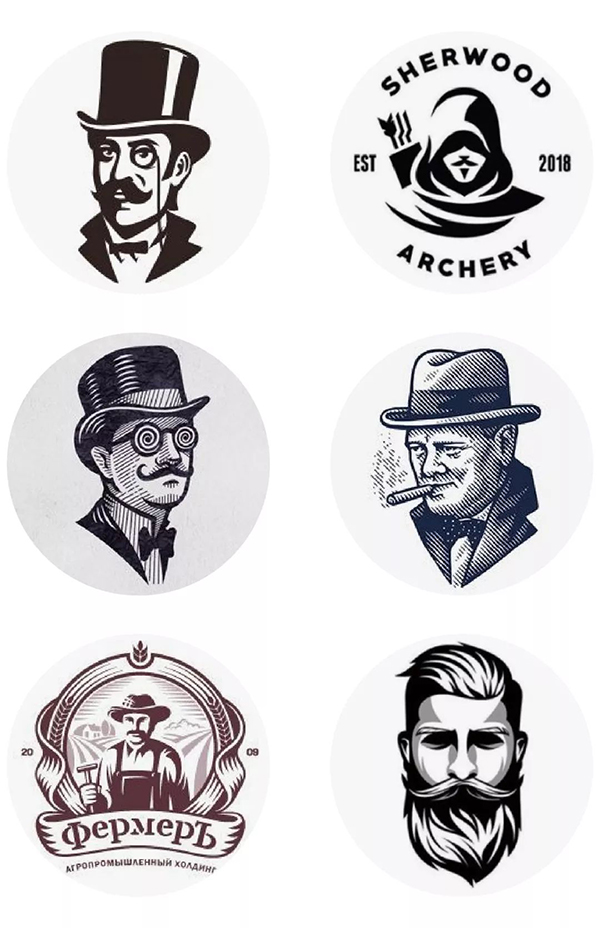
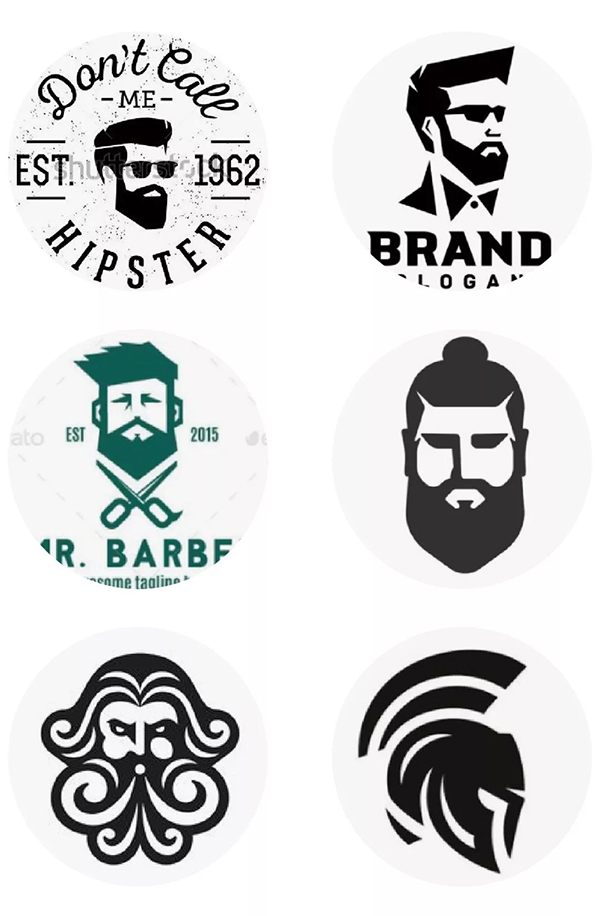
The generalization method of blocks is not difficult to understand, that is, to express the characteristics of characters through black and white blocks, and the requirements for details are not strict. This technique is the most commonly used in portrait LOGO, and it is the most widely applicable technique with the lowest difficulty. It can be seen that whether it is Chinese style, modern style, or American style, the use of this technique can be easily expressed.
Line and surface extraction method
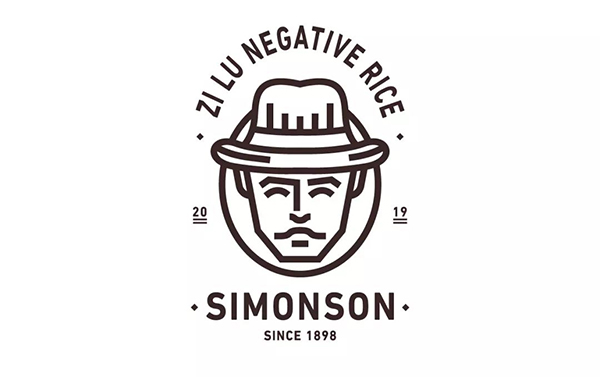
Let me first demonstrate a design method with the lowest difficulty, the line and surface extraction method. It is not difficult to understand that the so-called line and surface extraction is to find a suitable reference without copyright risk and directly extract the line draft or face draft and adjust it to LOGO. The case here is the rice brand, the brand name is [Zilu negative rice], and the tonality of portraits is suitable for the attributes of the agricultural product industry.
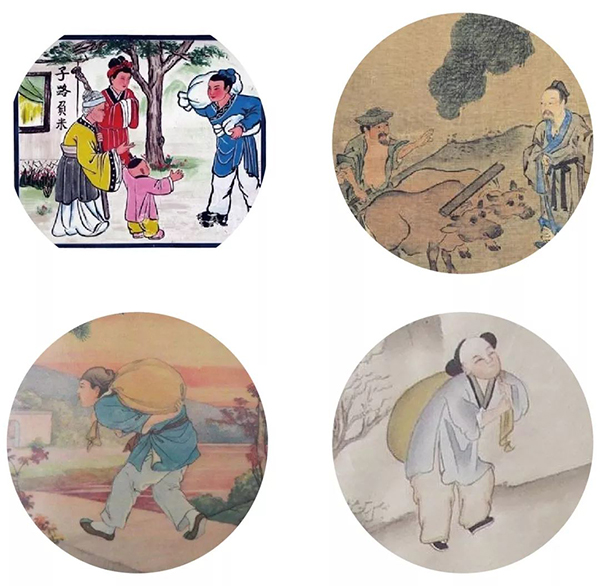
Quite simply, the idea is to find references that apply to the topic. It can be ancient book illustrations, prints, murals, engravings, sculptures...etc. Choose a suitable reference to optimize and adjust the line drawing extraction.
After extracting the line draft, it is best to combine several different reference materials and make comprehensive adjustments to obtain a plan with a certain degree of originality. Of course, if the reference materials are confirmed by Party A and can be used directly, then there is no harm in extracting them directly.
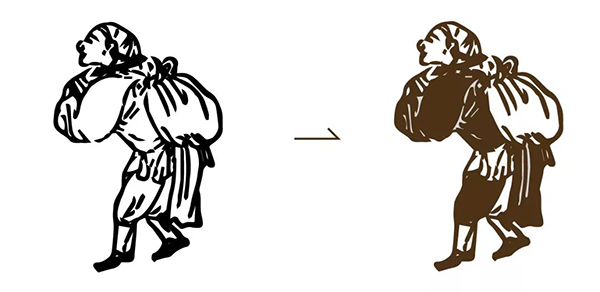
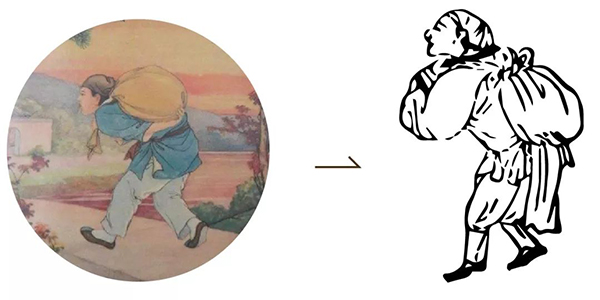
After the line draft extraction and adjustment, in order to enhance the integrity and originality, I adjusted the pure line draft to a form of line and surface combination. This technique mainly lies in the line draft retaining the important lines distinguished by the block surface, such as arms and body parts. Waistband and legs. Then fill in the color at the bottom, and reverse the line draft of the dividing line. The processing of the main part of the image is basically over.

With a suitable font design, combined with the overall slightly typesetting. The program is almost complete. Is it very simple?
Threshold adjustment method
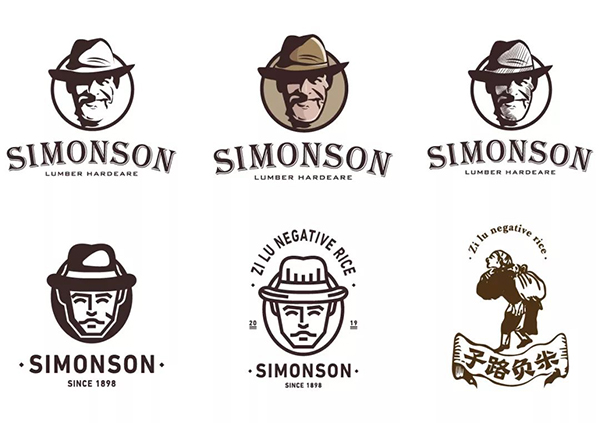
The threshold adjustment method is the method used at the end of the previous tutorial. Here we will talk about the details of the practical part in detail. Let's take a look at the final effect of the plan.
An important point when using the thresholding method is that you cannot use a single threshold result as a reference. Instead, it is necessary to adjust different thresholds multiple times to obtain different parts, and finally splicing and combining to obtain the final solution.

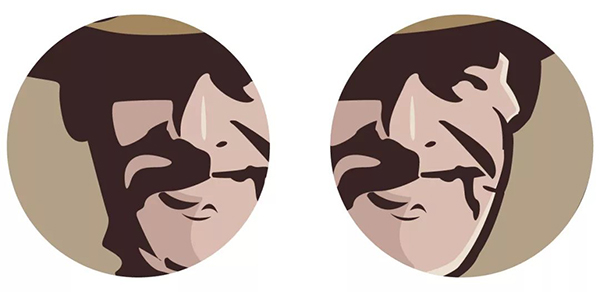
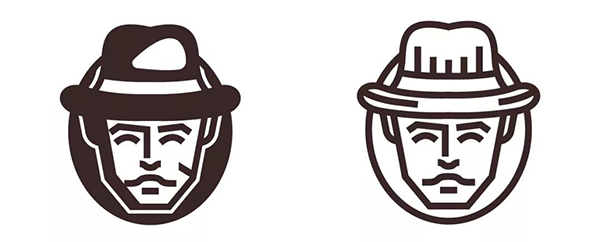
Taking the [SIMONSON] scheme as an example, we adjusted different thresholds multiple times to obtain suitable references for different parts. Figure 1 is suitable for the large outline of the overall face, Figure 2 is suitable for extracting the hat part, and Figure 3 is suitable for extracting the chin part. Drag several images after threshold adjustment into ai for image tracing processing, and finally combine them.
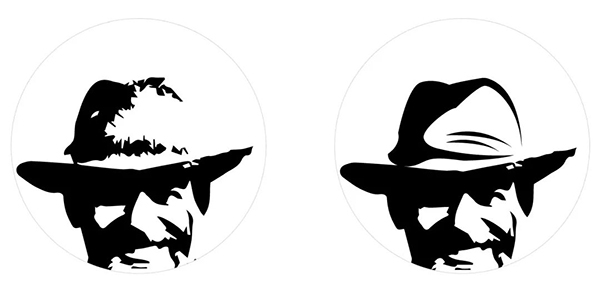
Take the extraction of the hat part as an example. After the image is traced, the overall image is relatively rough, so we need to simplify the anchor points to optimize the lines, not just use them directly. It can be seen that the difference between the optimized hat part and the direct tracing is very obvious. In the same way, after we optimize the other parts, we stitch together to get the final solution.
02 block shadow method
The block shadow method is actually to increase the shadow level part on the basis of the block surface generalization method, so that the layering of the portrait part is richer, and the overall effect is fuller.
It can be seen that the shadow of the block surface has a single color form, a double color, and a variety of color combinations. But in general, it is easier to control the general color within 3 kinds, and the main color and embellishment color need to be clear. We demonstrate a case.
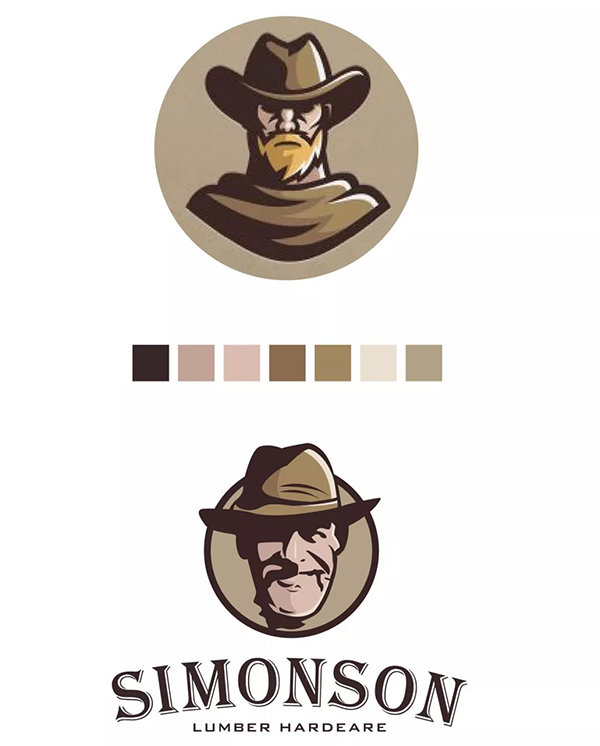
Still taking [SIMONSON] as an example, in order to reduce the difficulty of learning, we use color-absorbing swatches to demonstrate. After accumulating a certain amount, you can try to match colors yourself. When absorbing color, pay attention to clear logic, which belongs to the bright part of the skin and which belongs to the dark part; and how to match different material parts. Here I chose a very close case as a reference, which greatly reduces the difficulty.
Carefully observe the subtle differences between the bright side and the dark side, the level of modeling is improved through these details. So how to judge the dark side and the bright side? Very simple, the answer can be obtained from the reference of the original picture. Going back to the above image after threshold adjustment, the contrast between the bright part and the dark part is very clear. For example, the bright part of the nose is very obvious, and this bright part can significantly improve the level of the nose. Remember this point, that is, the judgment of bright and dark parts. The details of the optimization method will be covered again.
03 detail optimization method
In fact, the detail optimization method and the block shadow method have the same goal by different routes, both of which are to improve the delicacy and layering of portrait LOGO graphics. Let's take a look at the following cases where the detail optimization method is used.
The relatively simple detail optimization method is to optimize the anchor points and simplify the anchor points. On the basis of ensuring the recognizability of the portrait shape, simplify as much as possible to make the lines more concise and clean. The other is to add line layers, which is similar to drawing. After you have a basic line draft, you start to arrange the lines to distinguish the bright and dark sides, emphasizing the layering.
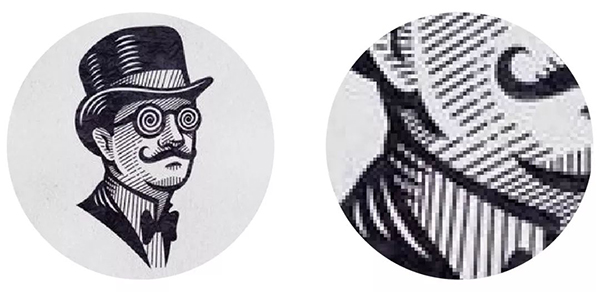
Let's take the example of adding a cable as an example. After analyzing the case, we can get that there are many effects of cable arrangement, such as equal width and thickness, thickness change... and so on. So how do we arrange the lines when there is no foundation in art. It is still the same as the above technique, we need to distinguish the bright side, the gray side and the dark side. The wiring is mainly arranged on the gray side, and when the dark side is summarized on the block side, we have basically done it.
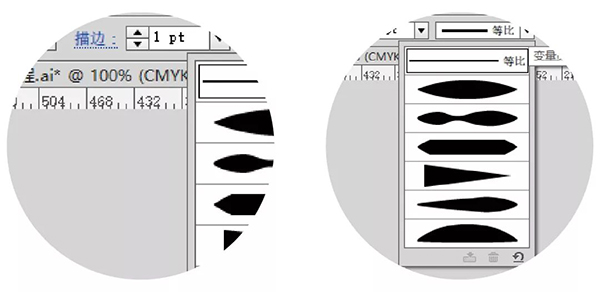
How to achieve multiple changes in the end of the cable? You can select [Variable Width Configuration File] in the stroke, and the results obtained by different configurations are different. The first effect is selected in the demonstration below.
It can be seen that the arrangement of the lines is from sparse to dense according to the direction of light, and the lines are mainly arranged on the gray surface. The case has made a rough demonstration, and interested students can make it more detailed according to this method.
04 face geometry method
The block surface geometry method is the result of the continuation of the detail optimization method. The anchor point simplification and optimization becomes geometric to a certain extent. Such a result was obtained naturally.
All the lines and shapes in the case are very simple, with a high degree of geometry, so how to realize the technical points of this scheme? Let's do another case. (I'm a little tired. Although I'm young, I'm still a little tired after so many times in one night.)

When the two cases are placed together, is there an illusion of suddenly being enlightened? When I drew this figure, I adjusted the transparency of the original plan on the left to the bottom, used geometric lines to express each part, and finally increased the dark side on the left according to the position of the bright and dark sides.
05 line summary
In fact, the line generalization method can be realized by the first method, and the line drawing can be extracted and adjusted. But the simpler method is to transform the surface and the line after the geometry of the block surface.
If all the above line composition cases are combined into the surface form, the final effect will be completely different. Let's take a look at another case.
Is it clear after a comparison, this effect is what you want. So when you need to make a line structure in the direction of a cartoon in the future, if you have no way to start, you can follow this idea from beginning to end, and finally combine with a suitable typesetting to get a new plan.
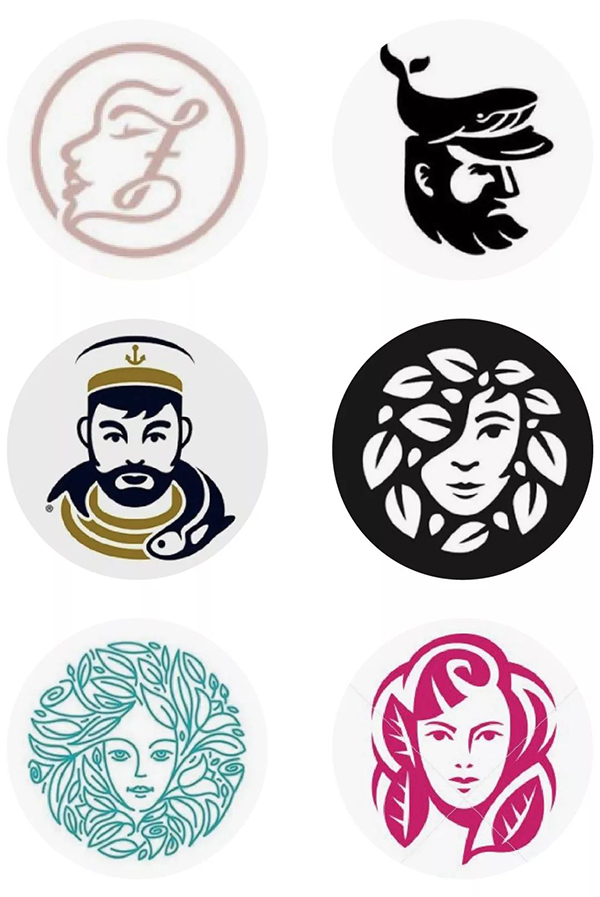
06 creative combination method
The so-called creative combination method is to combine the basic portrait shape with different graphics based on the previous methods to obtain a more creative portrait LOGO. After mastering the previous techniques, it is actually not that difficult to realize this solution, as long as the integrated graphics fit the overall shape, it is basically feasible.
Summary
Students who read carefully must have discovered that the six skills are connected in series from shallow to deep. In fact, in order to realize so many different types of portrait LOGO, we must first deal with the first solution. When we get the basic solution with a better block outline, whether it is adding shadows, geometry, or line transformation, it can be compared. Fast implementation.
This tutorial is over happily, don't miss me too much!
Articles are uploaded by users and are for non-commercial browsing only. Posted by: Lomu, please indicate the source: https://www.daogebangong.com/en/articles/detail/Portrait%20LOGO%20design%20is%20really%20easy.html
 支付宝扫一扫
评论列表(196条)
测试