In the first 11 chapters, the basic operation of the PS software is almost covered. From the 11th chapter, I will share the actual operation cases with you.
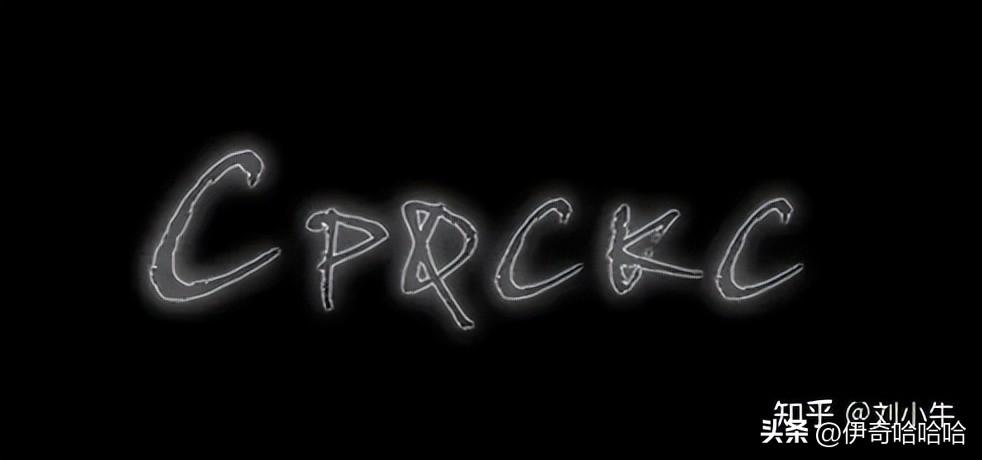
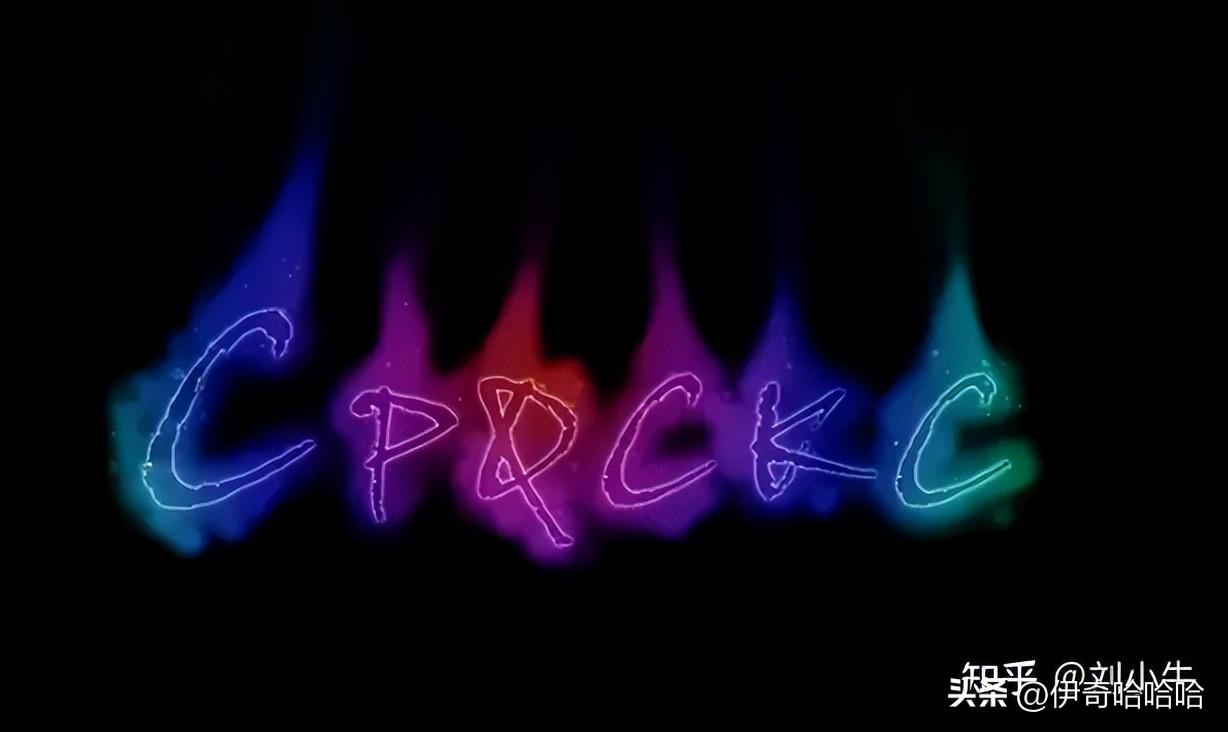
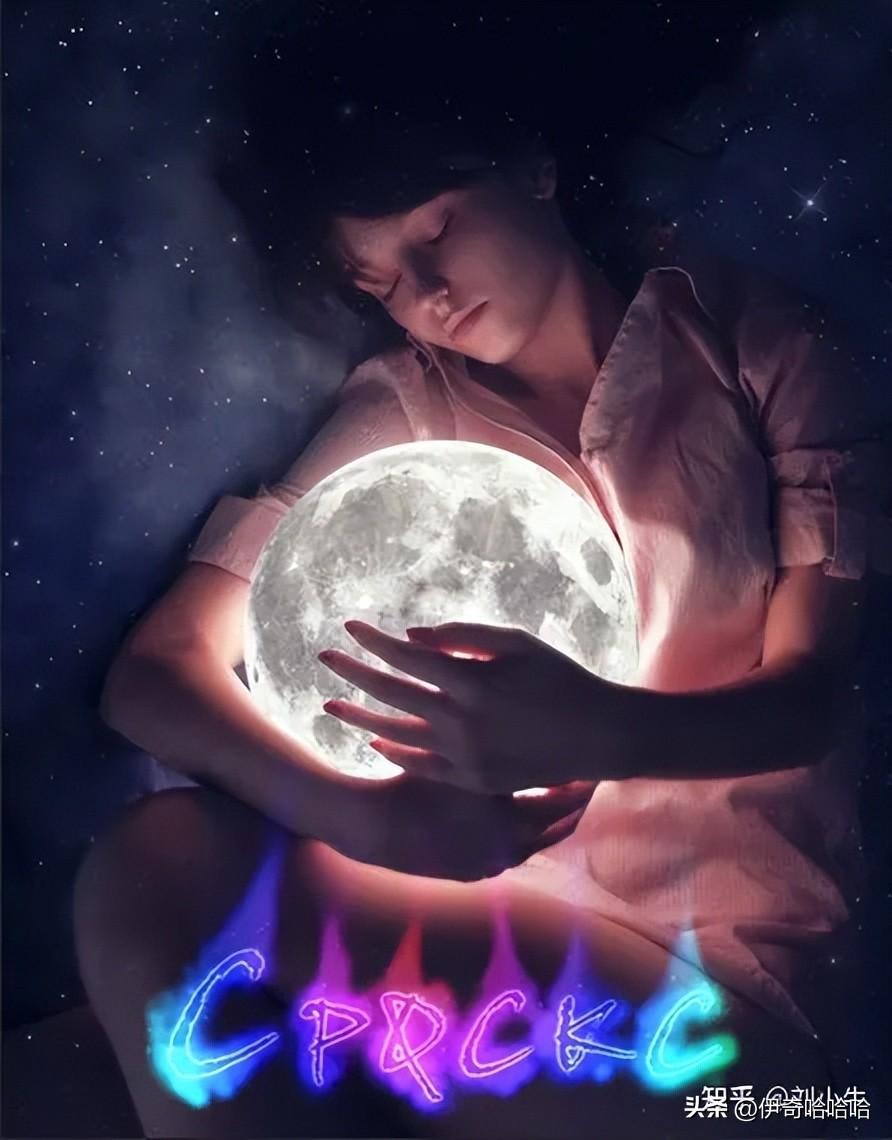
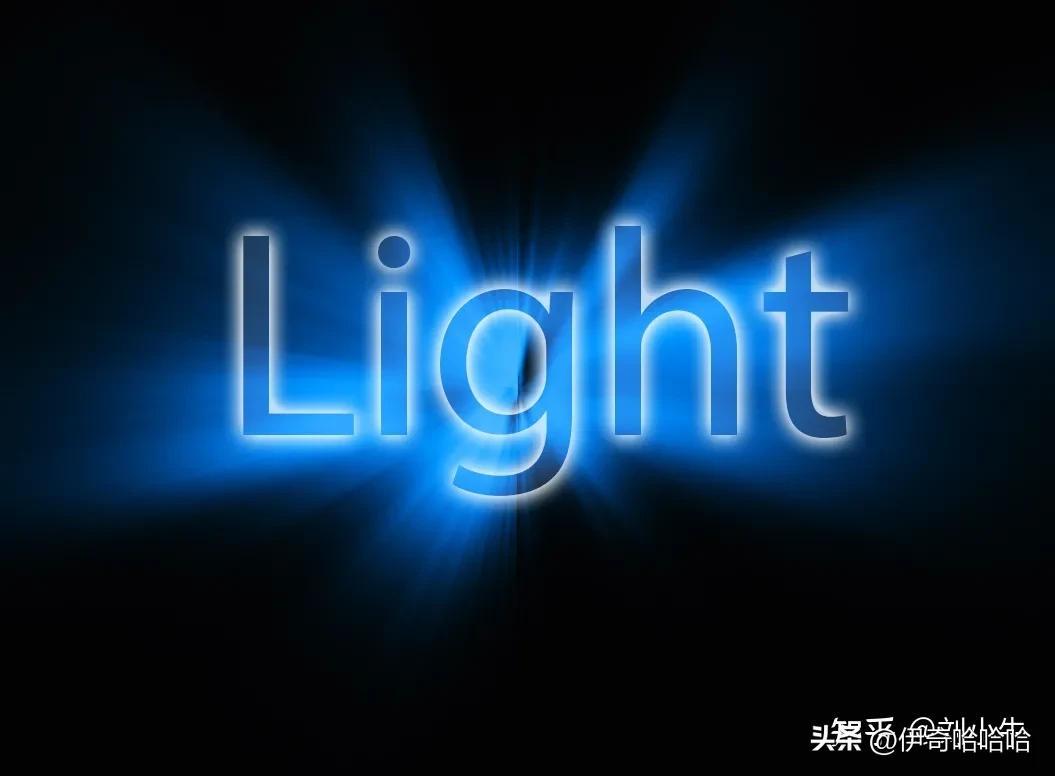
Today, I will share with you the production steps of text special effects as shown in Figure 1
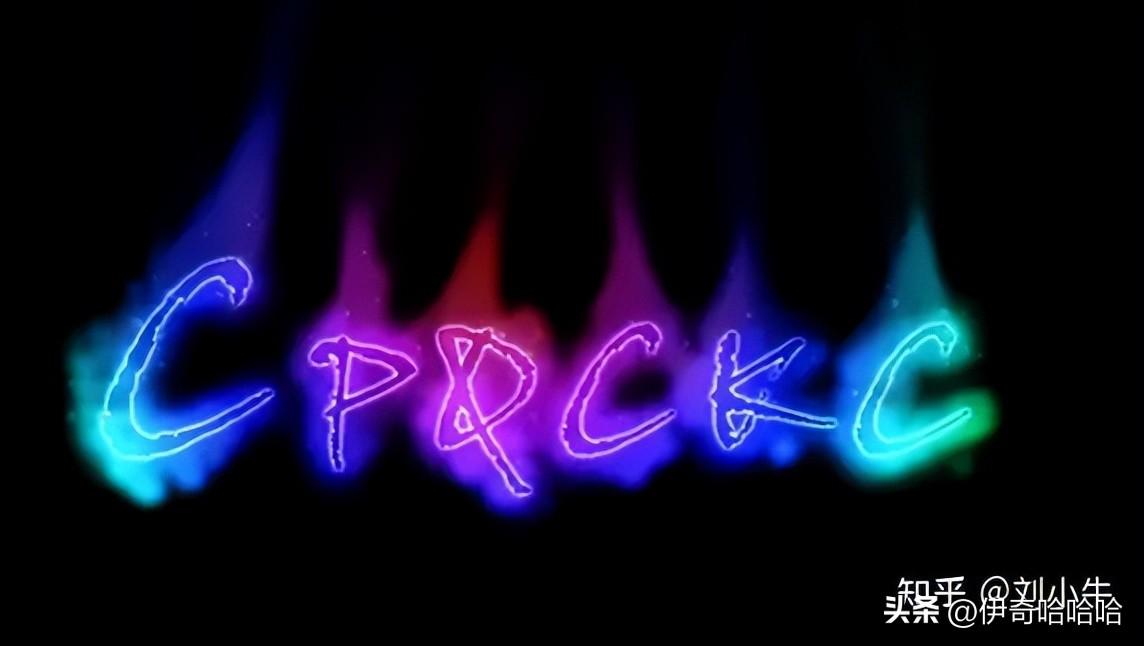
Figure 1

Figure 2
Production steps
Create a new "width" is 1000px, "height" is 600px, "resolution ” for a blank document at 72 px/inch, fill the document with black
Select the horizontal text tool to type text on the page, as shown in the figure.
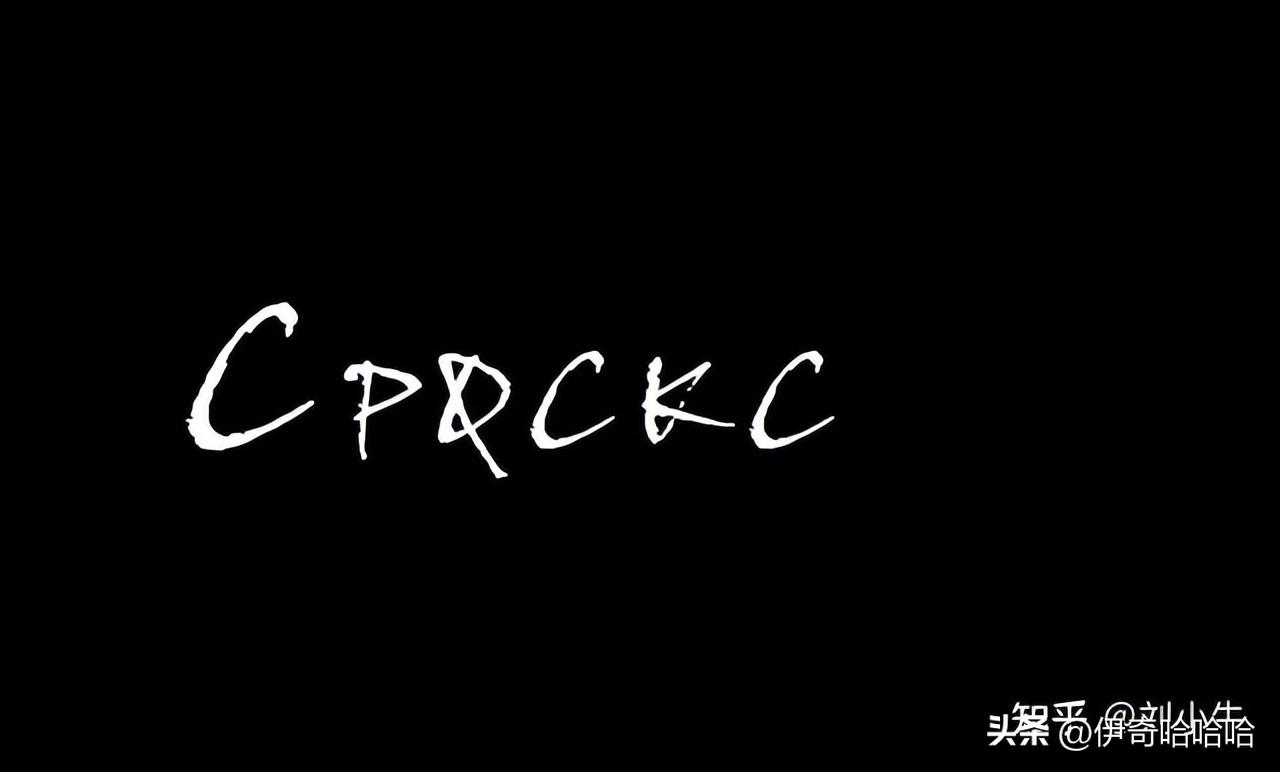
If you don’t have this font, you can find a similar one
Execute the "Layer/Layer Style/Outer Glow" command in the menu to open The "Outer Glow" dialog box, in which the parameter values are set as shown in the figure.
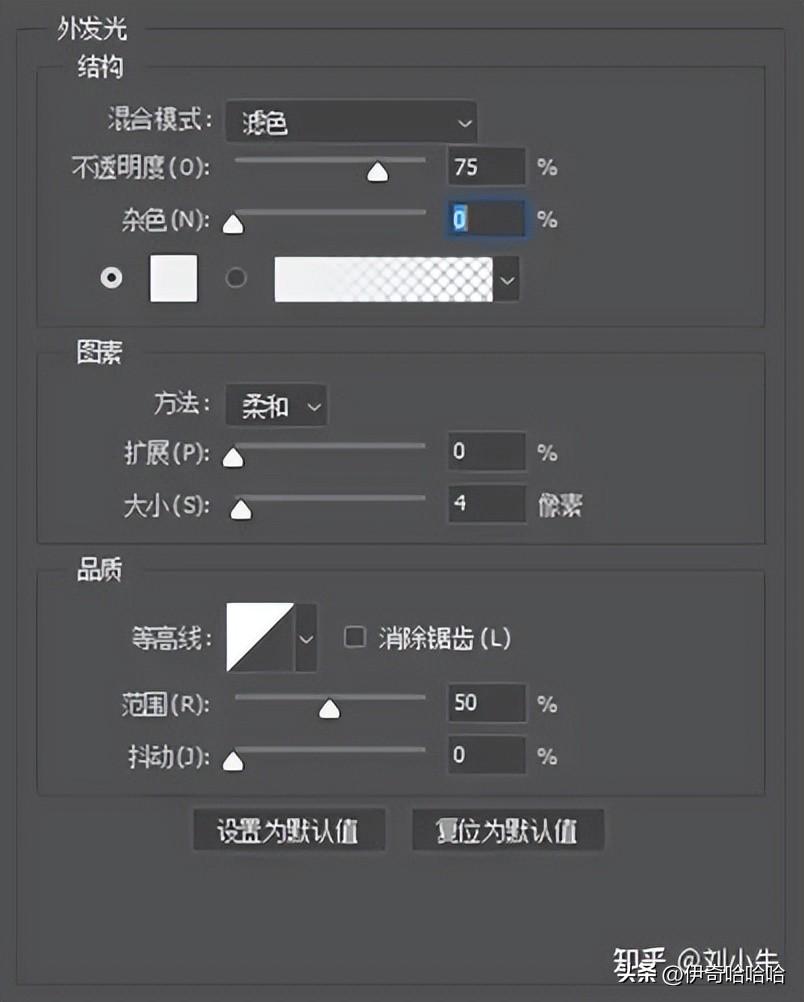
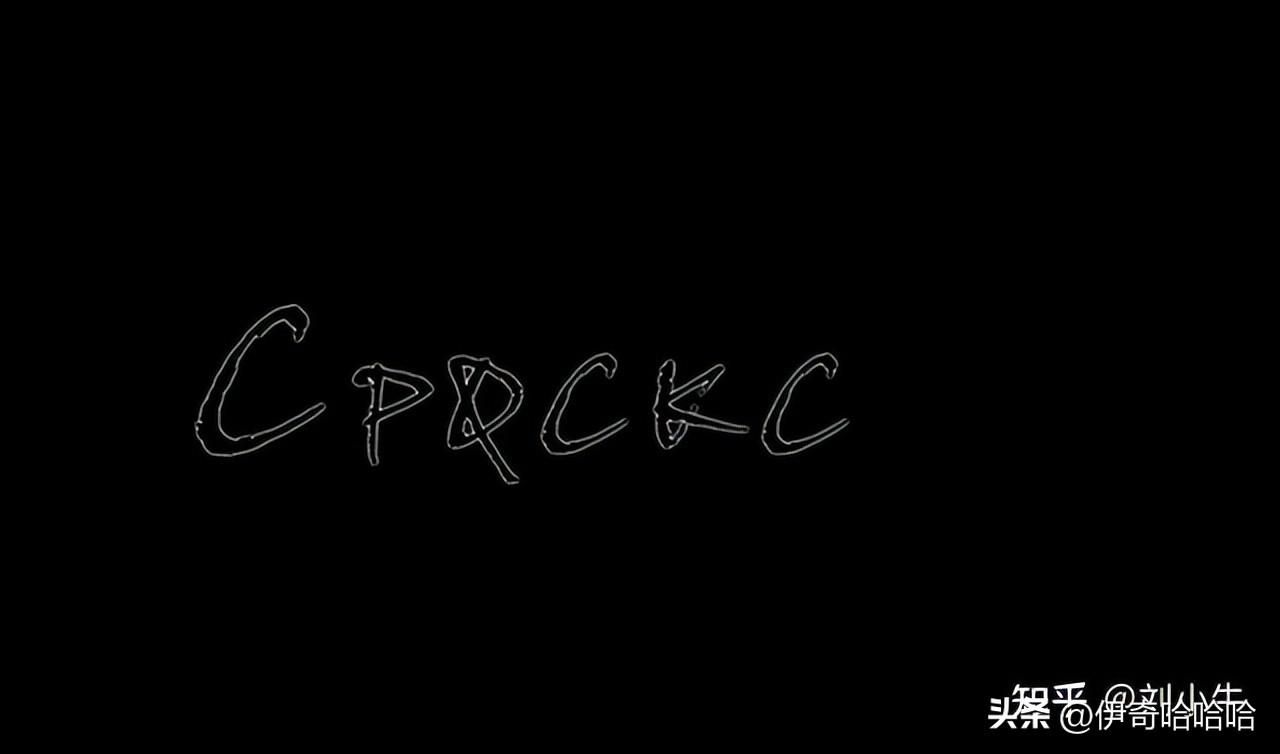
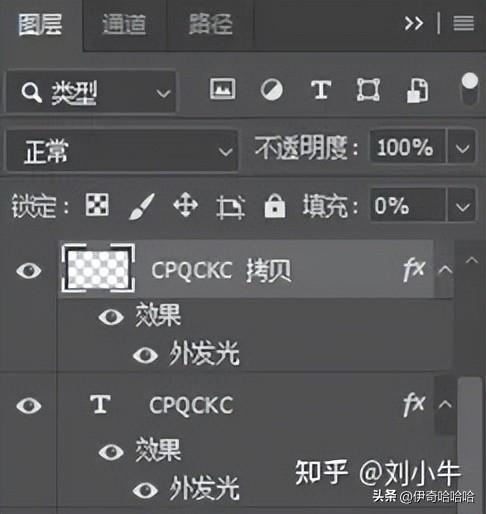
After setting, click the "OK" button to copy the text layer and copy the text The layer's "Fill" is set to 0%, as shown.
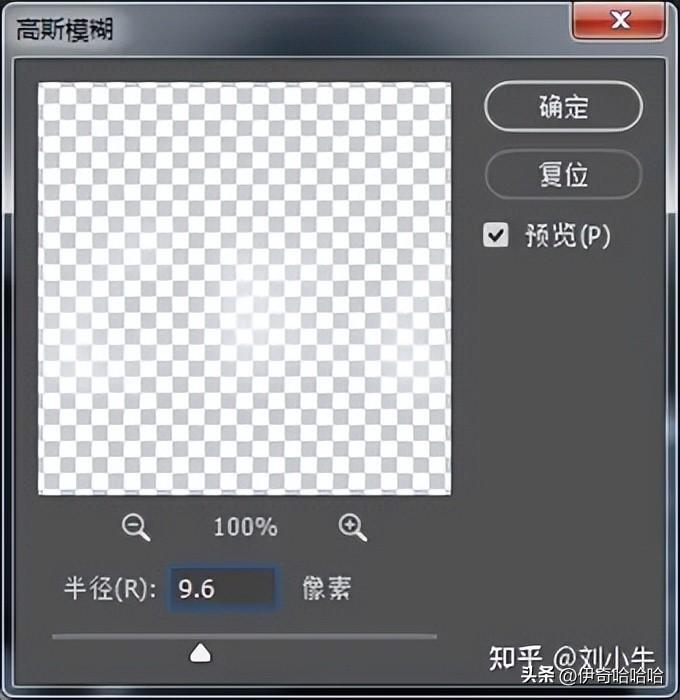
Select the text layer and execute "Filter/Blur/Gaussian Blur" in the menu command to open the "Gaussian Blur" dialog box, where the parameter values are set as shown in the figure. After setting, click the "OK" button.
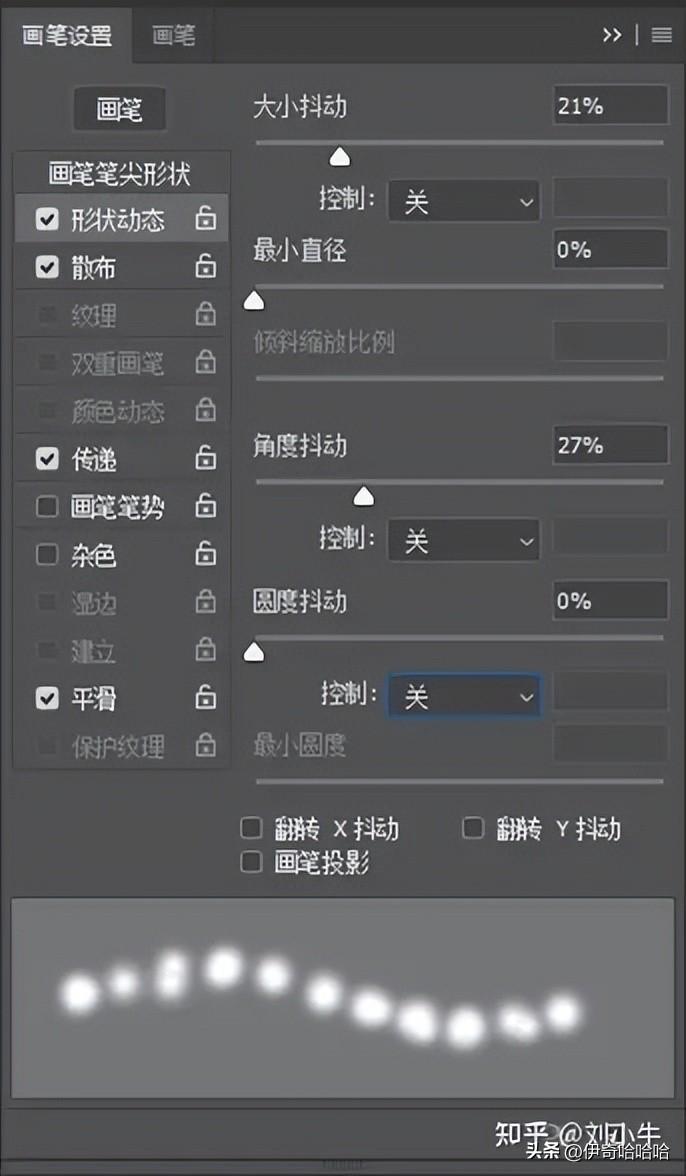
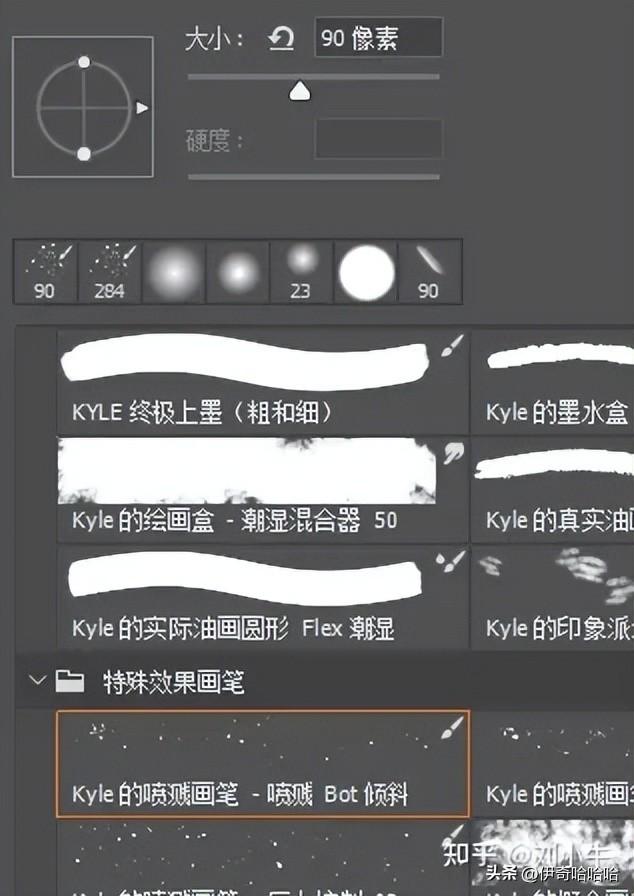
Select the smudge tool, open the "Brush" panel in the property bar of the smudge tool, and set the smudge The painting style is scattered and soft, and the parameters can be referred to as shown in the figure.
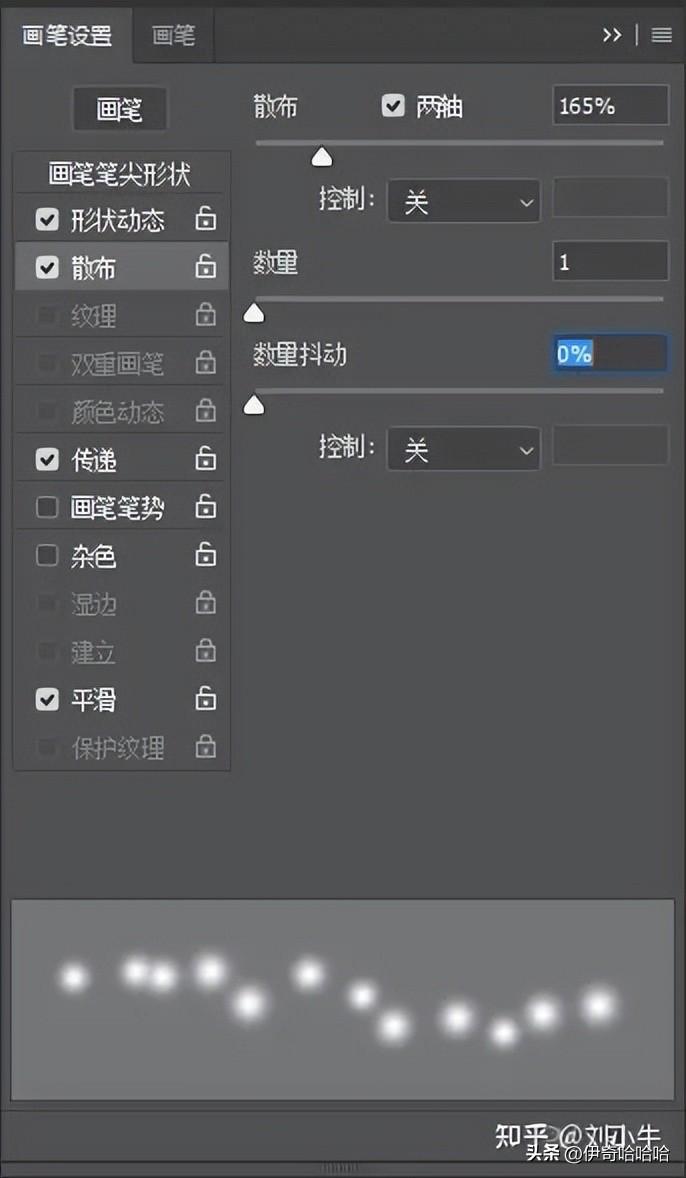
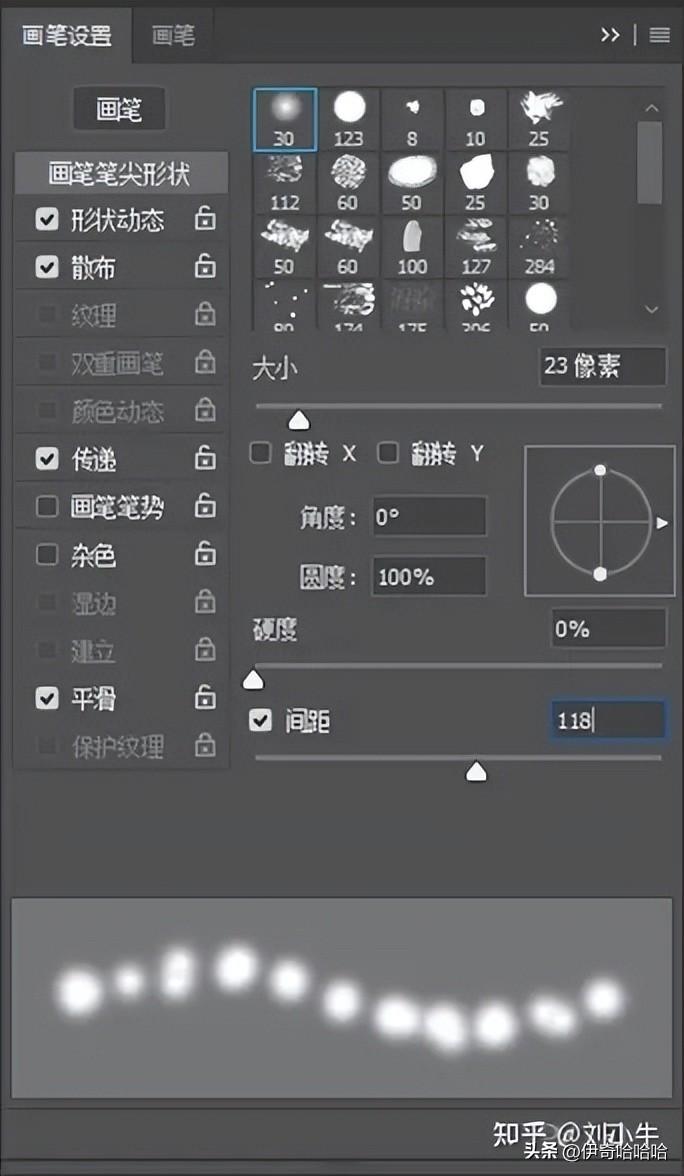
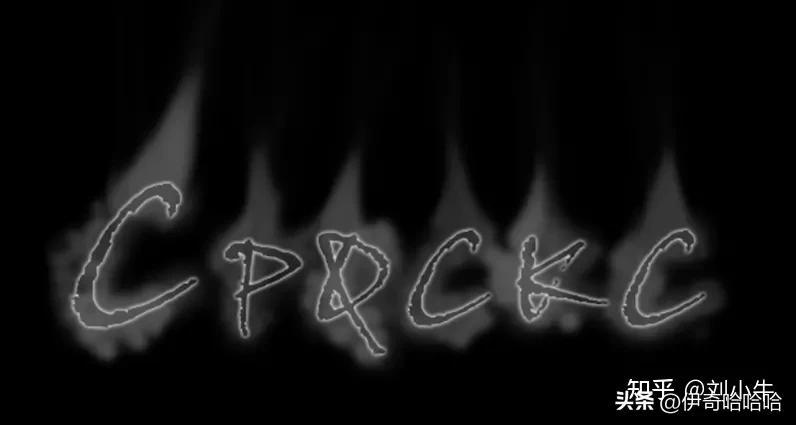
After setting the stroke, paint the image in the blurred layer, and then Cancel all the check boxes in the "Brush" panel, and paint upwards on the text to create an edge as shown in the figure.
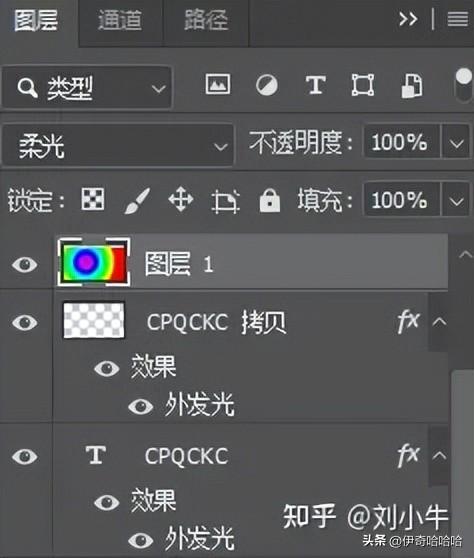
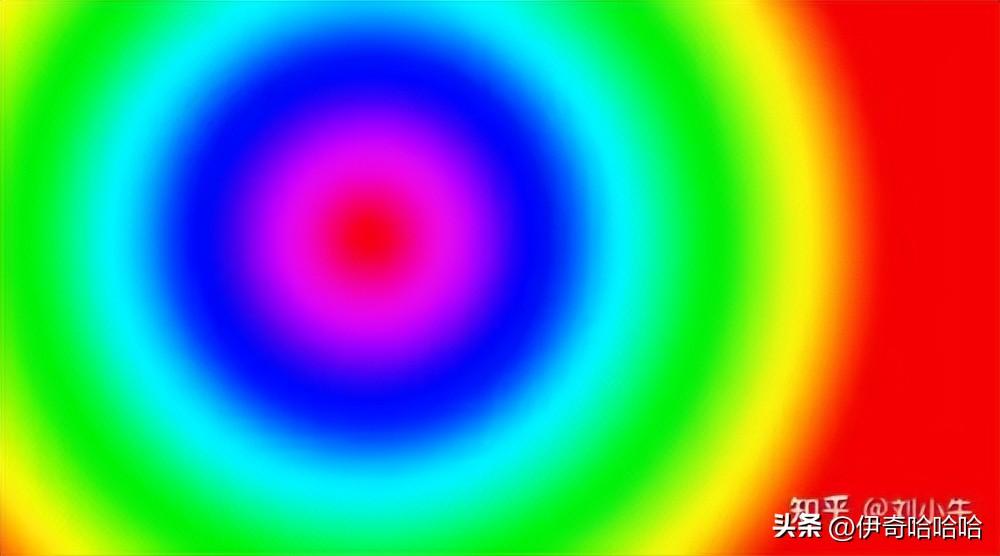
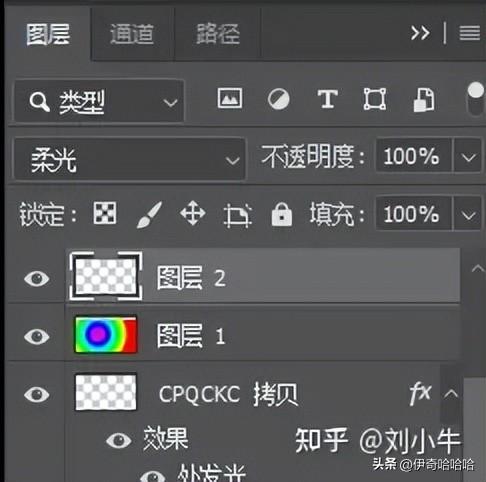
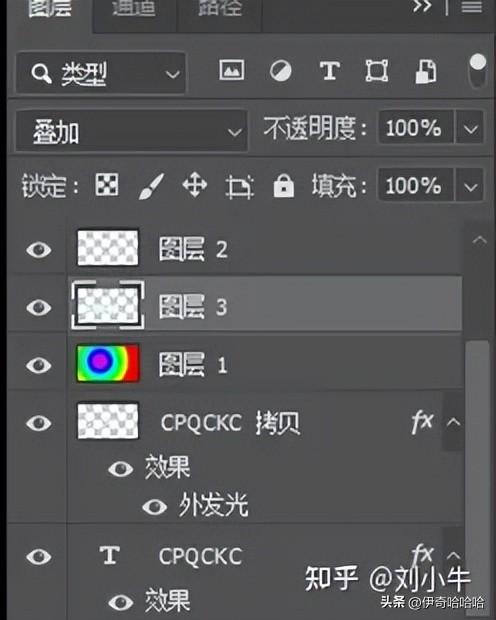
Create a new "Layer 1", select Flip (Gradient Tool) to fill a radial direction Gradient color spectrum, set the "blending mode" to soft light, as shown in the figure:
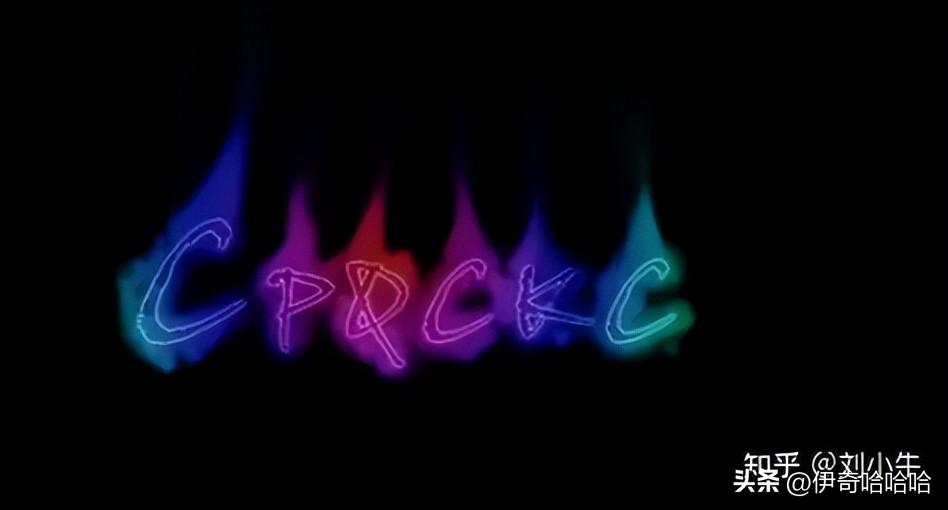
Create a new "layer 2", set the "blending mode" to soft light, and then Choose a scattered brush, choose two colors of yellow and white respectively, and add some light spot effects in the text area, as shown in the figure:
Create a new "layer 3" on the color gradient, set the "blending mode" to Overlay, then choose a soft-edged brush, reduce the opacity, and paint along the text area to increase the text brightness, as shown in the picture:

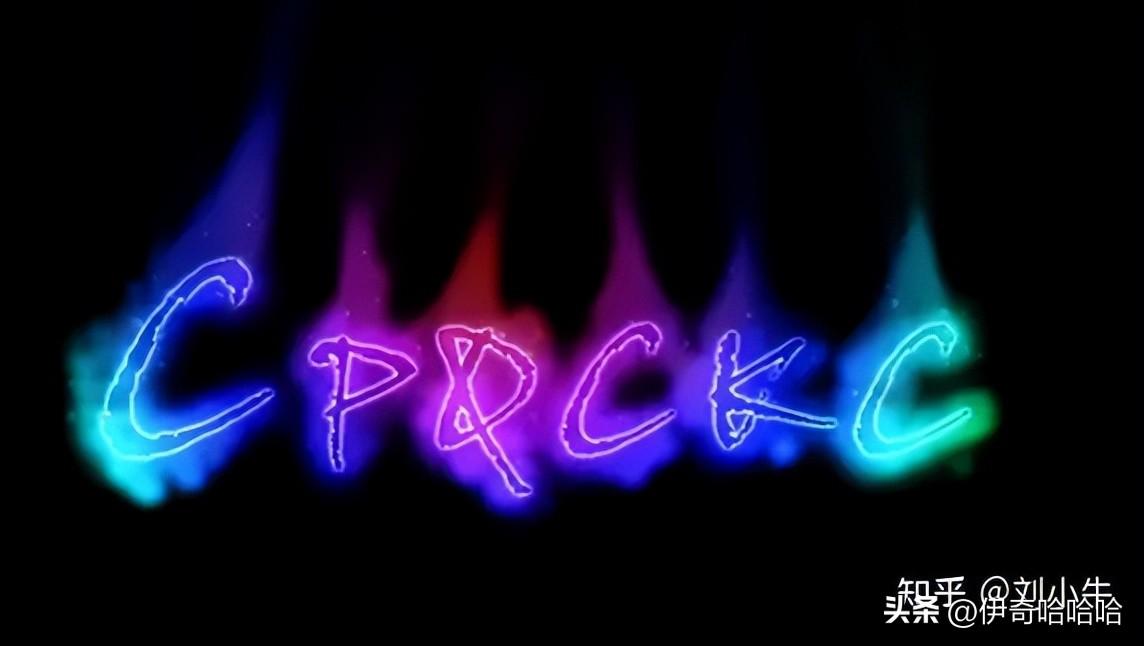
Finally save it as a jpg file, open the "Holding the Moon" file, and store Put a good jpg inside, change the size, and set the blending mode to linear dodge (add). In the end, the following figure is obtained.
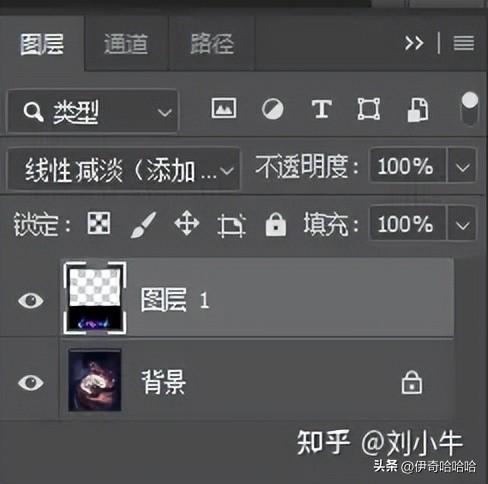
Finally, you can combine the "radial blur" filter to create a glow as shown below Character.
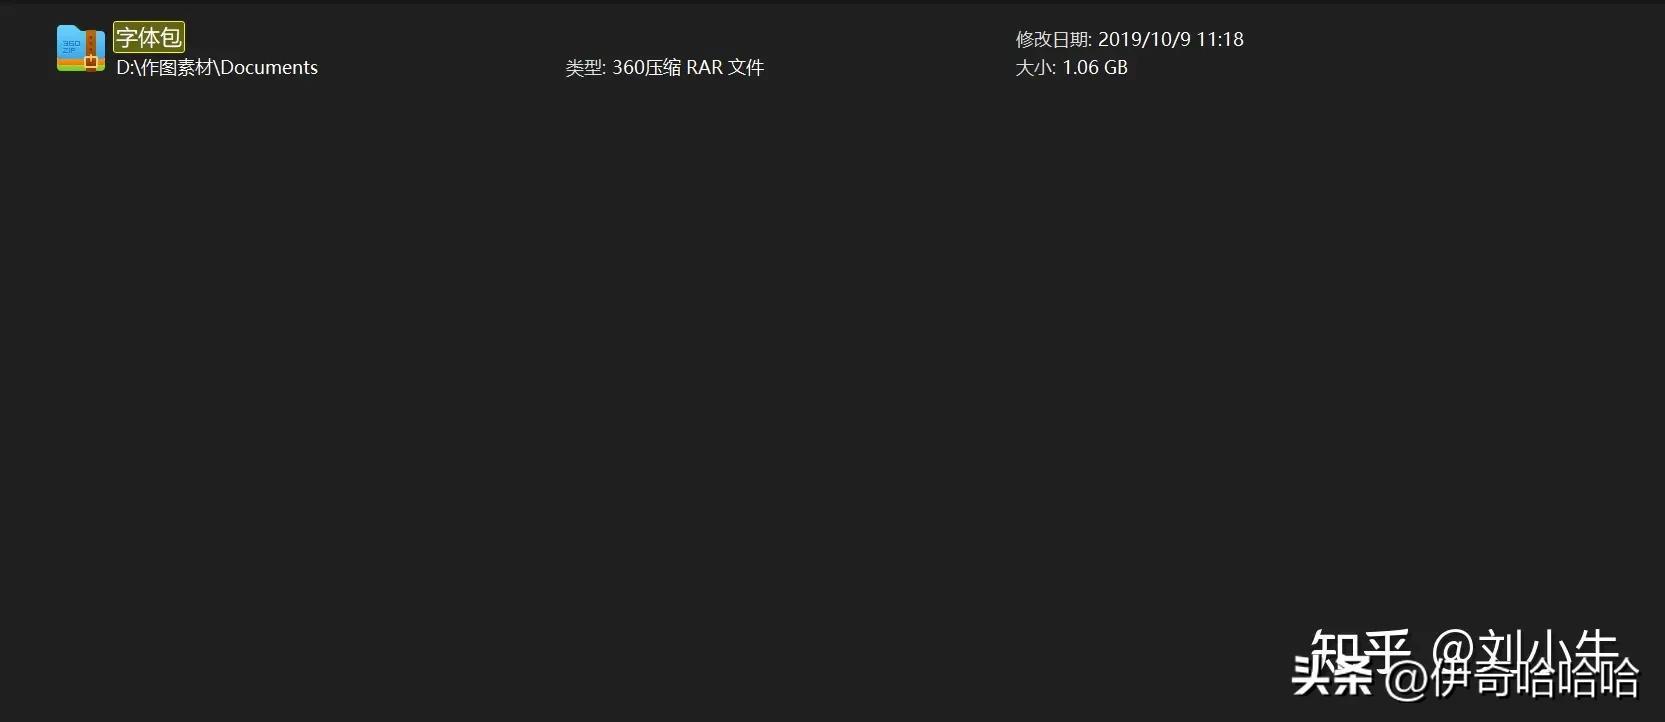
About fonts: Our computer had very few fonts when we first bought it , which are several fonts that come with the system. Therefore, the fonts in each software in the computer are consistent with the system. If we want to enrich the fonts, we can download some font packages from the Internet and install them on the computer.
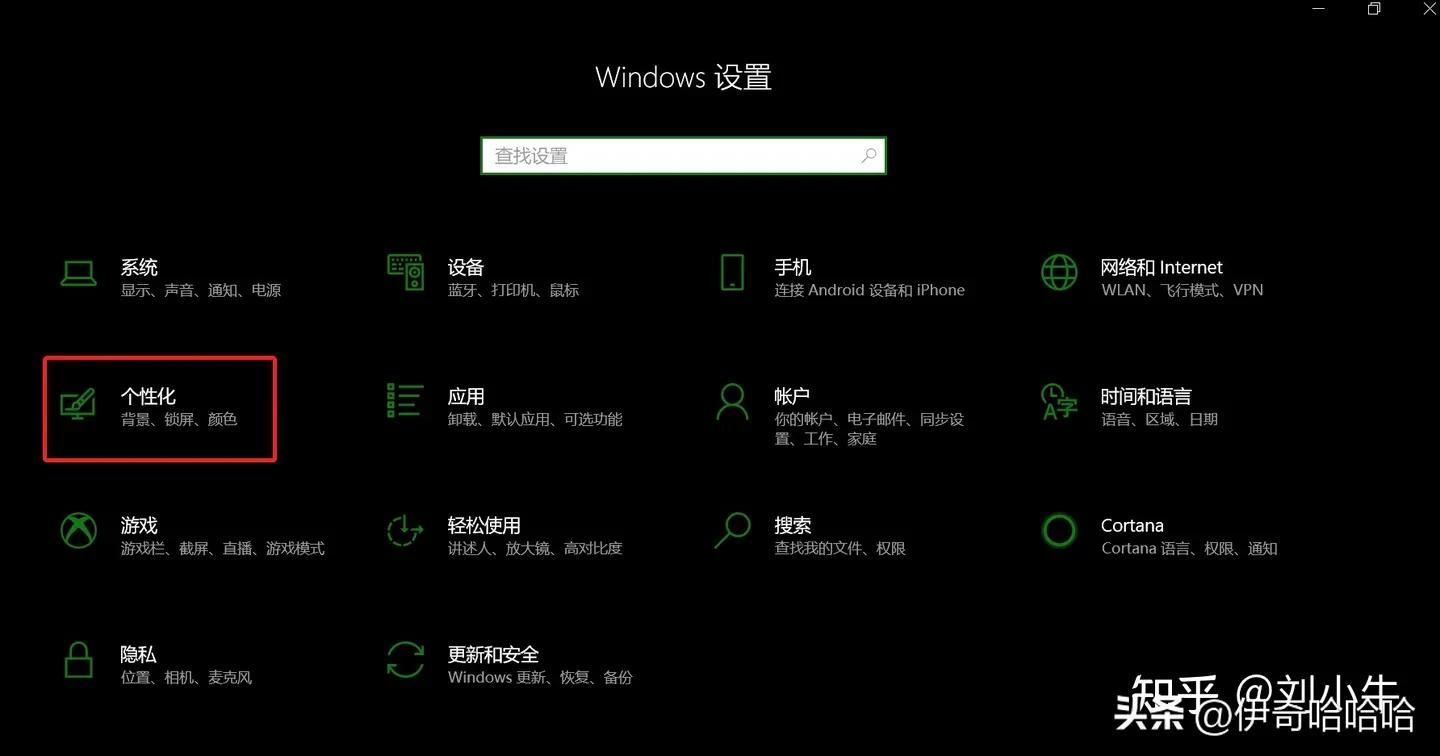
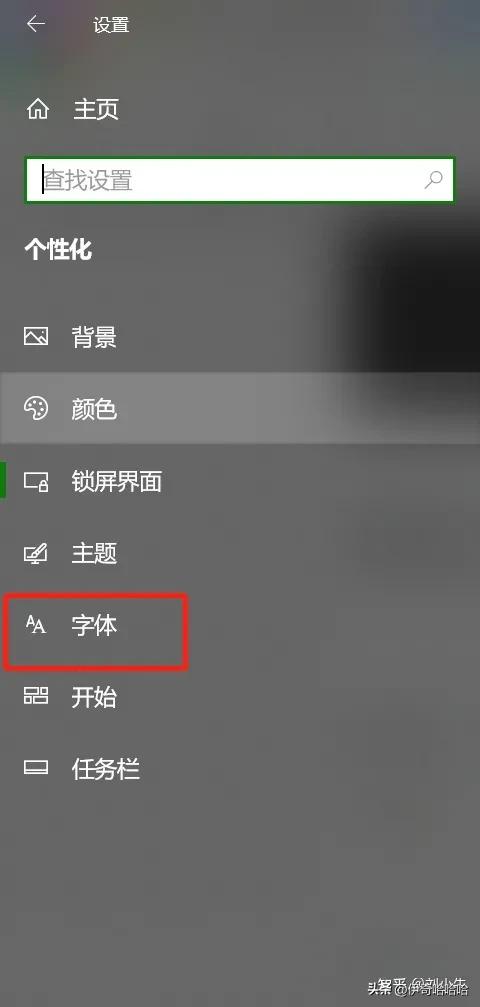
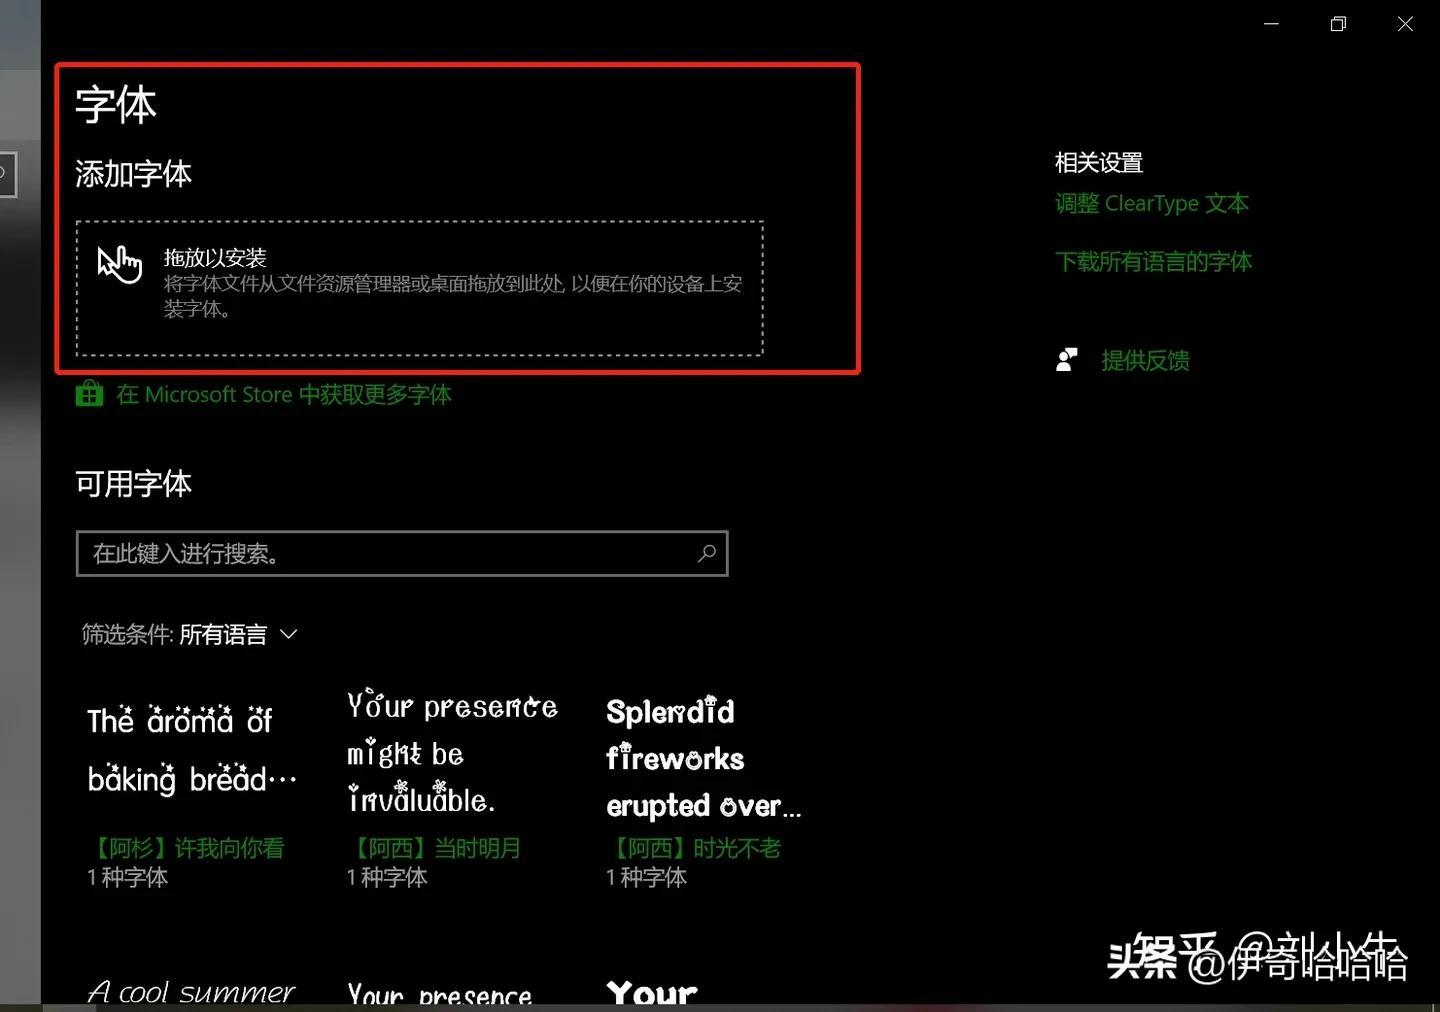
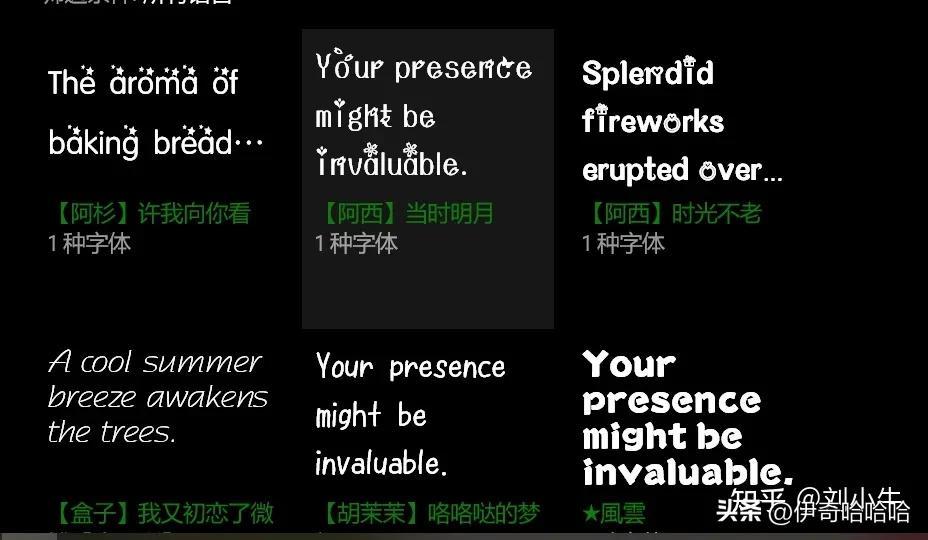
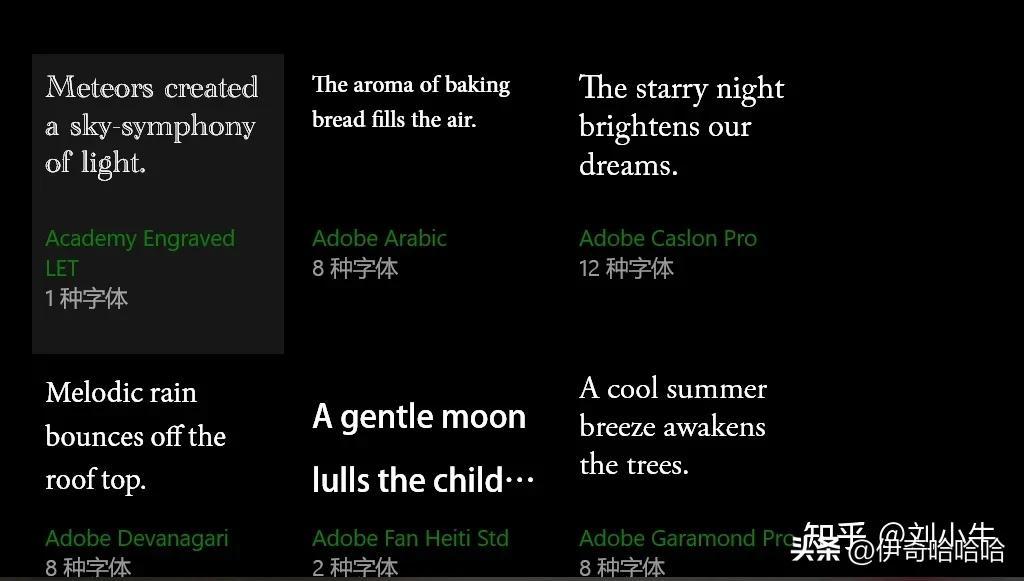
Including brushes in PS, there are many styles on the Internet, all of which can be downloaded Then install it on your computer. But I think the real design does not lie in these bells and whistles, including plug-in filters. Many effects can actually be achieved by using the basic tools of PS. Many people can download some materials from the material website for convenience and quickness during the design process. It mainly depends on personal needs. In the final analysis, PS is just a tool. The real design is not just a show of software skills. Many good designs look simple, and no advanced functions and skills are used. It may be a typesetting and a color matching.
Articles are uploaded by users and are for non-commercial browsing only. Posted by: Lomu, please indicate the source: https://www.daogebangong.com/en/articles/detail/Photoshop%20Basic%20Tutorial%2012%20%20Examples%20of%20Text%20Effects.html

 支付宝扫一扫
评论列表(196条)
测试