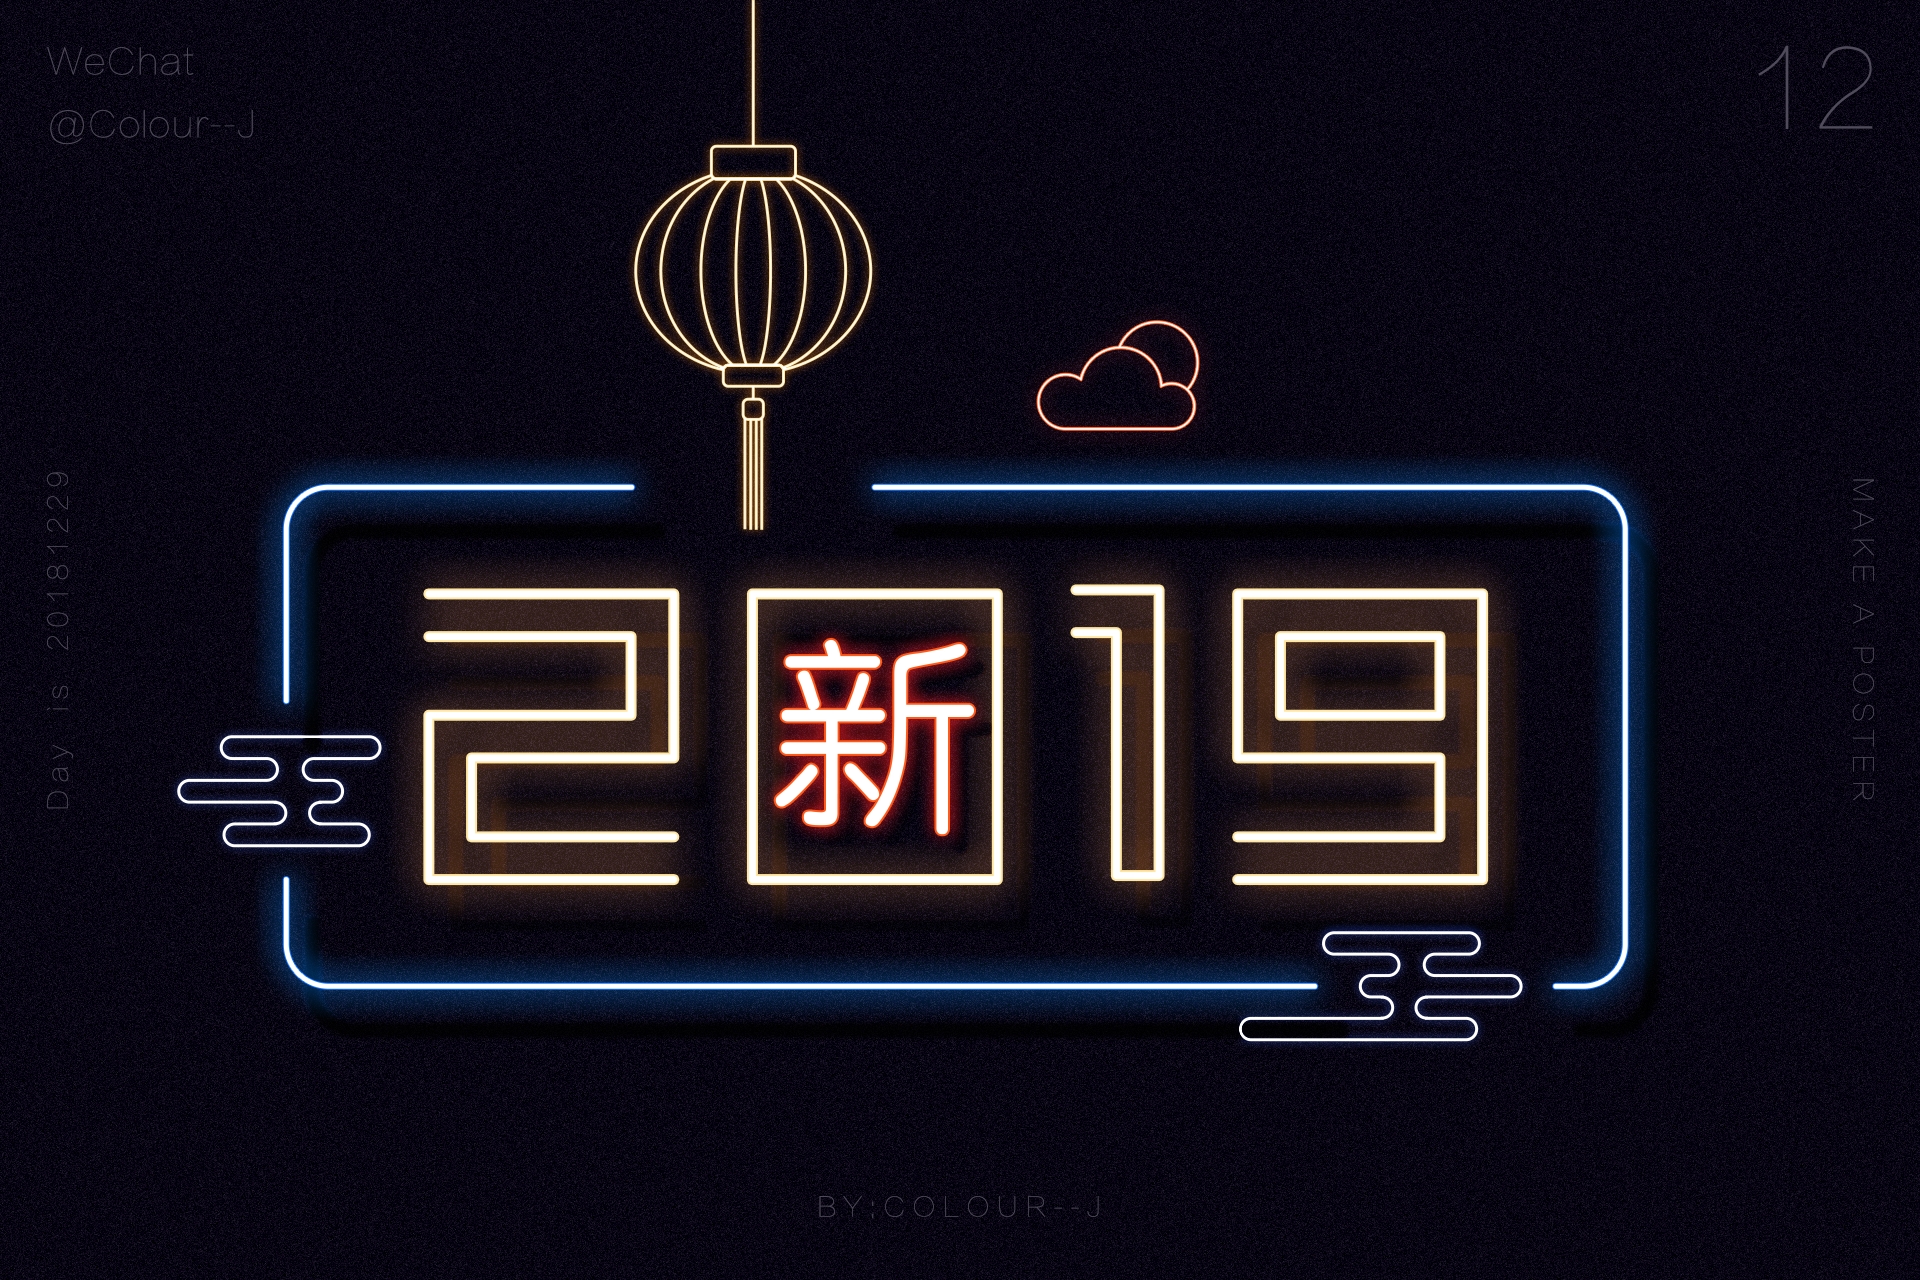
2019 Font Series of PS+AI Tutorial (3)
Graphic Tutorial

Written in front:
This tutorial is the third tutorial in the 2019 font series tutorial, and it is a tutorial on neon font effects.
I have done a tutorial on neon fonts before. Neon Series (1) Neon fonts. The addition of light in this tutorial is more complicated and more effective.
First use AI to draw basic shape components, and then use PS layer styles to create light effects. Is a very simple and easy to use tutorial!
AI part
▶ Enter the text "2019", font: FFF Reaction, this font is relatively square!
Create outlines.

▶ Change the fill to a stroke, and the stroke pixels are set by themselves.

▶ Split the opening for the text part.
Use the pen tool to add an anchor point on the path that needs to be opened, select the anchor point just added, press and hold Delete to delete it, and the path at both ends of the anchor point will be deleted.

▶ Pay attention to the endpoints at both ends of the text path, because it is a neon tube, so use a round head effect.

▶ Enter the text "New", font: Han Yi Thin Zhong Yuan Jian.
Create outlines.

The effect of clouds and sun.
▶Component part: circle+rectangle (as a filling for the gap below)
Pathfinder - Unity.

▶ For the extra part of the sun, use the Shift+M pathfinder to drag it directly into the cloud.

Auspicious cloud part
▶ Rounded rectangle+rectangle+circle.
The diameter of the circle is equal to the height of the rectangle.

▶ Box select the circle and rectangle below, Pathfinder-Minus Front.

▶ Pathfinder-Union, merge the redundant parts.

lantern part
▶ The structure of the lantern is disassembled.

▶ For the circle part, first draw a perfect circle, press Ctrl+C, Ctrl+F to paste it in front, and shrink it inward;
Repeat the operation two more times;
Then group together and flatten.

▶ Combine the components, and use the Shift+M shape generator tool to merge the redundant parts.

▶ Just arrange all the components.
For the large border on the periphery, use the rounded rectangle tool and the pen tool to remove some of the edges (it is the same as digital edge removal).

How to export AI to PSD format
▶ First re-create a document (because I have exported it before, sometimes I can no longer operate it).

▶ Paste the content to be exported into the new document.

▶ Ungroup all components to the last layer, be sure to ungroup completely.

▶ Select all content, layer panel-menu-release to layer order.

▶File menu-Export-Export As
Check "Use Artboard", so that components outside the artboard will not be exported together.
In the displayed dialog box, click OK.

PS part.
▶ Open PS, import the file we just exported, and you can find that each component forms a separate layer.
In this way, we don't need to paste them from AI into PS one by one.

background part.
▶ Fill it with a darker blue.

▶ After turning into a smart object, add a noise to the background for added texture!

▶ For the processing of the main body text, first change the text from black to white.

▶ Layer Style - Stroke.

▶ Layer Style - Outer Glow.

▶ Layer Style - Drop Shadow

▶ Because it is the main part, the most effects are added, and the value is also a bit larger, so it is necessary to distinguish the primary from the secondary.

▶ The "new" part also belongs to the main body, but the value is smaller and the color has changed to a certain extent.
Stroke:

Outer Glow:

projection:

"New" final effect.

▶ For the lantern part, only the stroke and outer glow.

▶ The part of the auspicious cloud only has an outer glow.

▶ Where the sun and clouds are, only the stroke and outer glow.

▶ The place with the large border, because it belongs to the place that frames the main body, the effect is the same as the main body text, with strokes, outer glow, and projection.

▶ The text color saturation of the final effect is a bit low, so the Hue Saturation adjustment layer adds some saturation.

▶ The typography moves in.

The tutorial is original by Kaleyun, private transfer must be investigated!
Please contact the author to repost!
Articles are uploaded by users and are for non-commercial browsing only. Posted by: Lomu, please indicate the source: https://www.daogebangong.com/en/articles/detail/PSAI%20Tutorial%20Super%20simple%20neon%20font.html

 支付宝扫一扫
评论列表(196条)
测试