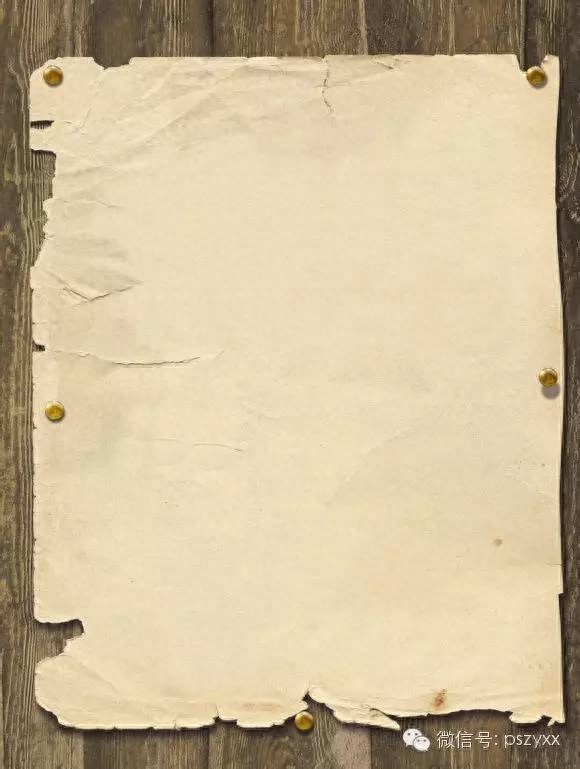
Blank paper material
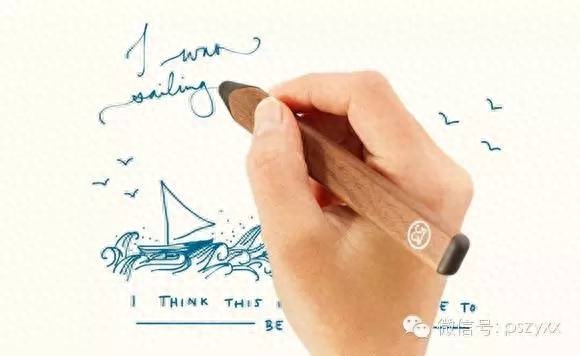
hand holding pen material
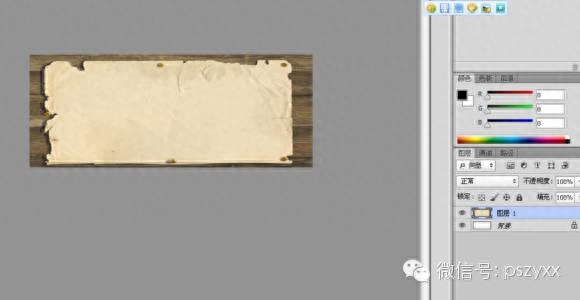
First, create a new document. Width 500 Height 200

Step 2: Drag the paper material into it

Since the picture on the paper is too large, press Ctrl+T to adjust and rotate it to get the following picture effect
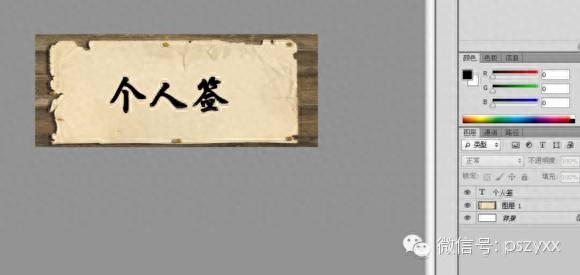
Step 3: Use the text tool and the shortcut key T to type in the text you like. In this step, you can also find some one-word webpages on the Internet to make the text you like, and then use QQ to take a screenshot and cut it out!
Finally came back, there was a traffic jam, thunder and rain outside. . . I almost thought I would never come back! Continue below
The fourth step is to delete the text. Use the shortcut key Ctrl+j to copy a layer of text.
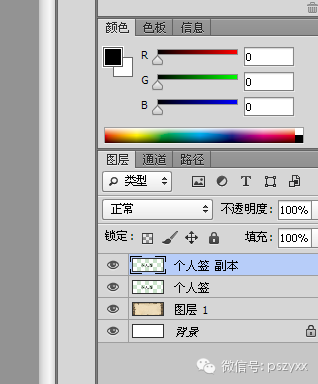
Click off the glasses on the text layer!
Select a copy of the text layer
Then it begins. . . wipe
You heard it right, it’s rub, this rub is not that rub. . . It's the eraser that wipes, not the one that curses.
Because of the erasing characters, we start erasing from the last stroke. The eraser used here is Loulou. Of course, you can also use a layer mask to erase it.
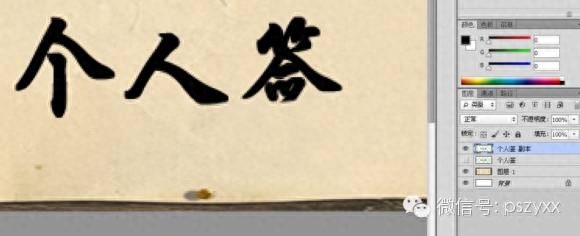
Then copy the personal signature copy Ctrl+j once to get copy 2. Click off the glasses in front of the personal signature copy to prevent it from displaying.
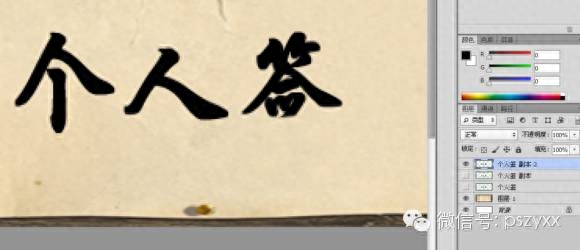
Select the personal signature copy 2, and then erase the second to last stroke
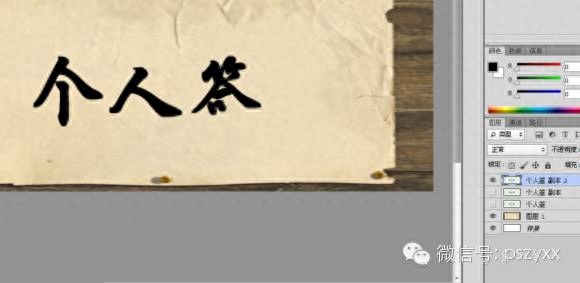
After wiping, copy Personal Signature Copy 2 to get Personal Signature Copy 3, and then wipe the third to last stroke.
Then repeat the above operation until the first word is erased and only the first stroke is left.

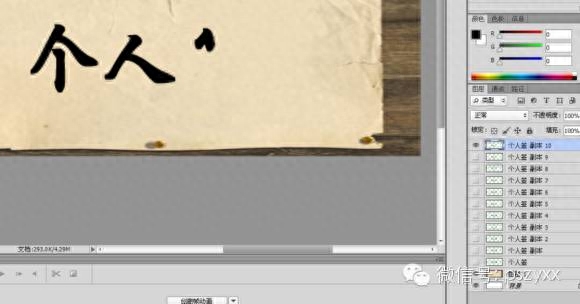
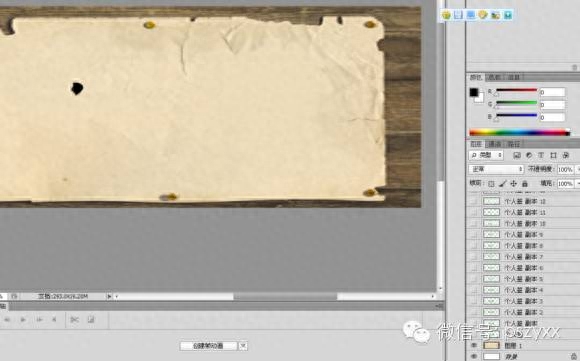
After erasing the first character, don’t erase it all at once. Leave a dot as the starting point.
Fifth: After the words are erased, you will get a lot of copy layers. Click on the glasses in front of the personal signature layer (that is, the layer that was just created without erasing at all) to display it.
Next, open the hand material and cut out the handle, use the move tool to drag it over, and then use Ctrl+T to adjust the size of the hand so that the pen tip looks a little larger than the text.
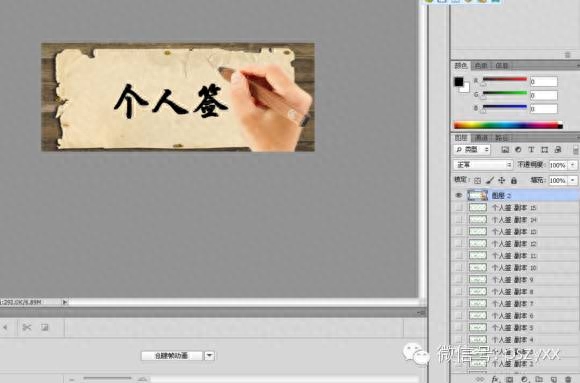
Here are the hands that have been picked
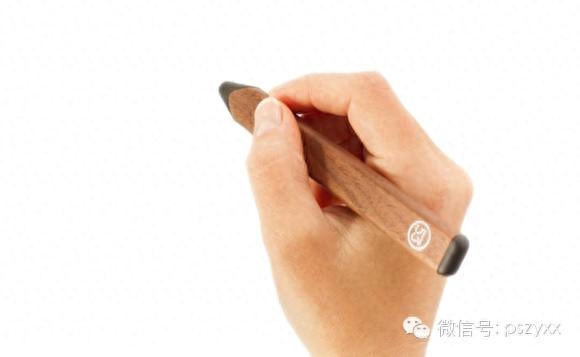
Sixth: Add shadow to the hands
Create a new layer, use the brush tool, and use a hardness 0 brush to draw a black shadow along the left side of the hand.

The shadow is larger toward the wrist and smaller toward the tip of the pen.
Then the high-end blur, the parameters can be set by yourself, here Lou Lou is set to 5.
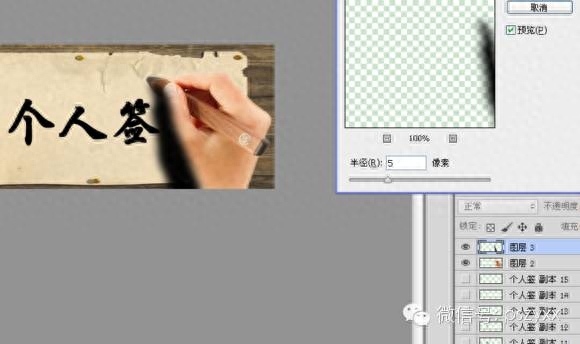
Lower the opacity of the shadow layer, and then drag the shadow layer below the layer in your hand.

Hold down the Ctrl key while selecting layer 2 and layer 2

Then press Ctlr+E to merge the two layers to get a new layer, also called layer.
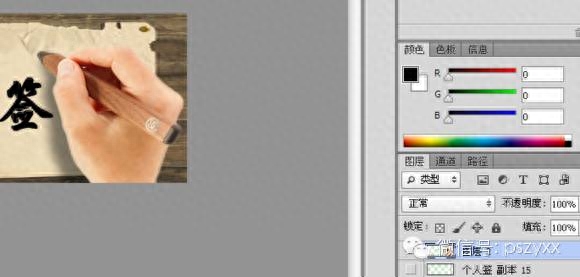
Seventh: The above preparations are almost done. Let’s start the animation production. Since Loulou uses CS6, the timeline is displayed here, and the CS5 display is animation. In fact, the functions are similar! I have never used other versions of Loulou. I don’t know what their specific names are. I have never used Loulou. If you don’t know, just download the children’s shoes on Baidu!
Put a check mark in front of Window-Timeline to bring up the Timeline Toolbar
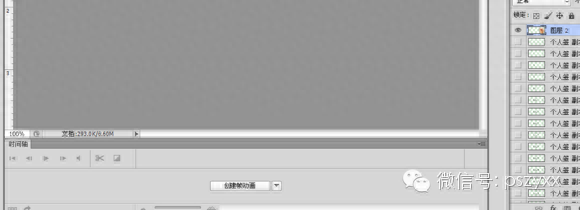
Click "Create Frame Animation"


Click to copy the selected frame, as shown by the arrow in the picture, to get frame 2
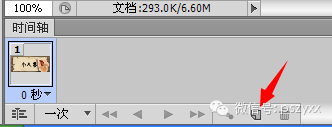
Then click off all the glasses in front of the text layer in frame 1 and frame 2 so that they are not displayed, and you will get the effect as shown below
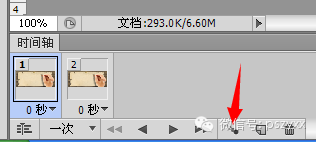
Then click on the transition animation frame (as shown by the arrow above), and the menu below will appear.
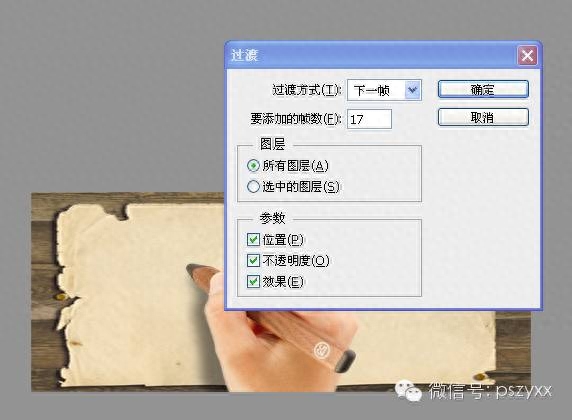
The text layer of Lou Lou here is 15 layers, plus the transition between words and spaces, three characters and 2 transition frames, so the number of frames to be added here in Lou Lou is 17. Of course, if it is not enough, it can be added later. Increase the number of frames by duplicating selected frames
Select frame 1 and start editing frame 1 below.
Click on the eye in front of any text layer to display it
Select the layer where the hand is located. The one here is layer 2. Use the move tool to drag the pen tip of layer 2 to align with the starting point of the first word, and then turn off the text layer.
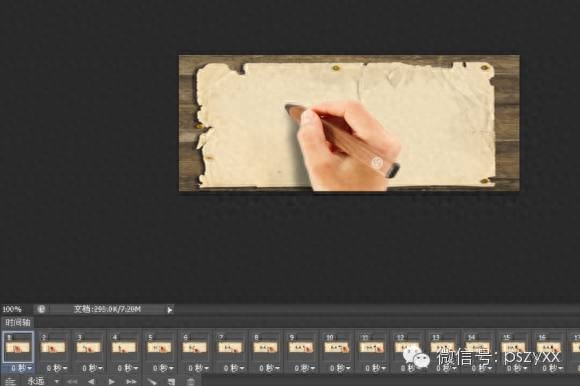
In the second frame, light the eye in front of the last text layer (here is the personal signature copy 15) to display it, and then use the move tool to point the pen tip of layer 2 to the place where the text was erased, as shown in the picture
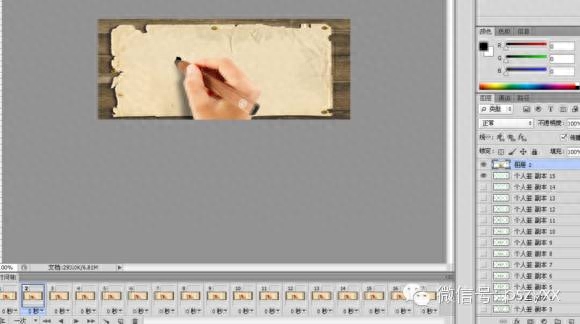
In the third frame, light up the eye in front of the personal signature copy 14, and then use the move tool to drag the pen tip to the end of the first stroke
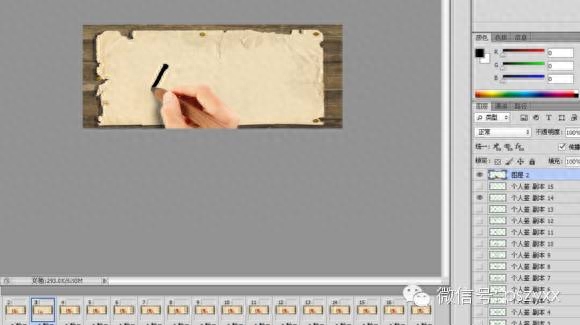
In frame 4, light up the eye in front of the personal signature copy 13, and then use the move tool to drag the pen tip to the end of the second stroke.
The 5th and 6th after that. . . and subsequent frames are processed in the same way.
Since this is not a connected character, but a single font, when making the second character, you need to leave a frame to reach the starting position of the second character. The same goes for the third character. . .
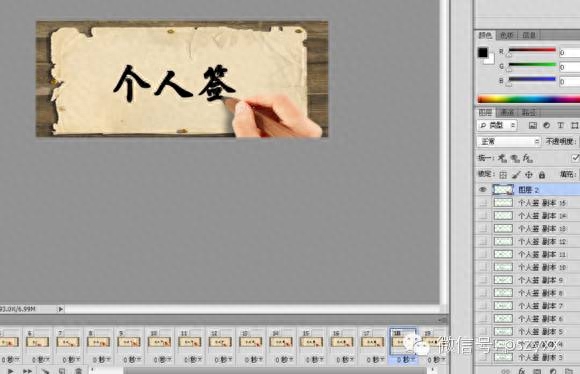
Lou Lou made 18 frames here and more than 50 frames for the renderings. . .
In frame 19, display the full text, hide the hands, and then adjust the time to 1 second.

This is basically completed. Next, save it as an animated GIF. Click File - Save in the format used by the Web.
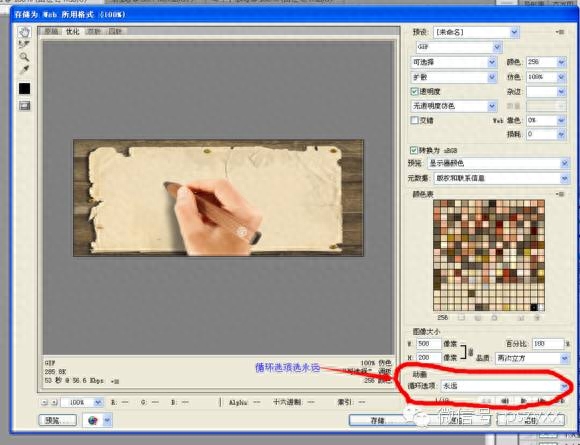
Select "Forever" for the loop option. Click the play button below to see the effect. If there is no problem, you can click "Save". . . A dynamic picture of handwriting appears like this.

The exciting course will continue tomorrow, stay tuned.

Articles are uploaded by users and are for non-commercial browsing only. Posted by: Lomu, please indicate the source: https://www.daogebangong.com/en/articles/detail/PS-zhi-zuo-shou-xie-zi-GIF-dong-hua.html

 支付宝扫一扫
评论列表(196条)
测试