
Step 1. Create a new canvas, fill it with blue, and enter the text "moon in the water". Here I use bold bold as an example.

Step 2. To hide the text, use the rectangle tool to draw a stroke rectangle with a stroke of 2 pixels, and copy a lot to cover the font.

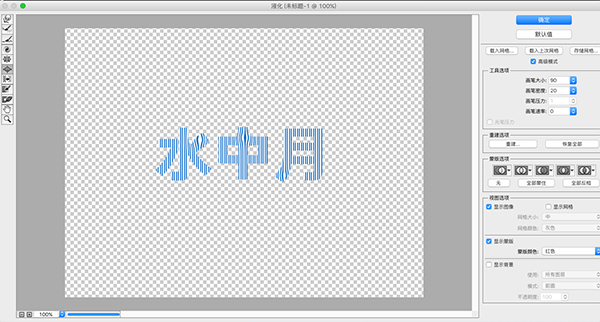
Step 3. Merge graphics and fonts, select Filter - Liquify, and click the expansion button B on the left. The brush size on the right is 90, the brush density is 20, and a few small openings are drawn back and forth on the font.
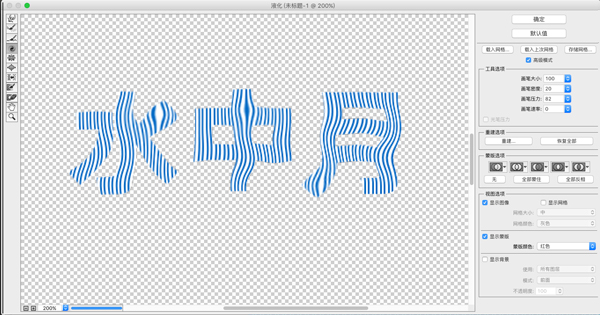
Step 4. Continue to select the rotation button on the left. The specific parameters are shown in the figure. The brush size is 100, and the brush density is 20. You can repeatedly try various effects by dragging gently on the font.
Step 5. Copy the font effect to one layer, and perform Filter-Blur-Motion Blur, and adjust the font opacity of the two layers.
Step 6. Finally, use the brush tool to draw some water lines and a glowing background. The specific drawing method can be used to erase the mask.

Articles are uploaded by users and are for non-commercial browsing only. Posted by: Lomu, please indicate the source: https://www.daogebangong.com/en/articles/detail/PS%20production%20of%20water%20ripple%20font%20effect%20%20water%20moon.html
 支付宝扫一扫
评论列表(196条)
测试