Today I will bring you a set of retro-style font Photoshop tutorials, suitable for beginners to practice, the design process is relatively simple, students who have time can practice, it can be completed in 10 minutes, the following are the steps of the tutorial.

1. Select font
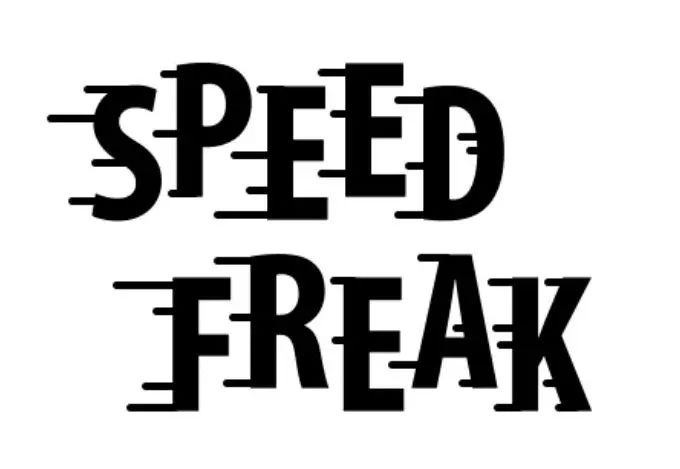
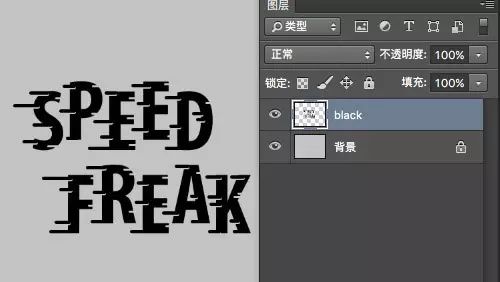
Open the PS design software, create a new file, and enter the text "SPEEDFREAK", and then select a font close to the picture below. The font features: thin (narrow), thick, and a bit tough.
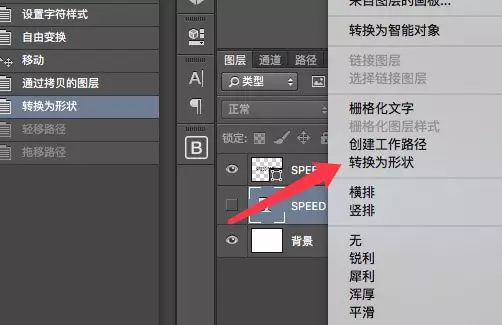
2. Convert text to shape

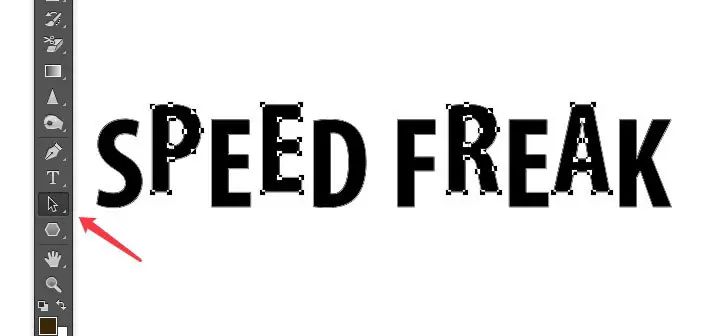
3. Adjust text layout
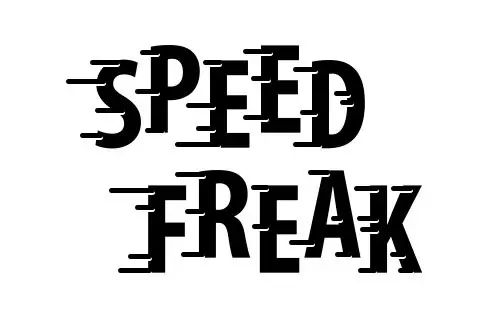
Use the path selection tool to select a few letters, and adjust the height of the text, which is a bit misplaced.
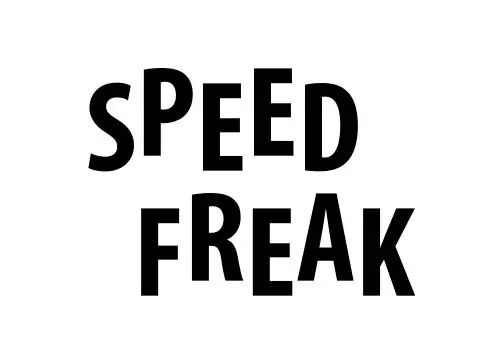
Typesetting again to the following effect~
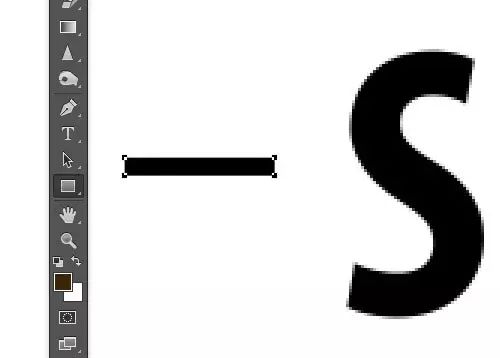
4. Wind speed line
Lines are drawn directly with the rectangle tool, and the width and height must conform to the proportion of the current letter.
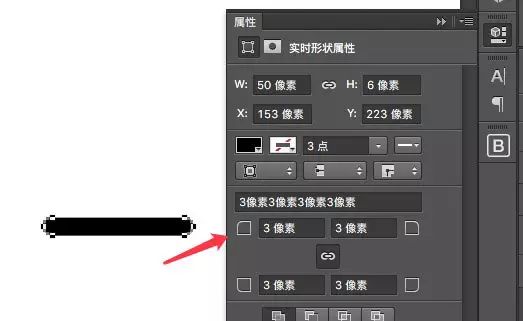
Use the properties panel to set a rounded corner for the line (rectangle) (please do not follow the screenshot for the parameters, please set as much as your current height), so that the wind speed line can be obtained~
5. Adjust line position
Copy the lines to different alphabetic characters (Tips: press Alt + left button to quickly copy manually). This is also a test of your aesthetic ability~~
5.1 Add the black line first
5.2 When the lines are almost ready, "select all - copy" all the black lines, change the "copied" lines to white, and move N pixels down, as shown in the figure below:
5.3 Add a white line, the white line is a little thinner than the black (height is less)
Note that the white line is to create a concave feeling, so the direction is from the right side of the letter, as shown in the figure below:
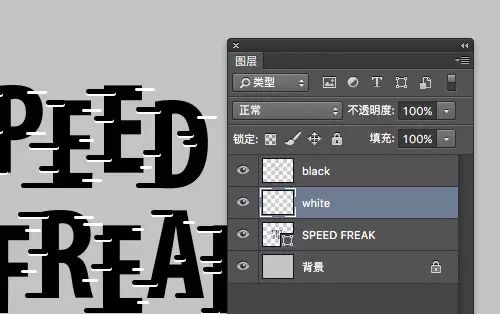
6. Merge layers
6.1 First, make the black line full screen into a layer, and the white line into a layer.
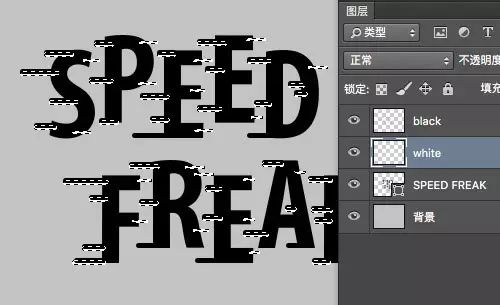
6.2 Press the ctrl key, click the white line layer, and the selection area will be automatically selected at this time, press ctrl+shift+i to invert the selection.
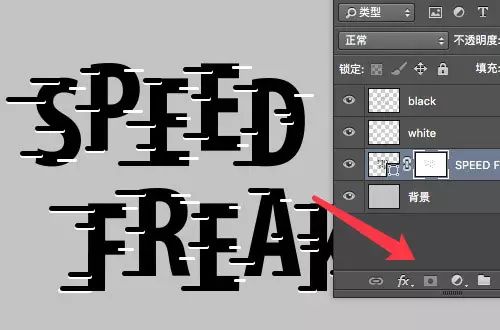
6.3 Select the text layer "SEEDFREAK", and then click the "Mask" icon in the layer panel
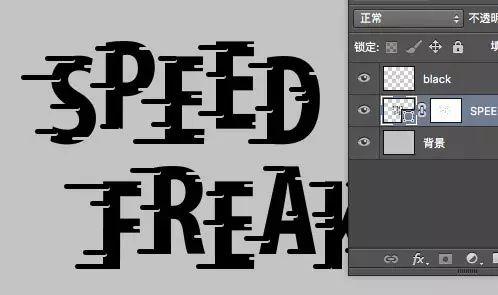
Delete the white line layer to get this effect.
Merge the black line layer with the full text layer, now we are 95% done.
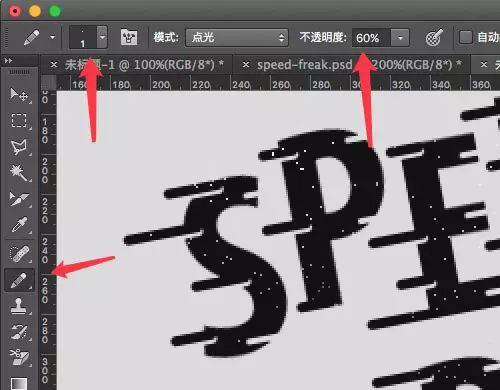
7. Add texture effects
Finally, we add some textures to the text. This texture is quite simple. You only need to use the 1px pencil tool and set the "opacity" on the text to draw some points as textures.
Pencil Setup 1:
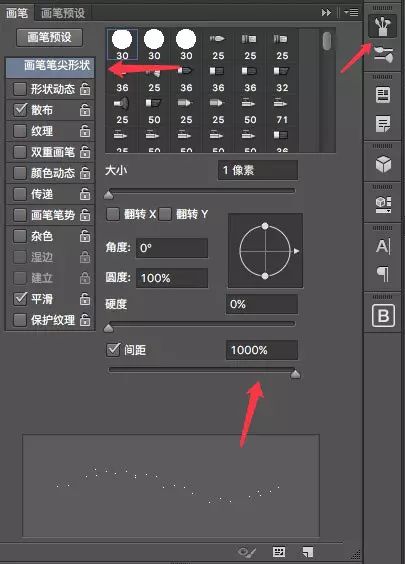
Pencil setting 2: This step can not be set, but if it is set, when you draw some textures, you don't need to click and go, just press and hold the left button to swipe.

Pencil Setup 3:
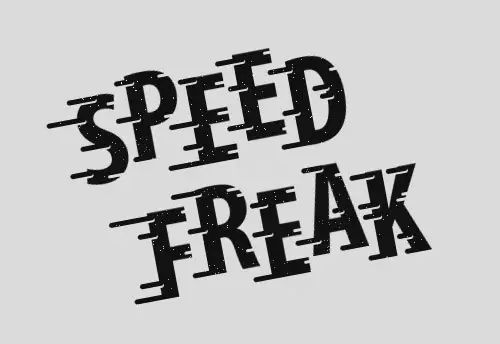
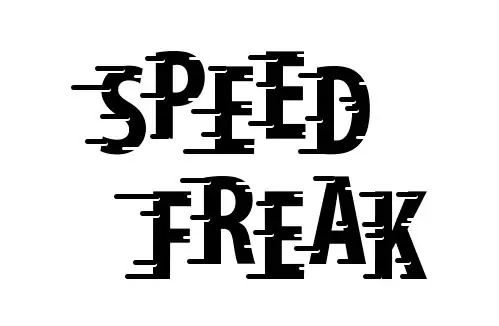
Then start scanning
Final effect

This is a very simple PS font design practice tutorial. If you have any questions, please leave a message on the official website of the designer or WeChat. After reading it, the editor will reply to everyone. Welcome to submit homework to this message area.
Don't miss any high quality
Design material, experience, inspiration
▼
Articles are uploaded by users and are for non-commercial browsing only. Posted by: Lomu, please indicate the source: https://www.daogebangong.com/en/articles/detail/PS%20making%20retro%20style%20font%20design%20tutorial.html
 支付宝扫一扫
评论列表(196条)
测试