Create a new canvas, in order to make the font obviously filled with the background color, type text,
Method 1 (text cannot be modified)
Copy the text in two layers, fill it with red and blue (your favorite), move the red to the left and the blue to the right to form a dislocation;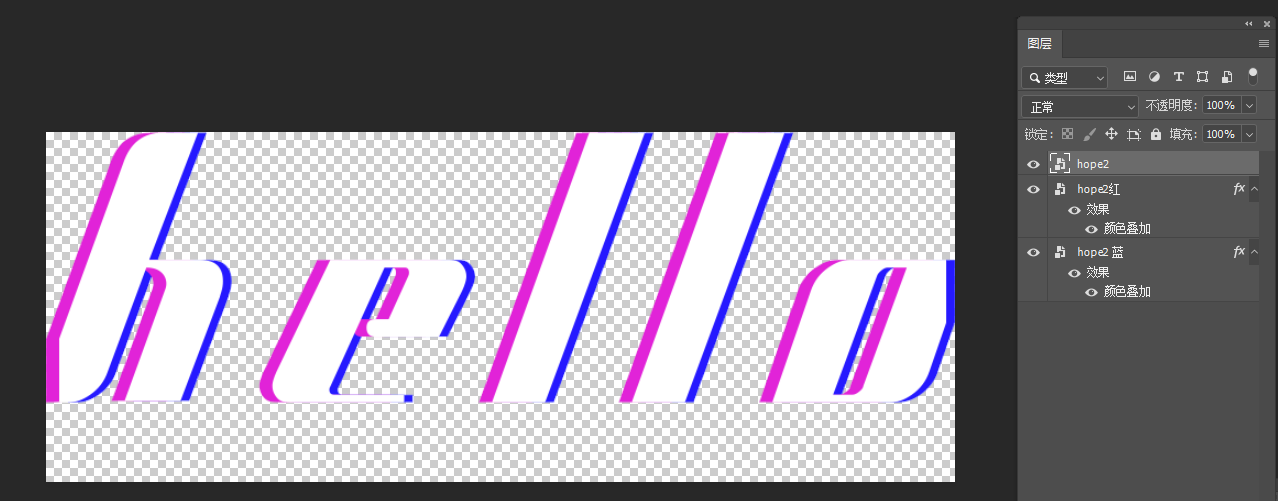
Merge all the font layers, in the state of rasterization, select the current layer, use the marquee tool to drag out the fault area you want, put the direct selection tool on the marquee, it will become an arrow with scissors , you can drag it directly to make a dislocation effect,
This is simple and fast, but it is irreversible, and the text layer cannot be modified after being rasterized

Method 2 (text can be modified)
1. Make a font layer
(1) First, convert the text hope into a smart object, copy two layers, and use "Color Overlay" to superimpose them respectively Red and blue, move red to the left and blue to the right to form a dislocation;
(2) Select the three-layer font and select "Convert to Smart Object" at the same time (this step is the key to changing the font, red and blue just add layer styles to the original layer, which are essentially the original font layer, when changing will correlate)
(3) Change the font: Double-click "hope overall" to enter a new font file, with three layers of smart object layers on the right

Then double-click the "hope" font layer to get an original font file, the right layer can modify the text, now we change it to "hello", remember
“Be sure to save” After changing a file, save one, and then return to the previous file, you can see the effect

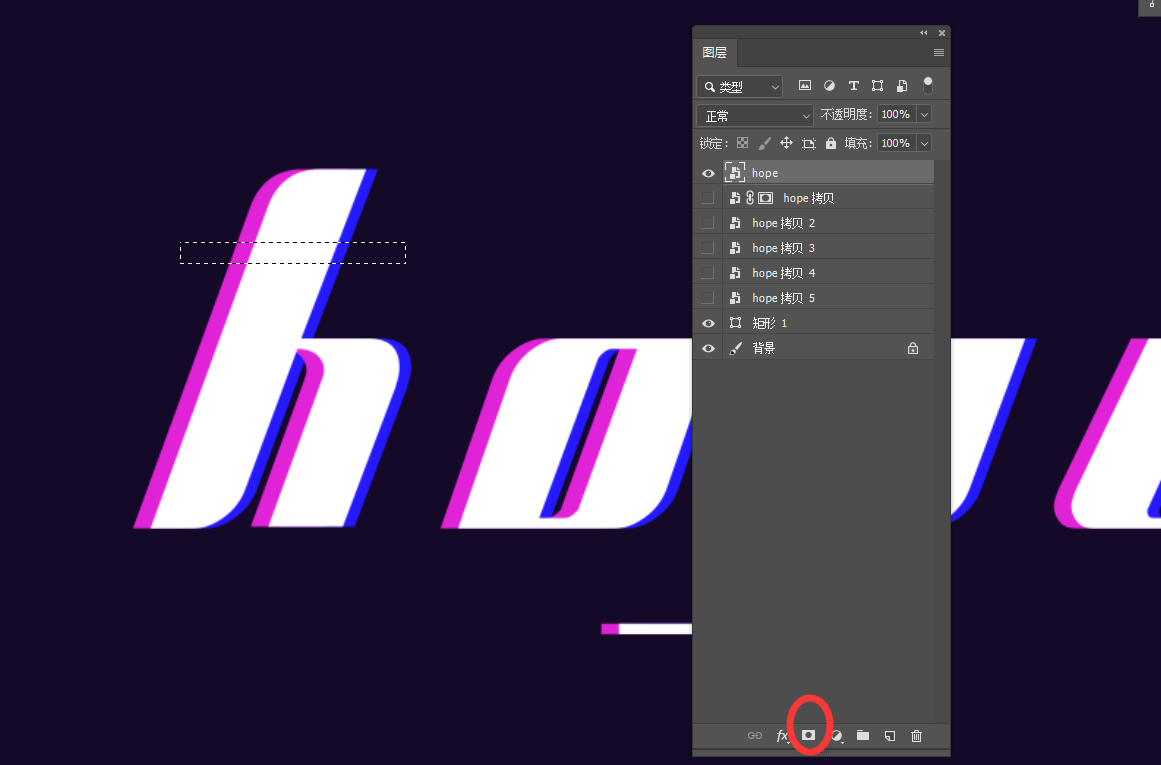
2. Layer mask for effect,
Let's first understand the use of the layer mask. Select the layer and use the selection area to frame the area. The icon in the red circle below is the mask.

Click the icon directly to display only the content of the selection area. If you want to continue to display or hide the content, add the selection area. The position of the selected layer mask (not the layer position) is filled with black to hide, and white to show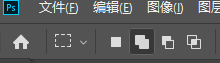
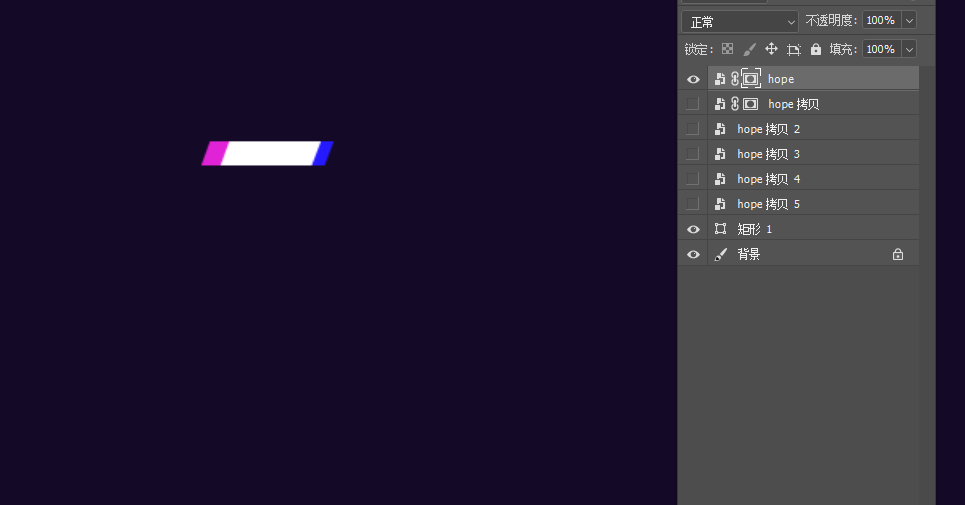
Hold down "Alt" and click to get the following effect, displaying the content outside the selection area,
The principle of the fault effect is as shown in the figure below. There are multiple layers. The first one has a hollow effect, and the next few pictures only show the hollowed out area. Because it is a single layer, it can be moved left and right to make a dislocation.
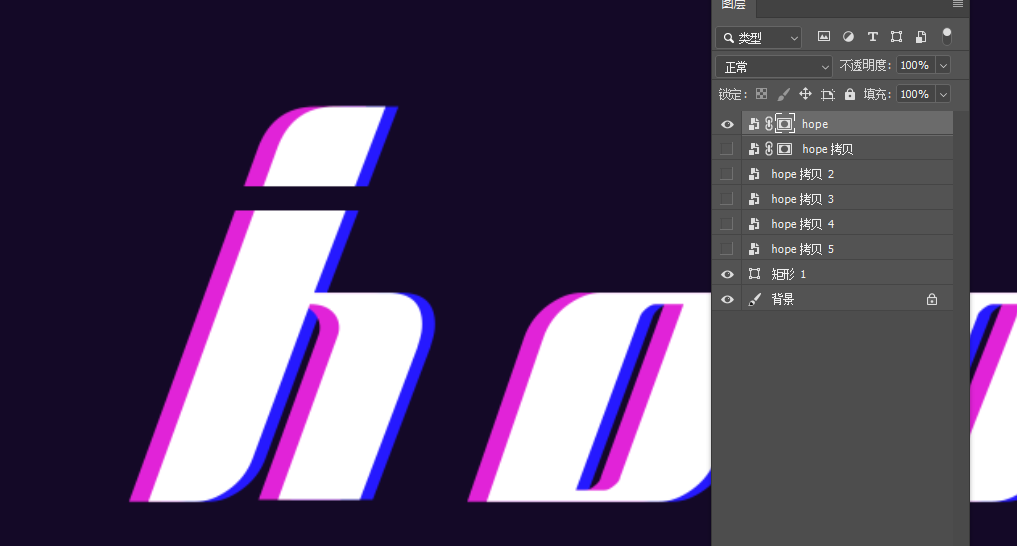
3. Next, use the above principles to create fault dislocation effects
(1) First, you can add a reference line on the text, draw the area that needs to be moved, and copy several layers of the text layer according to the effect you want to make
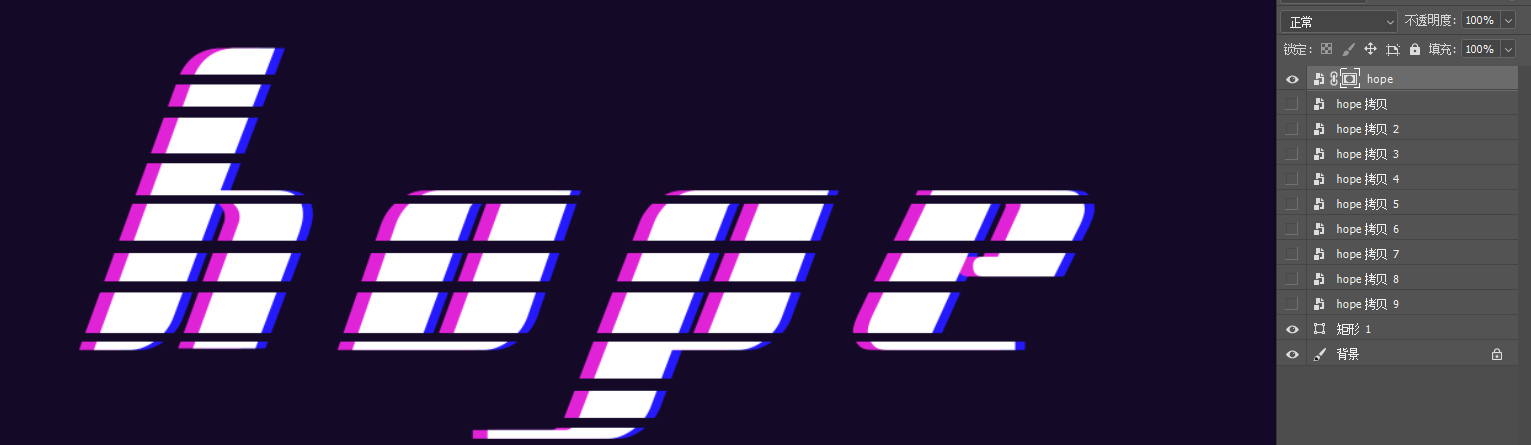
(2) Use the selection area to make the first layer hollow, where you can increase or decrease the selection area
Make the back layer to only show the effect of the current area
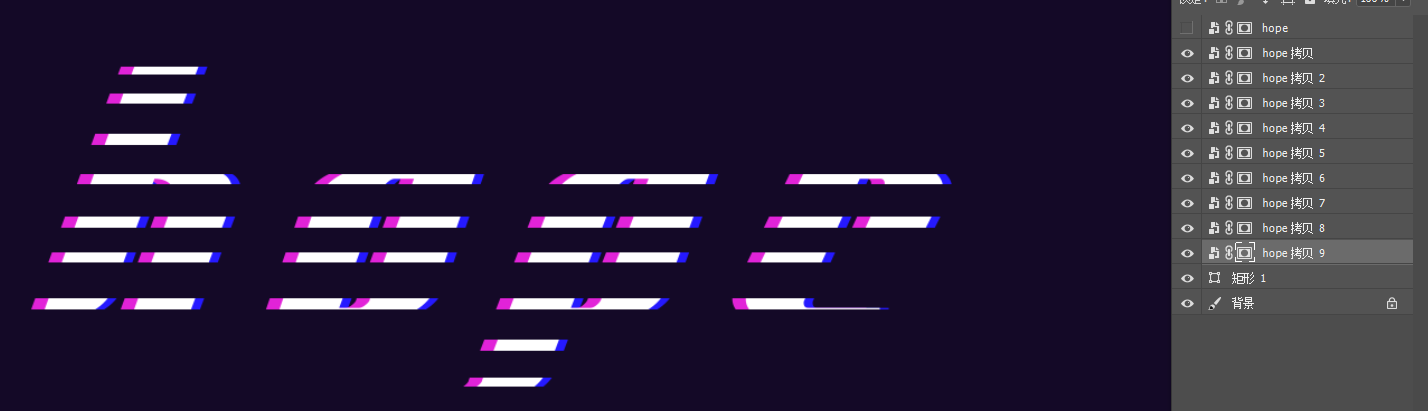
Then you can move around as you like! The size of the selection area can be changed arbitrarily, and the effect will be different!
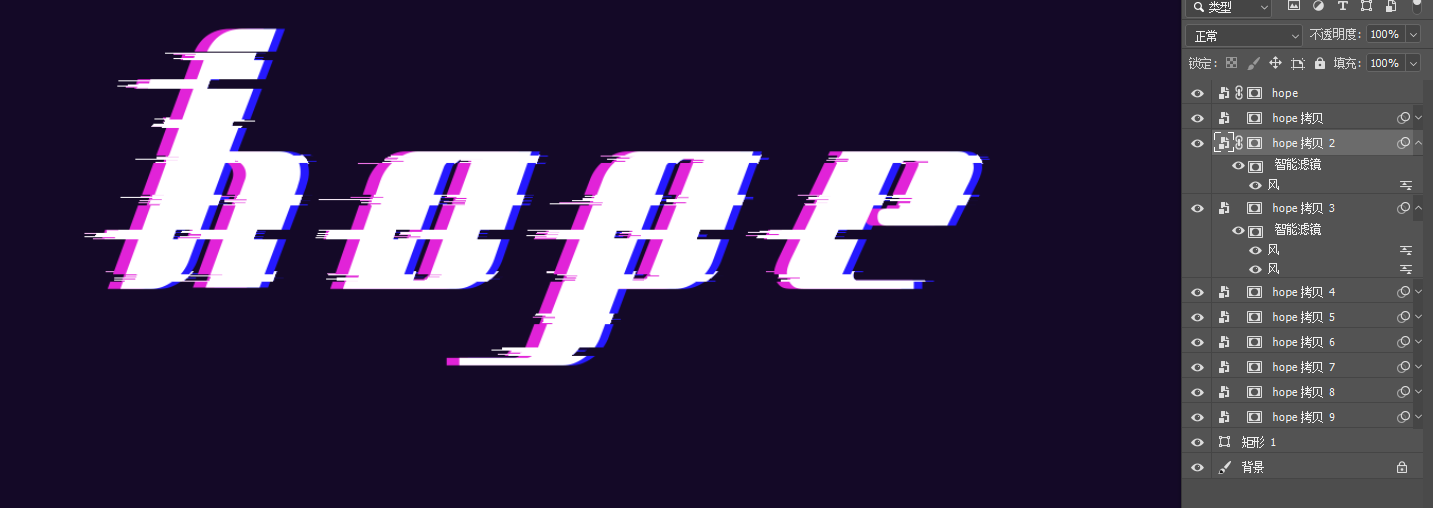
You can also add other effects, filter-stylize-wind, and finally add some small elements you like to the background, and the small lines are complete!
Like a like! Follow up to learn more complex and beautiful ones and update!
Articles are uploaded by users and are for non-commercial browsing only. Posted by: Lomu, please indicate the source: https://www.daogebangong.com/en/articles/detail/PS%20making%20fault%20wind%20font%20tutorial%20easy%20to%20change%20text.html
 支付宝扫一扫
评论列表(196条)
测试