
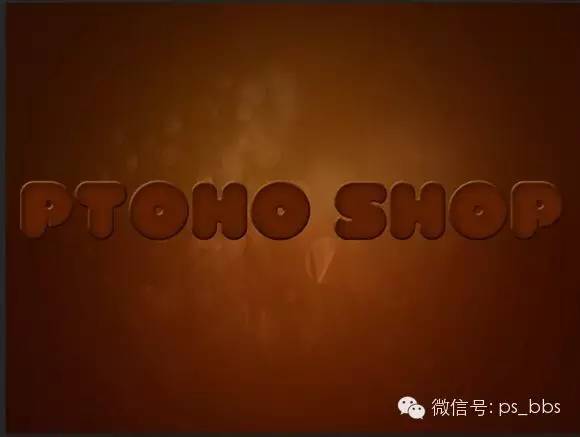
I will teach you how to make a text with the effect of chocolate biscuits. If you are interested, you can follow the tutorial and remember to hand in your homework. Renderings:


The tutorial begins.
Material packaging link: http://pan.baidu.com/s/1dD5wlNj Password: lrjy
Create a new 1600*1200 pixel layer, G select the gradient tool to pull the gradient.

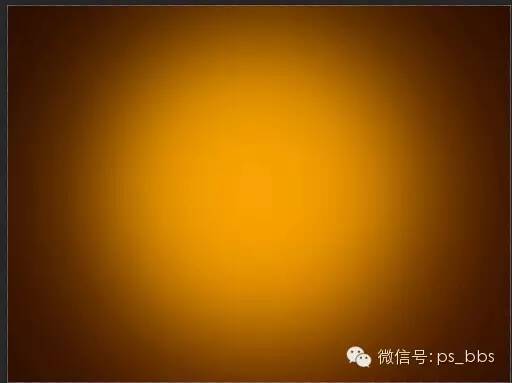
Create a new layer, use a flexible brush color: fea800, size: 1245 to draw a circle in the center of the layer. Change the layer mode to Screen and opacity to 20%


Drag in the background layer, hold down ALT to create a black mask for the background layer, use the G gradient tool to select black and white colors to create a gradient for the mask (if you really can’t draw a circle, draw it yourself with a white brush) change the layer mode For linear dodge.


Create a new Hue Saturation clipping mask layer, set 175-100-76
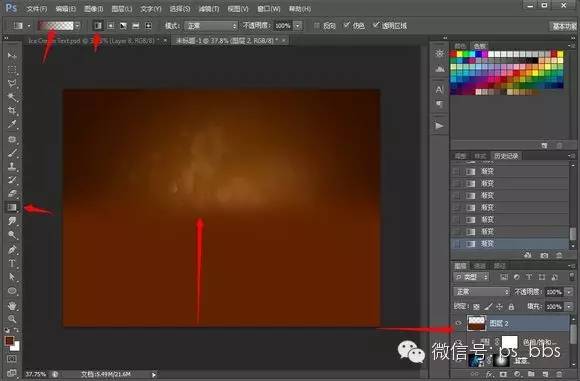
Create a new layer and use 612200 color to pull a transparent gradient, change the layer mode to soft light, opacity 45%

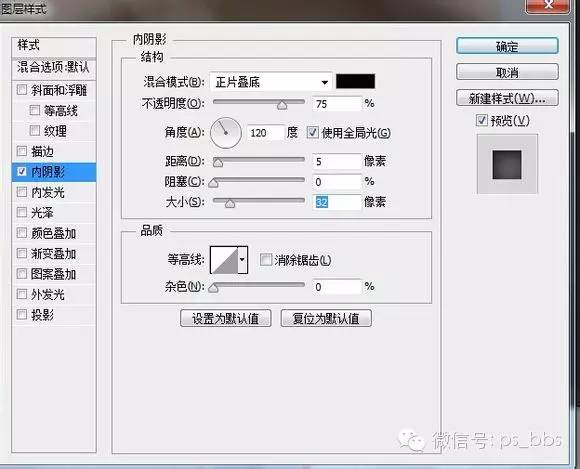
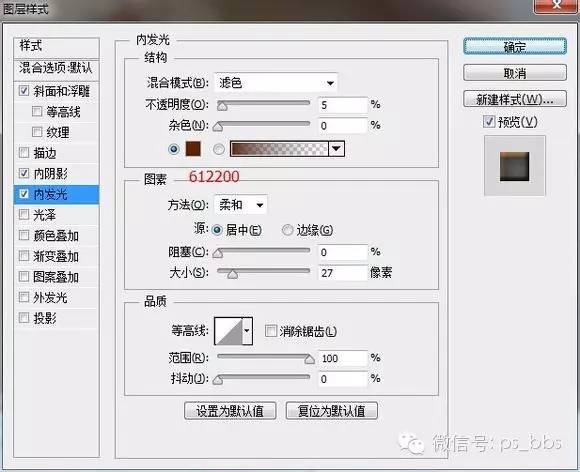
Use Val font, choose 5b1e00 color typesetting! Set layer styles! !


Add a white mask to the font layer, and use a black hard brush to draw a gap like a bite.

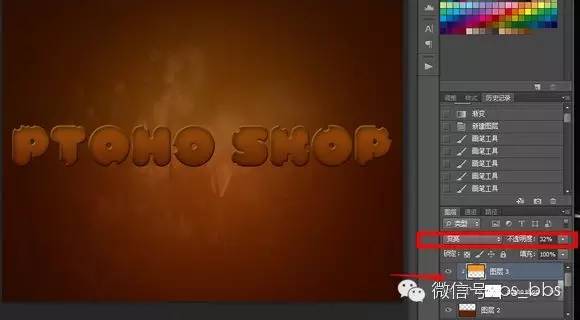
Create a new layer, pull a transparent gradient with f8941d color, and then right click to create a clipping mask! ! Change the layer mode to Lighten and Opacity to 32%
 l
l

Duplicate a text layer and use the move tool to move the text layer below a little bit.

Drag in the textured picture, right click to create a clipping mask.

Ctrl+alt+shift+e stamps the layer. Use the rectangle tool to select the text layer, CTRL+J to copy the text, and ctrl+t to vertically transform and move the text to make a reflection.


Create a mask for the text layer and use a black and white gradient to pull the reflection. (If you don’t know how to insert it with a white flexible brush)

Create a new layer and shade the text with a dark gray color. Change the layer mode to Multiply and opacity to 40%
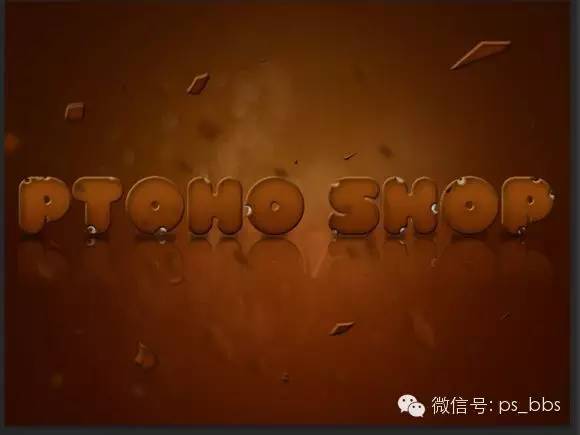
Drag in the chocolate material and adjust the size.
Use the brush to set f7941d color to paint a few drops of cream, set the layer style.


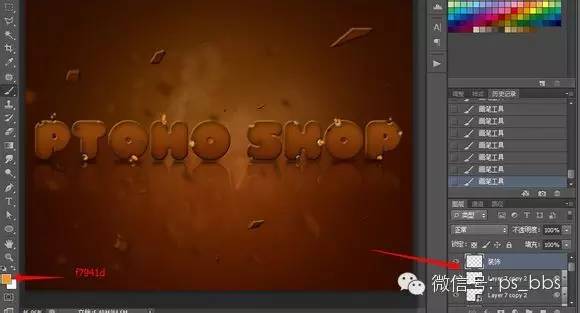
Create a new layer, use a larger brush to draw the cream layer style, and set the same as step 15.
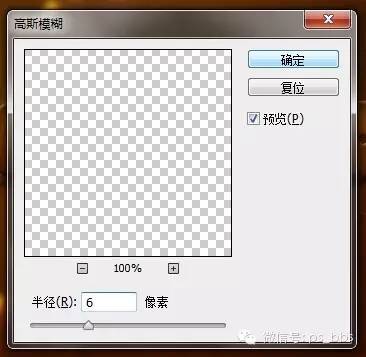
Filter - Blur - Gaussian Blur

Filter - Blur - Mirror Blur.

Create a new layer and use a yellow brush to draw some yellow dots.

Change the layer mode to Lighten and Opacity to 10%
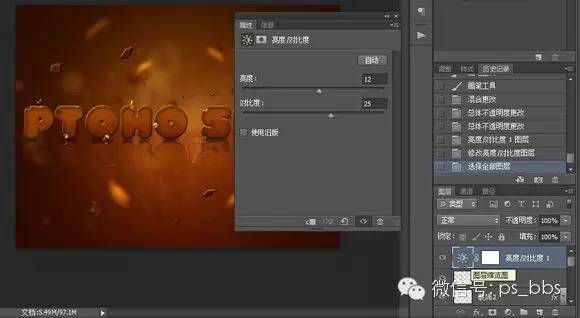
Create a Brightness Contrast layer and set it to 1225

Create a new layer, use the yellow brush tool to draw a big yellow circle, change the layer mode to overlay, opacity 15%

It's finally done.
(文/334061981)
Please like it if you support it! ! ! ↓↓↓
Articles are uploaded by users and are for non-commercial browsing only. Posted by: Lomu, please indicate the source: https://www.daogebangong.com/en/articles/detail/PS%20design%20cute%20chocolate%20font%20tutorial.html
 支付宝扫一扫
评论列表(196条)
测试