By the way, I haven't had time to watch another drama "The Big Bang Theory" that I have been chasing since Yeluzhi opened, and I have forgotten where I saw it.
I heard Xie Er got married? Ahhh~ I really miss Xie Er~ I really miss his "Bazinga!"
Come, let's make a "Bazinga" cartoon font with Yelang today!

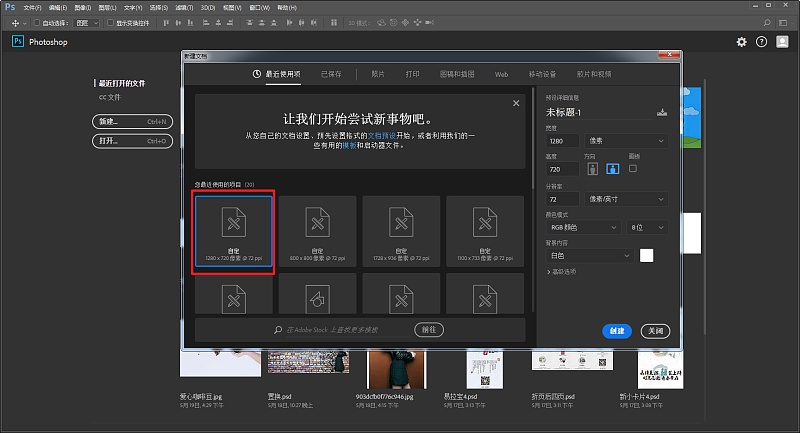
First open ps and create a new 1280*720 canvas:
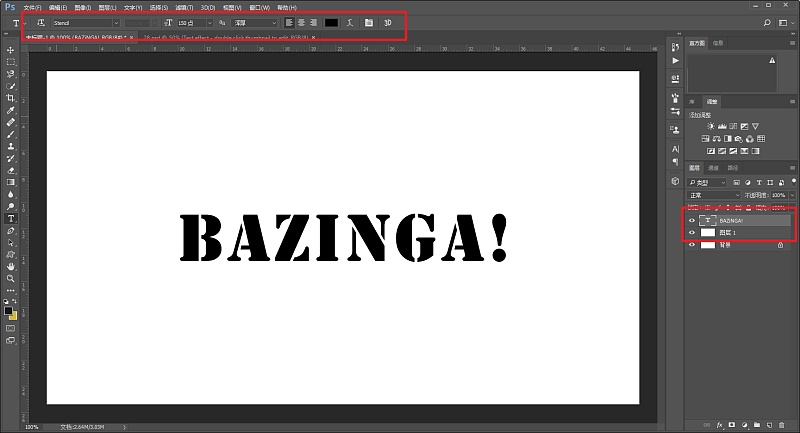
ctrl+j to copy a background layer, then choose a font you like, and move it to a suitable position:
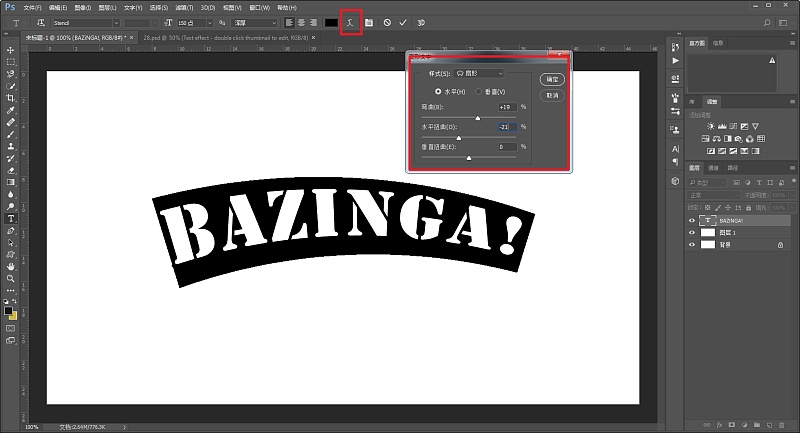
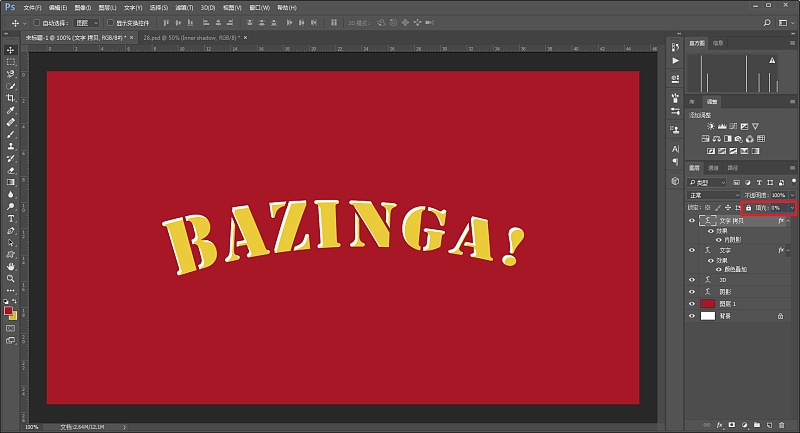
The text is deformed, and the parameters can be adjusted according to your own situation:
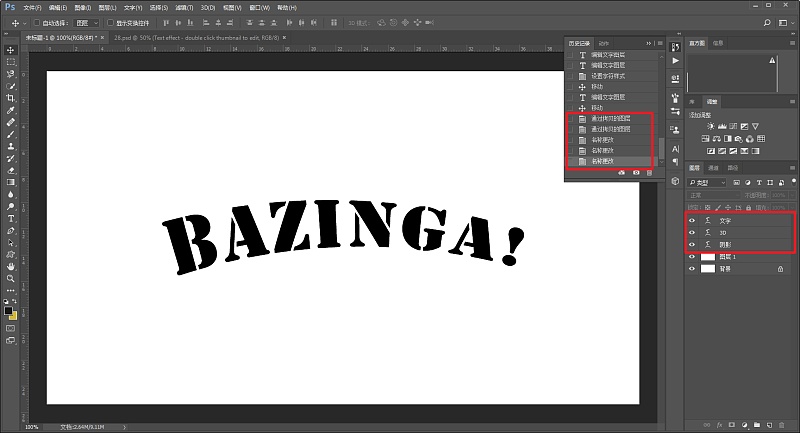
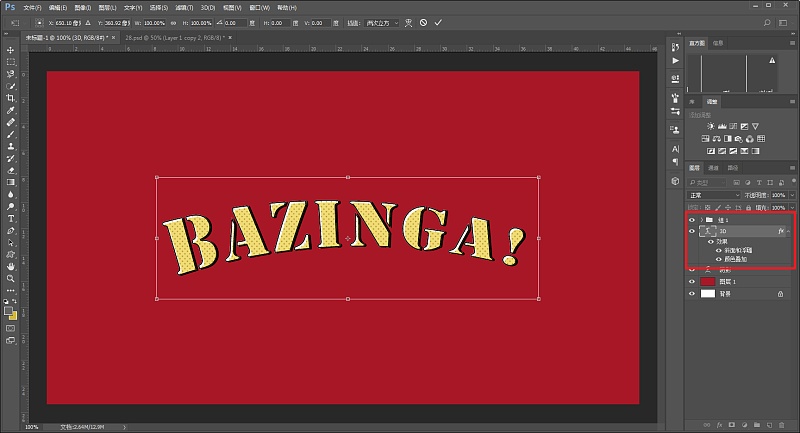
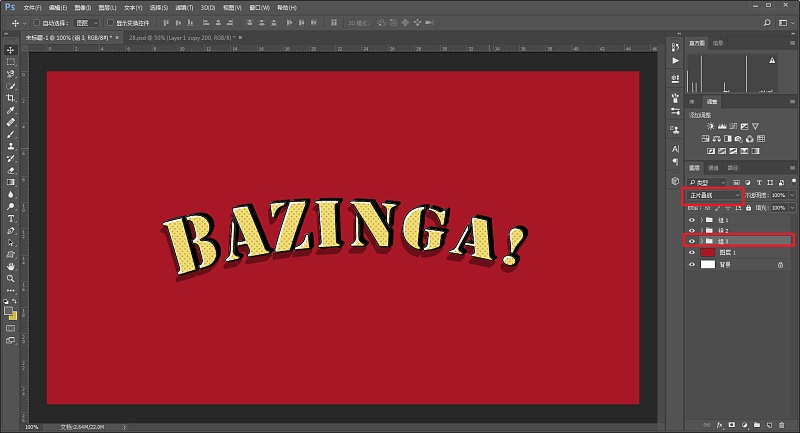
Duplicate the text two more layers and name them text, 3D, and shadow respectively. Later, we will divide the text into three parts for processing:
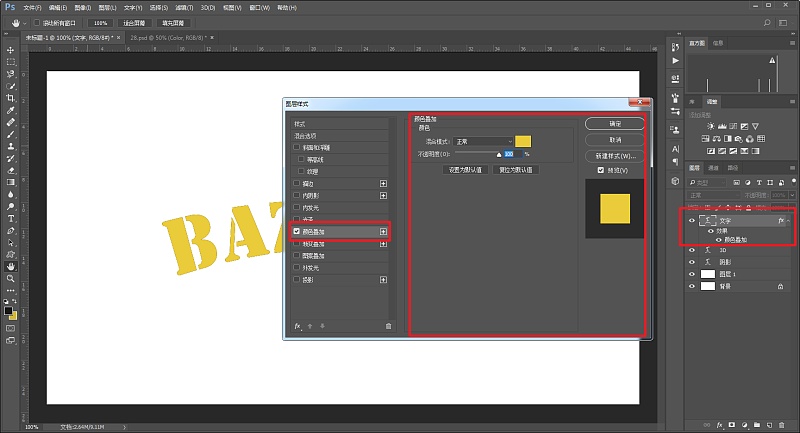
First process the text part, add layer style - color overlay, choose a "shit yellow":
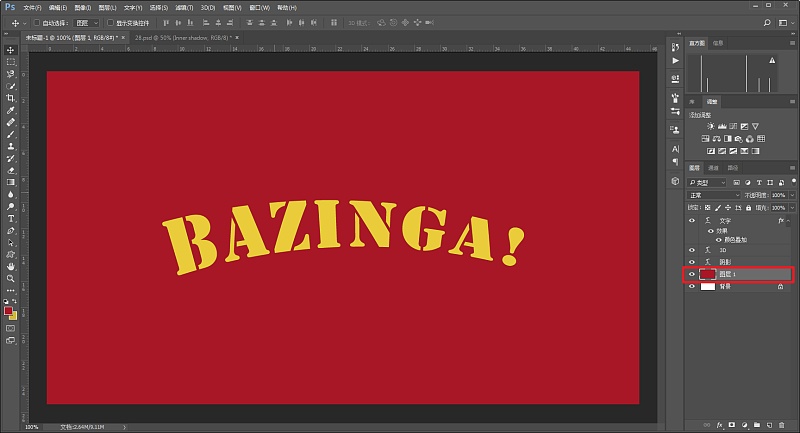
In order for everyone to see clearly, I first fill the background with a red color:
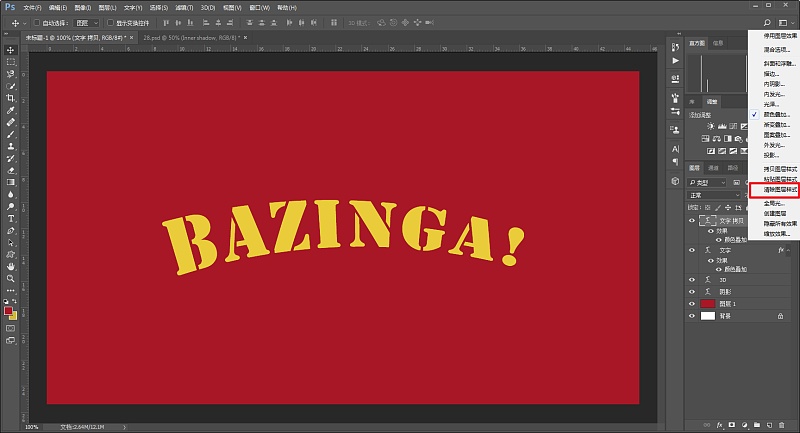
Duplicate the text layer, first clear the layer style:
Add a white inner shadow to the text, the parameters are determined according to the situation:
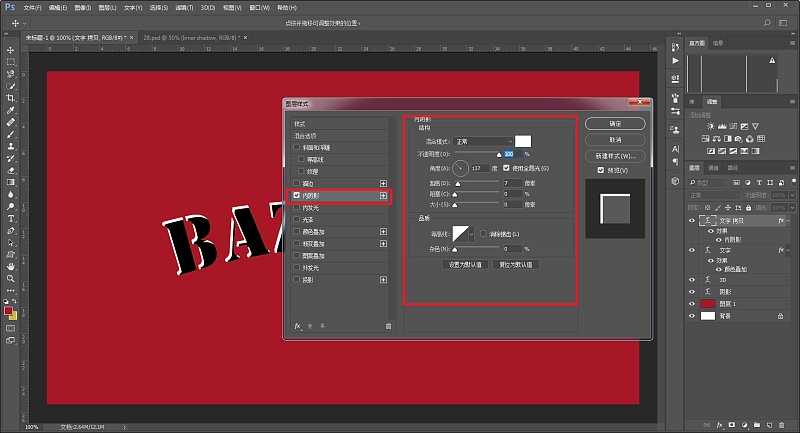
Change padding to 0:
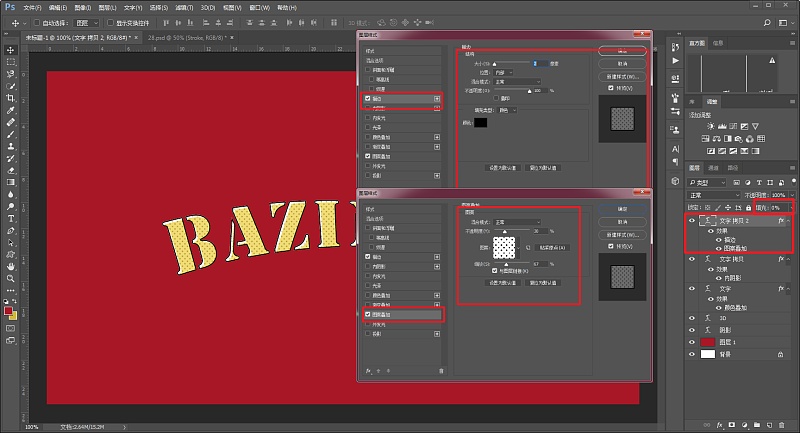
In the same way, duplicate a layer of text layer and clear the layer style.
Add stroke and pattern overlay this time. The parameters are also determined according to the situation. The overlay pattern I choose is the dot pattern that comes with it, and the filling is also 0:
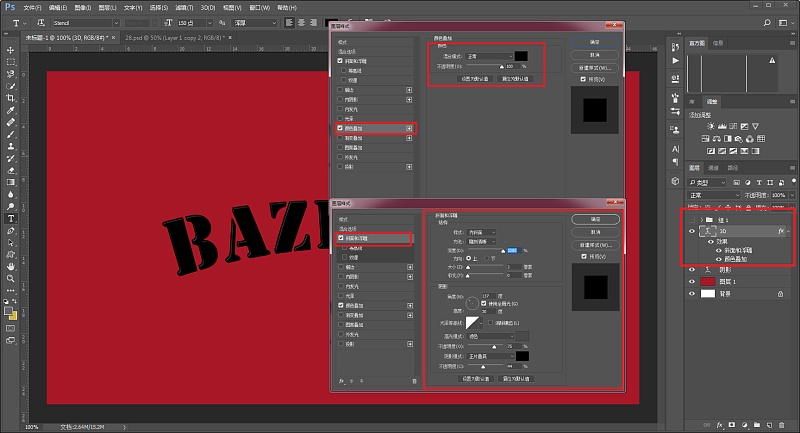
So far, the text part has been processed, and now we start to process the 3D part. The above three layers are merged into group 1 to avoid interference, and then hidden. Add bevel, relief and color overlay to the 3D layer. The parameters are as follows:
After redisplaying Group 1, perform ctrl+t Free Transform on the 3D layer, then nudge up and to the right:
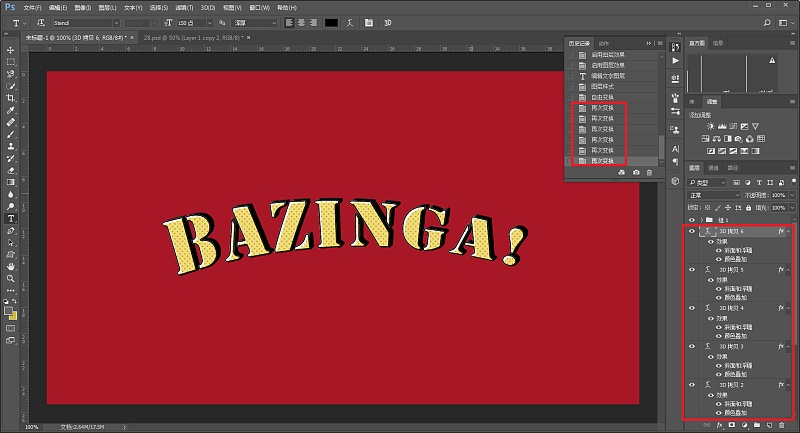
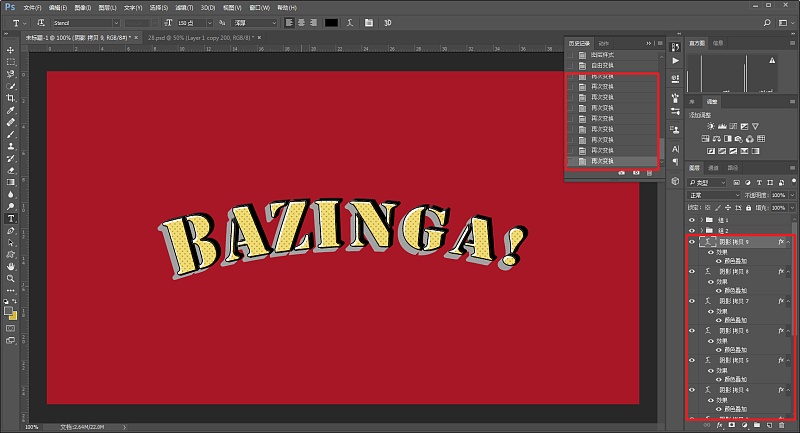
Then execute ctrl+alt+shift+t on the layer to transform again to make a 3D feeling. As for how many times to execute, you can decide according to the situation. So far, the 3D part has been processed:
Continue to work on the shadow part, as before, first merge the 3D layers into group 2, then hide group 1 and group 2, and add a color overlay to the shadow layer:
After redisplaying group 1 and group 2, perform ctrl+t free transformation on the shadow layer, and then move it slightly to the left:
Then also execute ctrl+alt+shift+t on the layer to transform again:
After grouping all the shadow layers together, change the Blending Mode to Multiply:
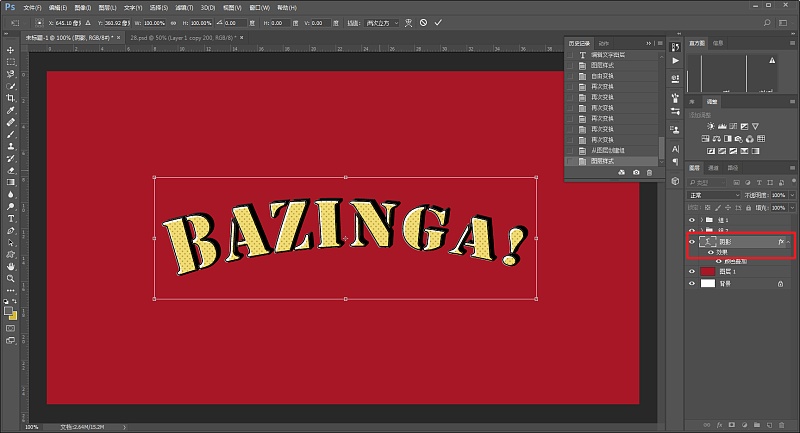
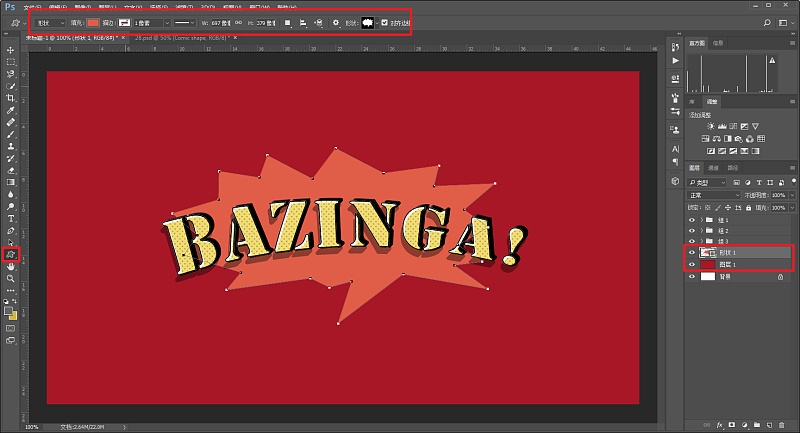
In this way, the text part is basically done, add some decorations, and add a shape above the background:
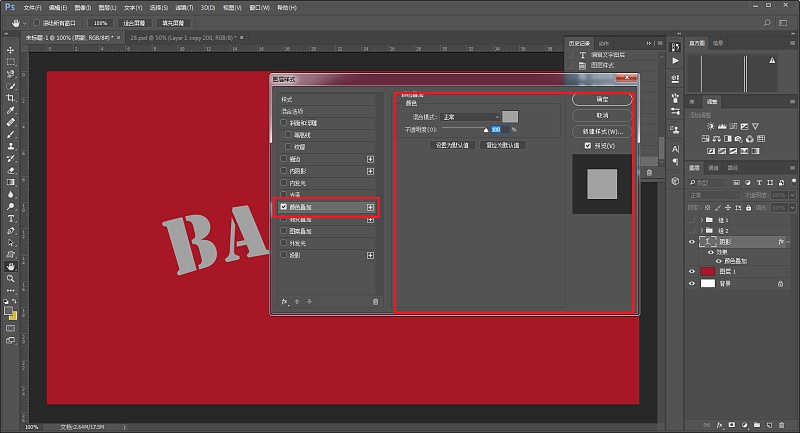
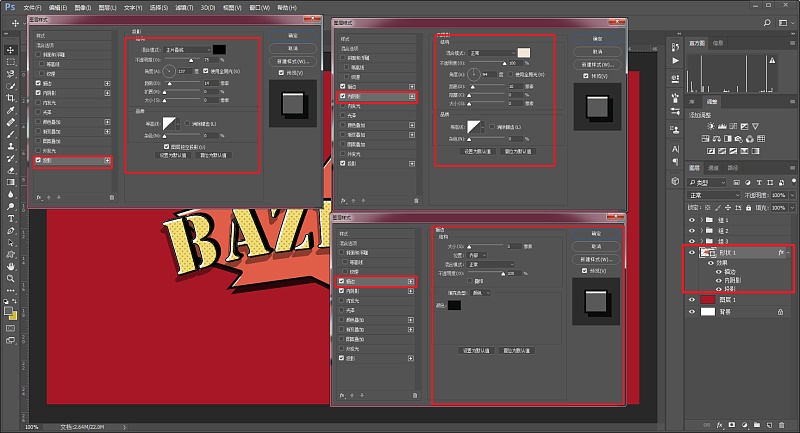
Set the layer style of stroke, inner shadow, and shadow for the shape layer respectively, and the parameters are also determined according to the actual situation:
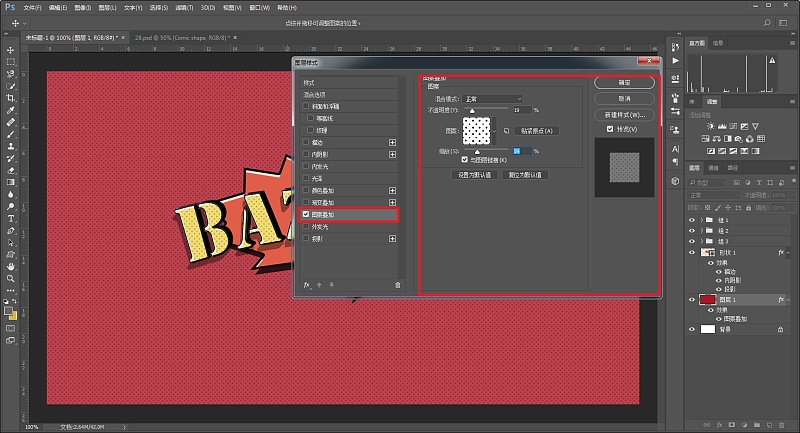
Add a pattern overlay to the background as well:
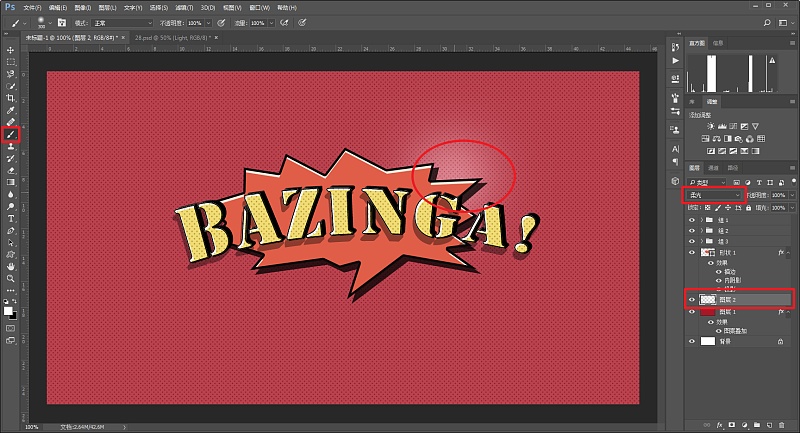
Create a new layer on the background layer, change the blending mode to soft light, and use a white brush to point a light out:
Finally, leave a name and export it to see:
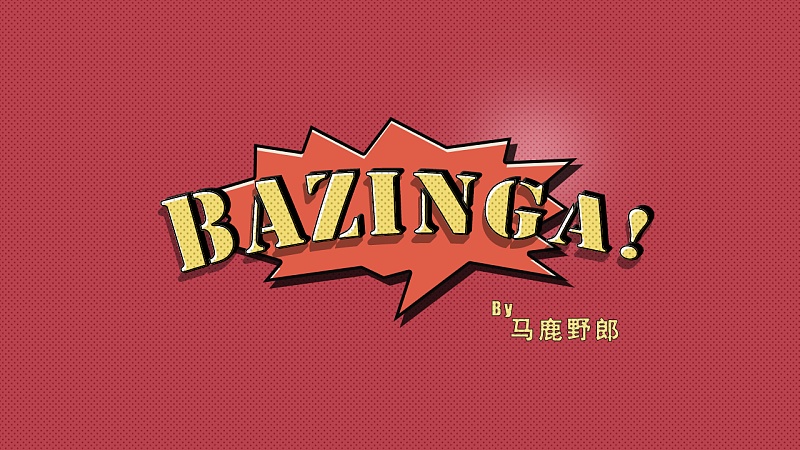
I quite like it personally.
Well, I have to go to bed for a while,
up all night
Want to try the backstage of children's shoes Tick me to get the psd file!
This article was published by "Wild Deer"
Please contact the author "Red Deer Yelang" before reprinting
private transfer must be investigated

Keep Curiosity Keep Learning
Public account ID: yeluzhi666
WeChat ID: maluyelang666
Articles are uploaded by users and are for non-commercial browsing only. Posted by: Lomu, please indicate the source: https://www.daogebangong.com/en/articles/detail/PS%20Wild%20Tutorial%20Lets%20make%20a%20cartoon%20special%20effect%20font%20together%20Bazinga.html
 支付宝扫一扫
评论列表(196条)
测试