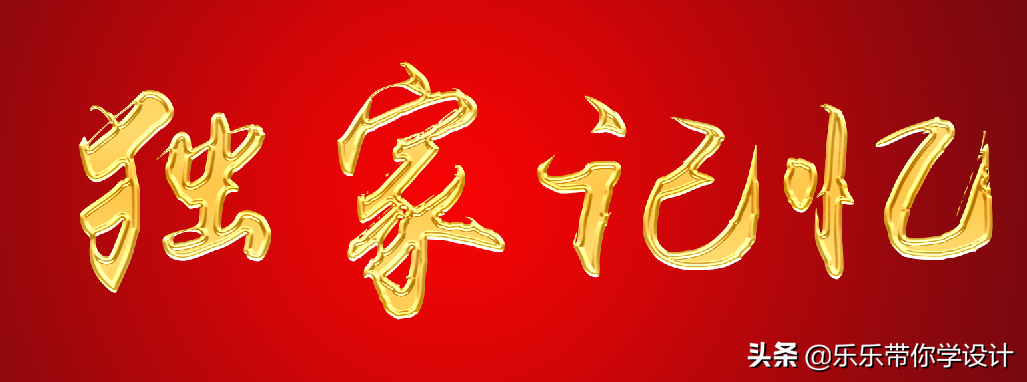
Everyone Hello everyone, we all know that metal effect words are often seen in the design of posters. Because of its unique temperament, it can set off the height of the poster, so it is very popular, so how to make it? In this issue, the editor will show you how to use layer styles to make metal font effects in PS software. I hope it can help you. The final effect is as shown in the figure:
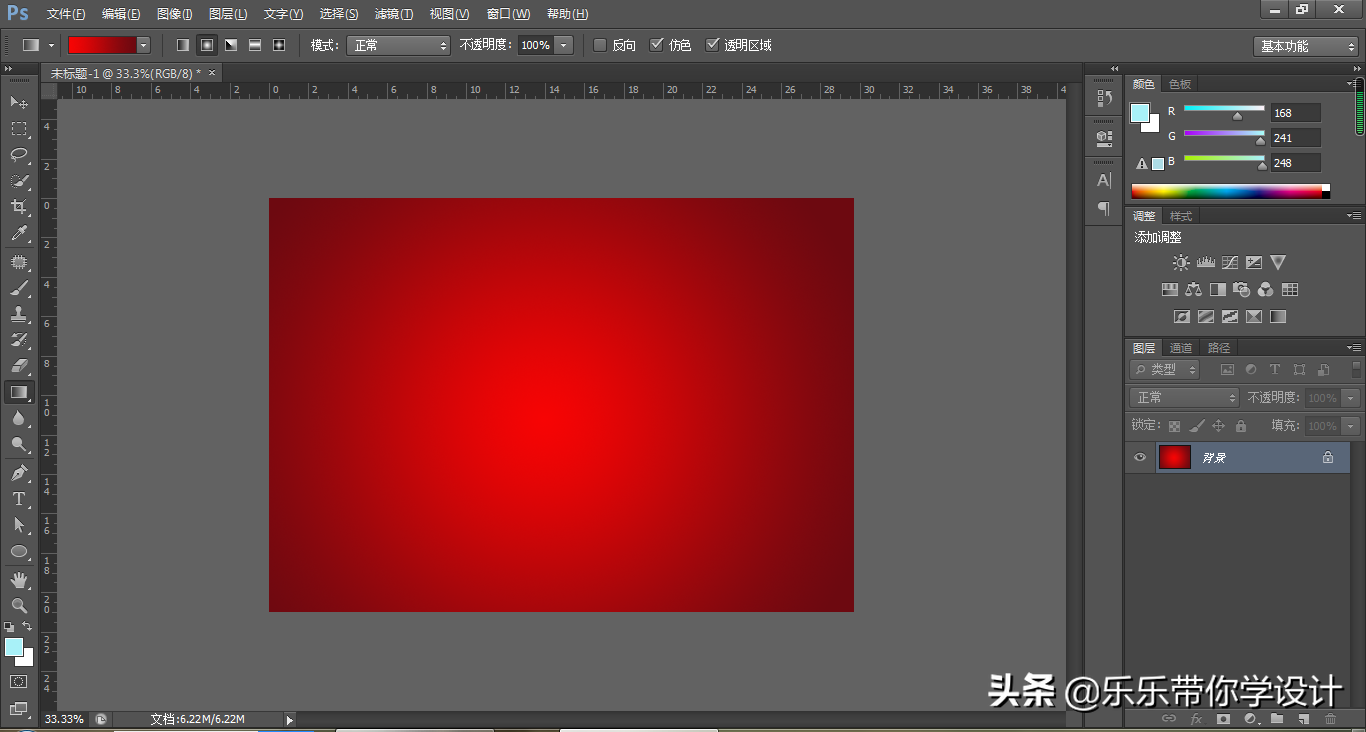
Step 1: Open the PS software, we create a new one with a width of 297mm, a height of 210mm, a resolution of 150 pixels, and a color mode of RGB Canvas, as shown in the figure:

Step 2: Pull a radial gradient from #f70404 to #6d0910 (pull from the center to all around), as shown in the picture:
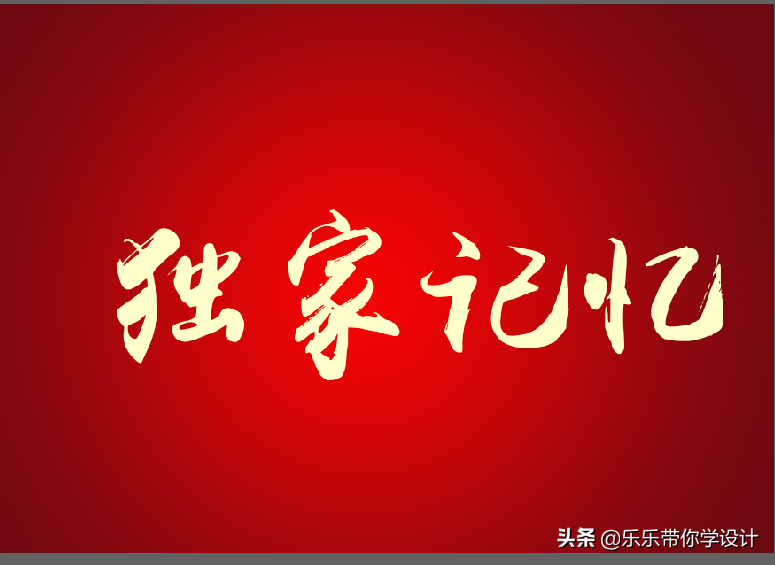
The third step is to type the text "exclusive memory" on the file, select the font of Yuwei Calligraphy Running Script Simplified, and set the text color to #ffffcc, the effect as the picture shows:
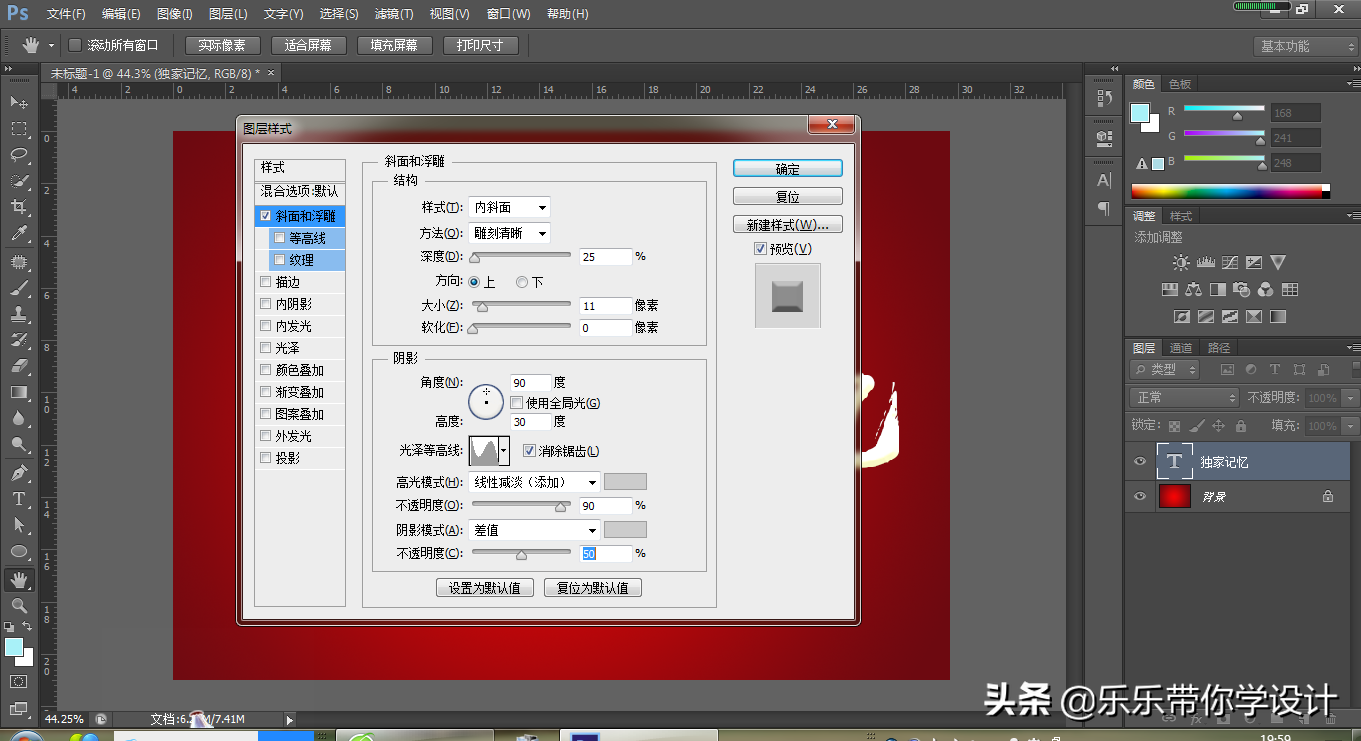
The fourth step, double-click the "exclusive memory" layer, call out the layer style, give it a bevel relief effect, the style is inner bevel, The method is Sculpture Clear, the angle of the shadow is 90 degrees, the height is 30 degrees, the highlight mode is linear dodge (add), the opacity of the highlight mode is 90%, the shadow mode is difference, and the opacity of the shadow mode is 50% , the specific settings are shown in the figure:
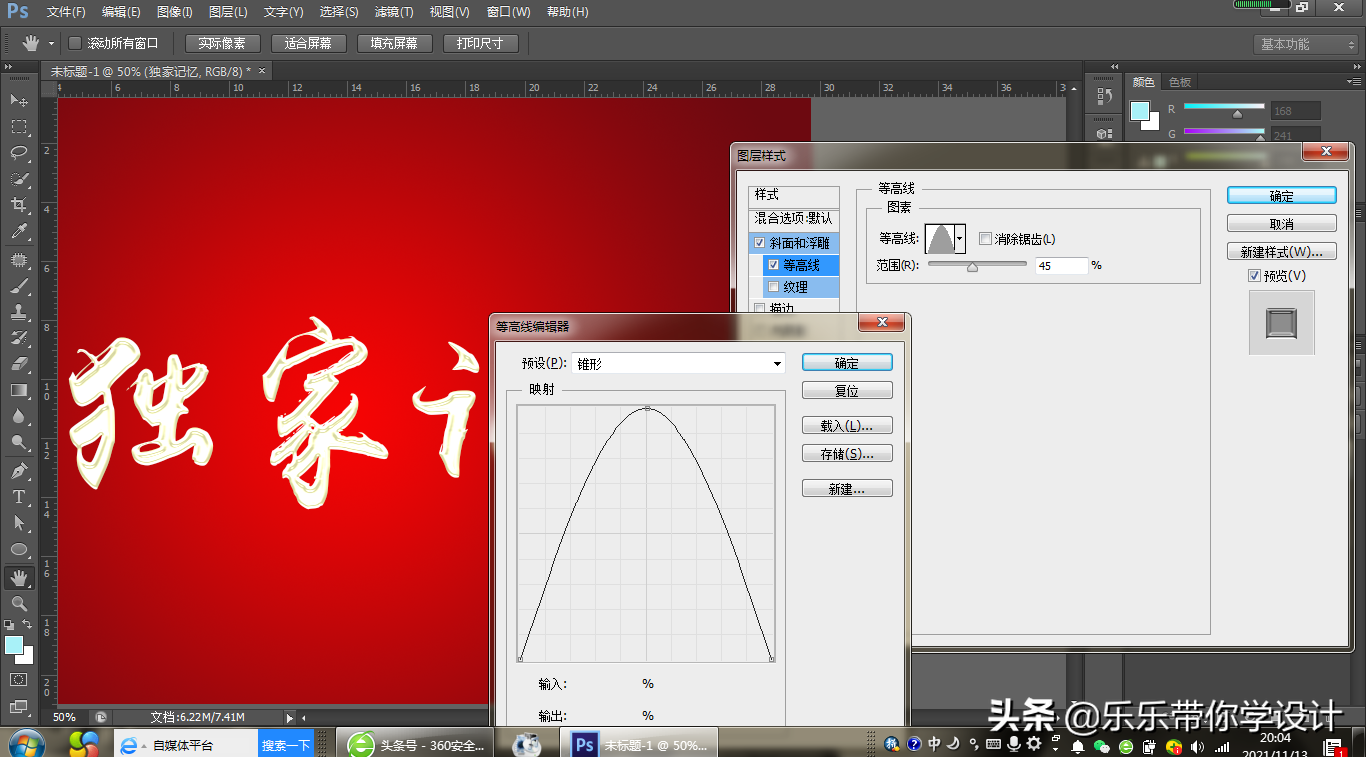
The gloss contour line is as shown in the figure:
Step 5, double-click the "exclusive memory" layer to call up the layer style, check the contour line under the slope and relief, and the range Set it to 45%, and the style is as shown in the figure:
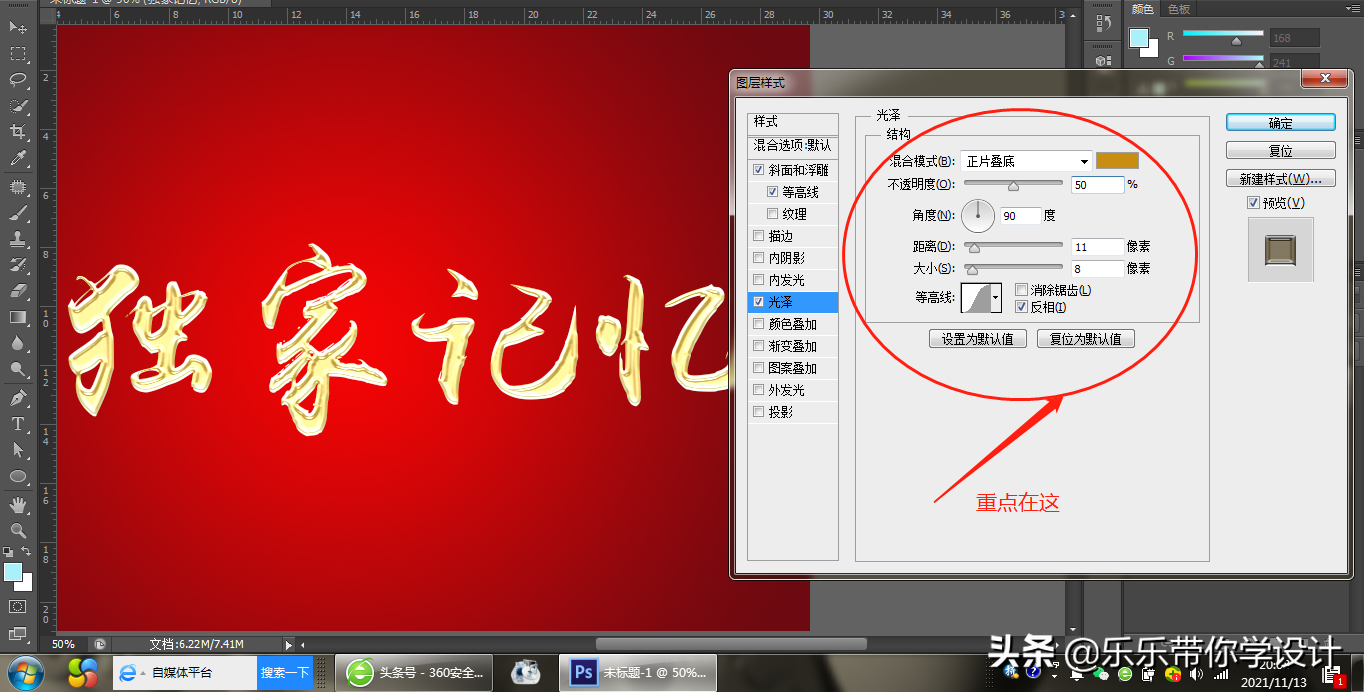
Step 6, double-click the "exclusive memory" layer, call out the layer style, check the glossy effect, set the color to: #c88e11, The opacity is 50%, the angle is 90 degrees, the blending mode is Multiply, the distance is 11, and the size is 8. The specific settings are as shown in the figure:
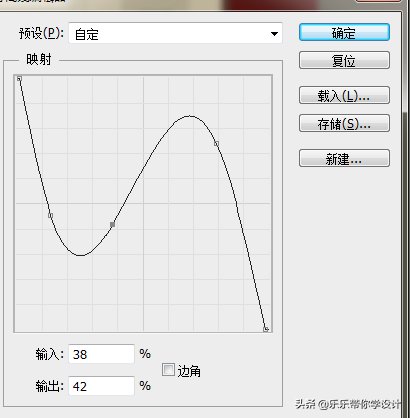
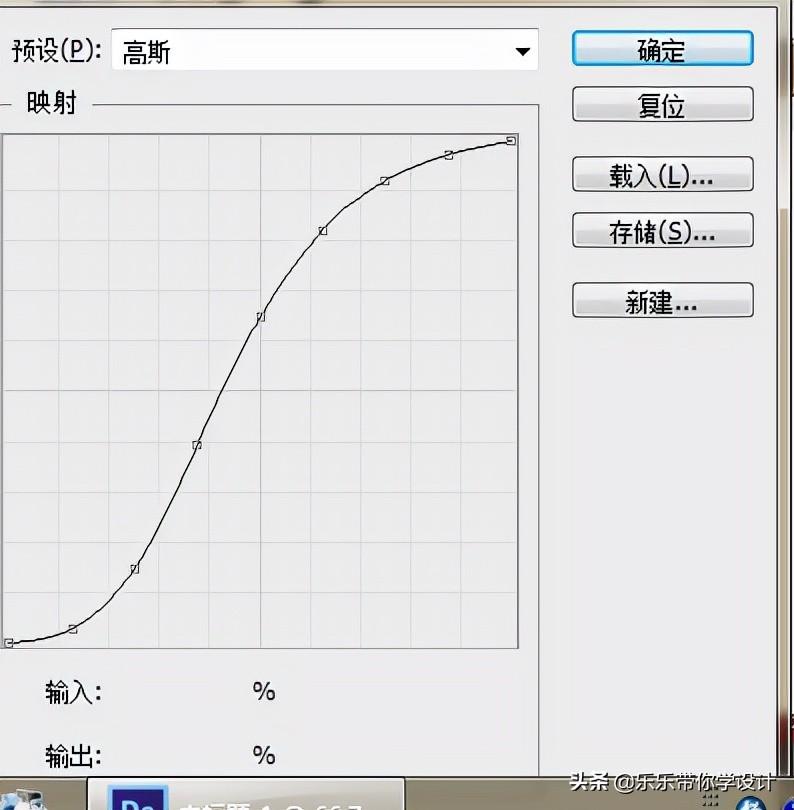
The contour line style setting is as shown in the figure:
Step 7, double-click the "exclusive memory" layer to call up the layer style, check the color overlay, and set the color to: #e7b419, Change the Blending Mode to Multiply and set the Opacity to 50%, as shown in the image:

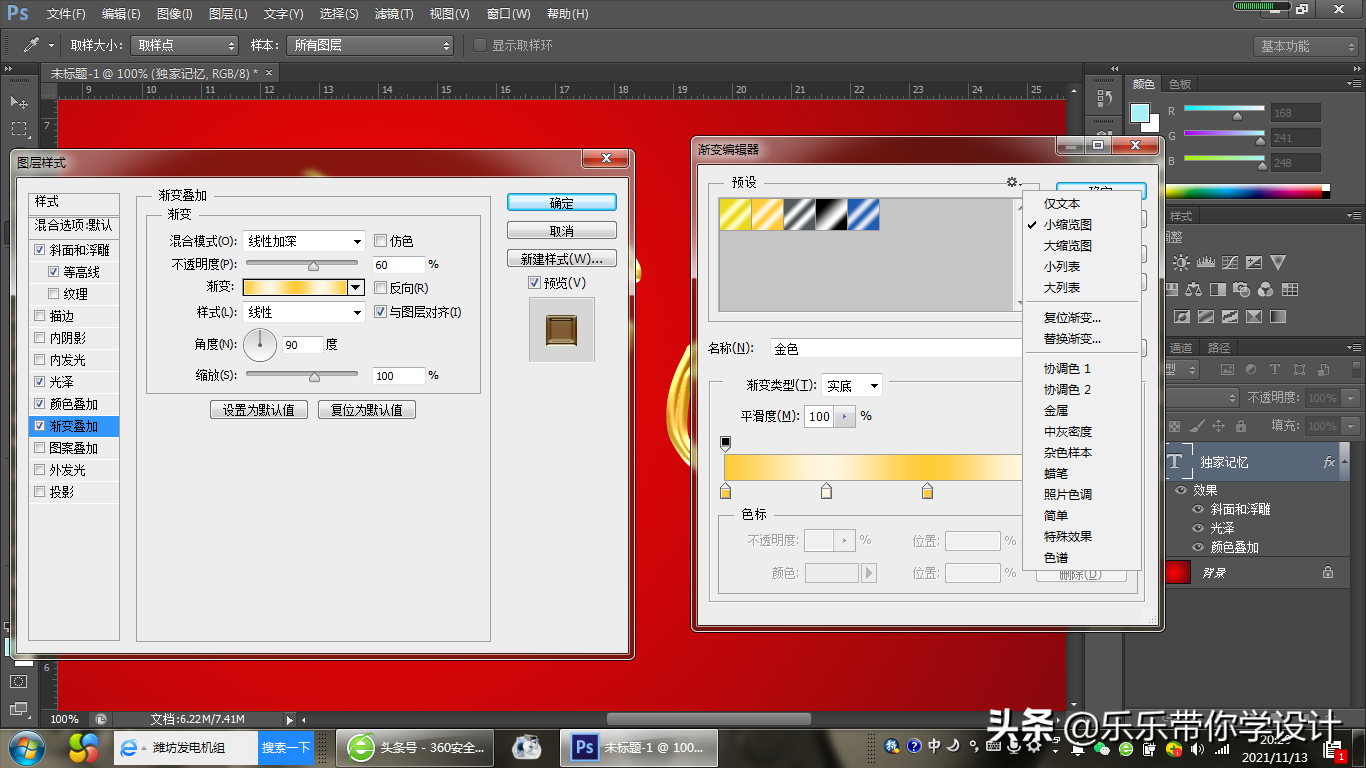
The eighth step, double-click the "exclusive memory" layer, call out the layer style, check the gradient overlay effect, the blending mode is linear burn, The opacity is 60%, and the gradient becomes a metallic gradient (there are only a few basic gradients in the general gradient bar. We need to click the setting pattern, select the metallic gradient, and click Add or Replace. If you want to restore the original gradient, you can click Reset gradient), the style is linear, the angle is 90 degrees, and the zoom is 100%. The specific settings are as shown in the figure:
This is the end of this issue of the PS course on making metal effect words. Thank you for taking the time out of your busy schedule to read this issue Tutorial, let's take a look at the final effect, as shown in the figure:
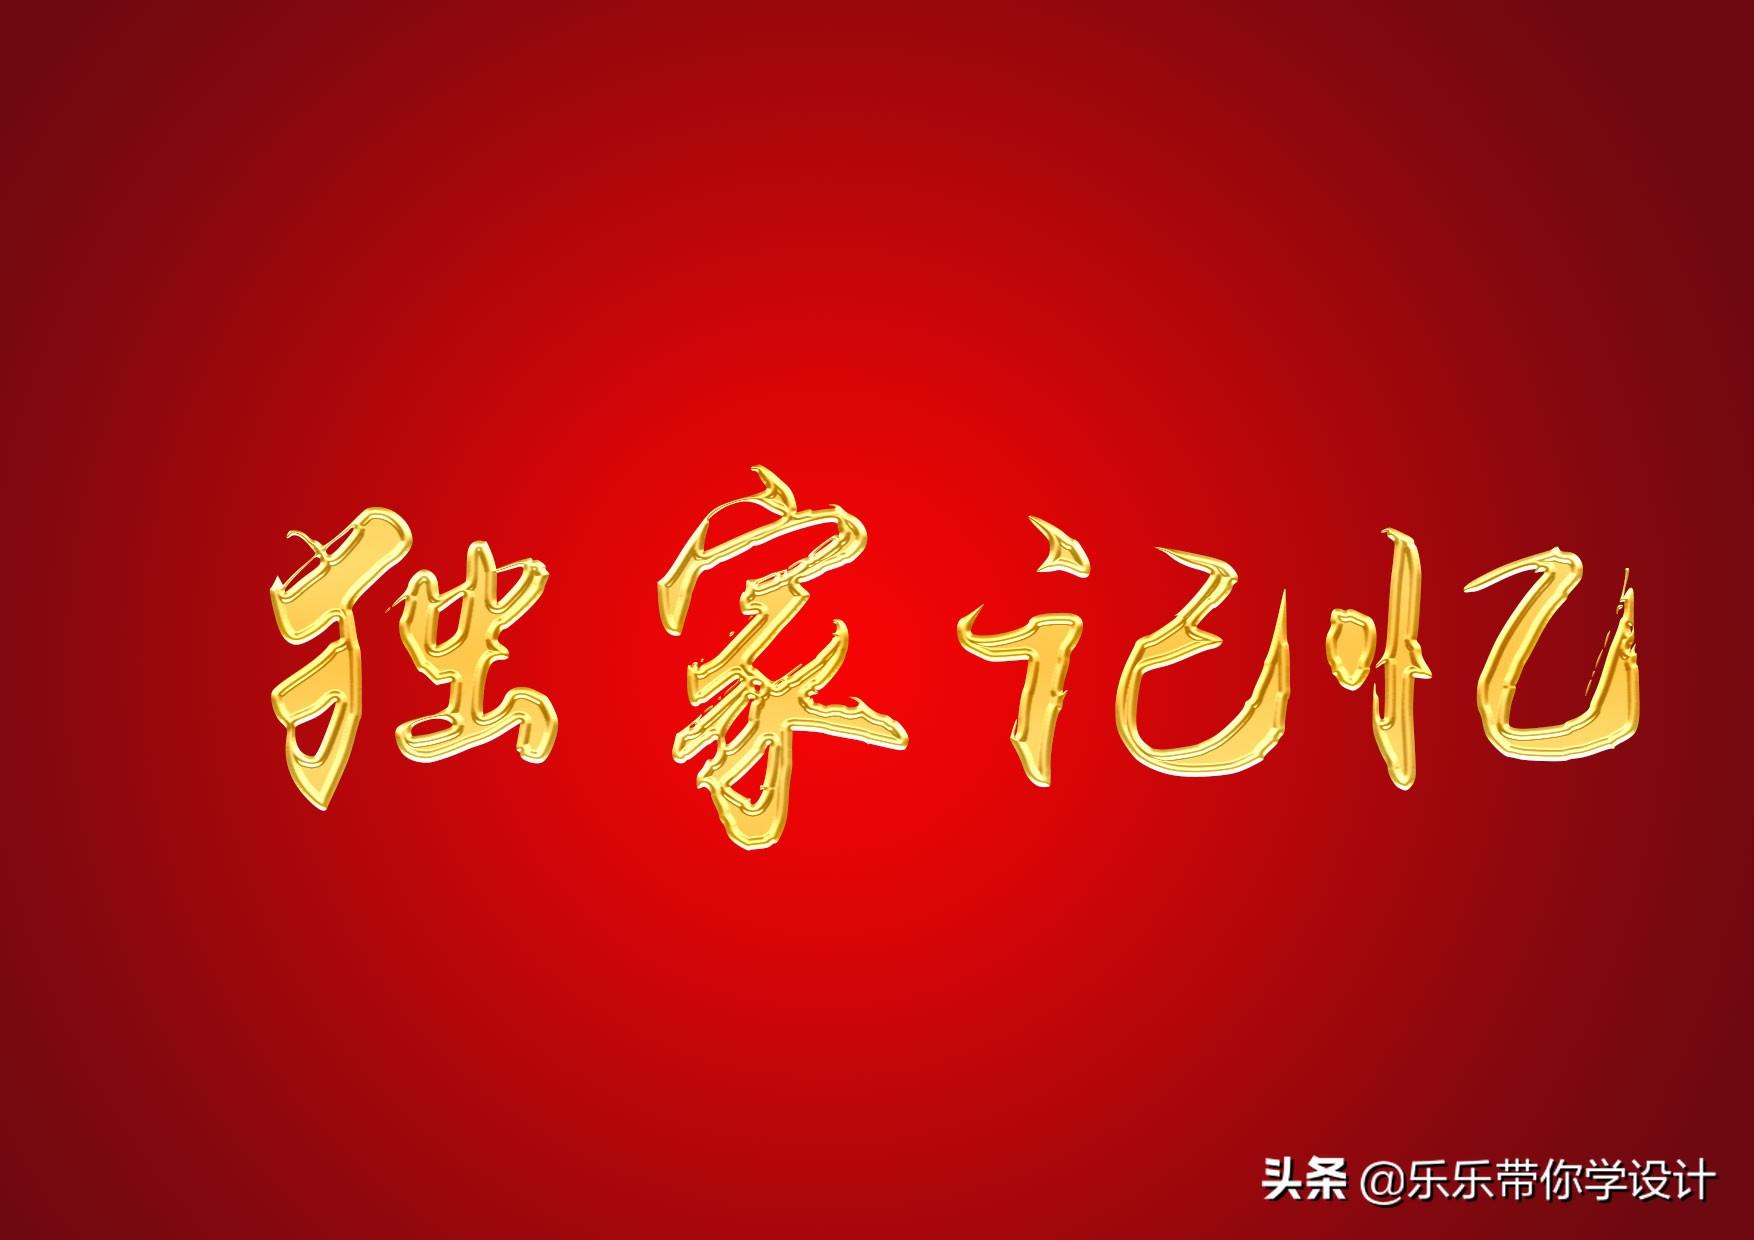
Doesn’t it look very simple, everyone hurry up and try it [smile]
Articles are uploaded by users and are for non-commercial browsing only. Posted by: Lomu, please indicate the source: https://www.daogebangong.com/en/articles/detail/PS%20Tutorial%20Making%20Metal%20Effect%20Words.html
 支付宝扫一扫
评论列表(196条)
测试