This issue is dedicated to PR subtitles. I learned how to do it last time When creating hollow subtitles during editing, how to implement it in PR?
1. Hollow subtitles.
→Open the software and import the material, find the location where you need to create the effect, add text and adjust the font style. Bold fonts should be chosen for a more pronounced cutout effect.
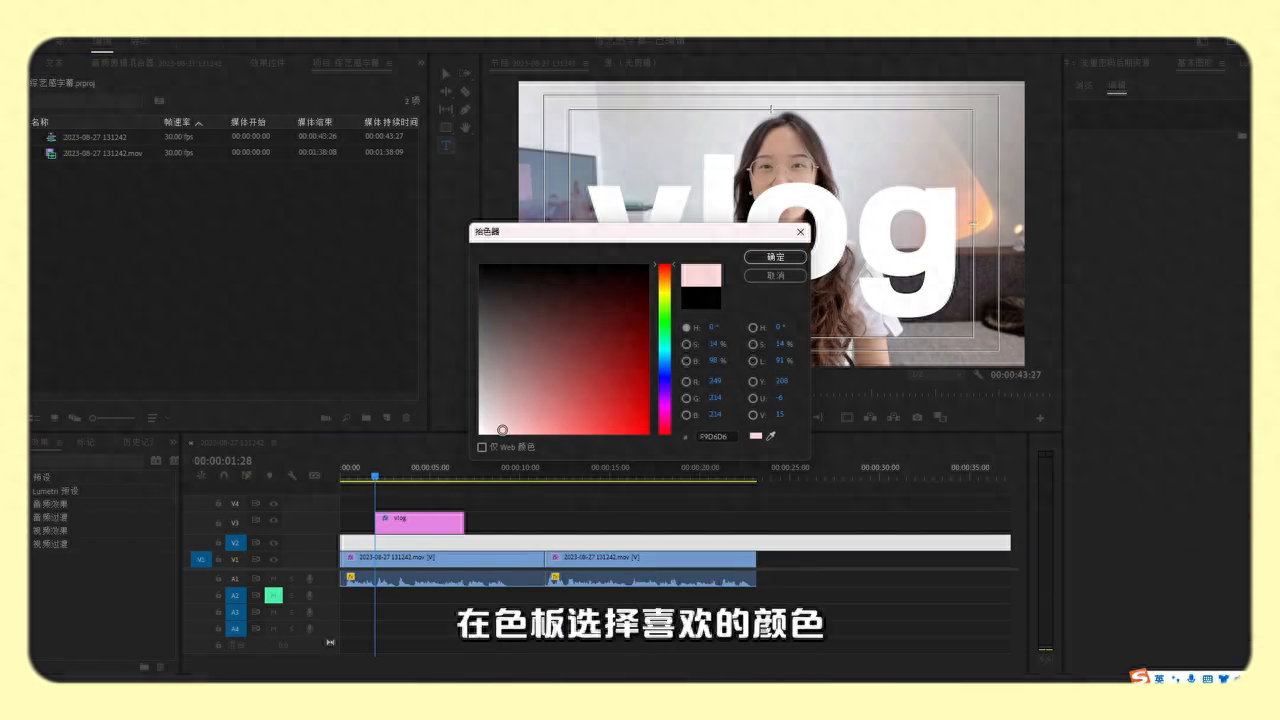
→ Adjust the size and position, move the text layer up one layer, right-click in the Project panel to create a color mask, select your favorite color in the color palette, and click OK. Drag the color mask below the text layer.
→ Search for Masks in Effects, find the Track Mask key and drag it to the Color Mask. In Effects Space change the mask to Video 3, the V3 track where the subtitles are. Check the reverse hollowing effect to complete.
→Add another keyframe animation to the text and move the playhead to the beginning of the subtitles.
→Click on the subtitle file, adjust the text position in the effect control and set key frames.
→At the end of this sentence, adjust the value of the x-axis so that the text is fully displayed, and the system will automatically lay down the second keyframe.
→At the same time, manually add keyframes to the zoom at this position, move 5 frames to the right to enlarge the screen until the text is completely invisible. Let the system record the second keyframe, then delete the excess footage. The whole effect is done.
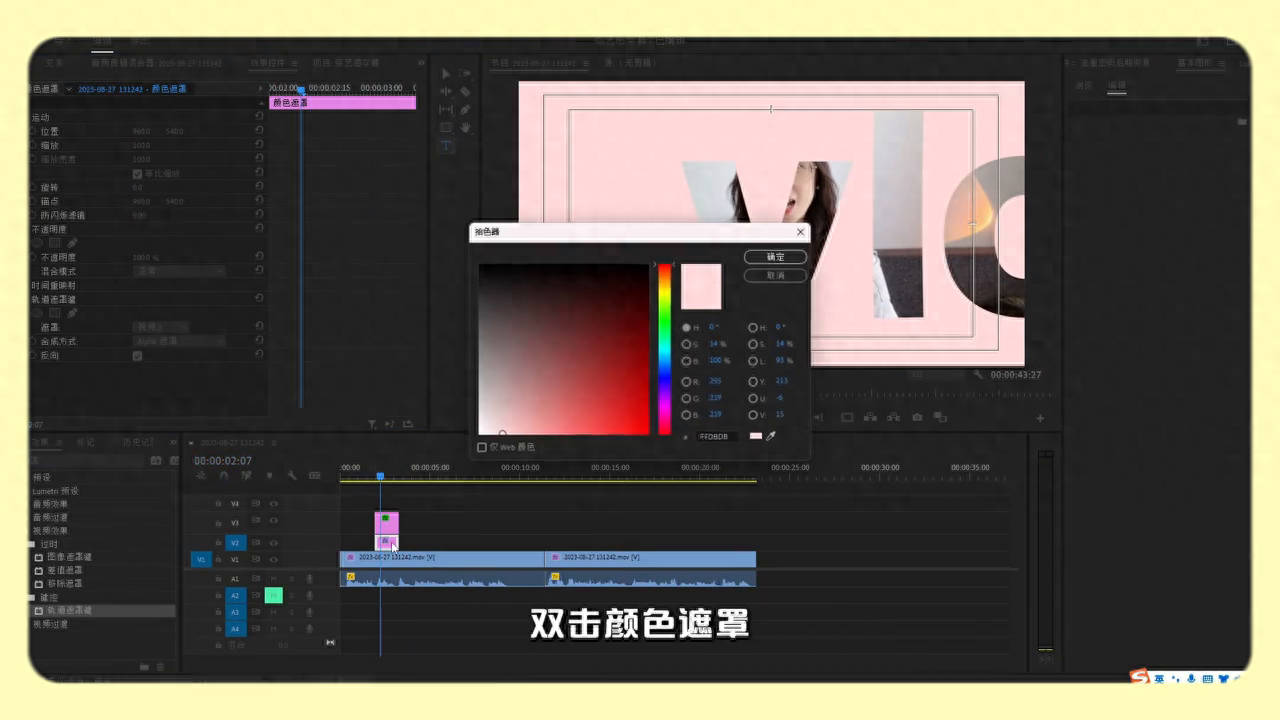
→If you need to modify the background color, double-click the color mask and change the color you like. Add letters like this.
2. Background subtitles.
→Cut out the clips that need to be produced, hold down the Alt key to copy a layer, close the material below, and then click to copy the layer.
→Find the opacity in the effect space and use the pen tool to cut out the character. The more detailed the cut out, the better the effect will be later.
→After completion, adjust the feathering value of the mask appropriately, click forward to track the subsequent scenes, and PR will automatically cut out the characters.
→Select T in the blank space of the track to add a text layer and modify the text content and font style.
→In order to unify with the previous picture, a yellow stroke is added here.

→Move the cutout layer above the text layer in the timeline, and then open the underlying material to see the effect.
→Adjust the duration, move the playhead to the beginning of the text, and then move it 5 frames to the right.
→In the effect control, set keyframes for both position and transparency. Return to the starting position, move the text out of the screen, adjust the transparency to 0, and the entire effect is complete.
Compared with a certain screening in the previous issue, which method is more effective? Have you learned all the methods of PR? If you like this type of content, remember to like, collect, and follow. If there is anything you want to see, you can tell me below and we will explore more interesting editing techniques together. See you next time, bye. Thanks for your attention, I love you so cute.
Articles are uploaded by users and are for non-commercial browsing only. Posted by: Lomu, please indicate the source: https://www.daogebangong.com/en/articles/detail/PR-zi-mu-zhuan-chang-ru-he-zai-jian-ying-zhong-zhi-zuo-lou-kong-zi-mu.html
 支付宝扫一扫
评论列表(196条)
测试