
Hello, everyone, my name is Xue Hai.
Text is an indispensable element in PPT, but simply formatting the text is a bit monotonous. If you make some changes to the text, you can make your PPT more designed.
Today I will share with you some tips on text design!
01 Text fill
Text filling is very simple and convenient, and the usage scenarios in PPT are also very rich.
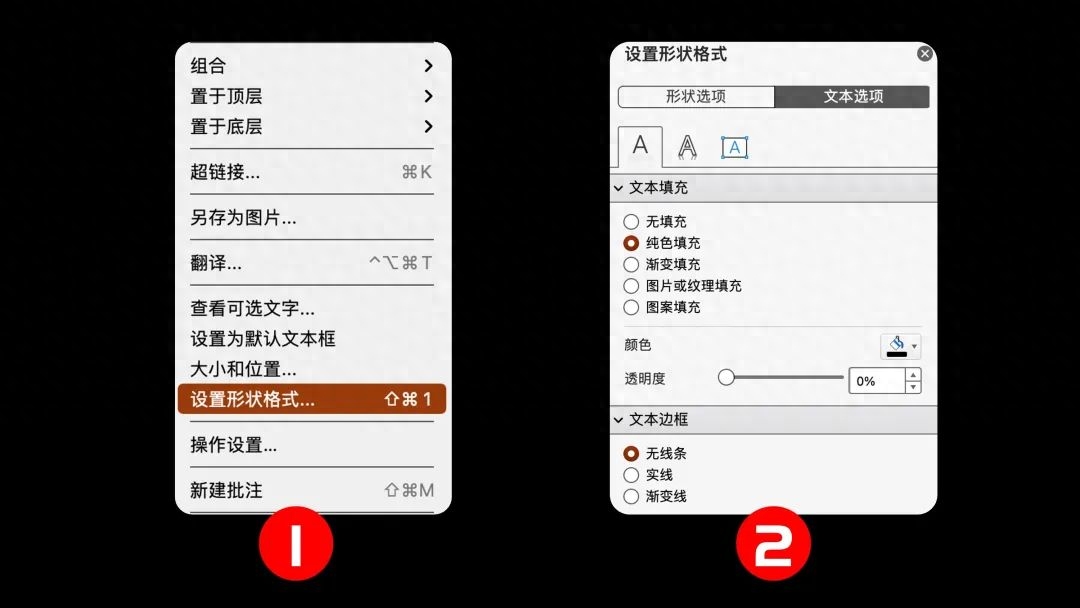
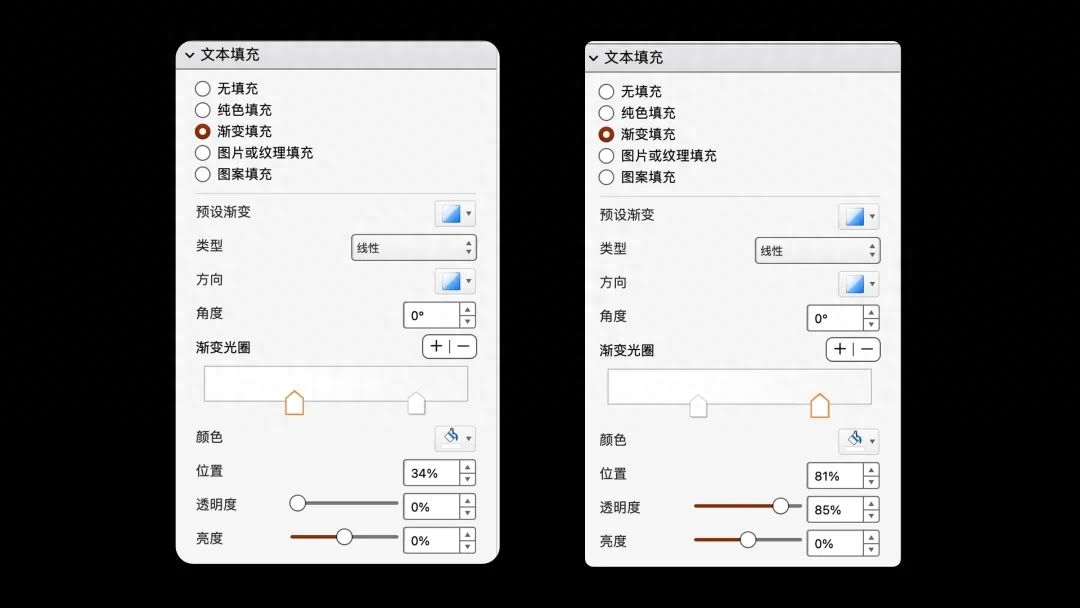
Select a text box, right-click [Format Shape], and find [Text Fill] in the text options
The easiest way to make text look instant is to gradient fill.
You can easily create this kind of textured text.
You only need to adjust two colors to do it.
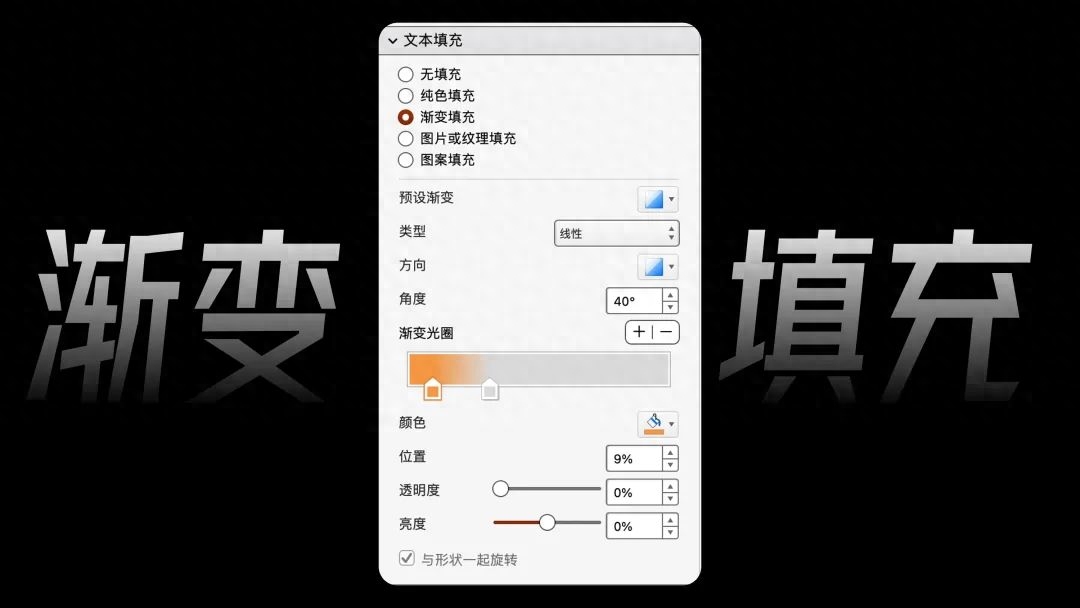
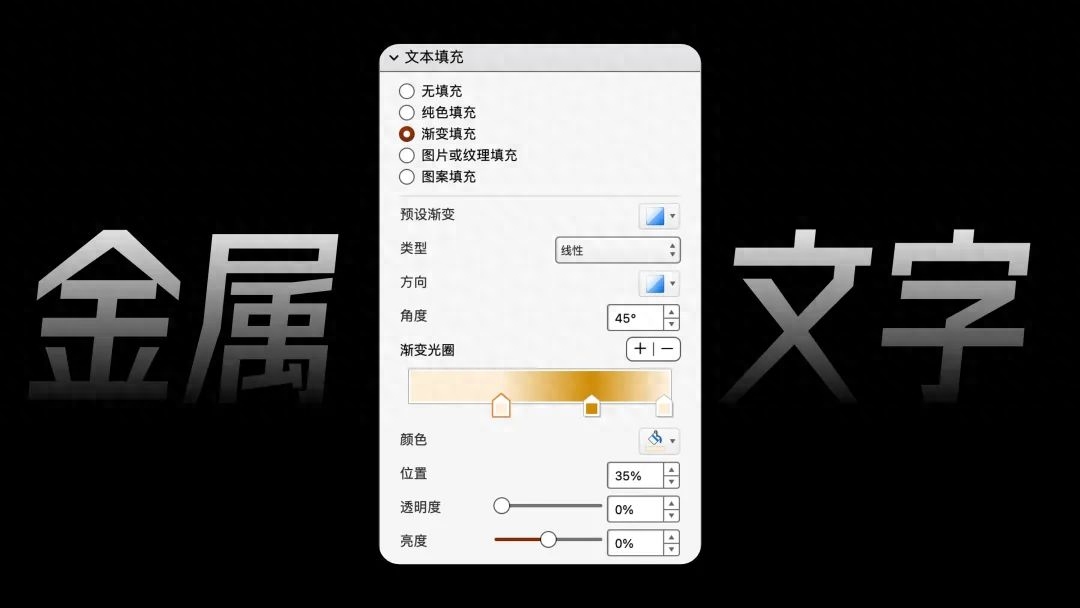
You can also make this kind of metal characters.

Using gradient filling, you can also create such a creative picture of text fading.

The text here uses the effect of left and right gradient.
First arrange the individual words so that the words on the right cover the words on the left. The text on the right of each word should be within it. oftop.

Then add left and right gradient effects to all text.
Both stops are White, Stop 1 has a 0% transparency, Stop 2 has a 85% transparency.
The distance between each text should not be too scattered or too close. The position should be adjusted appropriately according to the font and structure of the text.
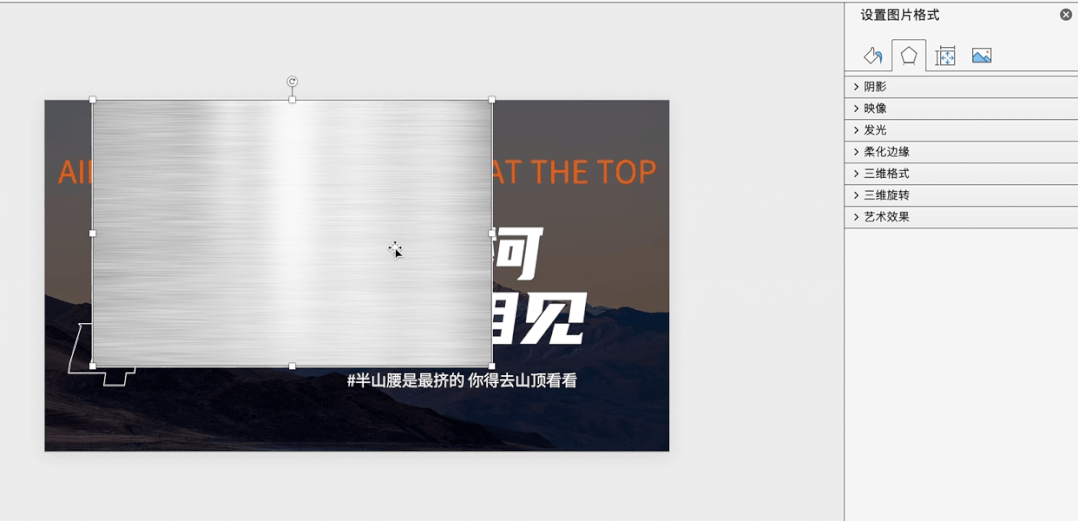
Another frequently used text fill is [Image or texture fill].
You can create text effects like this.

First insert a metallic picture, then Cut, select [Picture or texture fill], select [ Clipboard] and you’re done.
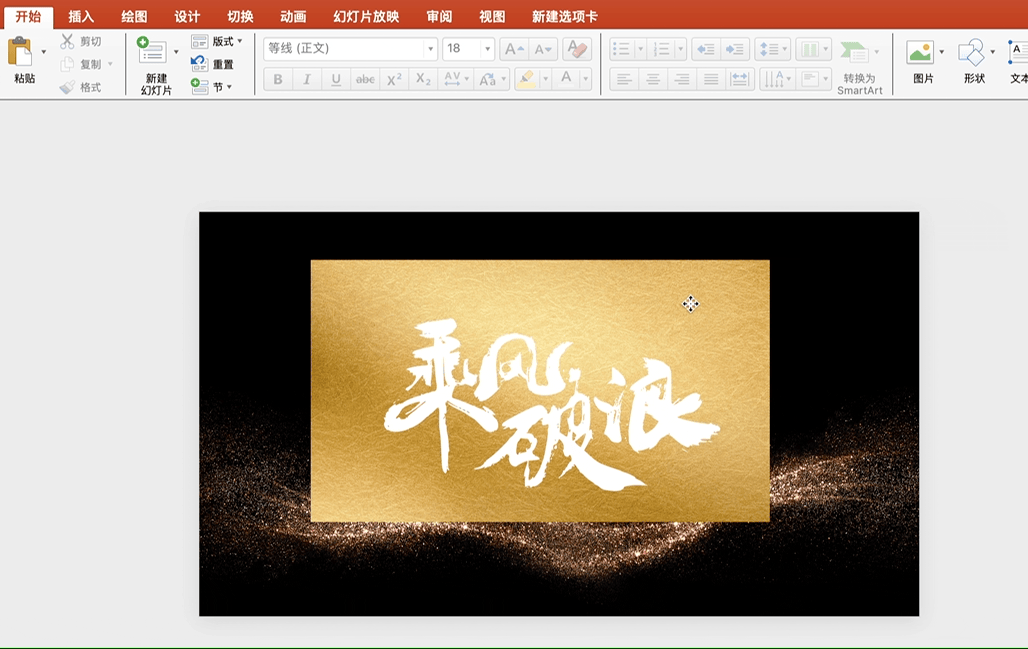
02 Hot stamping text
Filling the text with a hot stamping effect will quickly elevate the style of the page by several levels, making it look high-end in an instant.
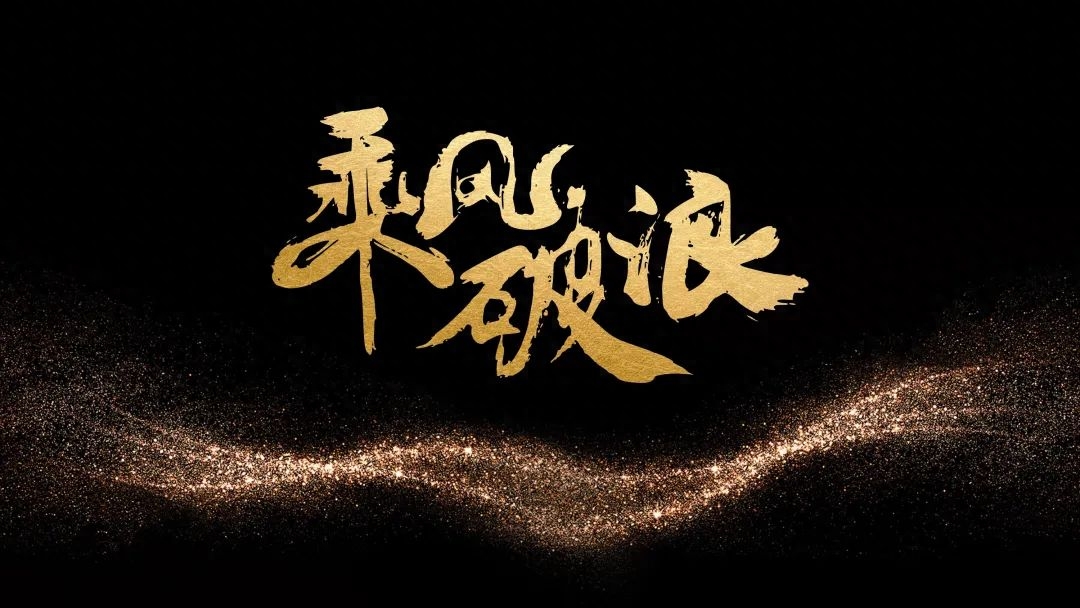
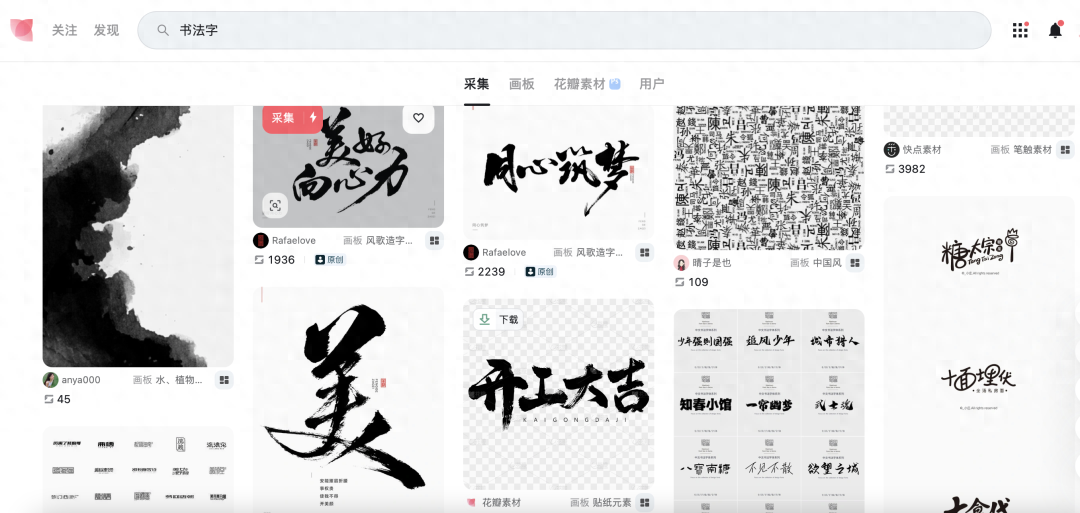
It is also very convenient to set up. This kind of beautiful calligraphy fonts are usually spliced together. We can find many calligraphy fonts from material websites.
However, the downloaded brushes are all PNG format images, which is not convenient for use in PPT.
So we have to convert it to SVG format.
Here I recommend a website "https://convertio.co/zh/"
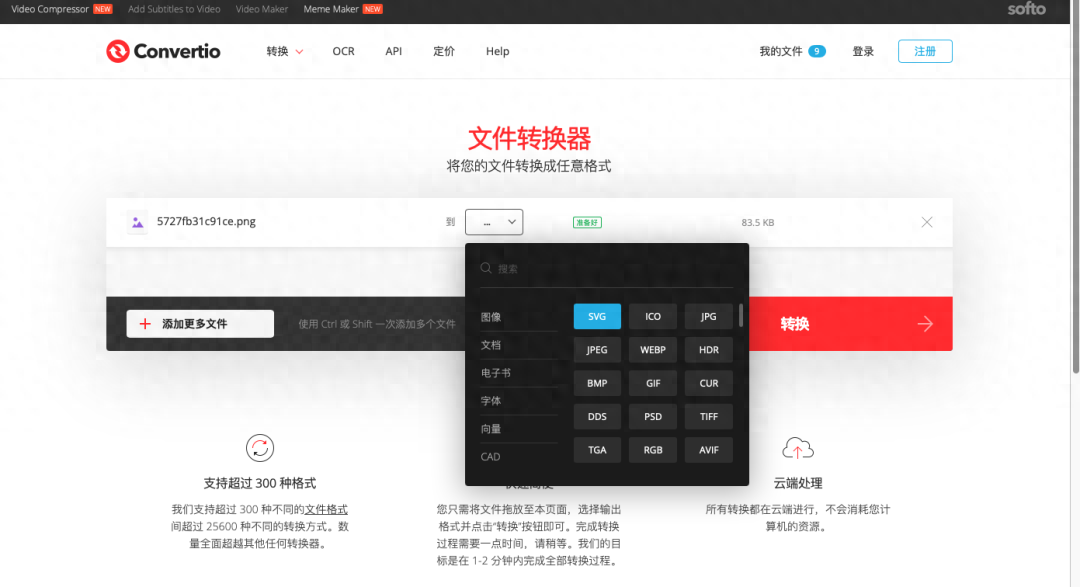
Upload the image, select the SVG format to convert and download it.
SVG format can change color and adjust transparency directly in PPT.
Back to the case, we select the inserted svg image, convert it to a shape, and then ungroup it.
Continue to select all and click [Combine] in the merge shape.
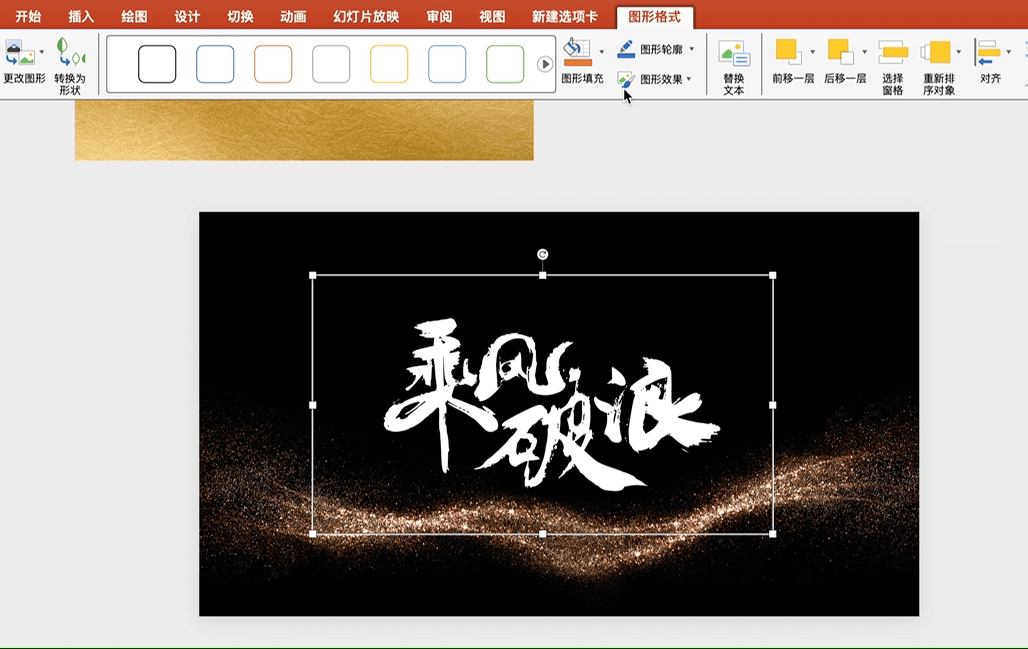
Insert a gold foil textured picture, select the text and picture, and click [Intersect] in the merge shape.
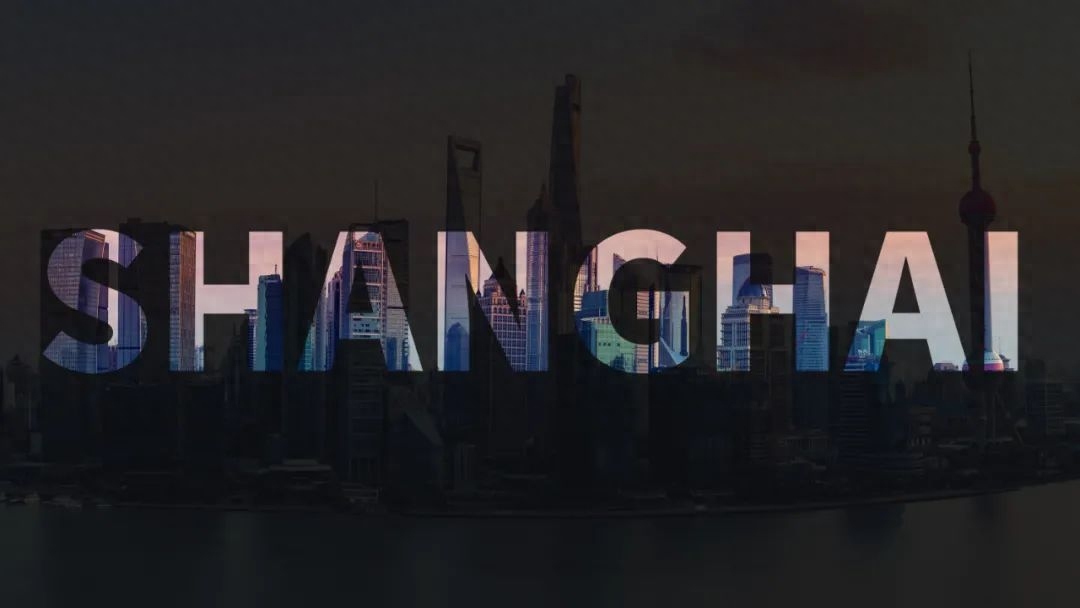
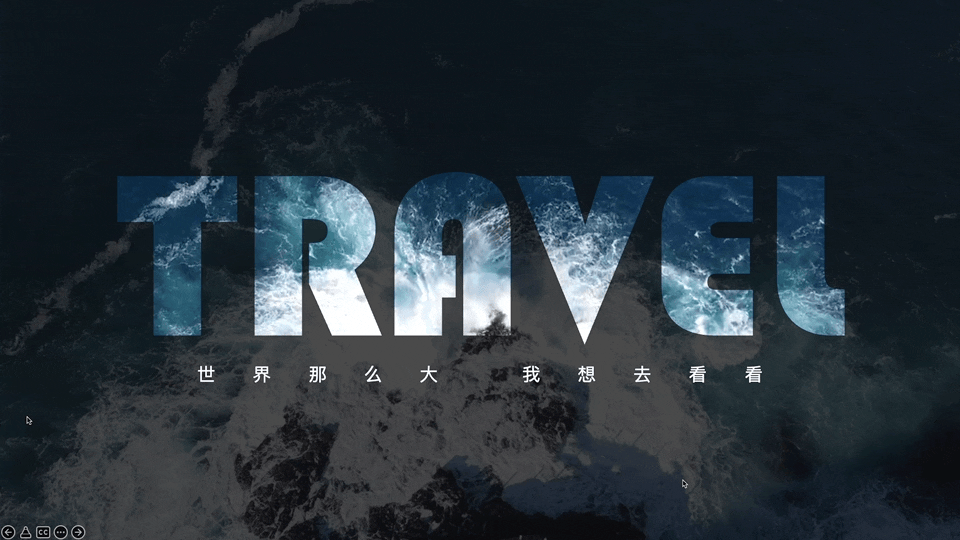
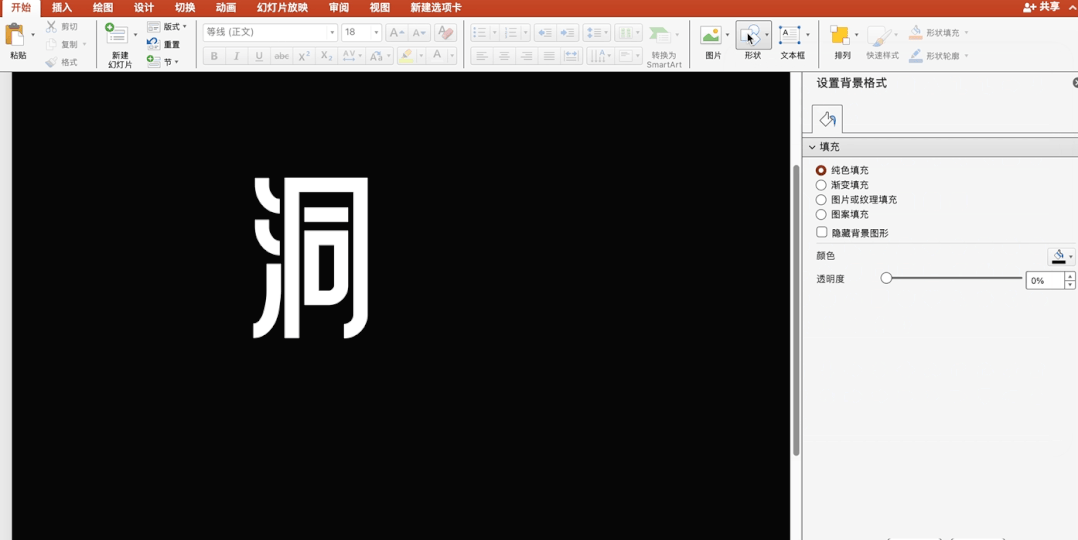
03 Font hollow
The so-called font hollowing out is to create a layer of mask and cut out the required text to achieve the hollowing out effect.

Combined with the Boolean operation function, the method of making hollow fonts is also very simple.
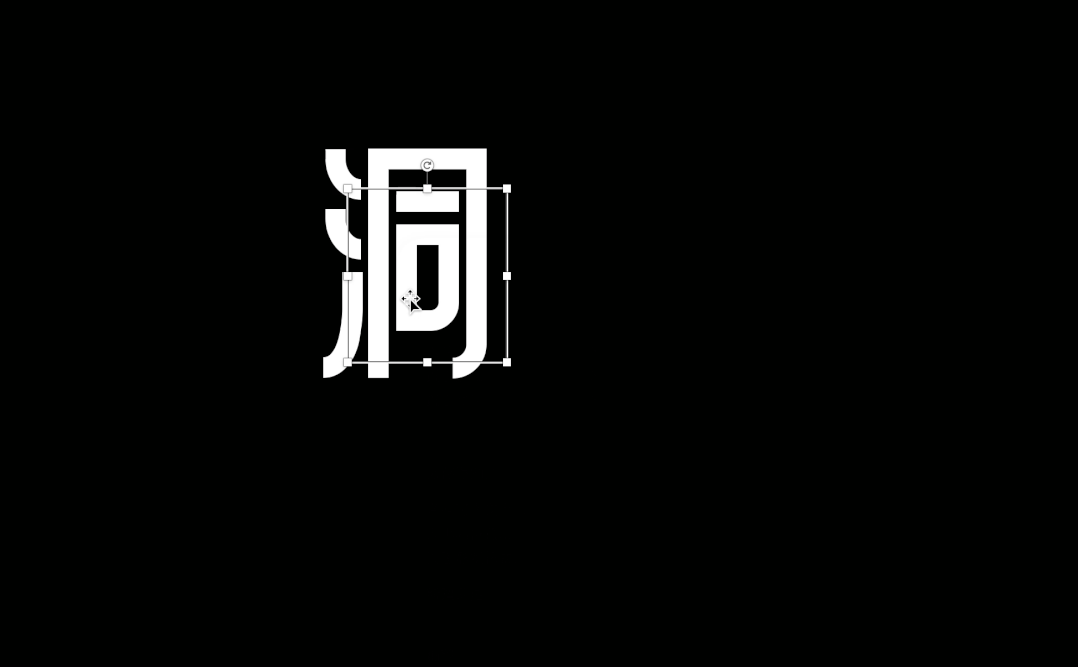
First we enter the text, and then insert a rectangle slightly larger than the text box.

Next, select the rectangle, hold down the Ctrl key, and then select the text box.
Click [Format Shape] - [Merge Shapes] - [Cut].
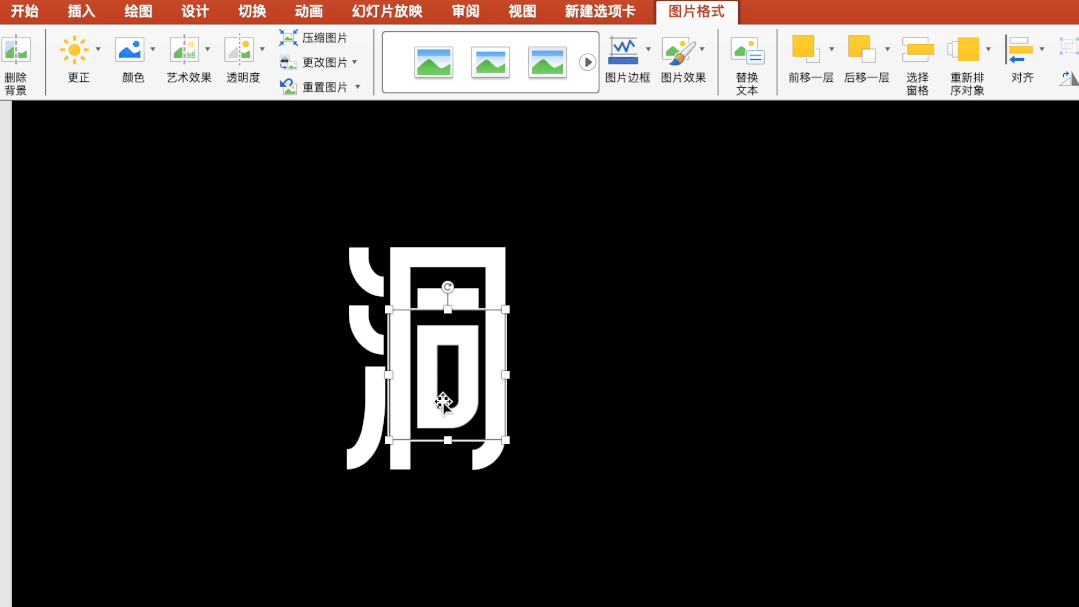
Finally, insert the background image, adjust the color and transparency of the mask, and you can do it easily.
How else can you use hollow fonts?
If you change the background image to video or animation, you can create a mask animation strong> effect, making the text "move".
04 Stroke split
Combined with Boolean operations, we can split text and shapes and replace part of the text components.
Look at the following case.

How do you make fonts with different colors like this?
First add a text box and rectangle, split the text with Boolean operations, and delete the largest part after splitting.
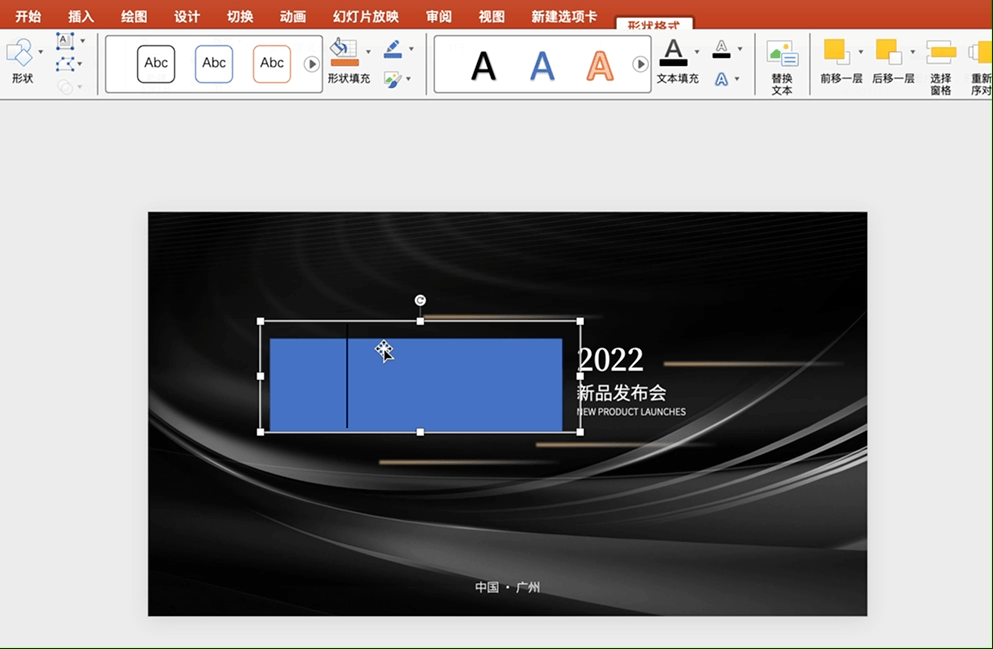
Select some strokes to change the color.
If the strokes cannot be split once, they need to be split twice.
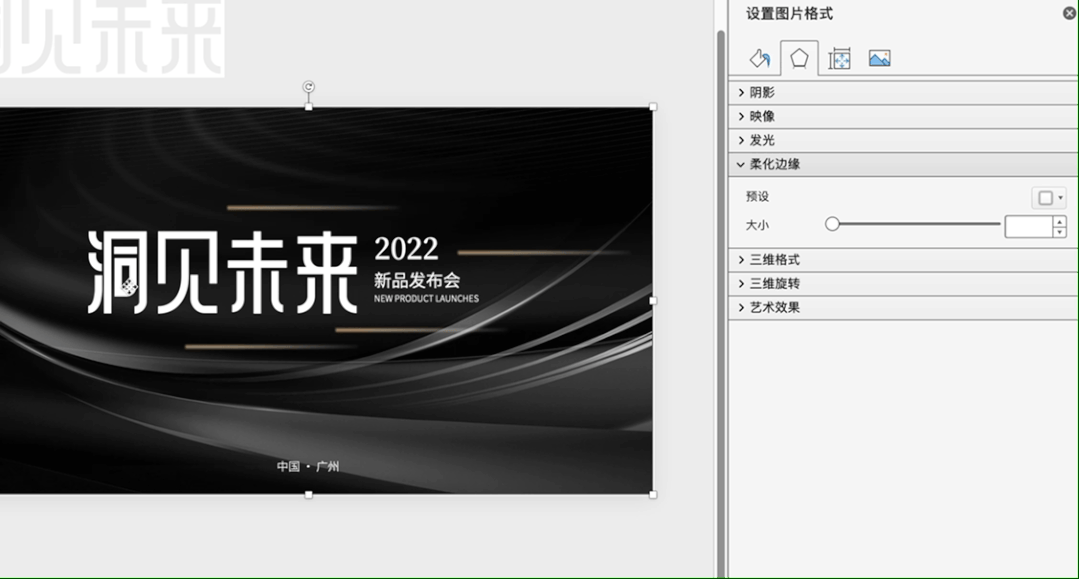
After the text is split, in addition to changing the color and elements, it can also create a virtual and real effect.

Insert a shape that is larger than the stroke range, set it to have no fill and no outline, and then combine it with the stroke to expand the boundary.
Right-click to cut and paste as picture:
In the artistic effect, select [Blur]. The larger the radius, the stronger the blur.
Use the same method to process other text strokes, and a high-end cover is completed.

Have you learned it? That’s all for today.
I am Xue Hai, I look forward to seeing you in the next issue!
Articles are uploaded by users and are for non-commercial browsing only. Posted by: Lomu, please indicate the source: https://www.daogebangong.com/en/articles/detail/PPT-wen-zi-bei-wo-da-san-hou-jing-ran-zhe-me-gao-ji.html
 支付宝扫一扫
评论列表(196条)
测试