WeChat scan code to watch a full set of Excel, Word, PPT videos


When typesetting PPT graphics, many people often have restrictions on pictures or text content. As shown in the figure below, most of the pictures used in in PPT are square.

The picture comes from the Internet, invaded and deleted
Although it seems that there is no problem with the typesetting application of pictures like this, if such a well-designed design is too the same as the previous part, the leaders and customers will get tired of seeing it crooked sooner or later, and it will directly affect the overall evaluation of this PPT.
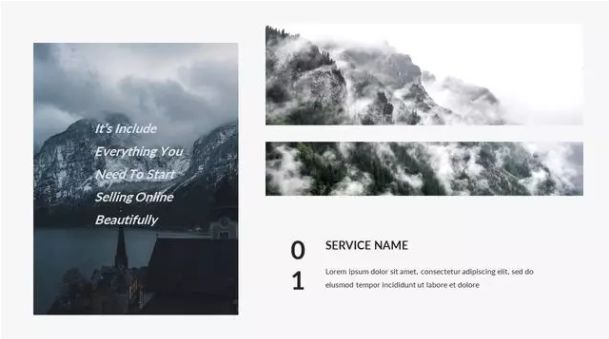
And we often see PPT designed by others, and the pictures are applied in various forms and strange shapes, as shown in the figure below.

The picture comes from the Internet, invaded and deleted
How did these alien images come about? There are 3 ways to achieve it in PPT, let's take a look at the production method:
One, cut with shape
When we insert a picture in PPT, the shape of the picture may not be the style we want. At this time, we can use the shape to crop the picture into any shape.
method: Double-click the picture, expand the "Picture Tools - Format" tab, click [Crop] - [Crop to Shape], and select the desired shape in the pop-up list, such as circle, triangle and rhombus, etc. The new outline shape of the picture, which cuts the original boxy picture into a special shape.

Second, fill the shape with a picture
First cut or copy the image to be reshaped, then insert a shape. Then select the shape, click the right mouse button, select the "Format Shape" command, select the "Picture or Texture Fill" radio button in the opened task pane, and then click the "Clipboard" button. the shape we want.
Tips:Sometimes, when the picture fills the graphics, it will be deformed. If you don’t want the picture to be deformed, you can set the picture format in the task pane Check the "Tile image as texture" checkbox, then adjust the "Alignment" and "Offset".
Third, shape and picture intersect
Insert a shape and place it at a suitable position on the picture, then press and hold the [Shift] key to select the picture and the shape in turn, click [Format] - [Merge Shapes] - [Intersect] to cut the picture into the desired shape Alien.

OK, the sharing of several special-shaped picture making skills is over! Very simple but very practical, everyone masters one by one, learn to apply flexibly, it will definitely add points to your PPT~~~
PPT tutorial article recommendation
[PPT animation tutorial]: These 10 small PPT animations can be pretended to be arbitrary after learning!
PPT Tutorial: How to design the flow charts commonly used in PPT?
PPT Tutorial: How to make those seemingly more advanced PPT gradient effects?
How to do the PPT form in Gaoda? It is enough to master the "nine" formula!
The "fake" masking technique that PPT masters love to use, do you dare to say that you can't use it?
Click "Read the original text" for more information!
Articles are uploaded by users and are for non-commercial browsing only. Posted by: Lomu, please indicate the source: https://www.daogebangong.com/en/articles/detail/PPT%20Tutorial%20How%20are%20the%20strangeshaped%20pictures%20in%20PPT%20made.html
 支付宝扫一扫
评论列表(196条)
测试