
Designer
www.shejidaren.com
Love to design, love to share

Today, the designer made a set of luminous characters. The tutorial is mainly to give you an idea of how to create these neon fonts. You can also design them yourself when you have no materials. In the tutorial, we use multiple layer styles of Photoshop to achieve these effects. It is easy to get started, and even newcomers can learn it. At the same time, we also provide source file layered materials, students who don't want to do it themselves can use it directly to improve efficiency.
Neon word making tutorial
1. The first layer of high-gloss text
First add a black background to the screen so that we can see the effect, and then start to make the topmost text, which can be made with [APP design essential fonts: SanFranciscoPro, Pingfang, Siyuan Blackbody and Roboto, etc.] to provide thin fonts, of course. Other fonts are available.
The font size here is 36 pixels.
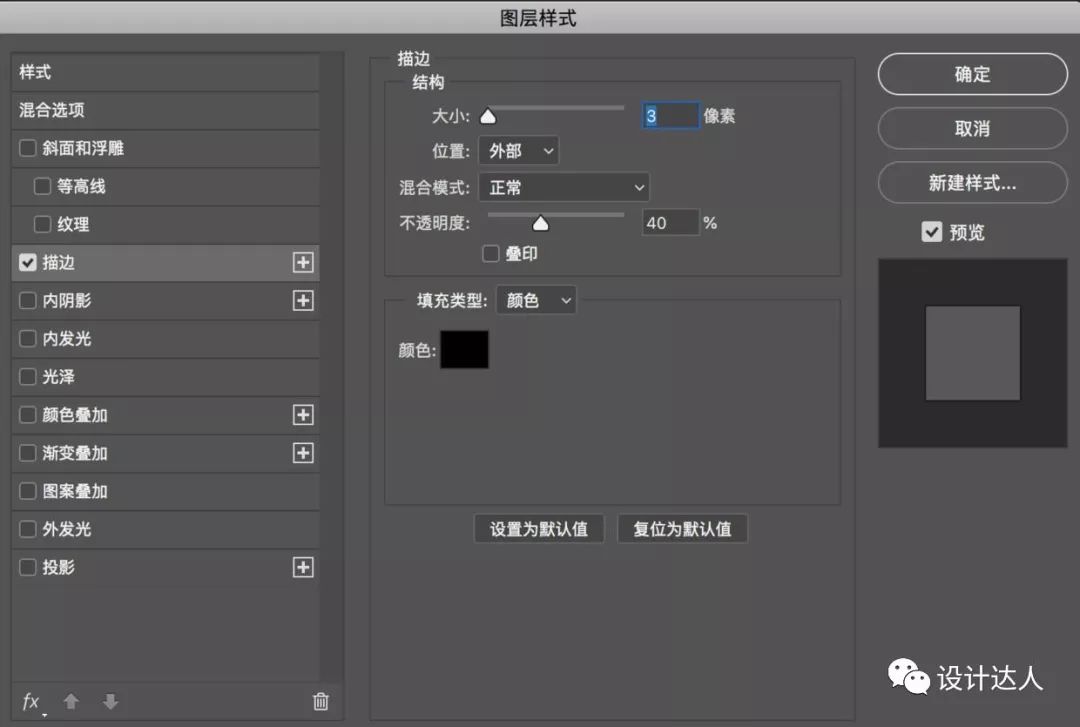
Layer style: Outer stroke, size is 3 pixels, opacity is about 40%.

Text Layer Parameters
Because the background is also black, temporarily change the background to white to see the effect and see if the thickness of the stroke is appropriate. If not, change the size appropriately.
For example, the second line of text below, because the text is small, it is enough to change it to a 2px stroke. Don’t memorize the parameters, use them flexibly.
text stroke
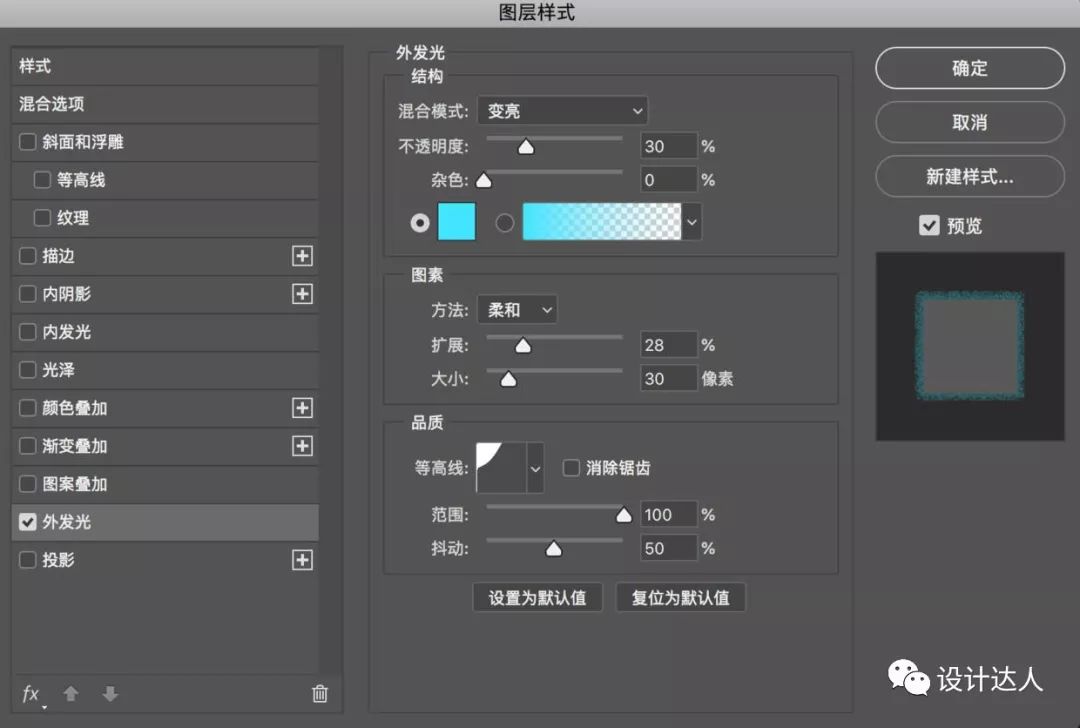
2. The second layer of text: Outer Glow and Stroke
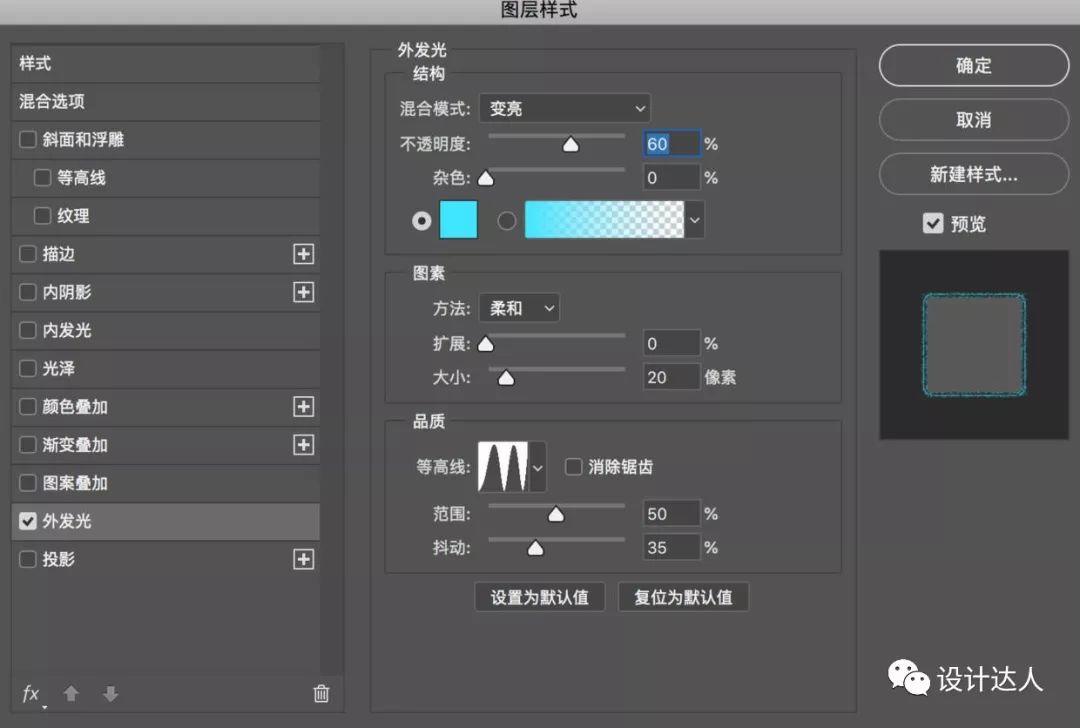
The second layer of text has colored luminous characters, and the color is #33e5ff. Other references are as follows:
Outer Glow Layer Parameters
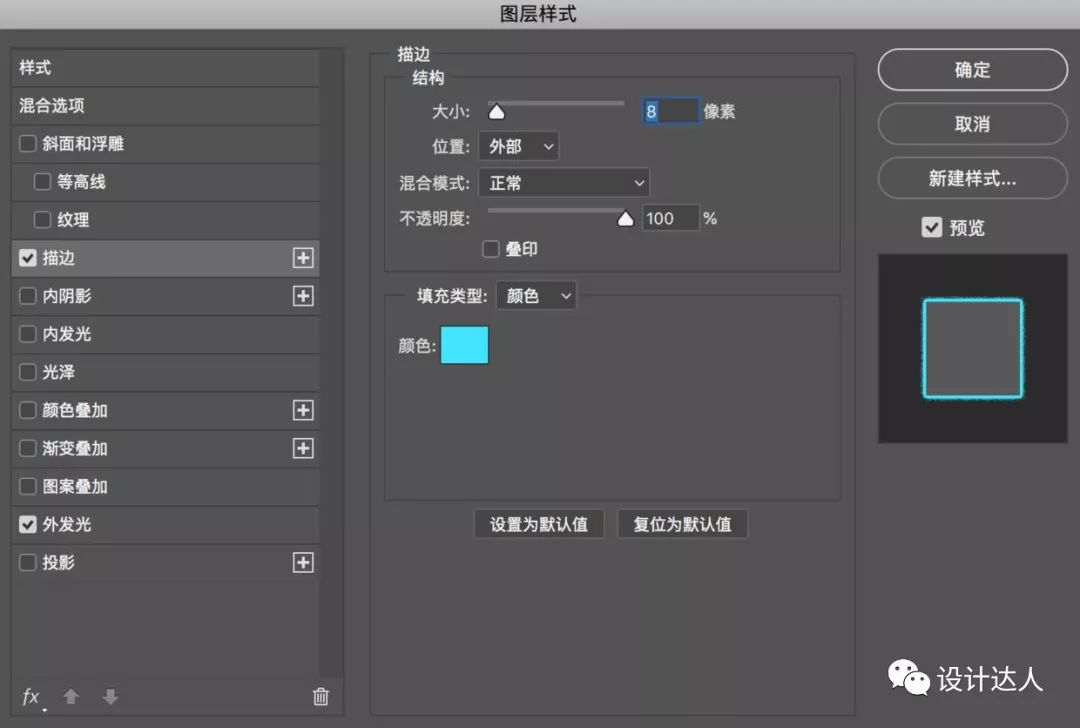
Stroke Layer Parameters
The effect is as follows:

Outer Glow Stroke Effect
3. Production of luminescent group
Group these two groups of text, and add layer style to Outer Glow, color value #33e5ff.
layer group
Parameters for group layers
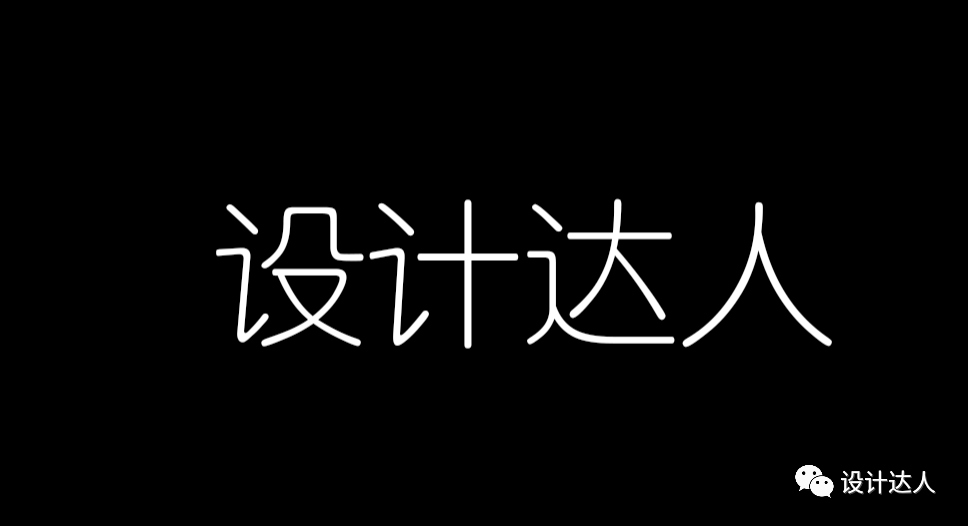
Final effect
Using these layer styles, we can copy more graphics and change other colors to DIY the effect we want.
Isn't it easy to make a neon effect font? But if we have the material, we can make this effect faster.
NO, NO, NO...
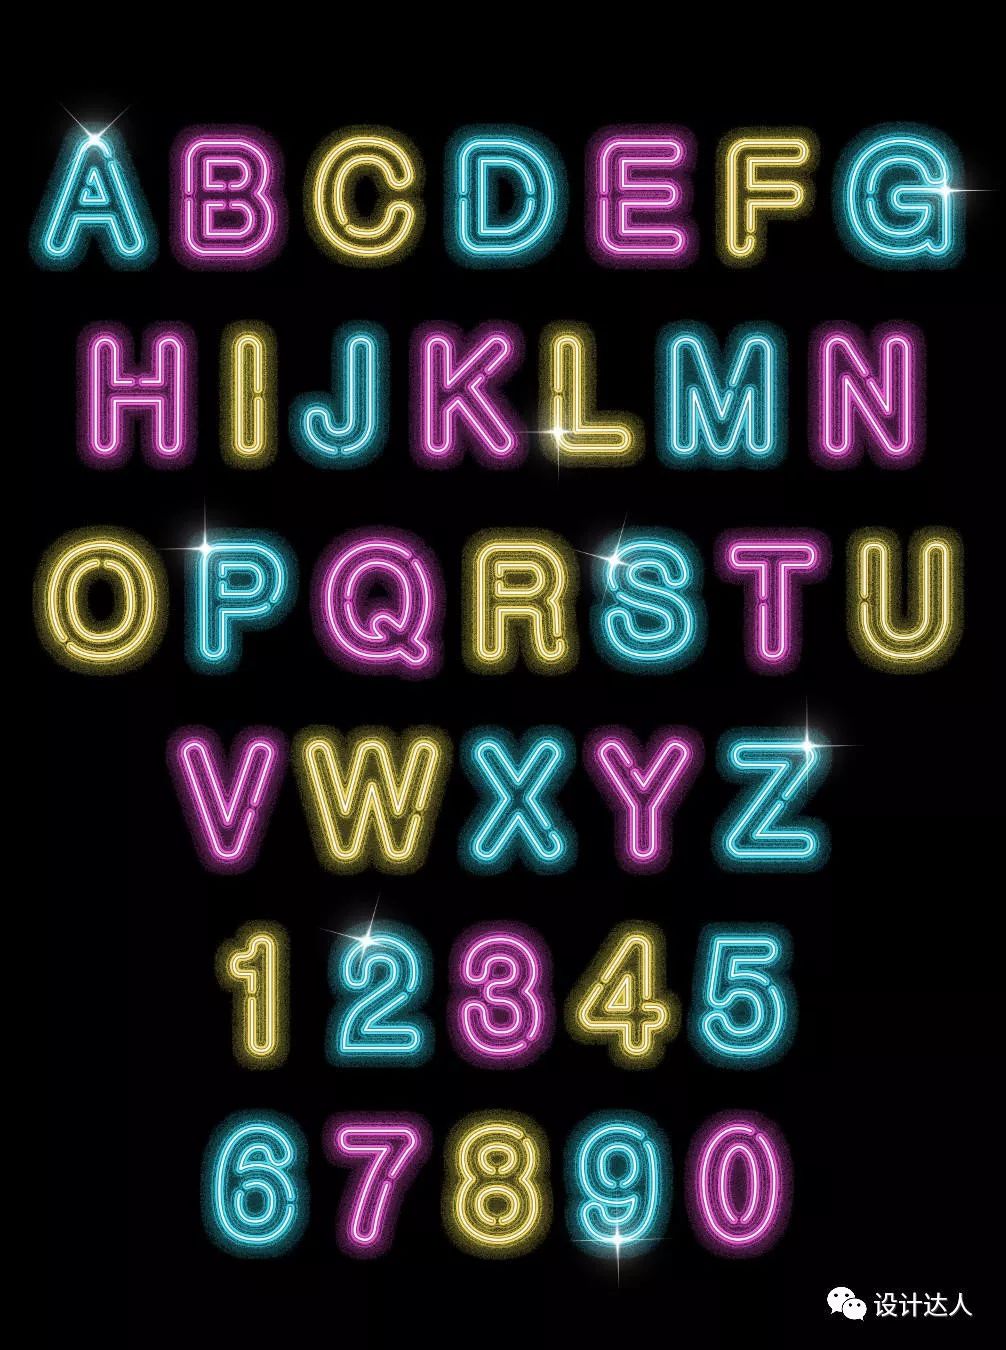
Benefit: Neon font material
Here, the editor also selects a set of neon fonts containing 26 letters from A-Z and numbers from 0-9. The PSD layered format is suitable for you to use directly. With this material, there is no need to change the letters and numbers, just put them together one by one, isn’t it more convenient?
Download address: https://pan.baidu.com/s/1B6xhVKayCq6TDdxEV2dQbgExtraction code: Reply the number【8534】automatically in the official account of【Designer】 Get the extraction code~
Today's tutorial is shared here. This is a very simple and practical tutorial. It is recommended to bookmark this article. You can read it when you make neon lights in the future.
////// END // ////
✕✕Good article from the past15 mobile phone details page design details to help you output high-quality pages
Google MaterialDesign visual data design specification guide
Simple UI color theory knowledge, with a case at a glance
Habits of a great designer
Taipei Heiti-free traditional font is more suitable for graphic printing design!
This design increases the click-through rate of Banner by 90%!
Golden Ratio User Guide + Golden Ratio Calculation Tool
Alibaba Pratt: Free commercial fonts with Chinese and Western characters
Sketch Practical High Frequency Tips
Watercolor Food Illustration Tutorial
[PS Tutorial] PS hair cutting skills that artists must learn
Design official account does not need many
Design experts carefully select high-quality designs, good articles, good resources, and good inspiration for you
Remember to set it as a star public account~
▼
Only know Pinterest/Behance/Dribbble for inspiration?
↓↓Please open Design Navigation to see a wider sky↓↓
http://hao.shejidaren.com
Articles are uploaded by users and are for non-commercial browsing only. Posted by: Lomu, please indicate the source: https://www.daogebangong.com/en/articles/detail/Neon%20light%20effect%20production%20tutorial%20including%20font%20material.html
 支付宝扫一扫
评论列表(196条)
测试