1. Make a custom pattern
This step is to prepare the material for the metal text sticker pattern
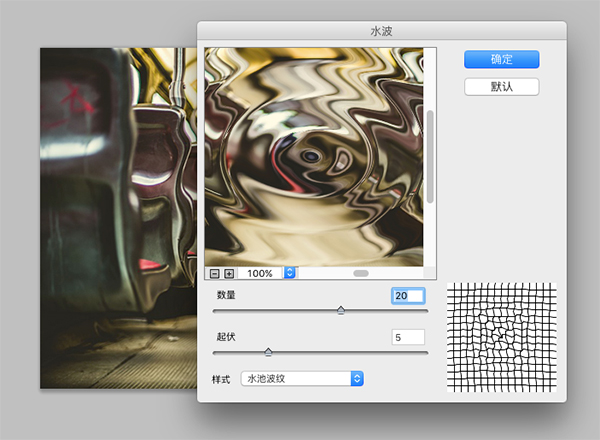
Step 1. Open the picture in the material, go to Filter-Distort-Water Wave, and adjust the values to 20 and 5.
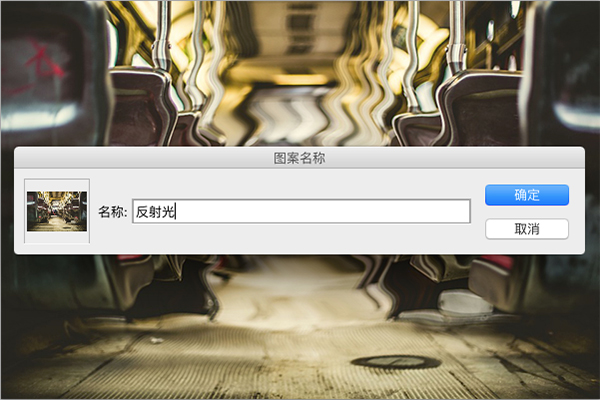
Step 2. Execute Edit-Pattern, name it Reflected Light, and confirm it.
2. Make background effects
Step 1. Create a new file with 950-650 pixels, and open the cracked land material in the material package.
Step 2. Create a new layer above the land material, fill it with a radial gradient, and the colors from left to right are: #494949, #0f0f0f. Parameter value, the angle is 50 degrees, and the scaling value is 150.
Step 3. Set the material layer style to "Overlay", so the background is ready.

3. Create theme text
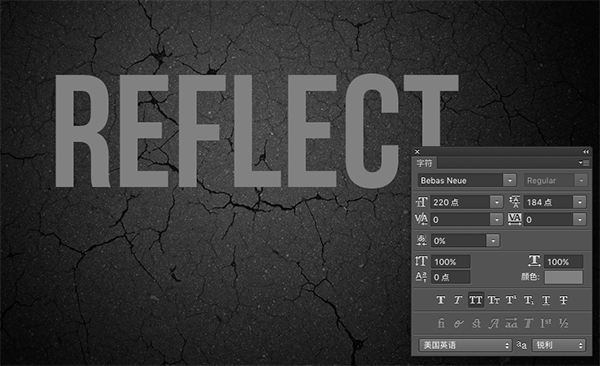
Step 1. First choose a thicker English font, and again we Choose the Bebas Neue font, set the font size to 220 pixels, and capitalize the letters.
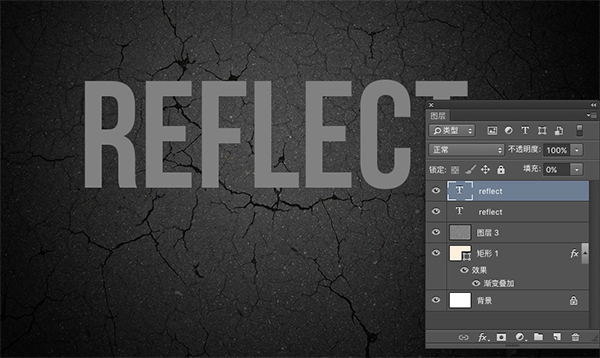
Step 2. Copy the subject text and set the padding to 0.
4. Create the theme text texture effect
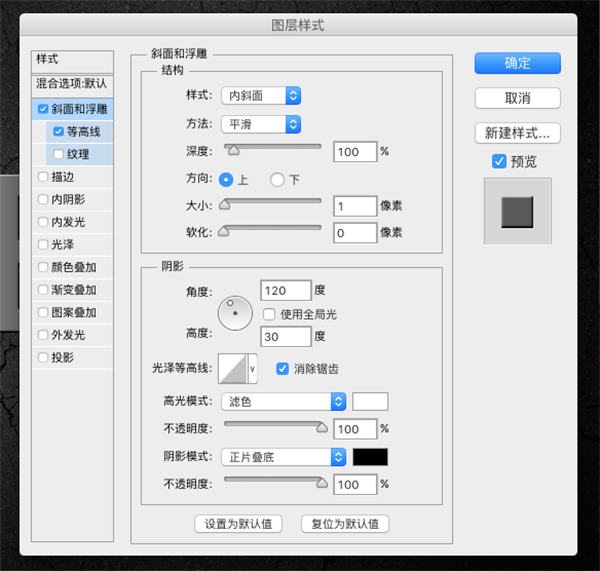
Step 1. Select the original theme text layer, perform bevel and emboss , note that the shadow value of the relief can be adjusted according to the effect, the specific parameter values are shown in the figure
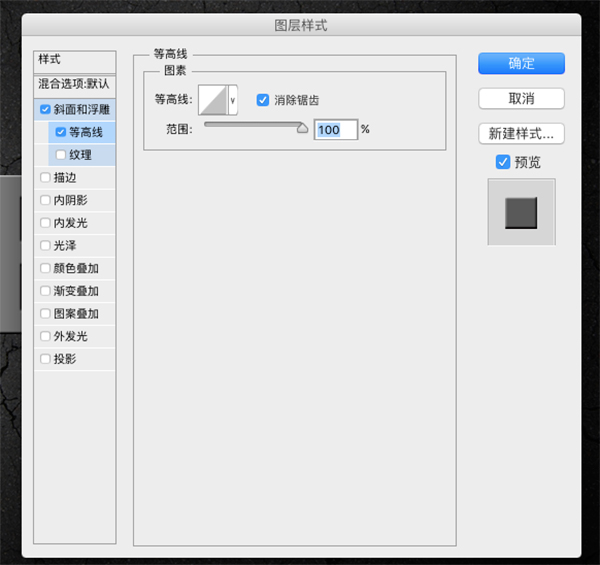
Step 2, check the contour line, select anti-aliasing, the specific parameters are as shown in the figure
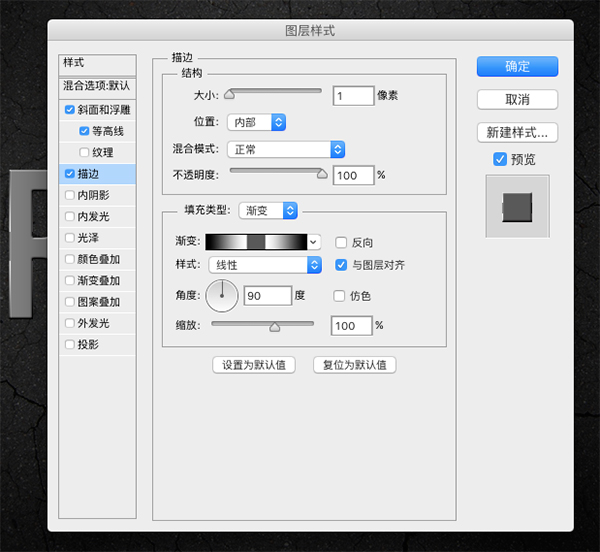
Step 3, add a gradient stroke effect, the stroke size is 1, the specific parameters are as shown in the figure
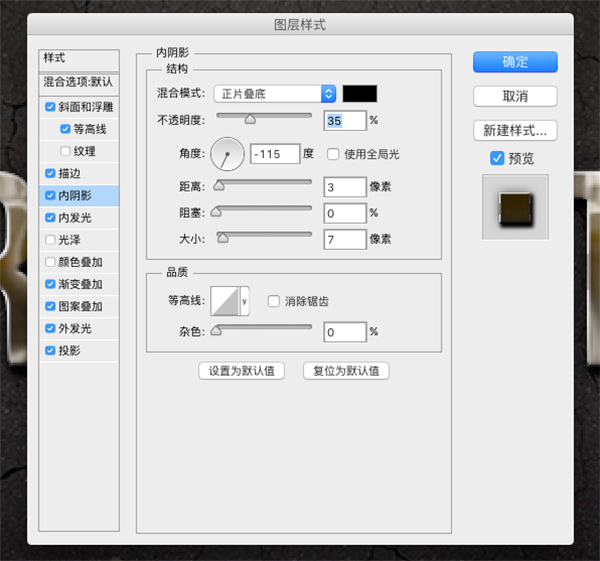
Step 4. Set the inner shadow effect, be careful not to use global light, the specific parameters are as shown in the figure
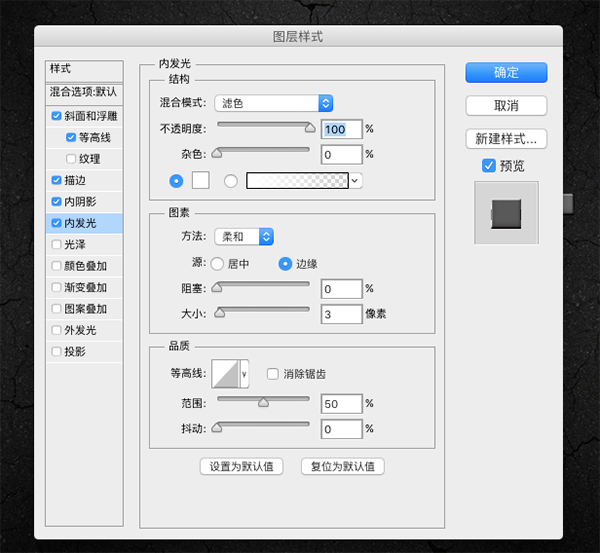
Step 5. Set the inner glow effect, the color value of the glow is #f4f2e7, the specific parameters are as shown in the figure.
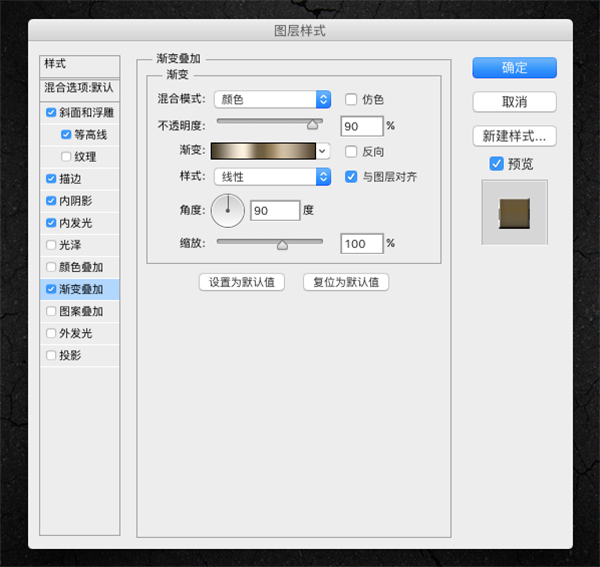
Step 6. Execute the gradient overlay effect, the blending mode is color, and the specific parameter values are as shown in the figure

Step 7. Execute the pattern overlay effect, select the "reflected light" pattern created just now, and apply it. You can adjust the zoom value according to the effect until you are satisfied.
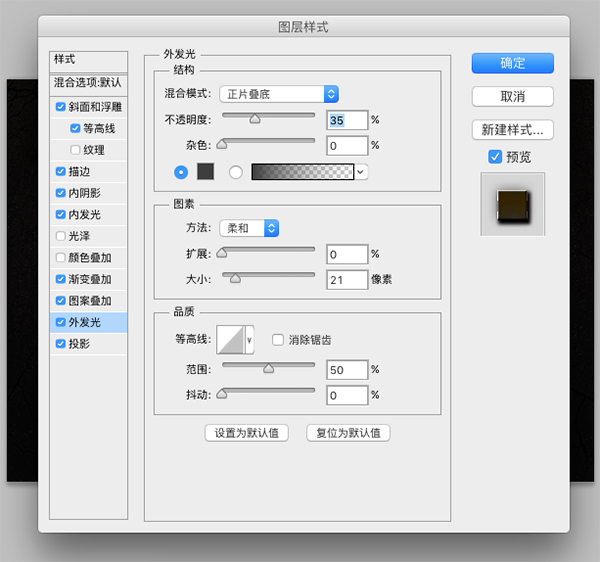
Step 8. Add the Outer Glow effect. Note that the blending mode is set to Multiply, and the parameter values are as shown in the figure
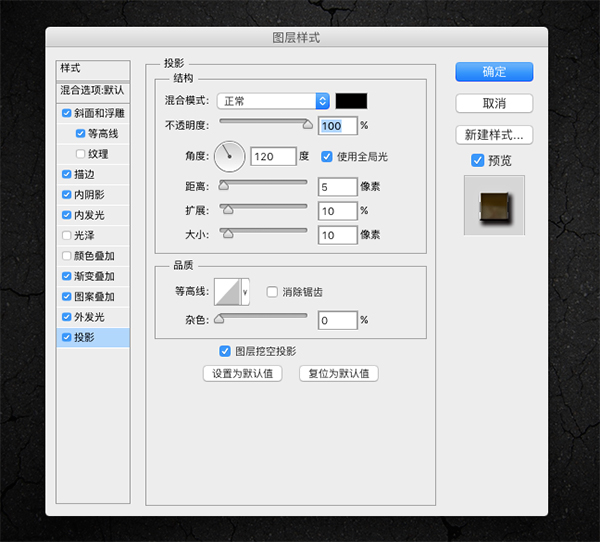
Step 9, execute the projection effect, the parameters are as shown in the figure
5. Start setting a copy of the text layer
This step is to add lightness to the text
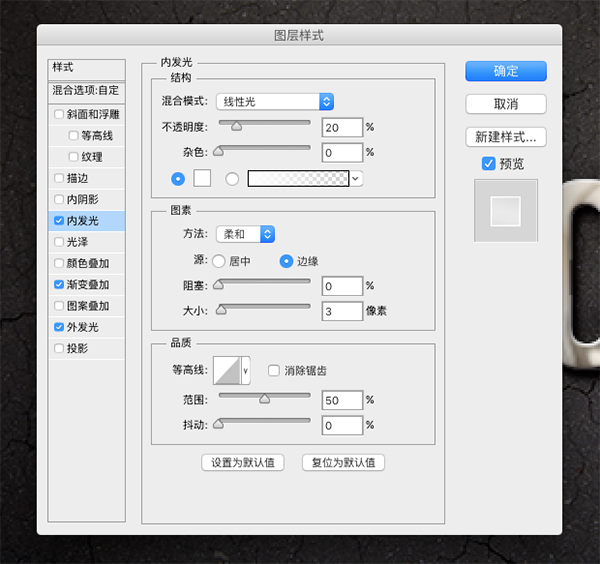
Step 1. Set the inner glow effect of the copy, the blend mode is linear light, and the parameters are as shown in the figure
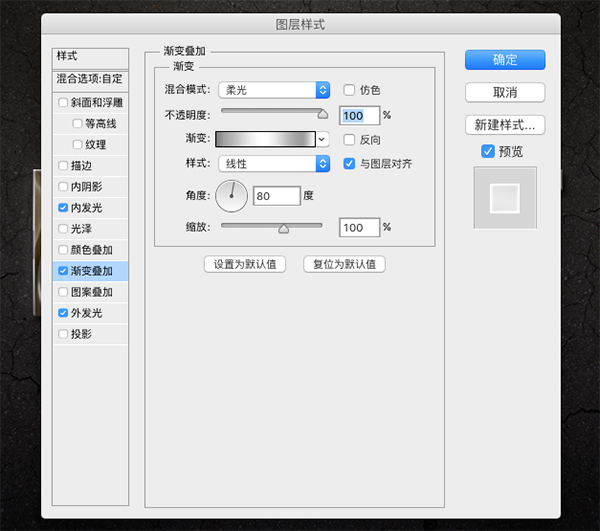
Step 2, set the gradient fill, the blending mode is soft light, the parameters are as shown in the figure
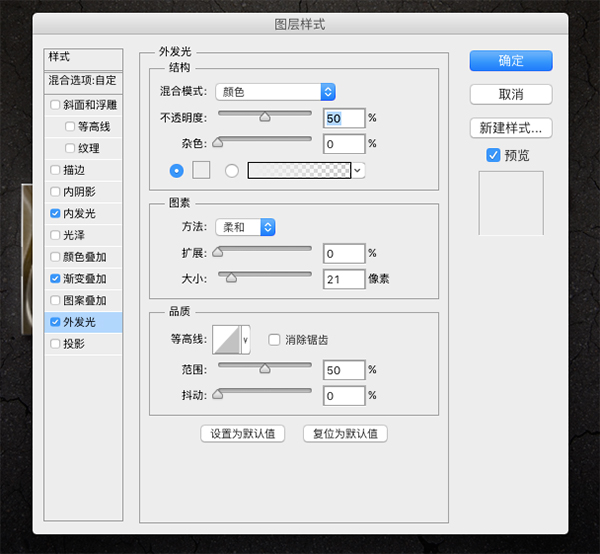
Step 3. Execute the outer glow effect, the blending mode is color, and the parameters are as shown in the figure
Execute so many styles, let's see the effect

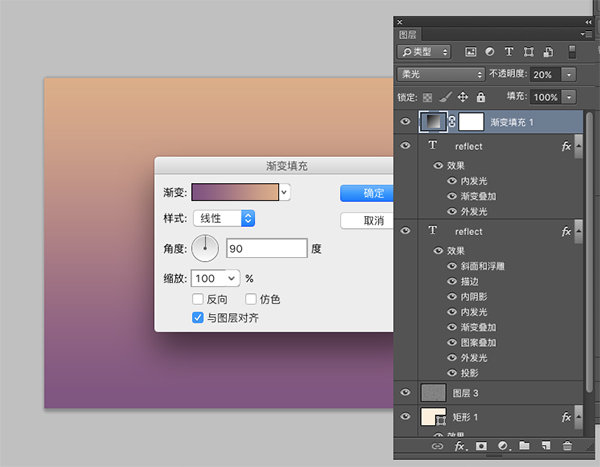
6. Finally, in order to make the font fit the background better, let's make another layer of ambient light.
Step 1. Create a new layer, set the gradient fill mask effect at the bottom of the layer, set the layer mode to soft light, and opacity to 20%. as shown in the picture
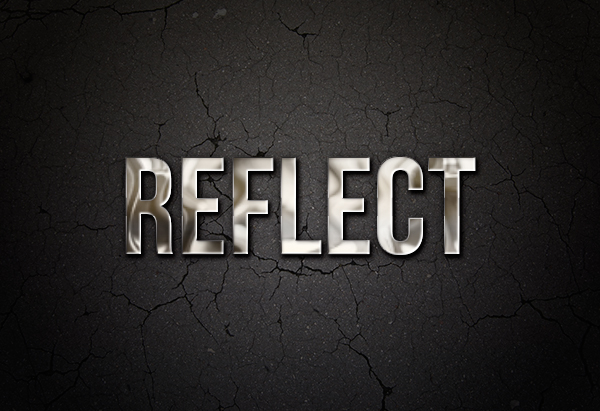
Look at the final effect:
Articles are uploaded by users and are for non-commercial browsing only. Posted by: Lomu, please indicate the source: https://www.daogebangong.com/en/articles/detail/Make%20Shiny%20Metal%20Words%20in%20Photoshop.html
 支付宝扫一扫
评论列表(196条)
测试