Might have to adjust the size and position slightly to fit the canvas. Then, select a Circle Tool, set the fill color to white, no stroke, and drag the circle across the canvas to create the shape of the water droplet. Next, select the circle and text too
Open the ai software, create a new canvas, and use the rectangle tool to pull out a black-filled rectangle of the same canvas size and size, and lock it as the background image with ctrl+2. Choose the Text tool, enter the font "X", try to choose a thicker font: 
Next, we are going to do the "water drop" effect. First, select the rectangle tool: 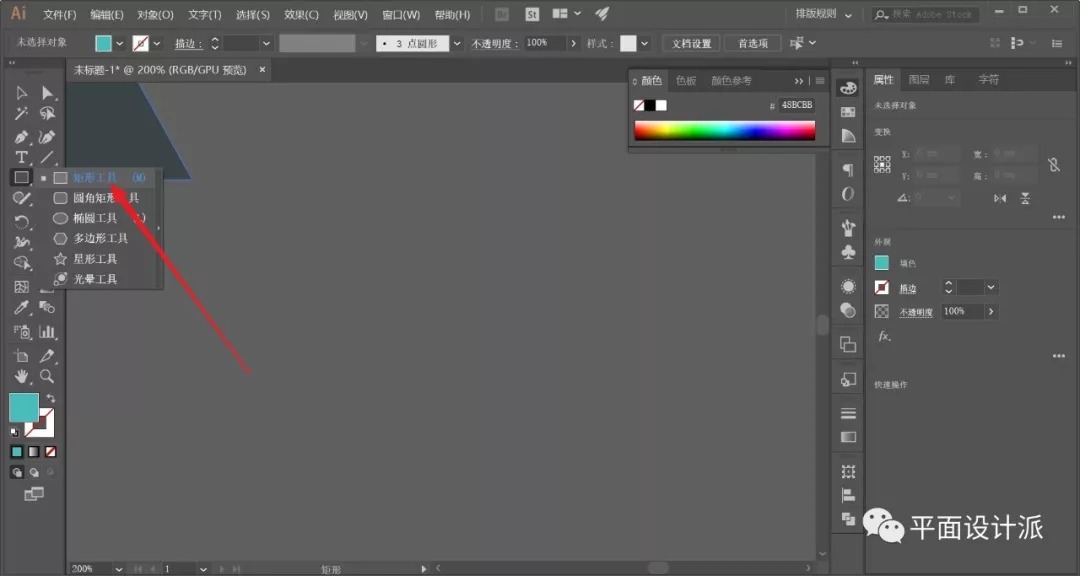
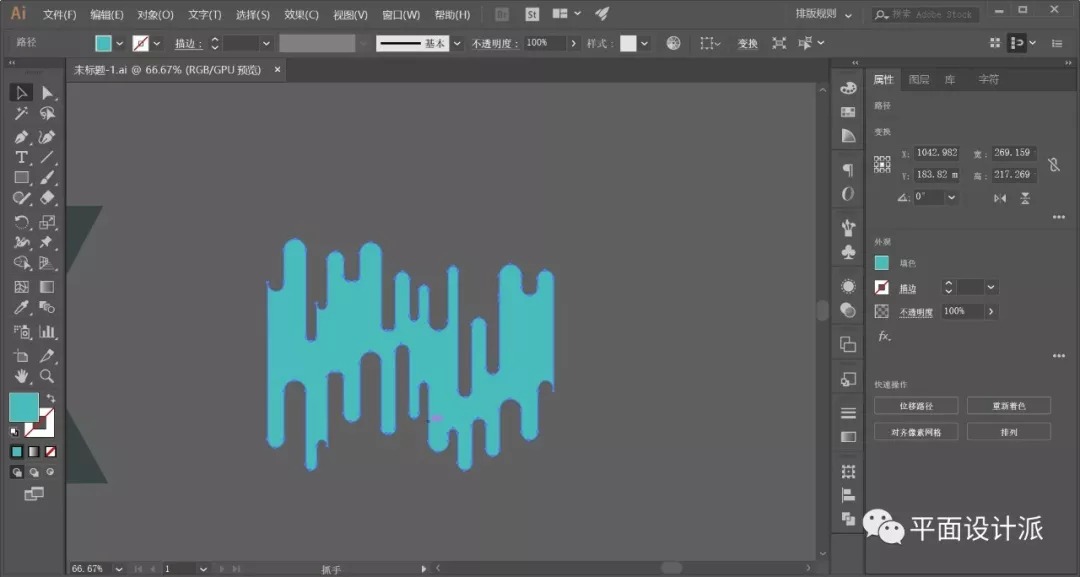
Rectangles with different lengths and widths are arranged into a group of rectangular strips as shown in the figure, and the length and width of each rectangle are adjusted appropriately to achieve a random effect. Select all rectangles, execute Pathfinder—Union, and merge all rectangles into a whole: 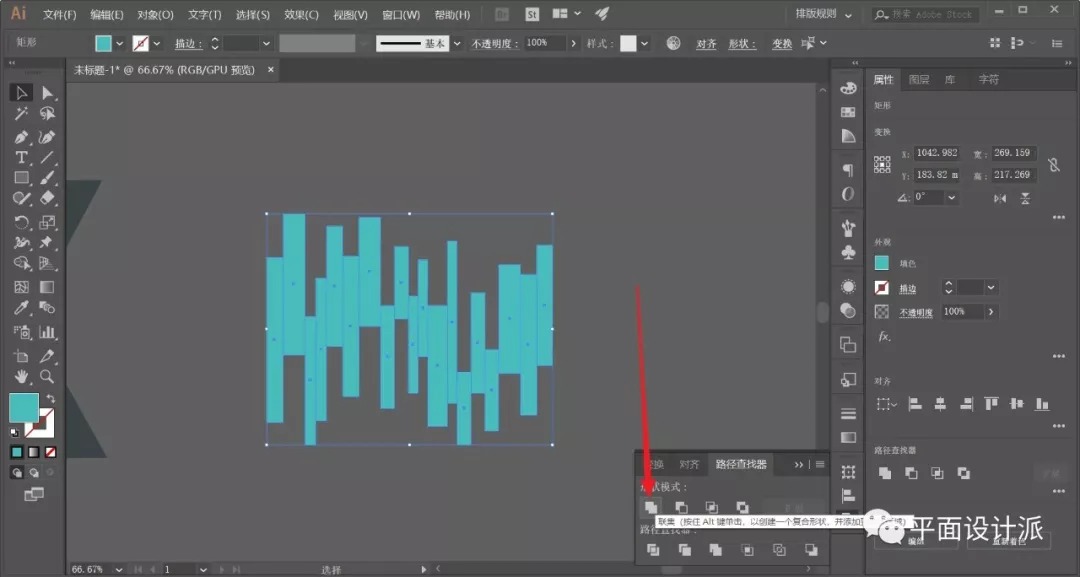
Next, hit the blackboard!
Select the Direct Selection Tool, and drag the dot as shown in the figure to get the semicircle effect: 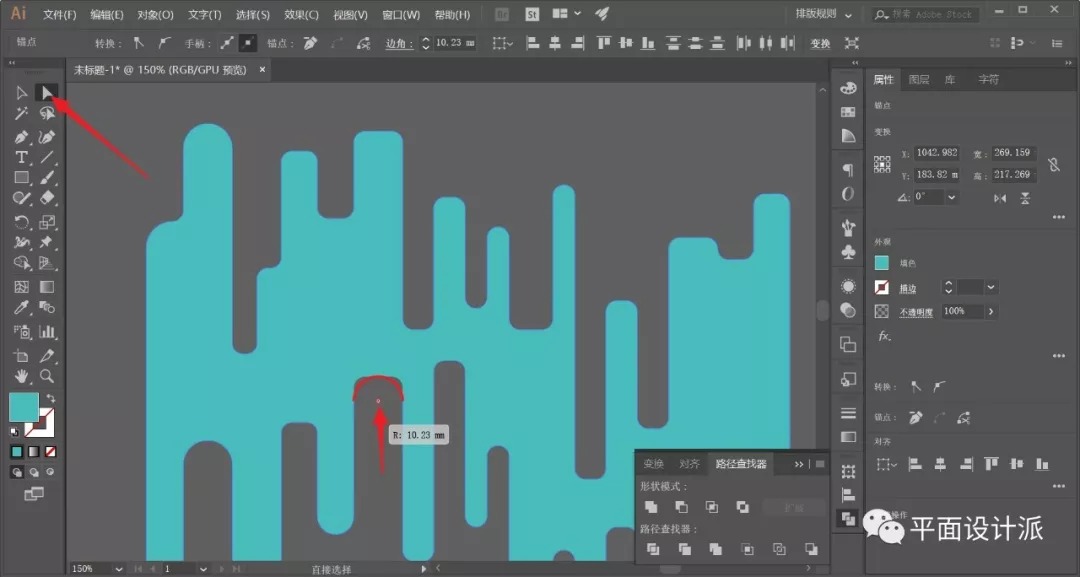
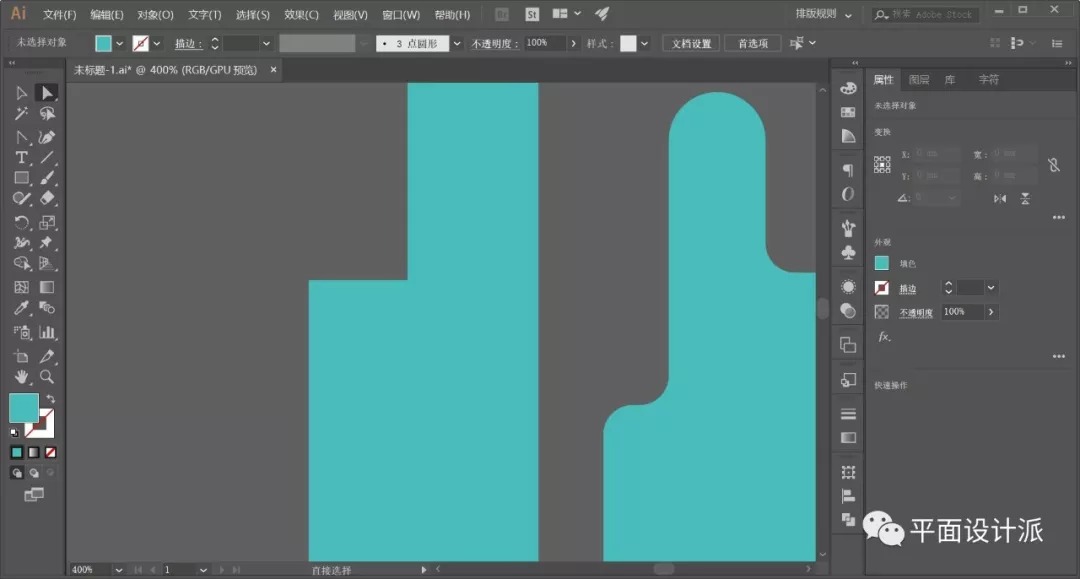
However, we will find that some parts are not the effect we want, as shown in the figure:
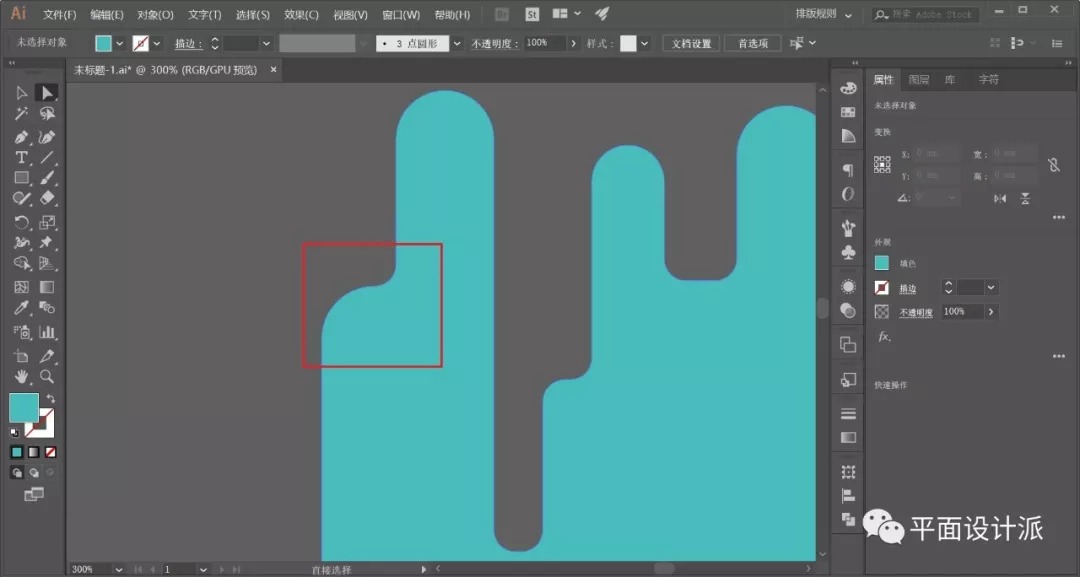
At this time, we need to restore the part to the original right-angle state, as shown in the figure:
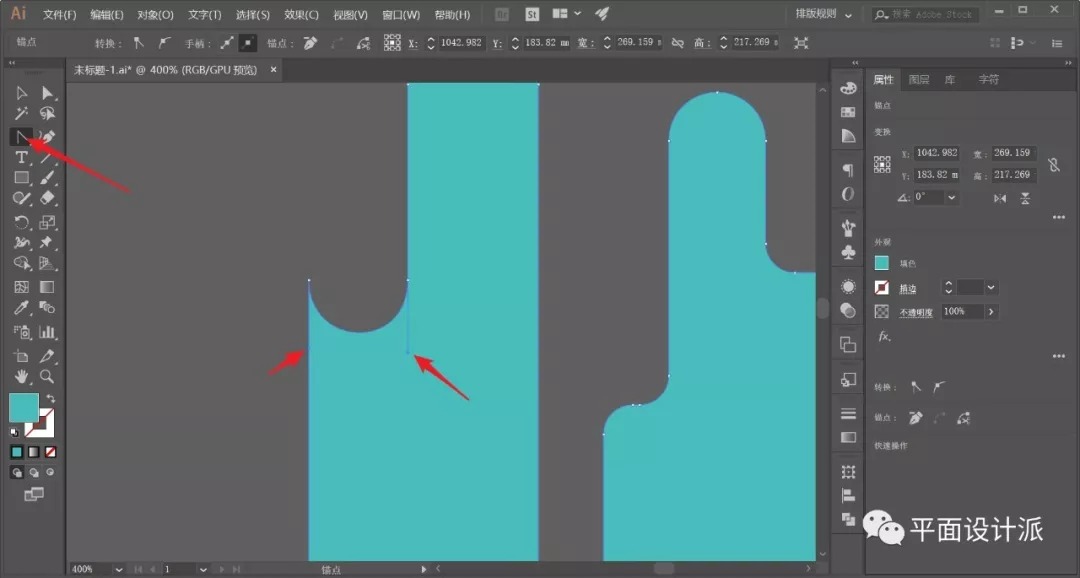
Select the Anchor Point Tool, drag the upper edge of the right angle down to a certain position, and then adjust the anchor points on both sides to be vertically downward, and then you can get the "semicircle missing" effect and adjust the edge as shown in the figure. As shown in the picture:
After all parts are adjusted, the "water drop" effect is obtained as shown in the figure:
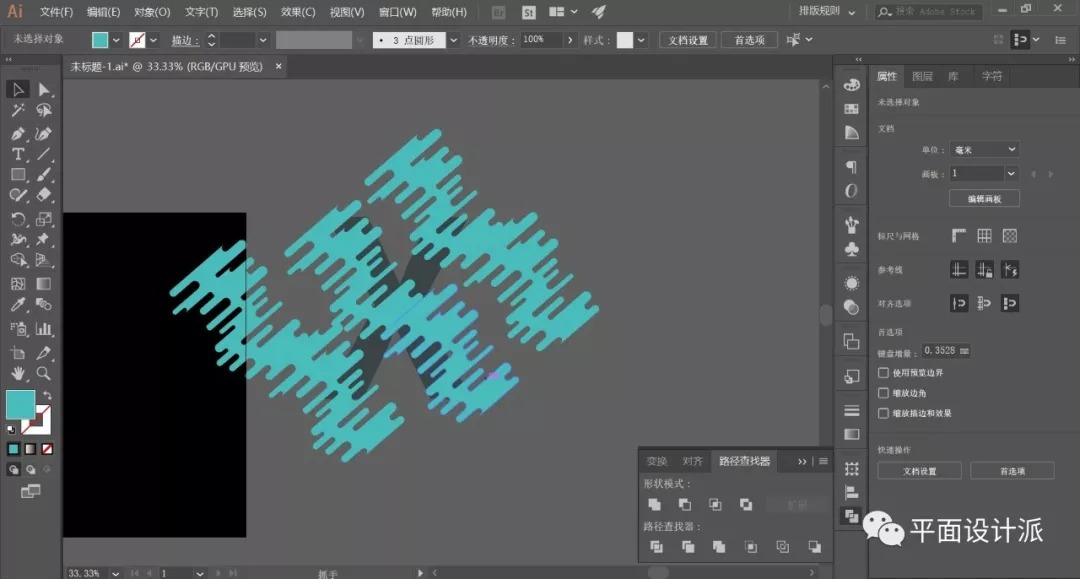
We make two copies and join again. Rotate at a certain angle, as shown in the figure:

Copy the "water drop" three times again, place it above the letter "X", and place it in a good position:
Now the problem comes again! How do we attach the "drops" to the letters? Create a clipping mask! Select the letter "X", ctrl+c to copy, ctrl+f to paste in place, and execute the right click-arrange-put to front: 
Now we need to make the upper letter bigger than the lower letter, we can use zoom, offset and other functions. However, today Awei told everyone another method. First, add a 15px stroke to the top letter, as shown in the figure: 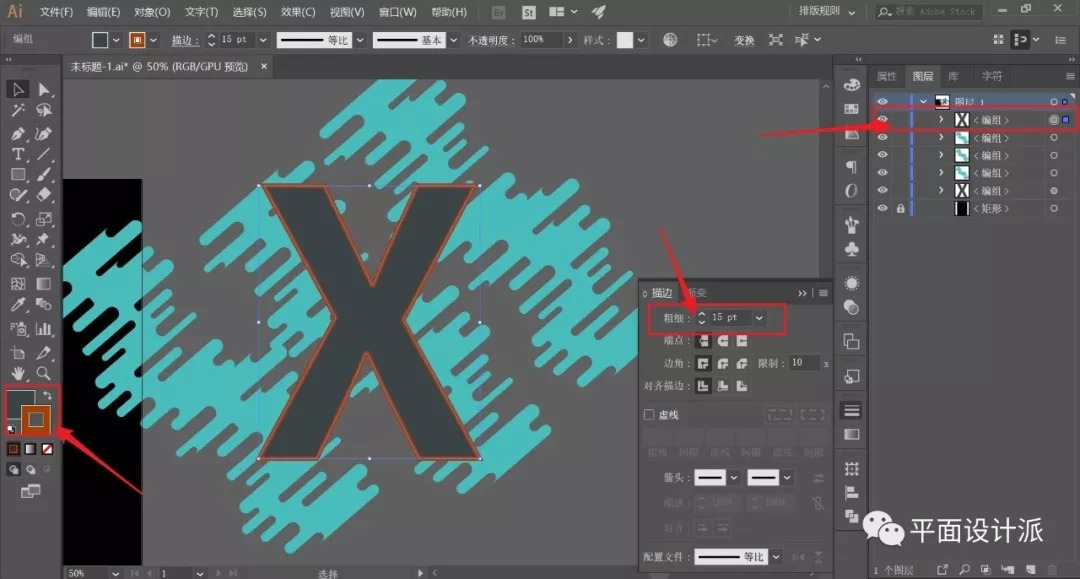
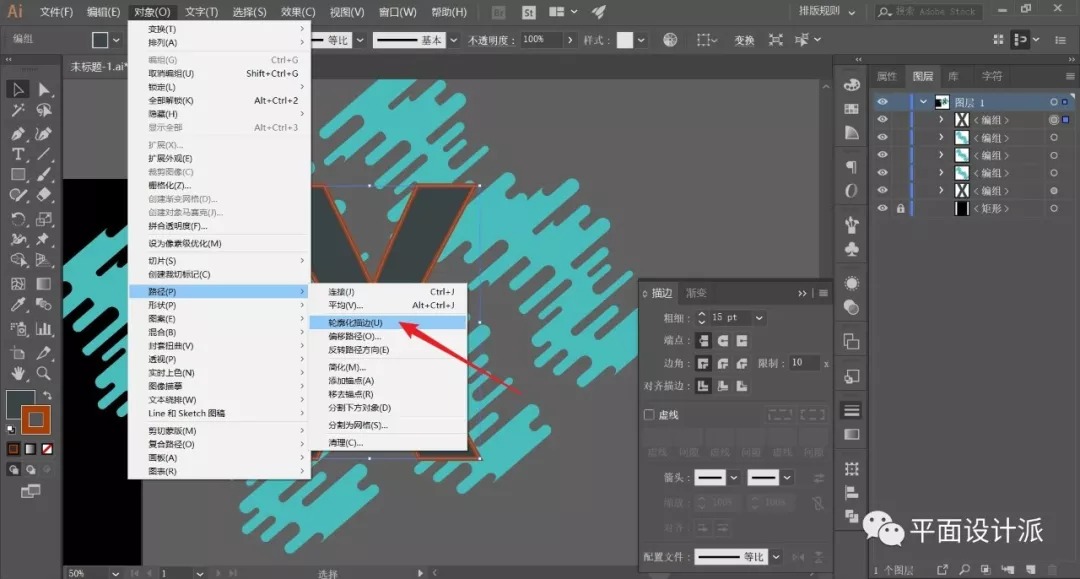
Next, execute Object-Path-Outline Stroke:
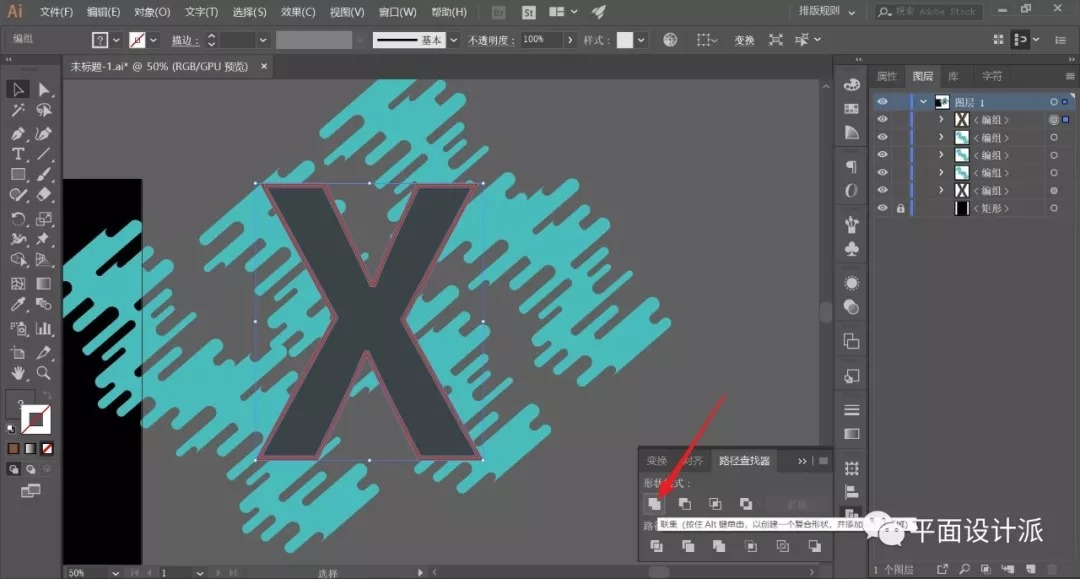
Finally, select the "Union" effect in Pathfinder:
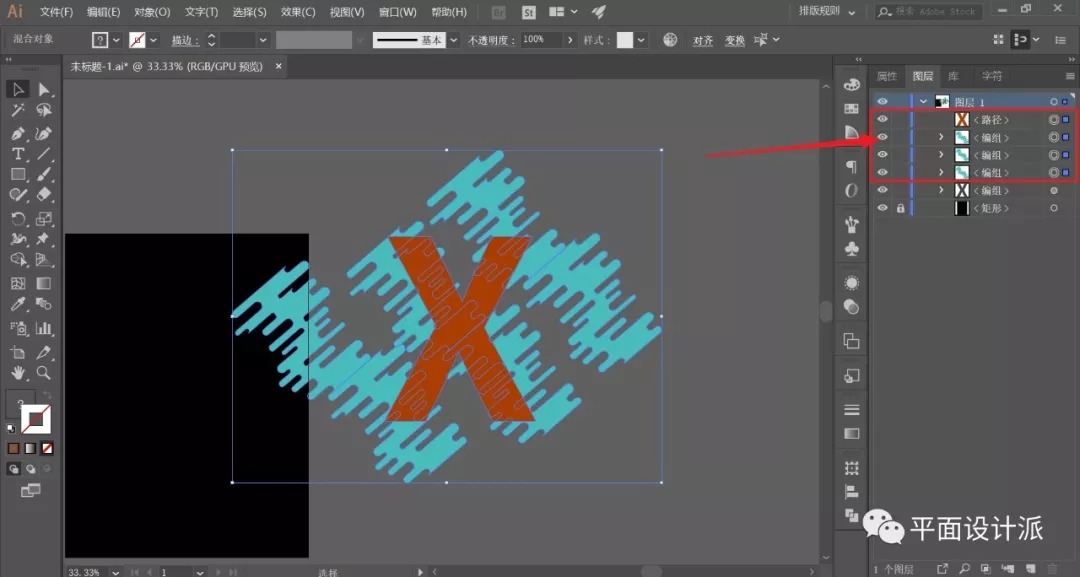
At this time, the font has been enlarged by 15px. Choose from 3 made water drop effects and top letters:
Afterwards, ctrl+7 to create a clipping mask to get the effect as shown in the figure. At this time, due to the creation of the clipping mask, the upper letters have disappeared, and currently there are only the lower letter "X" layer and the "water drop" layer showing the "X" effect. Everyone should be clear about this point, don’t think that the top-level letters are still there, and the clipping mask has been “consumed” by the “water droplets”: 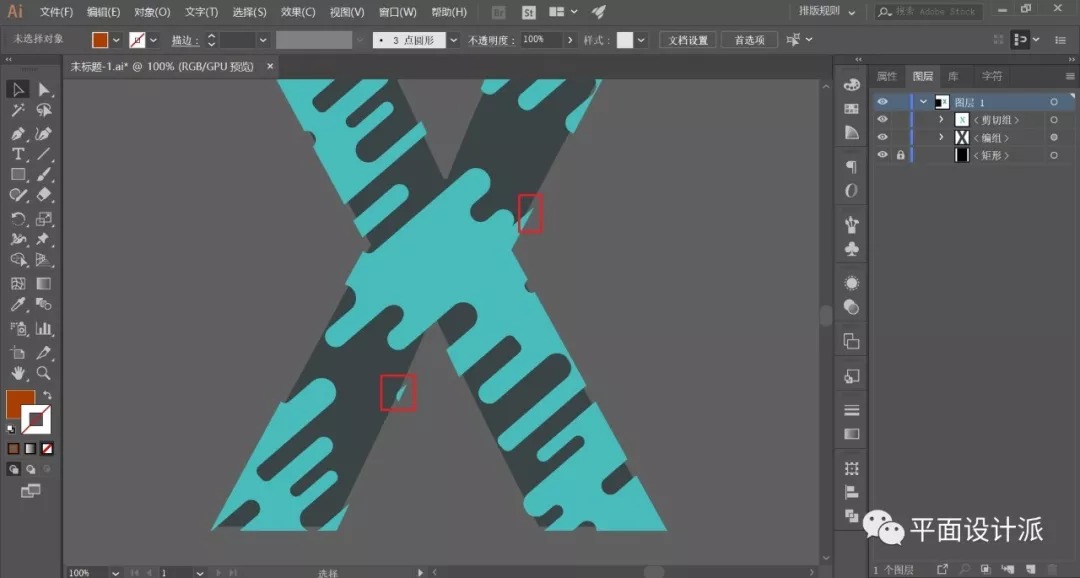
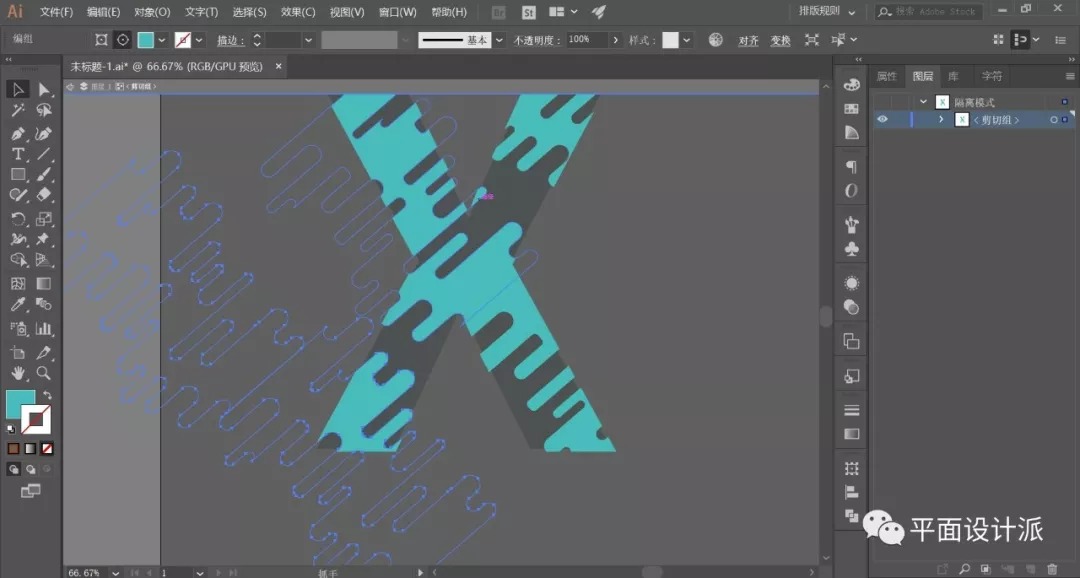
Double-click the water drop object to use the Isolate selected command. At this time, we can independently move the "water drop" to place it in a more suitable position. Double-click the blank space again to quit:
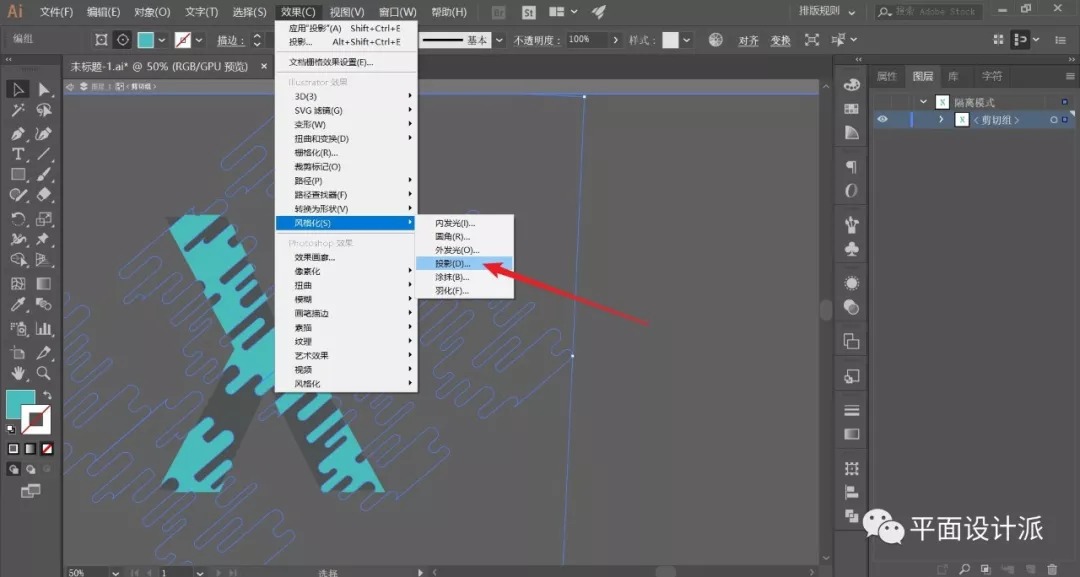
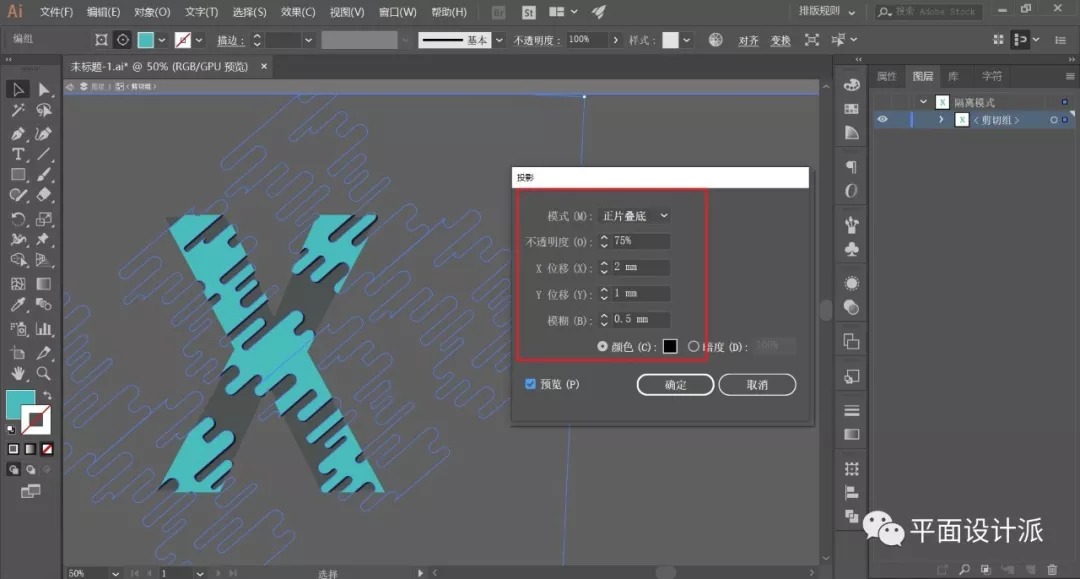
Select all water droplet objects, execute Effect—Style—Shadow, the parameters are as shown in the figure:
Now we add decorations to it.
Select the Straight Line Tool, white stroke, stroke parameters as shown in the figure. Just pull out the white straight line on the water drop, as shown in the figure: 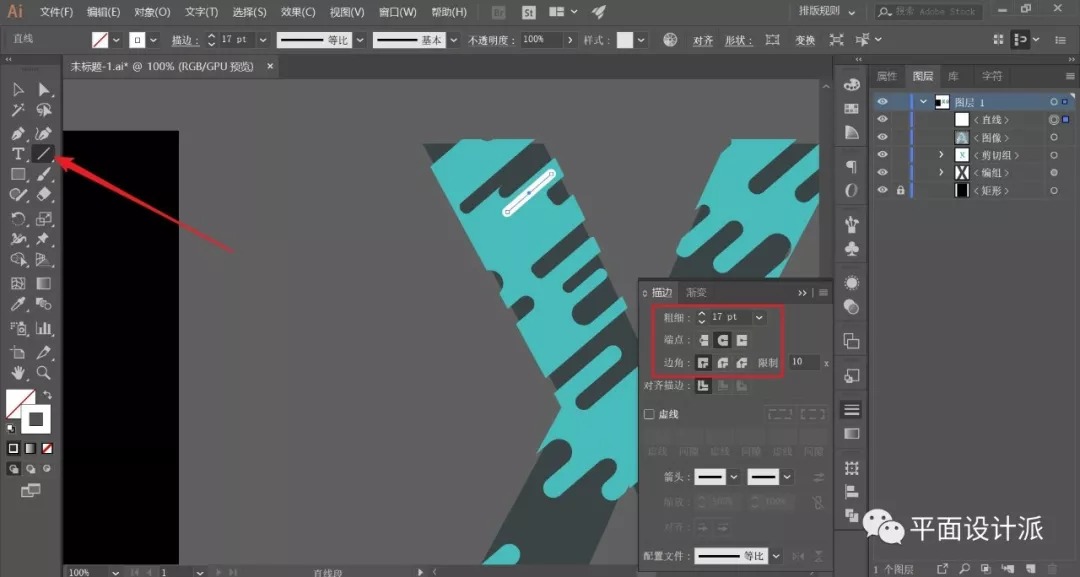
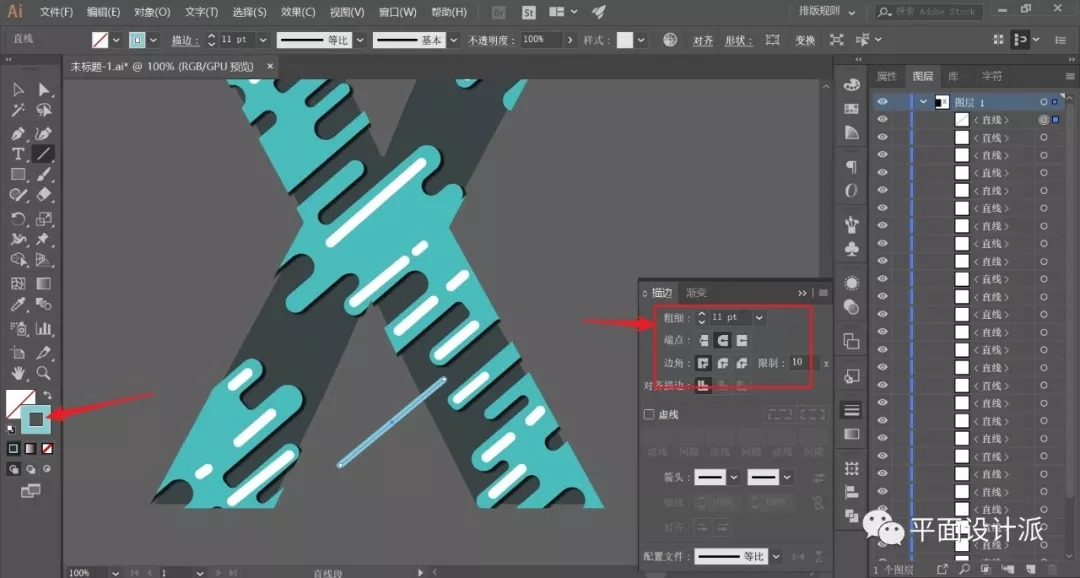
Then change a line color, and make some line segment decorations under the letters, pay attention to adjust the line segment thickness:
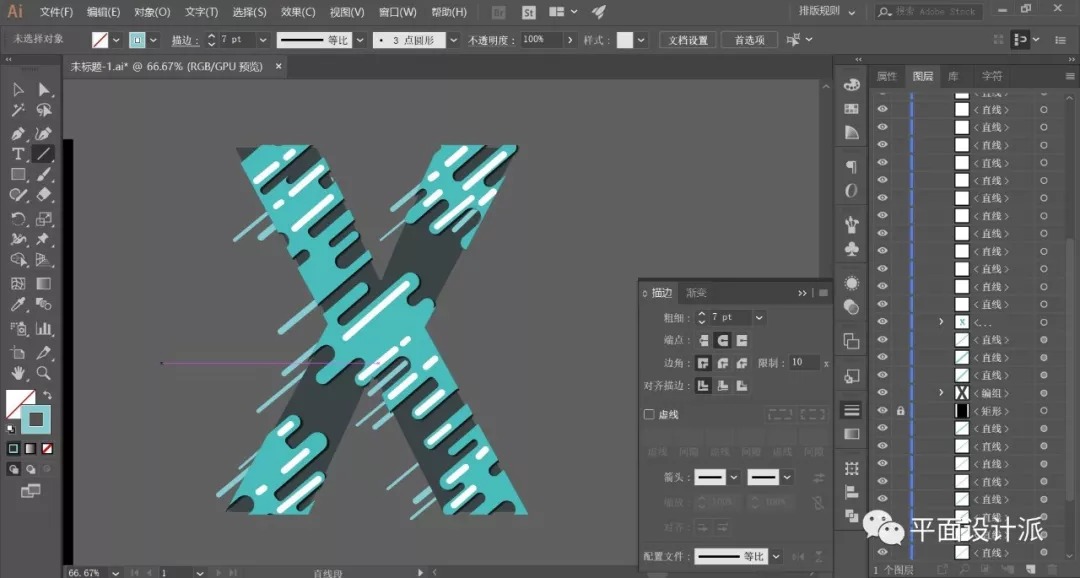
After the decoration is added, the effect shown in the figure is obtained:
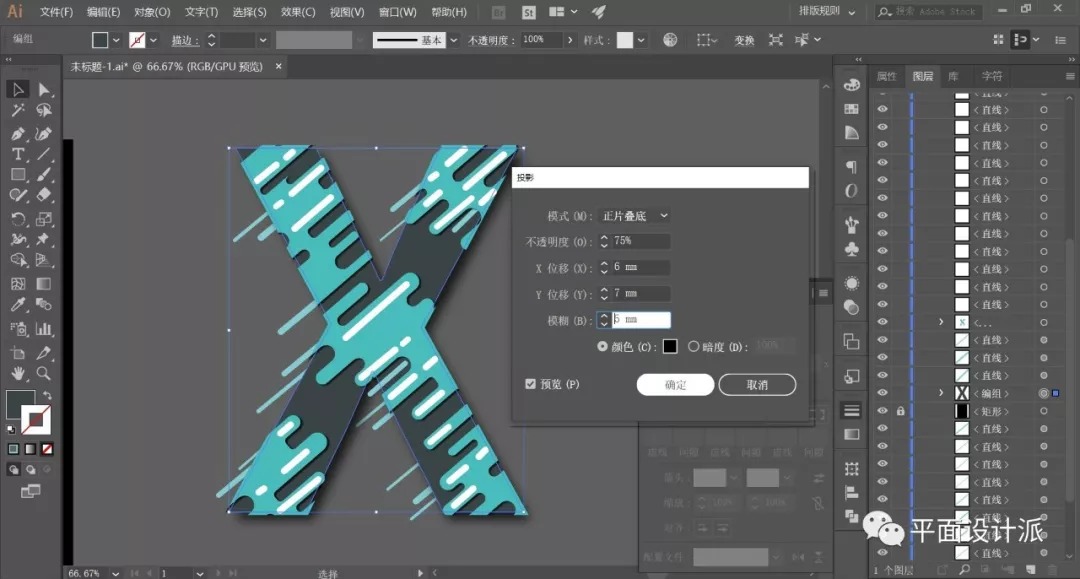
Let's select the letter again and add a shadow effect to it, as shown in the figure:
Finally, in order to complete the three-dimensional effect, we choose the pen tool. Choose a color that is slightly darker than the "drop" fill color. Attention, draw the figure below the "water drop" layer, so that the three-dimensional effect of "water drop" can be achieved: 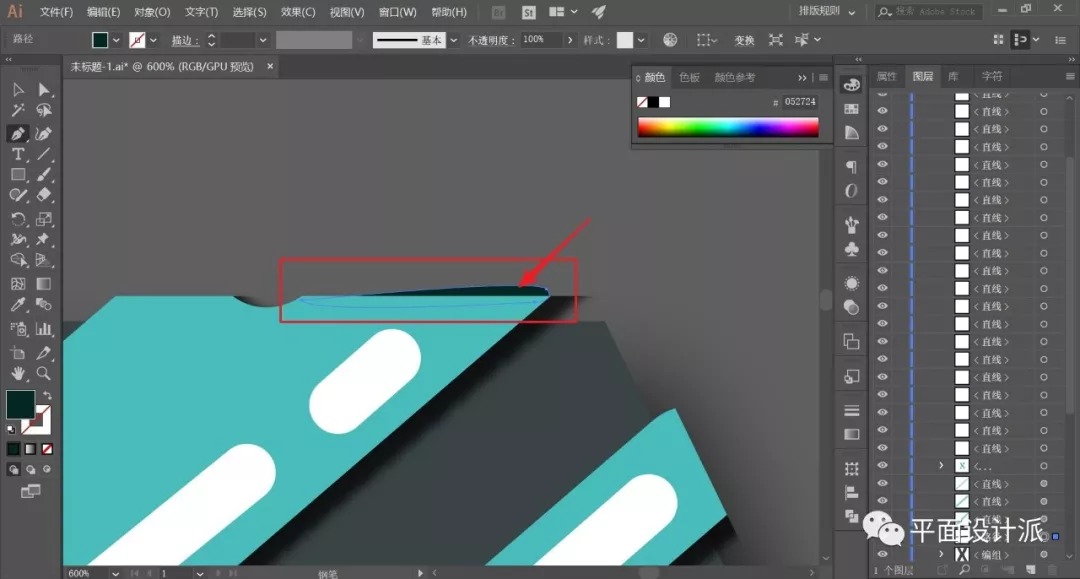
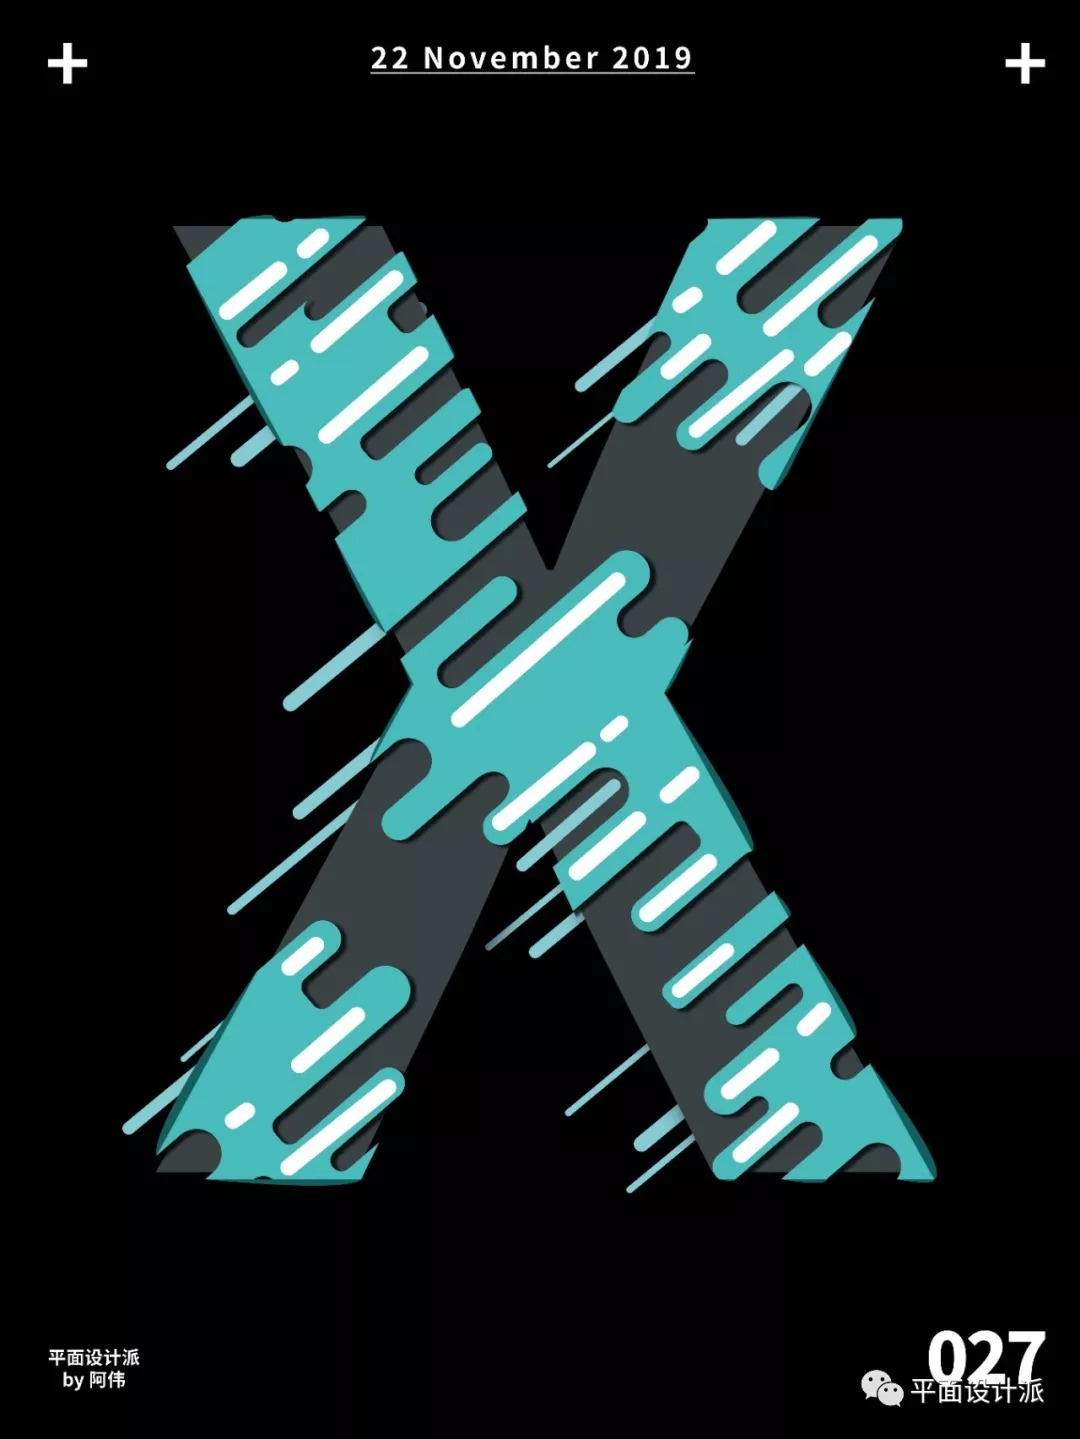
Finally, the code word typeset the effect picture and see:
-Link to the source file of this tutorial article-
Reply "027" to get the source file
You can get the Baidu network disk download link address
For more content, please pay attention to the official account:
This article was published by "Graphic Design School"
Please contact the graphic design school before reprinting
private transfer must be investigated
Articles are uploaded by users and are for non-commercial browsing only. Posted by: Lomu, please indicate the source: https://www.daogebangong.com/en/articles/detail/Interesting%20and%20easytouse%20water%20drop%20font%20effect%20it%20turns%20out%20to%20be%20very%20simple%20AI%20Tutorial%20Pie.html
 支付宝扫一扫
评论列表(196条)
测试