Welcome to follow Fang Zhipeng's blog, reply "666" to get interview book
Source: blog.csdn.net/qq_41316955/
article/details/116855191
Contents
Appearance & Behavior
Appearance Set IDEA theme and font Accessibility UI Options (interface settings) Antialiasing (anti-aliasing) Tool Windows (toolbar settings) < /li>Presetation Mode Menus and Toolbars System Settings (system settings) Passwords (password management) HTTP Proxy (IDEA proxy configuration) Data Sharing (data sharing) Data Formats (set IDEA date format) Updates (IDEA update settings) Android SDK File Colors (file color) Enable file color (enable file color ) Use in editor tabs (used in the editor label) Use in project view (in the project view Use) Scopes (IDEA operation scope) Notifications (notifications) Quick Lists (Quick Menu) Path Variables (Environment Variables)
KeyMap (shortcut key setting)
Modify the IDEA shortcut key type To the specified menu or Operation setting shortcut keys
Appearance & Behavior
1.Appearance (appearance)
1. Set IDEA theme and font

Check Sync with OS to synchronize system changes
Check Use custom font to select the code font, Size to select the font size
2.Accessibility (accessibility)
Accessibility
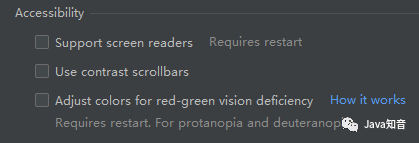
Support screen readers: Enable screen reader support for IntelliJ IDEA .User contrast scrollbars: Make editor scrollbars more visible.Adjust color for red-green vision deficiency: Adjust the UI color to better perceive the color of color blindness and amblyopia. In this case, snippets of code (such as errors, usually highlighted in red, or strings, usually green), will change color (red will turn orange, green will turn blue). The color of the progress bar in the test runner will also be adjusted so that it can be easily identified.
3. UI Options (interface settings)
User Interface Options
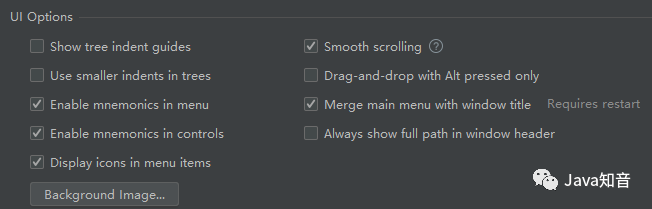
1.Show tree indent guides (show tree indent level vertical line)
Show vertical lines marking indentation levels in tree views (e.g. in the Project tool window). These lines can help you better understand the hierarchy of components in your project.
Enable the effect before:

The effect after opening:

2. Smooth scrcolling
Function: After opening, use the middle mouse button to slide up and down in the code area more smoothly (personal feeling), this varies from person to person
3. Use smaller indents in trees (use smaller indents in the tree menu)
Use smaller indentation in tree menu
Enable before effects
Open the after effect
4.Drag-n-Drop with Alt pressed only (Drag-n-Drop with Alt pressed only)
Avoid accidentally moving files, editor tabs, tool window buttons and other UI components. When enabled, hold down the Alt key to move content.
By default this option is disabled and you can move everything around without any extra keys.
5. Enable mnemonics in menu (enable shortcut keys on the menu)
Hotkey for menu actions when underlined
The effect is unknown (you can comment if you know it)
6. Merge main menu with window title (merge IDEA main menu to window title)
Merge the main menu of IDEA into the window bar, it is really difficult to enter the light text
Enable the effect before:
The effect after opening:
7. Enable mnemonics in controls
Underlined hotkeys that you can press to use the controls in the dialog
The effect is unknown
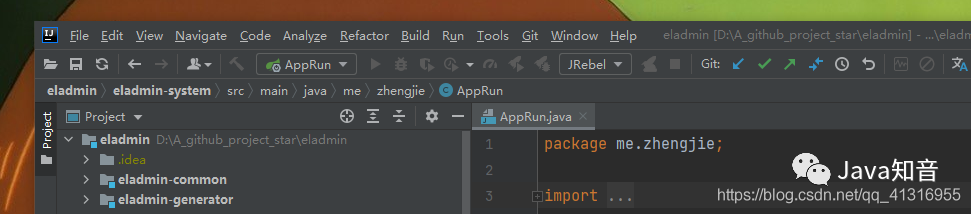
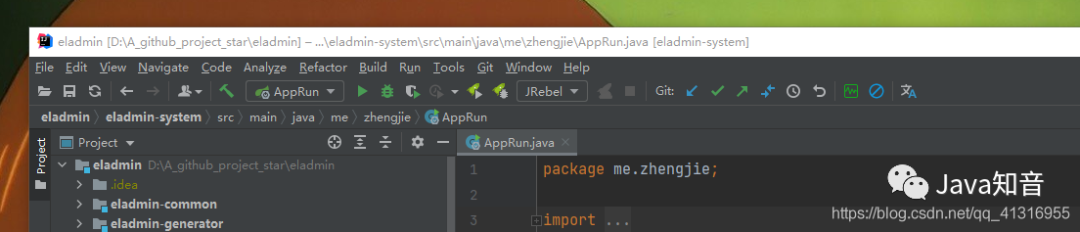
8. Always show full path in window header (always show the full path in the window title)
Always show full path in window title
Enable the effect before:

The effect after opening:

9. Display icons in menu items (display icons in menu items)
Displays icons to the left of items in the main and context menus.
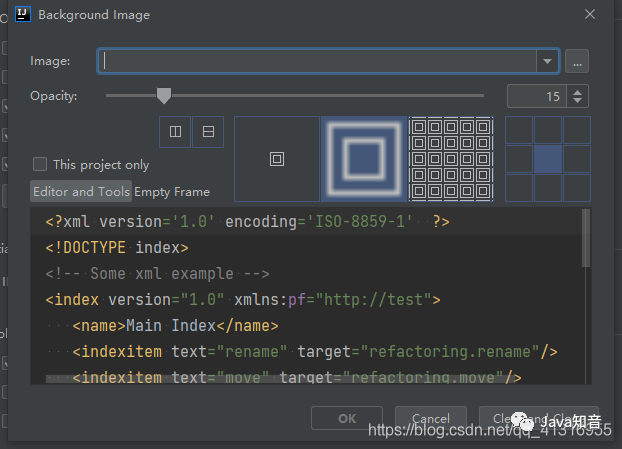
10. Adjust IDEA background image
4. Antialiasing (anti-aliasing)

IDE: Select which anti-aliasing mode to apply to the IDE (including menus, tool windows, etc.)
Subpixel (subpixel): for LCD displays, and utilizes the color LCD on which each pixel is represented by red , composed of green and blue sub-pixels Greyscale (grayscale): This option is recommended for non-LCD displays or displays placed vertically. It handles text at the pixel level. No antialiasing: This option is useful for high-resolution displays where non-antialiased fonts render faster and may look better.
Editor: Select the anti-aliasing mode to apply to the editor:
Subpixel (subpixel): for LCD displays, and utilizes the color LCD on which each pixel is represented by red , composed of green and blue sub-pixels Greyscale (grayscale): This option is recommended for non-LCD displays or displays placed vertically. It handles text at the pixel level. No antialiasing: This option is useful for high-resolution displays where non-antialiased fonts render faster and may look better.
5. Tool Windows (toolbar settings)

1.Show tool window bars(Display window toolbar)
Show tool window bars around the edges of the main window
Enable the effect before:

The effect after opening:

2. Show tool window numbers (toolbar display numbers)
Enable the effect before:

The effect after opening:

and you can press the Alt key plus the number key to open the menu quickly
For example: the git menu can be opened by pressing alt+9 as shown in the figure
3. Side-by-side layout on the left (side-by-side layout on the left)
is attached to two columns in the top and bottom edges, instead of displaying vertical tool windows stacked on top of each other.
For example, open three tool windows at the same time: Project, Faverites, editing area
Enable the effect before:
The effect after opening:
4. Side-by-side layyou on the right (side-by-side layout on the right)
Same as above and vice versa
5. Widescreen tool window layout
Maximizes the height of vertical tool windows by limiting the width of horizontal tool windows.
Enable the effect before:
The effect after opening:
6. Presetation Mode
Select the font size for presentation mode. After changing the font size, exit and enter presentation mode.
2. Menus and Toolbars
Customize menus and toolbars to include only the actions you need, regroup them and configure their icons.
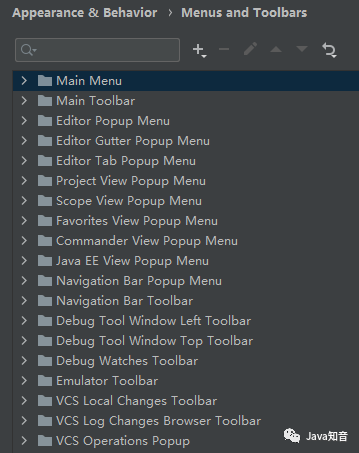
In the list of available menus and toolbars, expand the node you want to customize and select the desired item.
Click the + button to add an action or a separator under the selected item. Click the - button to delete the selected item. Click the Edit Icon button to add or change the icon for the selected action. You can only use PNG or SVG files as icons. Click the Move Up button or Move Down button to move the selected item up or down. Click the Restore button to restore the selected action or all actions to the default settings.
3. System Settings
1. Passwords (password management)
Mainly IntelliJ IDEA for version control Repositories, databases and other protected resources hold your passwords
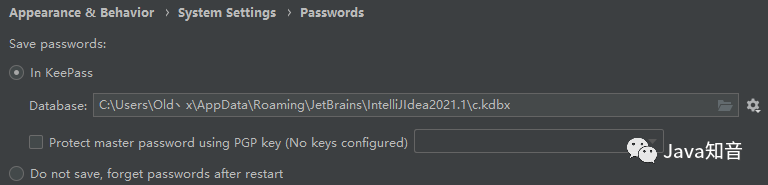
In KeePass: used to specify the location of the KeePass password database file c.kdbx Protect master password using PGP Key: use pgp to encrypt the password of the database Do not save, forget passwords after restart: Do not save any Password, you need to reconfigure after restart
2. HTTP Proxy (IDEA proxy configuration)
Specifies the proxy settings that IntelliJ IDEA uses to access the Internet. HTTP Proxy works with both HTTP and HTTPS.
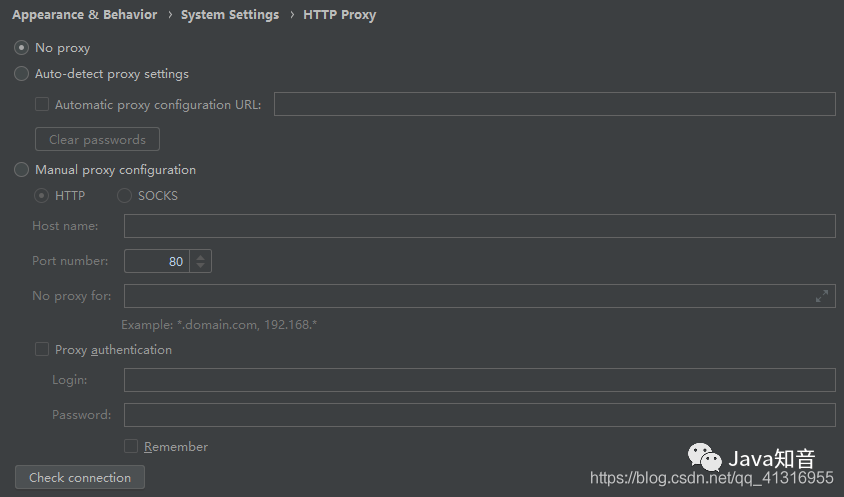
No proxy Auto -detect proxy settings: Automatically check proxy configuration Manual proxy configuration: Manually specify proxy settings.
3. Data Sharing
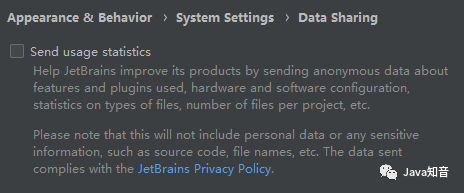
Selecting the Send usage statistics checkbox will allow JetBrains to collect statistics about the most frequently used functions and operations when you use IntelliJ IDEA.
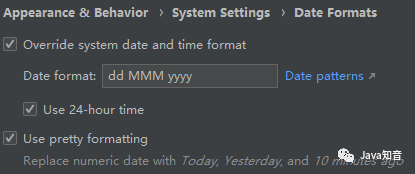
4. Data Formats (set IDEA date format)
Set IDEA date format
5. Updates (IDEA update settings)
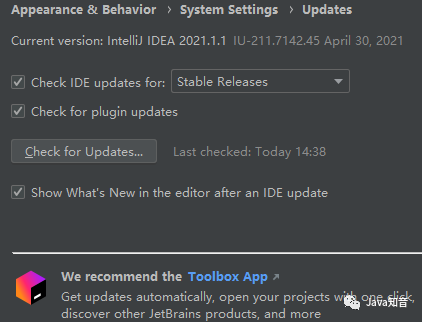
Check IDE updates for
stable releases: The released stable version early access program: Early release version Check for plugin updates: Check for plugin updates
Show whats new in the editor after an ide update:i When IDEA is updated, display new features in the editor
6. Android SDK
Configure Android SDK
4.File Colors
Use this page to set different background colors to distinguish specific ranges of project files.

Enable file color (enable file color) -
Use in editor tabs (used in the editor label) Use in project view (used in the project view) Click the Add button or Alt+Insert press the left pane to create a new quicklist. Assign this shortcut to a kyeMap, in the "Settings/Preferences" dialog box Ctrl+Alt+S, select "keyboard mapping". In the editor, access the quick list via the associated shortcut. If you don't remember the shortcut, you can search the quick list by its name. Press Shift twice, then enter a name for the quicklist.
For example, in the "Find in Files" dialog Ctrl+Shift+F
Enable before effects

The effect after opening:
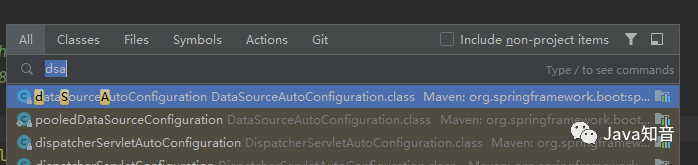
5. Scopes (IDEA operation scope)
Defines the scope of various IntelliJ IDEA actions, such as 'Find Usages' or 'Code Inspection'.
6. Notifications
Yes Enables and disables notifications about certain events, information about events that occur. Change how it is displayed, and optionally enable its logging.
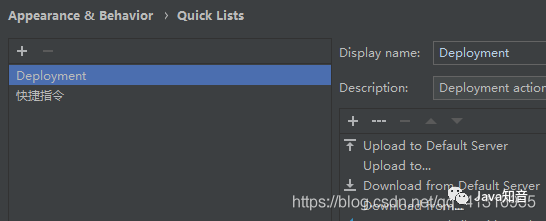
7. Quick Lists (shortcut menu)
A set of custom popups. Think of it as a custom menu or toolbar to which you can assign shortcuts for quick access. You can create as many quicklists as you want. Each action in the quicklist is identified by a number between 0 and 9.
8. Path Variables (environment variable)

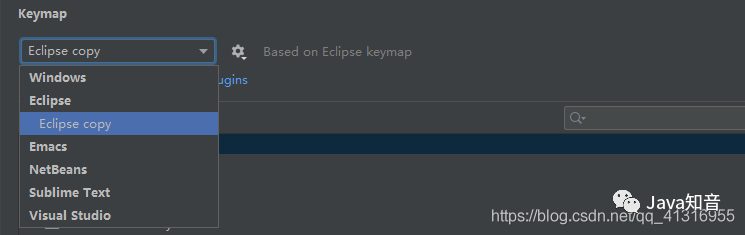
KeyMap (shortcut key setting)
1. Modify IDEA shortcut key type
2. Set shortcut keys for the specified menu or operation
< strong >1. Select the menu to be set

2. Right click to display the settings menu
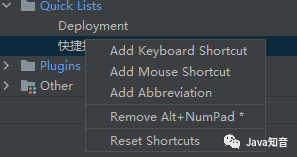
The order is: add keyboard, add mouse, add abbreviation, cancel shortcut operation, reset
Select Add Keyboard
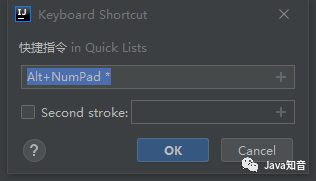
Click this text box, press the shortcut key you want and click OK
Hot Content:
Ali Ermian: Can the main method be inherited?
After leaving the Internet for 1 year, I regret it! Return to the big factory
Escaped from the big factory's "exploitation and throttling", won 12 offers, and the best notes were exposed! IntelliJ IDEA actually supports audio and video chat! RedisJson was born, and its performance crushed ES and Mongo! IDEA is awesome! 900 lines of 'stinky and long' class refactoring, done in a few minutes
Recently interviewed BAT, sorting out an interview Materials《Java Interview BAT Clearance Manual》, covering Java core technology, JVM, Java concurrency, SSM, microservices, database, data structure etc. How to get it: Click "Looking", follow the official account and reply 666 Receive it, and more content will be provided one after another.
Articles are uploaded by users and are for non-commercial browsing only. Posted by: Lomu, please indicate the source: https://www.daogebangong.com/en/articles/detail/IntelliJ%20IDEA%20detailed%20configuration%20diagram%20dig%20more%20functions.html
 支付宝扫一扫
评论列表(196条)
测试