Today we bring you an Illustrator example tutorial to teach you how to make furry font effects.
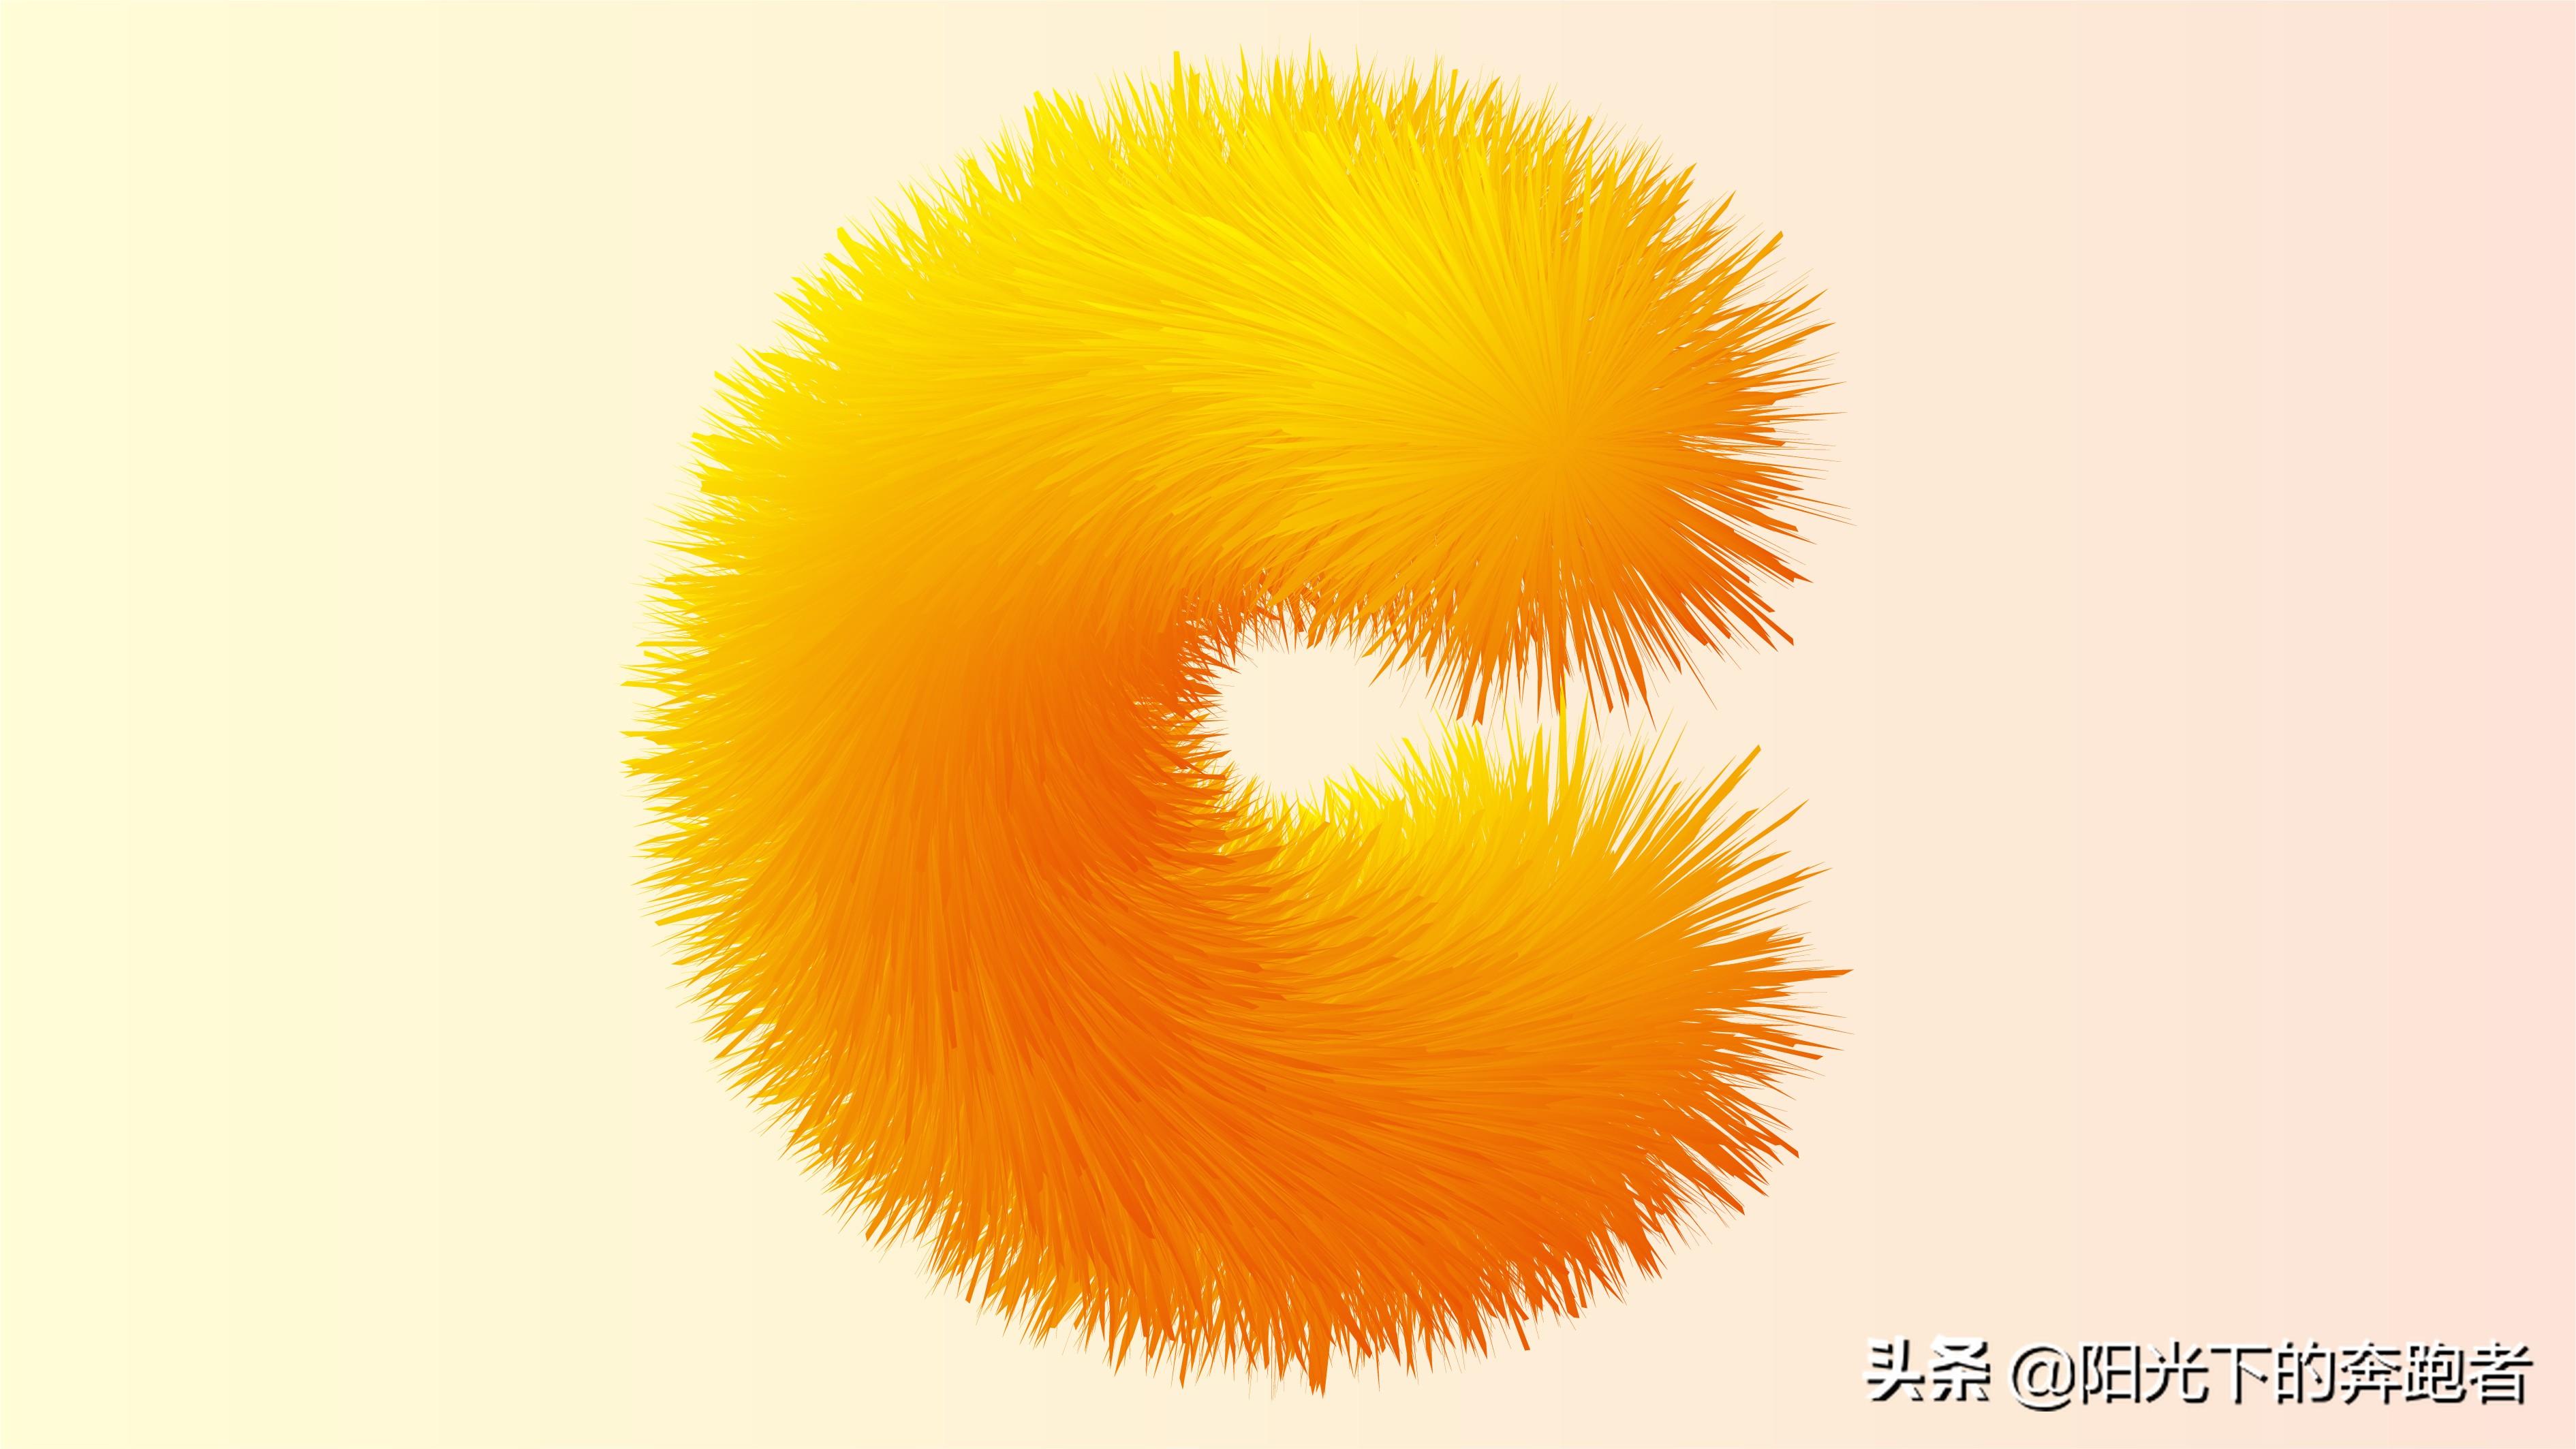
Let's take a look at the final effect first!
Now, let's take a look at the specific operation steps!
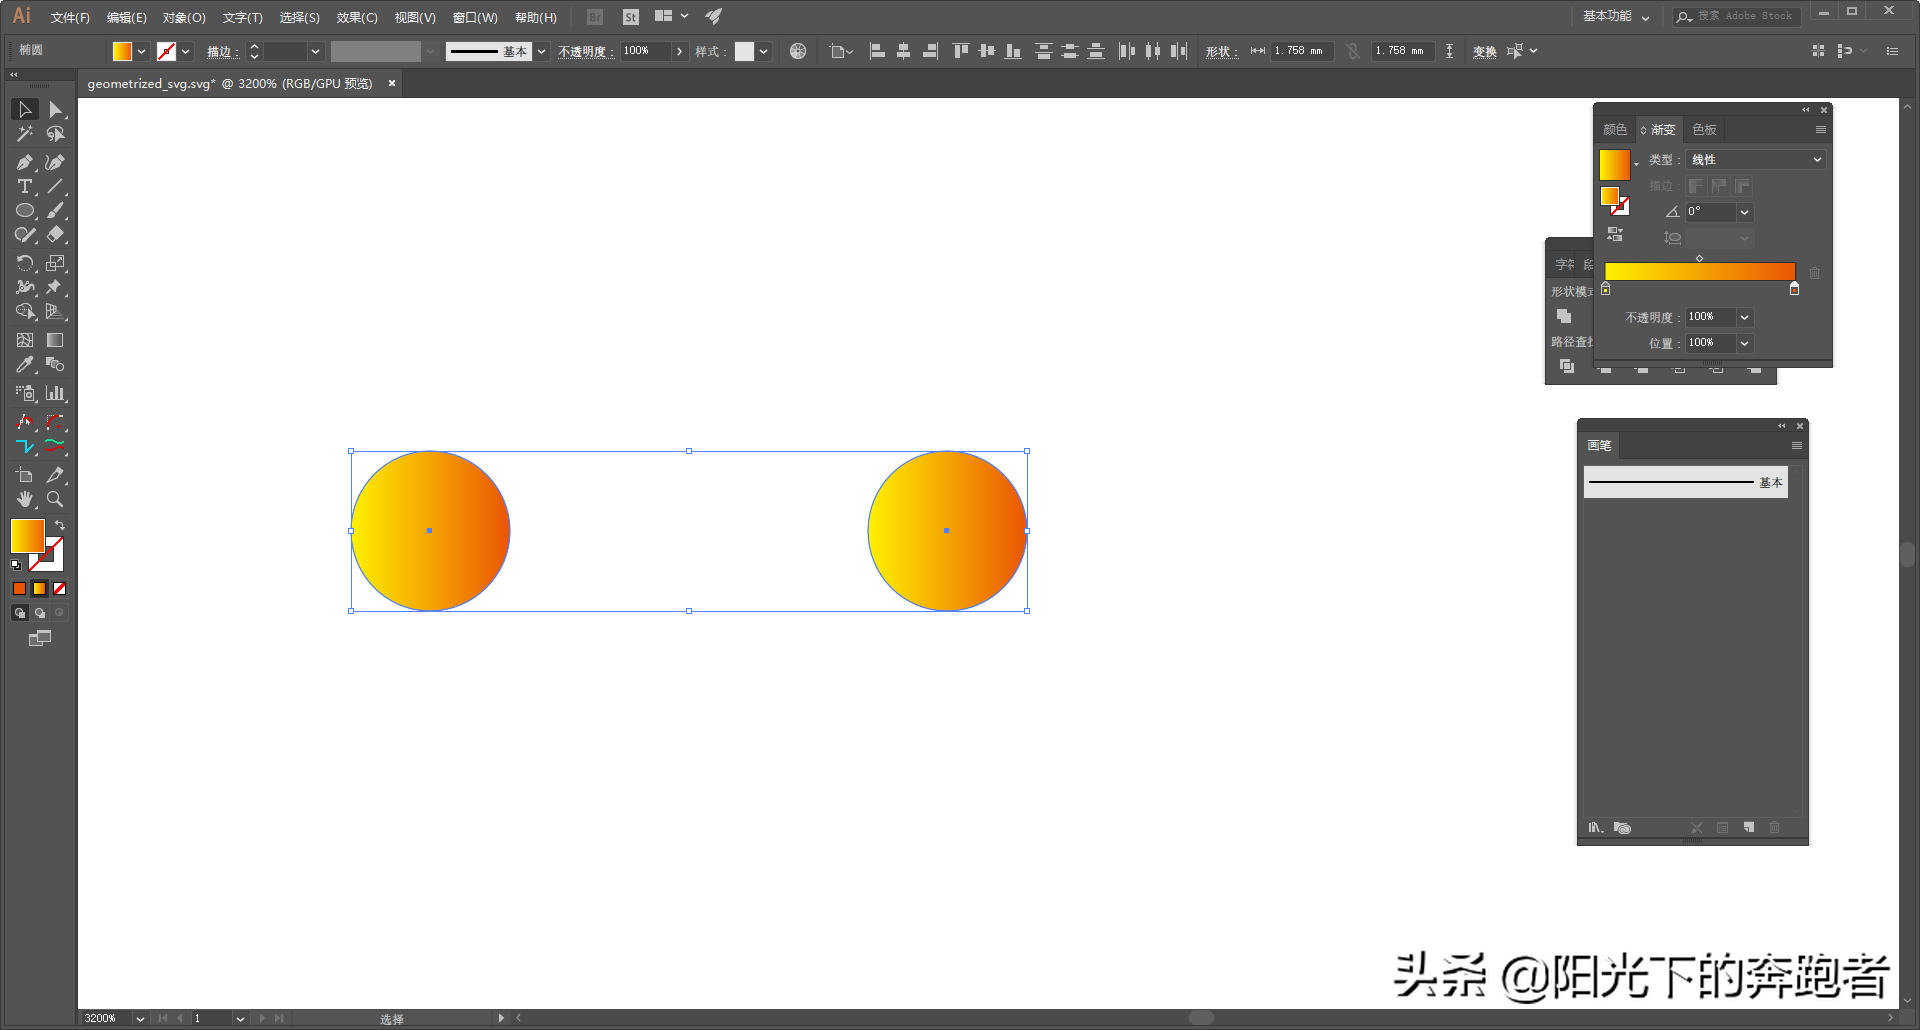
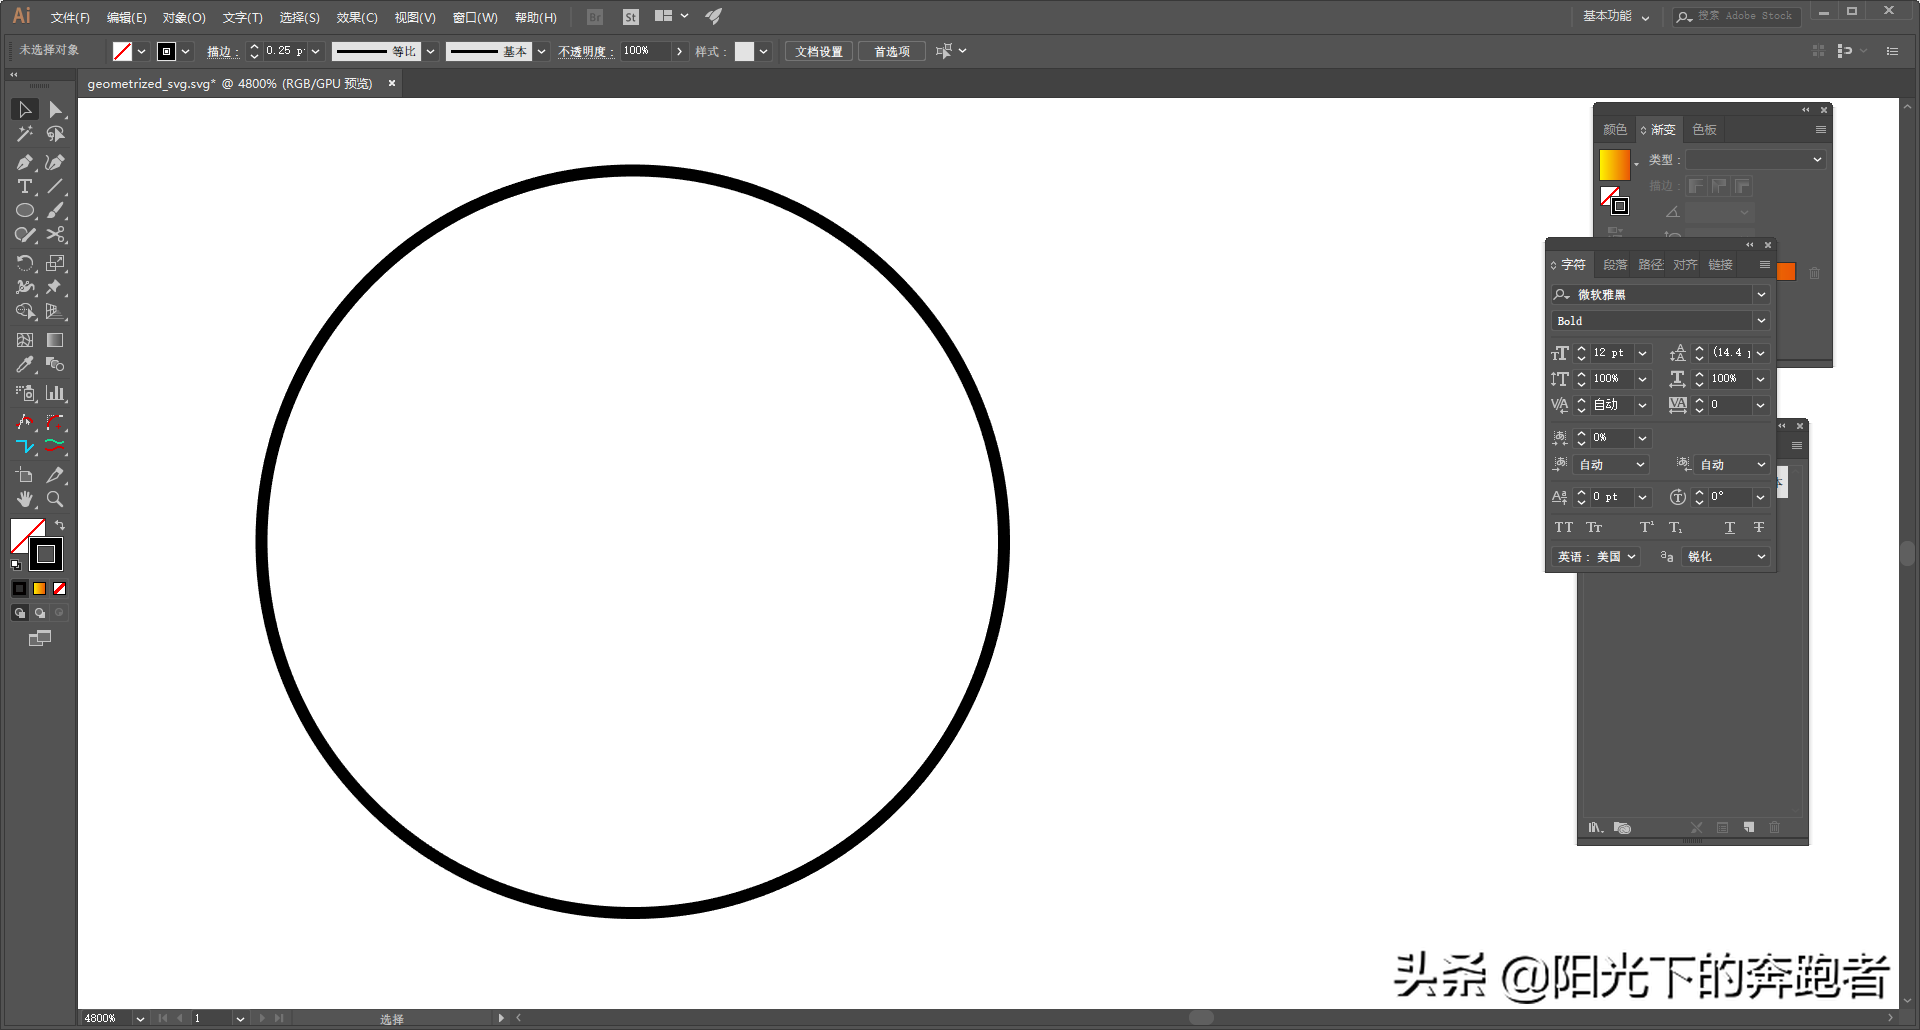
First, we open Illustrator and create a new A4-sized artboard. Draw a circle and fill it with gradient.

We hold down Alt to copy a circle, and hold down Shift to move it horizontally to the right.
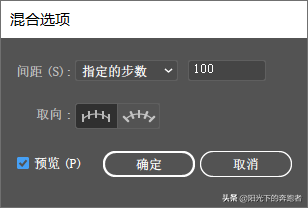
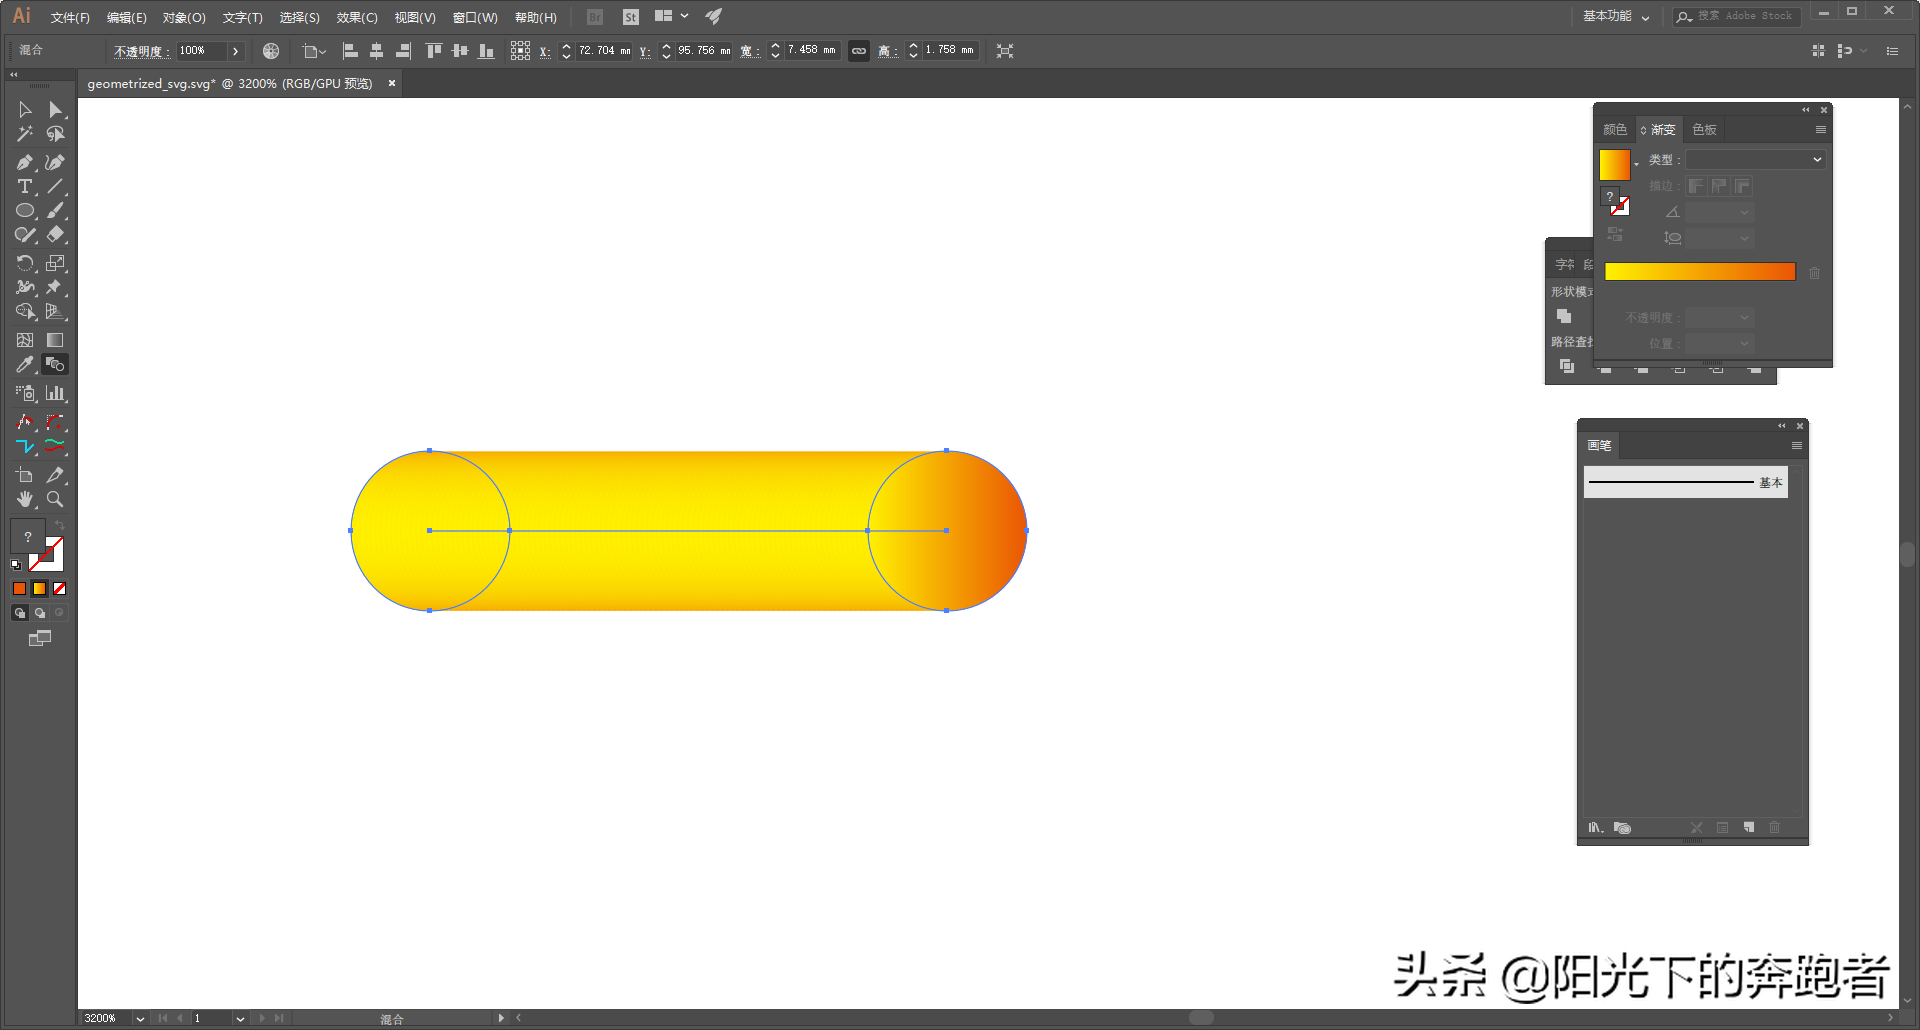
We select both circles at the same time and press Ctrl+Alt+B to create a blend. We then press the "W" key to bring up the blending tool, and then press the Enter key to bring up the "blending options" dialog box.
In the "Blending Options" dialog box, we set it to "Specified Steps" with a value of 100. In this way, we build a mix.
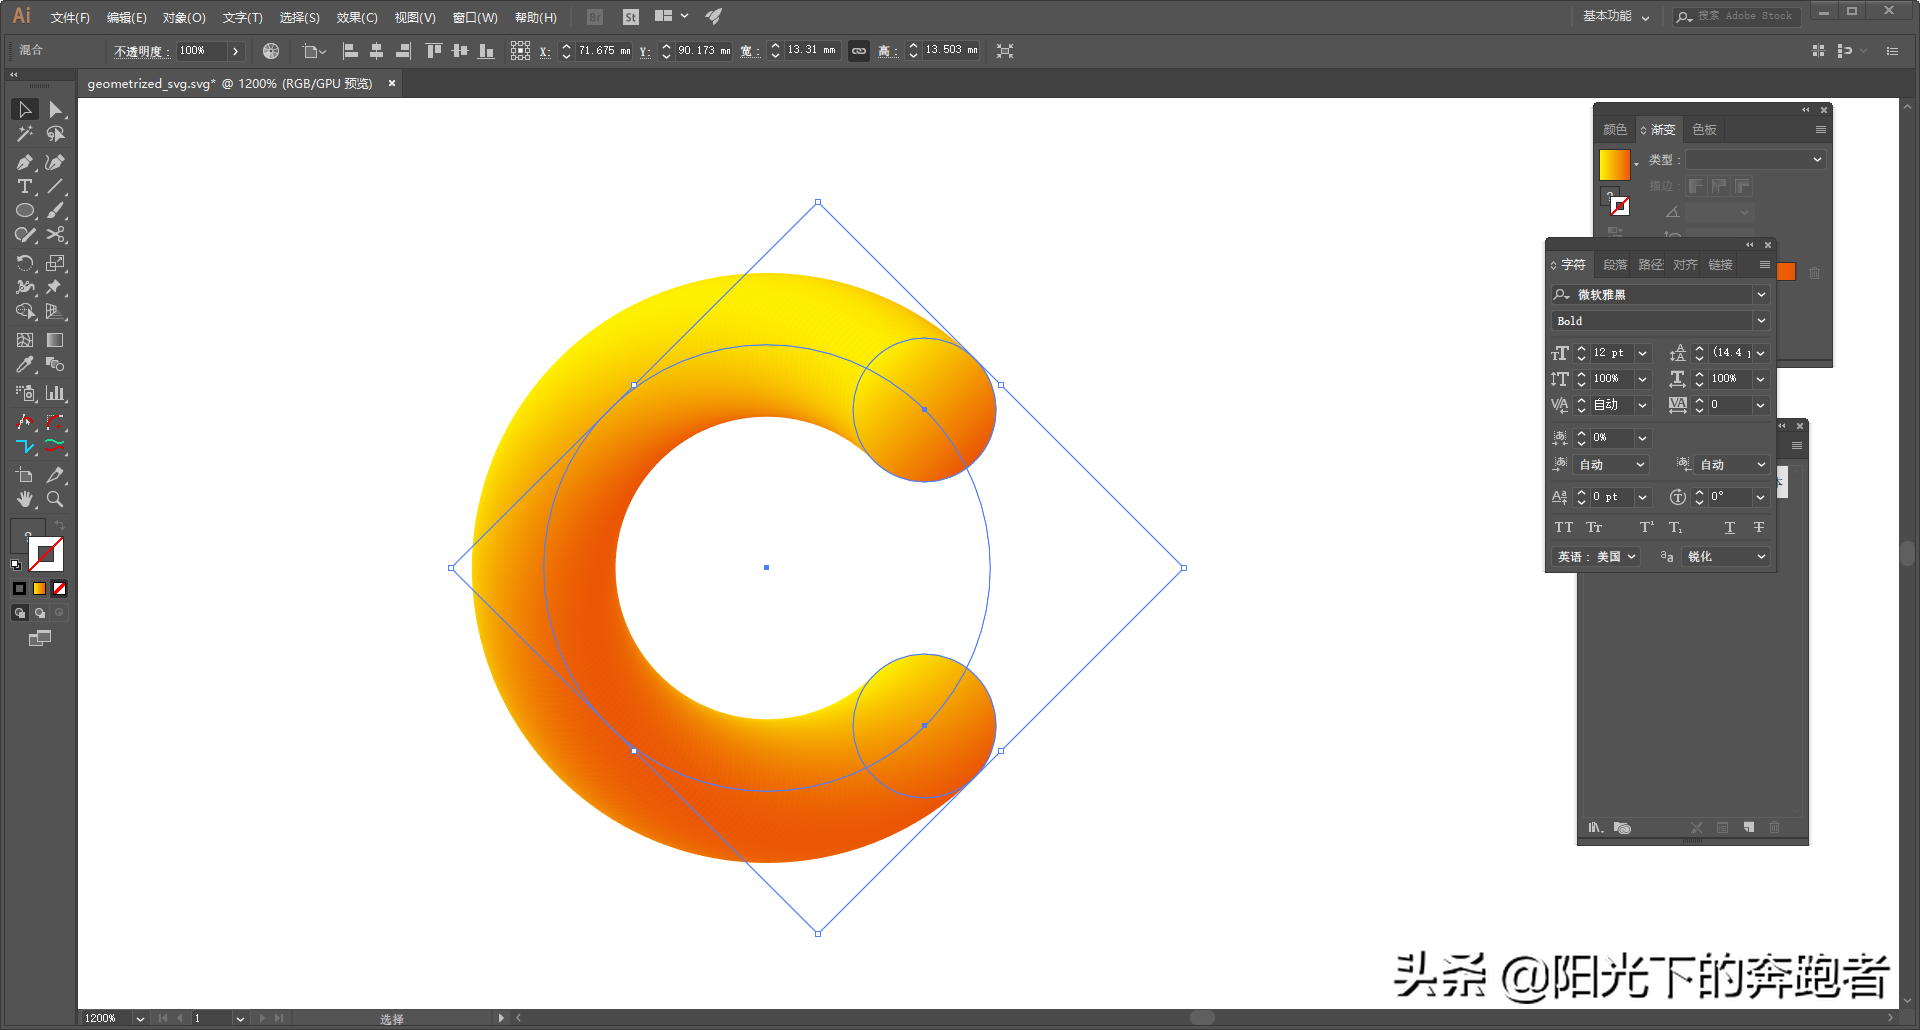
Next, draw a circle, keeping only the stroke.
We select the blend and the circle just created at the same time, select "Object" - "Mix" - "Replace Blend Axis", so that we add a blend effect to the circle.
We select this circle, select "Effect" - "Distort and Transform" - "Roughen", we can adjust the specific values of "Size" and "Detail" according to the actual situation, so that this furry text effect is completed .
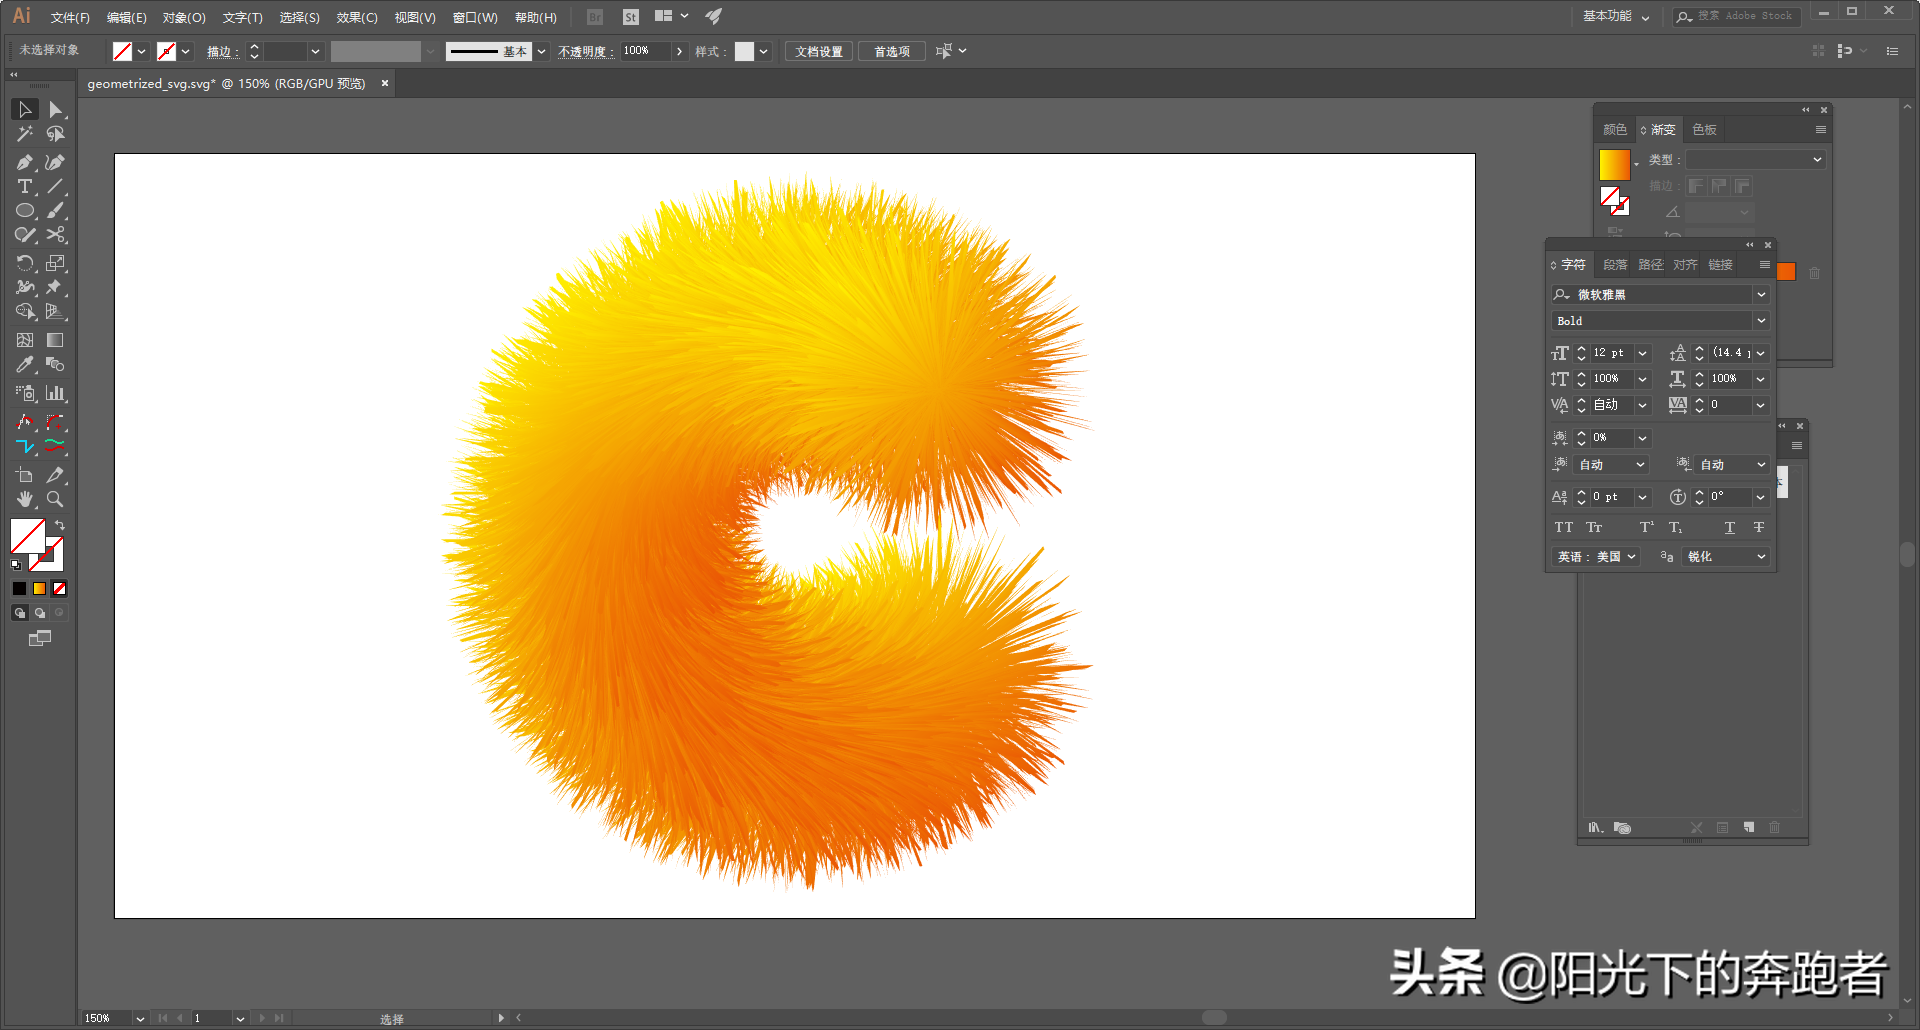
In fact, the furry effect becomes more pronounced when we make the circle larger.
Hope this tutorial can help you. If you want to know more about design, please follow my Toutiao account!
Articles are uploaded by users and are for non-commercial browsing only. Posted by: Lomu, please indicate the source: https://www.daogebangong.com/en/articles/detail/Illustrator%20example%20tutorial%20make%20furry%20font%20effect.html
 支付宝扫一扫
评论列表(196条)
测试