Hi, friends, I'm Xiaomu.
I haven't updated much recently, I am mainly busy writing books, because the deadline is coming soon...Save the children...
But at this critical juncture, PPT gave me all kinds of desperate bugs...
For example, what I have encountered recently is that the scroll bar on the page has disappeared, and it cannot be adjusted...
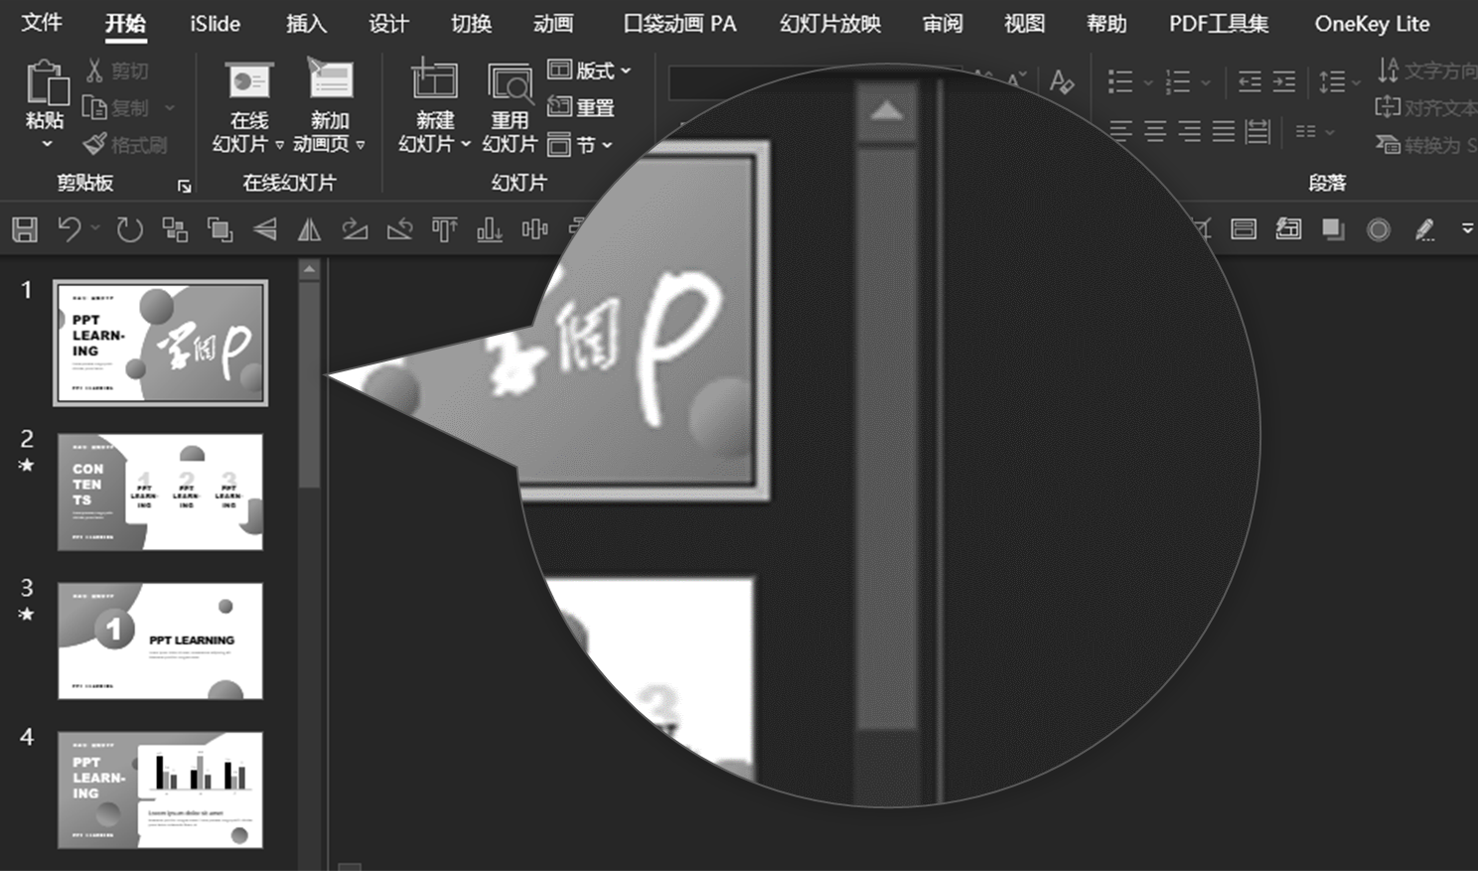
▲The normal interface has a scroll bar

▲There is nothing on my interface...
Later, the Reference Line also disappeared, and I couldn’t get it out…
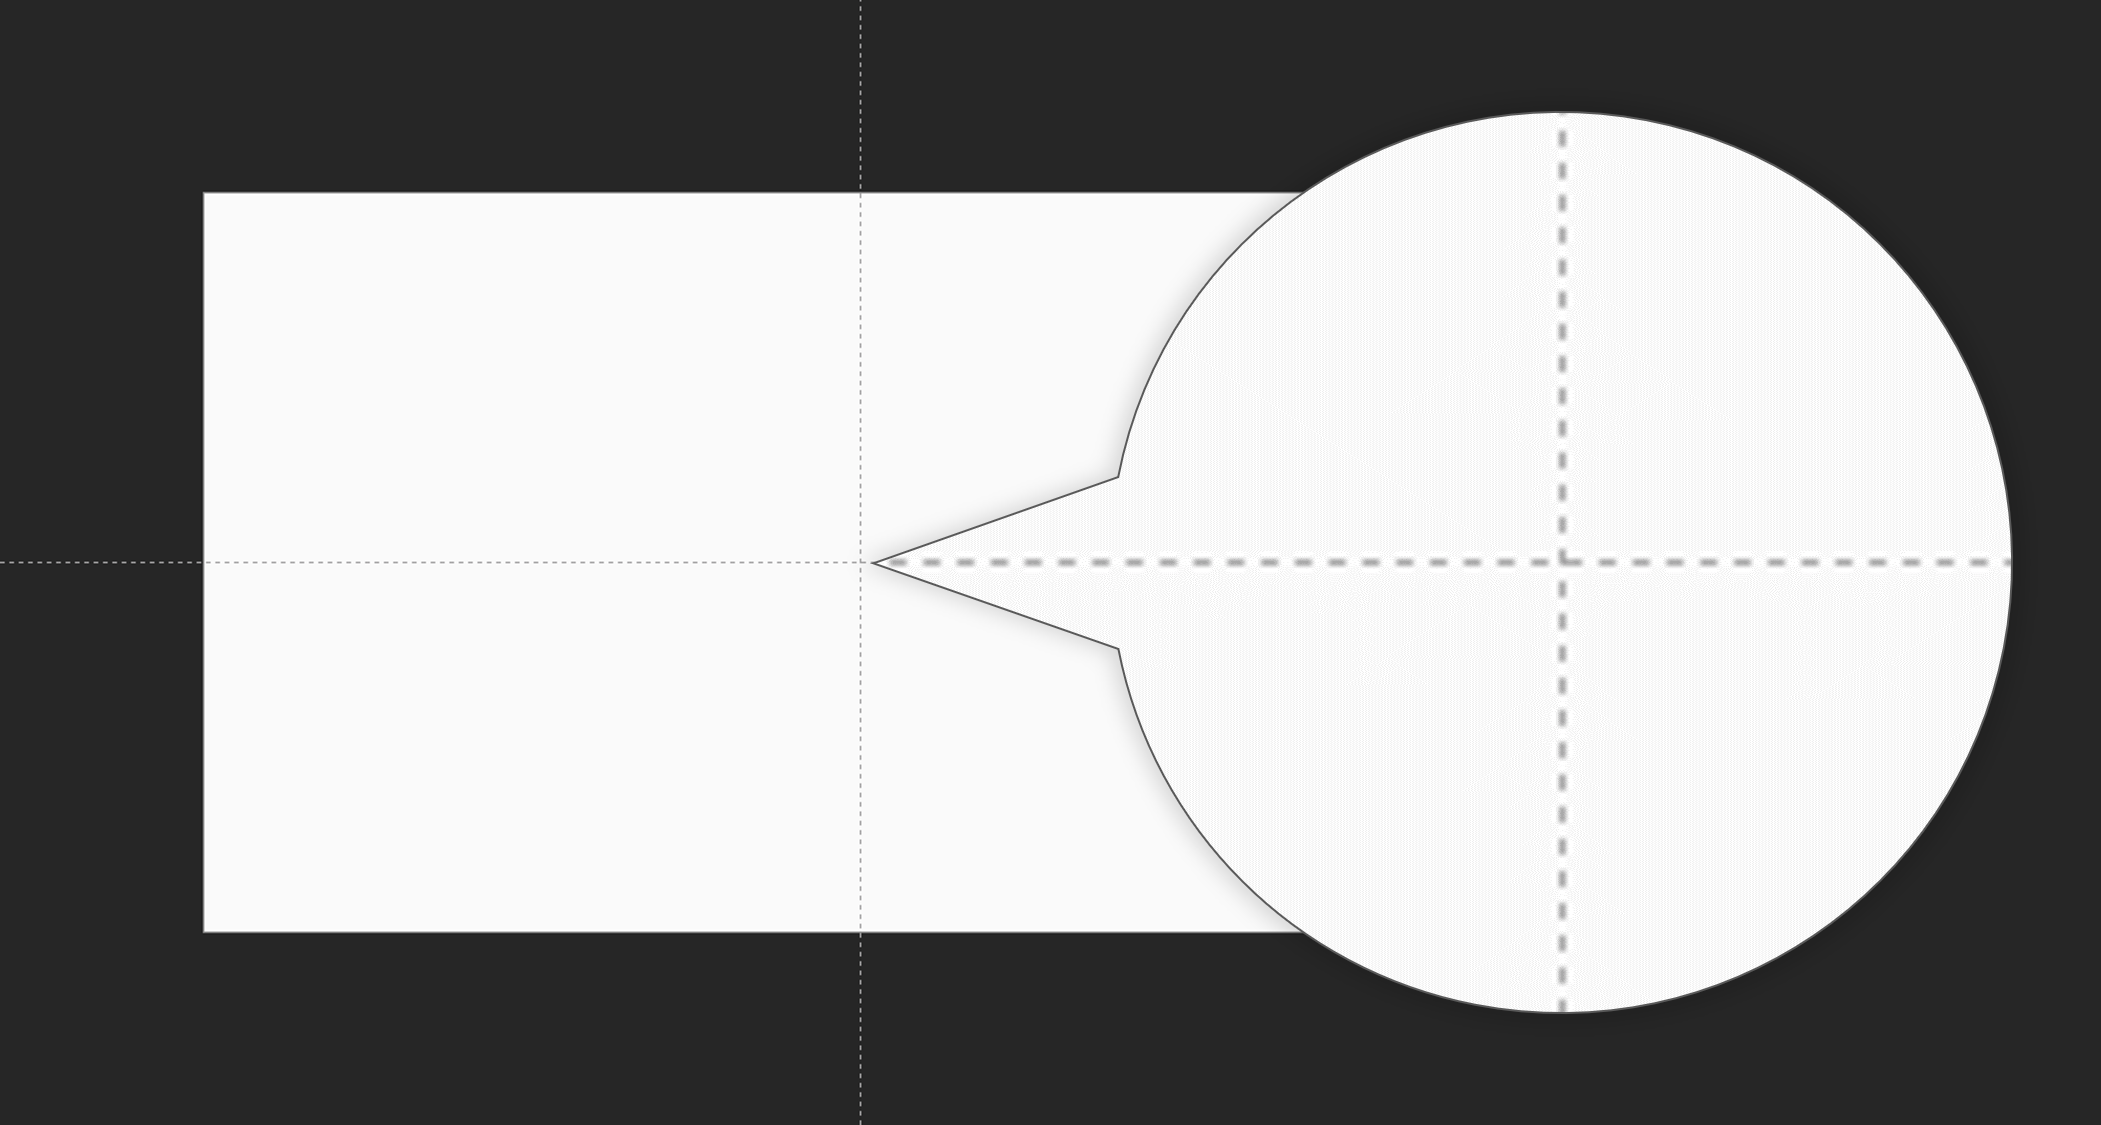
▲The normal interface after opening the reference line

▲But my interface does not display the reference line...
I wonder if following this trend, will there be only a mouse arrow left in the entire interface when opening the PPT in the future?
Based on this panic, I searched keywords such as [the mystery of the disappearance of the scroll wheel] on Baidu overnight, but found nothing...
For problems that even Baidu can’t find, then you have to use unconventional methods... For example, manually click randomly everywhere...
After some tinkering, I didn't expect that I really found a solution!
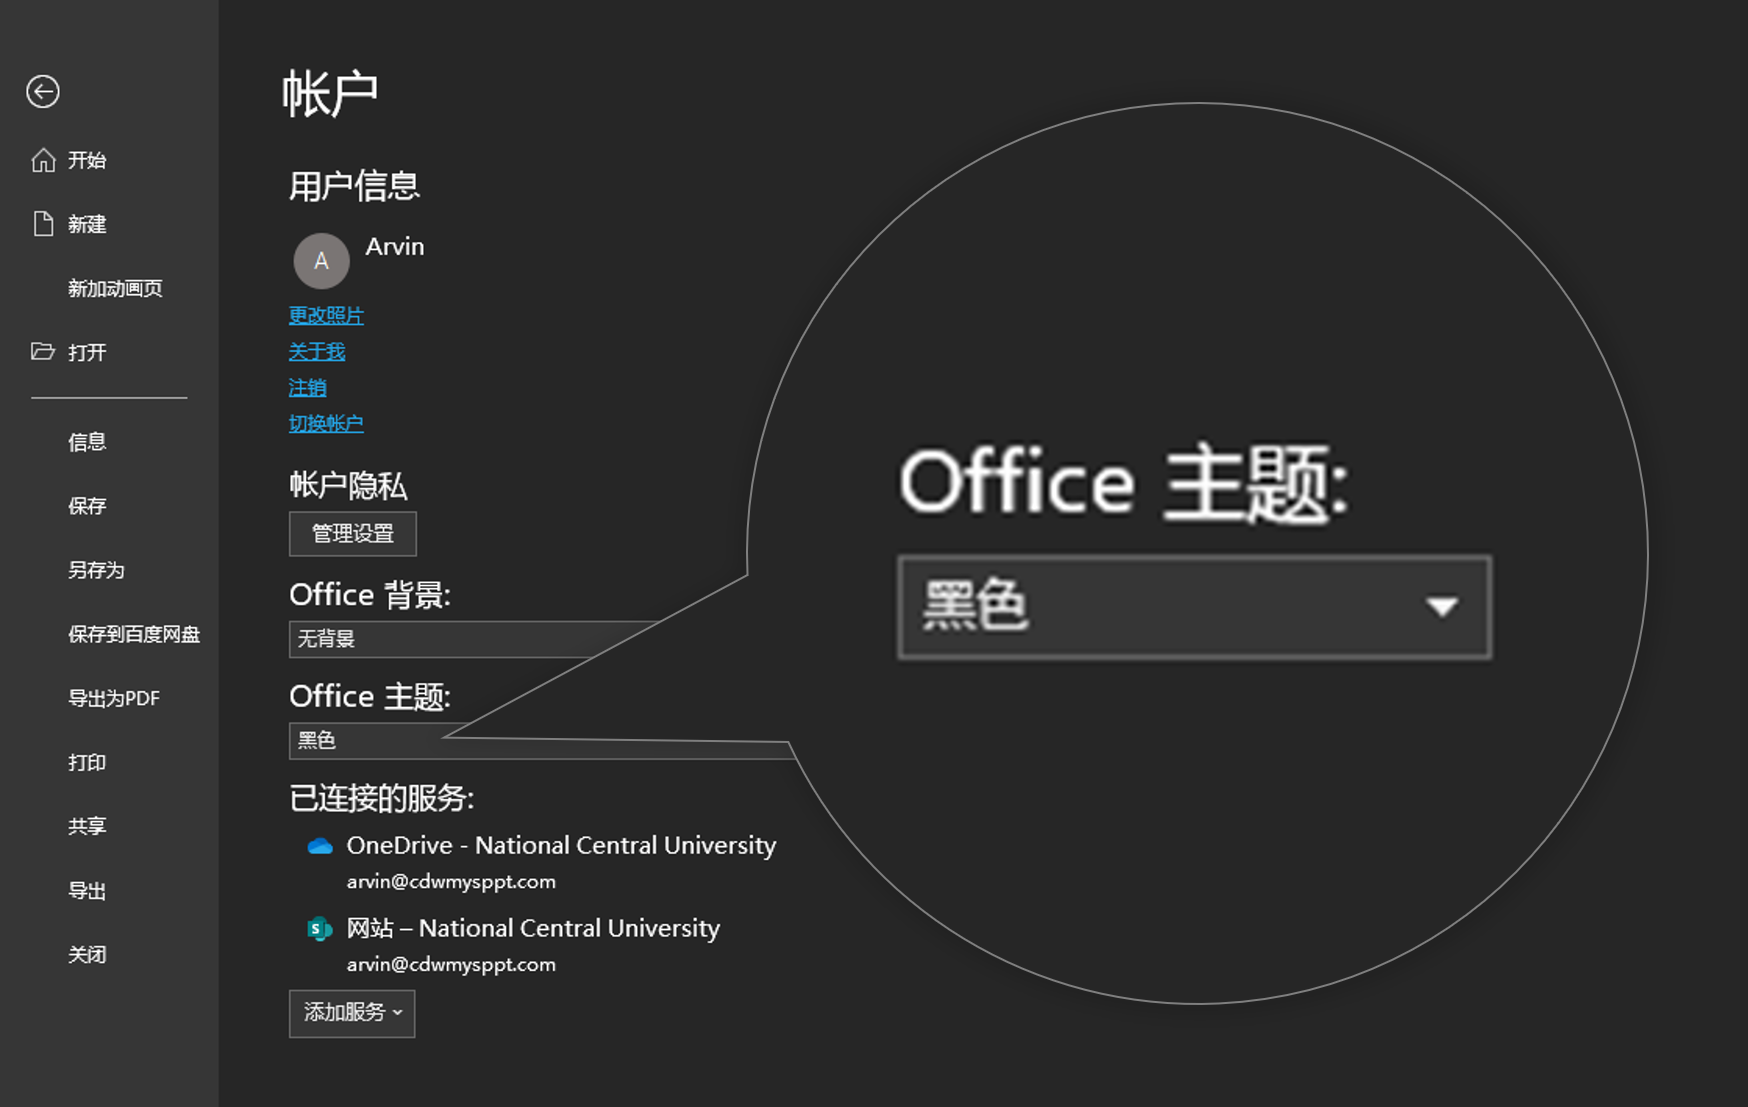
1) The mystery of the disappearance of the scroll wheel
Click [File]-[Account]-Change any [Office Theme], then change it back, and then return to the normal interface, the scroll wheel that does not return at night will roll back...
2) Bizarre reference lines
As for the reference line that disappeared bizarrely, it’s not really missing, it’s just hiding…
You just need to move the mouse to the position where the reference line should appear. When the mouse arrow changes, you can click the left button of the mouse with the momentum of jingle bells, and you will find that the scumbag of the reference line is back. Already...

In addition to the above bugs, I also encountered [Merge Shapes] and [Edit Vertex] menus grayed out, [Color Picker] cannot pick colors, hold down the [Ctrl] key and cannot select multiple elements, etc. The wonderful bug that died on the spot...
However, Sometimes you think you have encountered a bug, but in fact it may just be a problem of your lack of knowledge about PPT, if it is a cognitive problem, then there must be a solution.
For example, you may have encountered the following cognitive problems. If you haven’t encountered them, you will will encounter them in the future. That’s for sure:
- The SVG file cannot be dragged into the PPT;
- The ink material cannot be filled;
- The shape intersects with the picture, and the picture is deformed;
- li>
- Elements cannot be combined;
- Cannot adjust the rounded arc of the rounded rectangle;
- The perspective menu in the three-dimensional rotation is grayed out;
- The menu for adjusting the image offset is grayed out;
- Save the element as an image, and the image will have a transparent border;

SVG files cannot be inserted into PPT
In the world of graphic design, the most popular thing is the material file in svg format, because the material in this format can be enlarged or reduced arbitrarily without distortion.
When we usually download icons, illustrations and other materials on the Internet, we often see materials in this vector format.

▲Vector icon material

▲Vector illustration material
Many tutorials say that this kind of material in svg format can be used directly by inserting it into PPT, but many people have encountered the problem of not being able to insert it...
In fact, currently Only Office 2019 and 365 versions support direct insertion of materials in svg format, other versions cannot be directly inserted.
If you are using a lower version of office, then you need to use the software Ai as a "springboard".
What does springboard mean?
It's very simple, first open the material in Ai, select and copy it, then return to the PPT interface, and paste it directly into the PPT, where Ai only serves as an opening material role.
There are still many PPT problems related to the version, such as:
- Transparency cannot be directly set for pictures (only 365 supports this function);
- Boolean operations cannot be performed on text and shapes (only supported in 2013);
- Cannot find To the color picker function (also started in 2013);
...
Therefore, after encountering a problem, first check on Baidu whether your own version does not support this function, and you will find that the saying "use new software instead of old" is really true...

Ink material cannot be filled
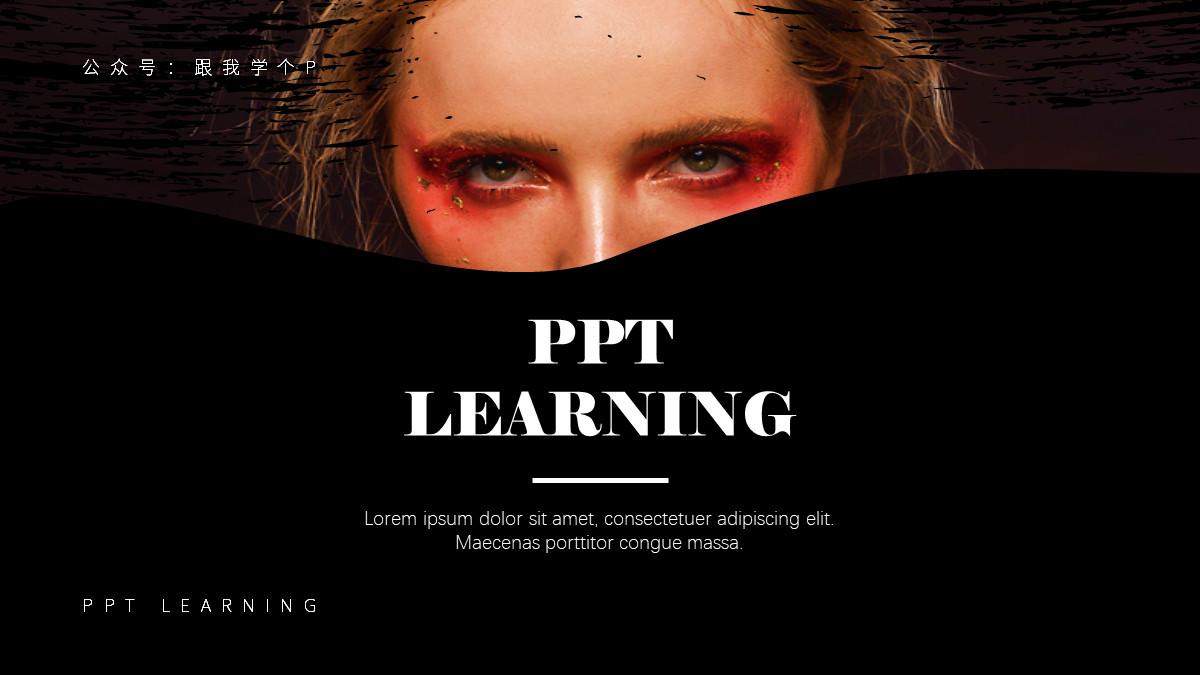
I have taught you "how to make creative picture effects like the following ink shapes" before:

You only need to find the shape material of the ink, and then fill the image into the ink shape in the PPT:
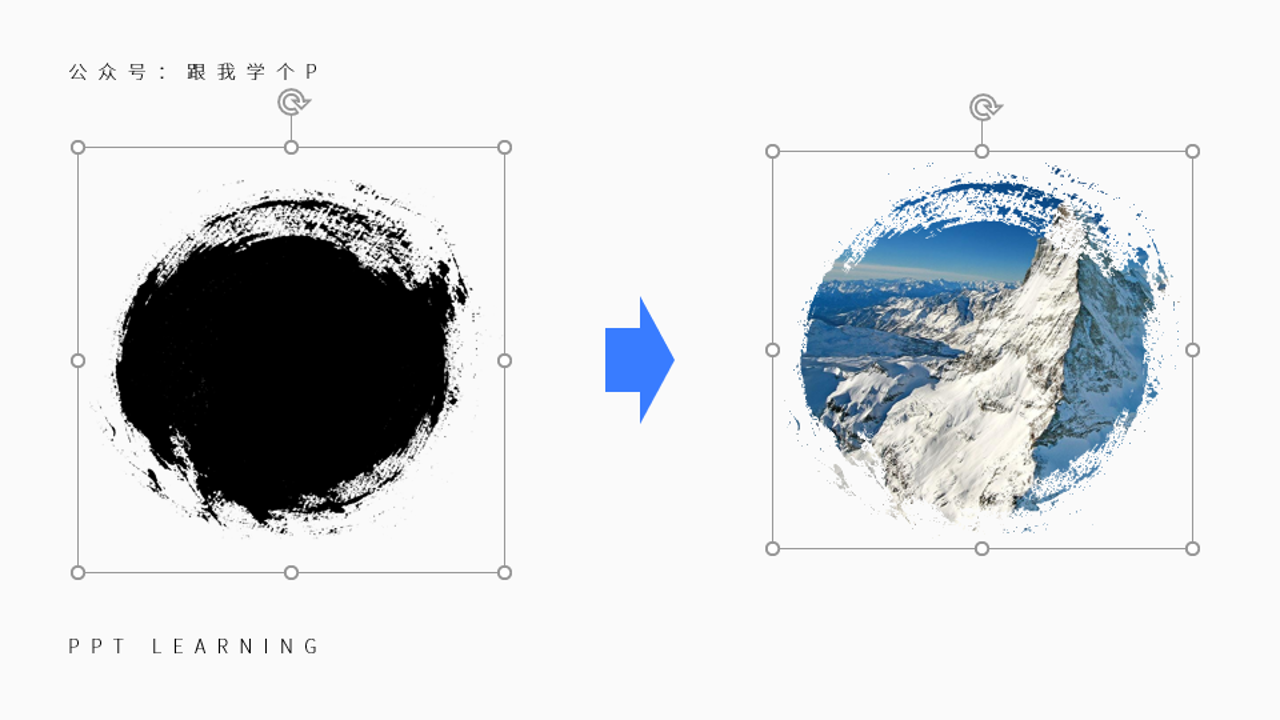
After listening to it, many people rushed to download a bunch of ink materials, but after filling it, they found that they got the following thing:
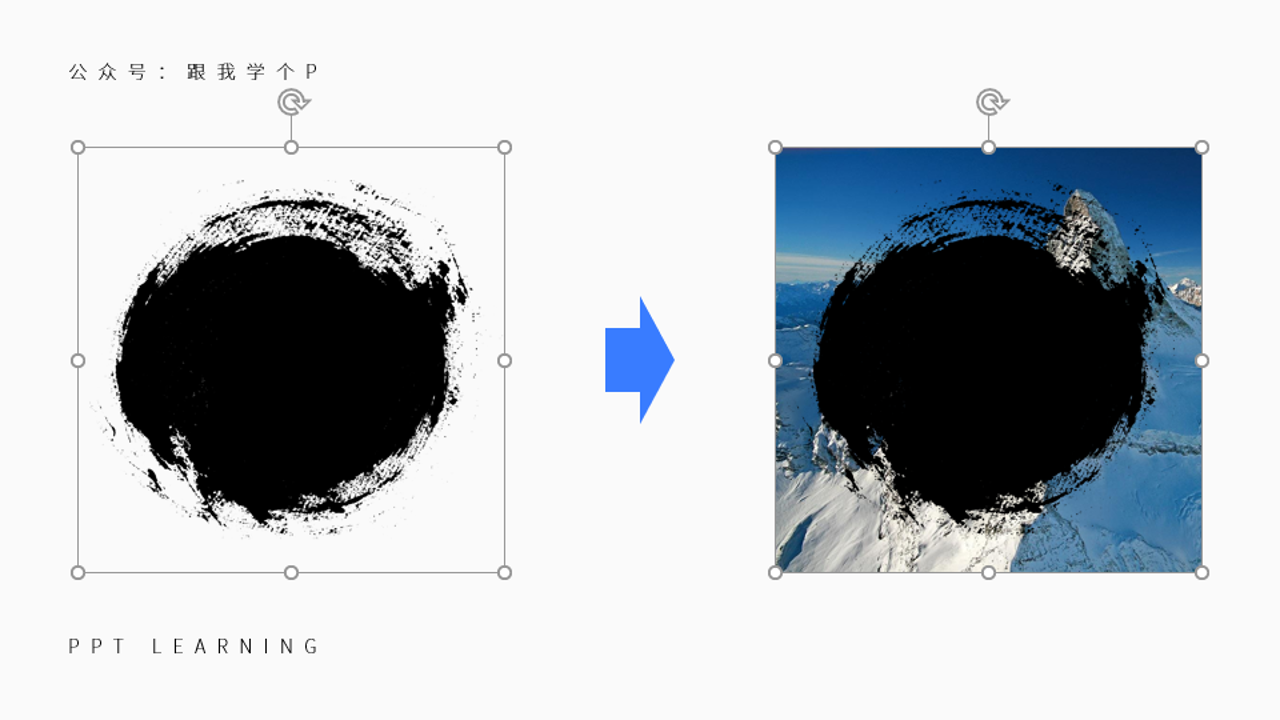
The reason for this problem is mainly because you don't know the difference between the PNG image and the PPT shape.
The following is the science popularization time:
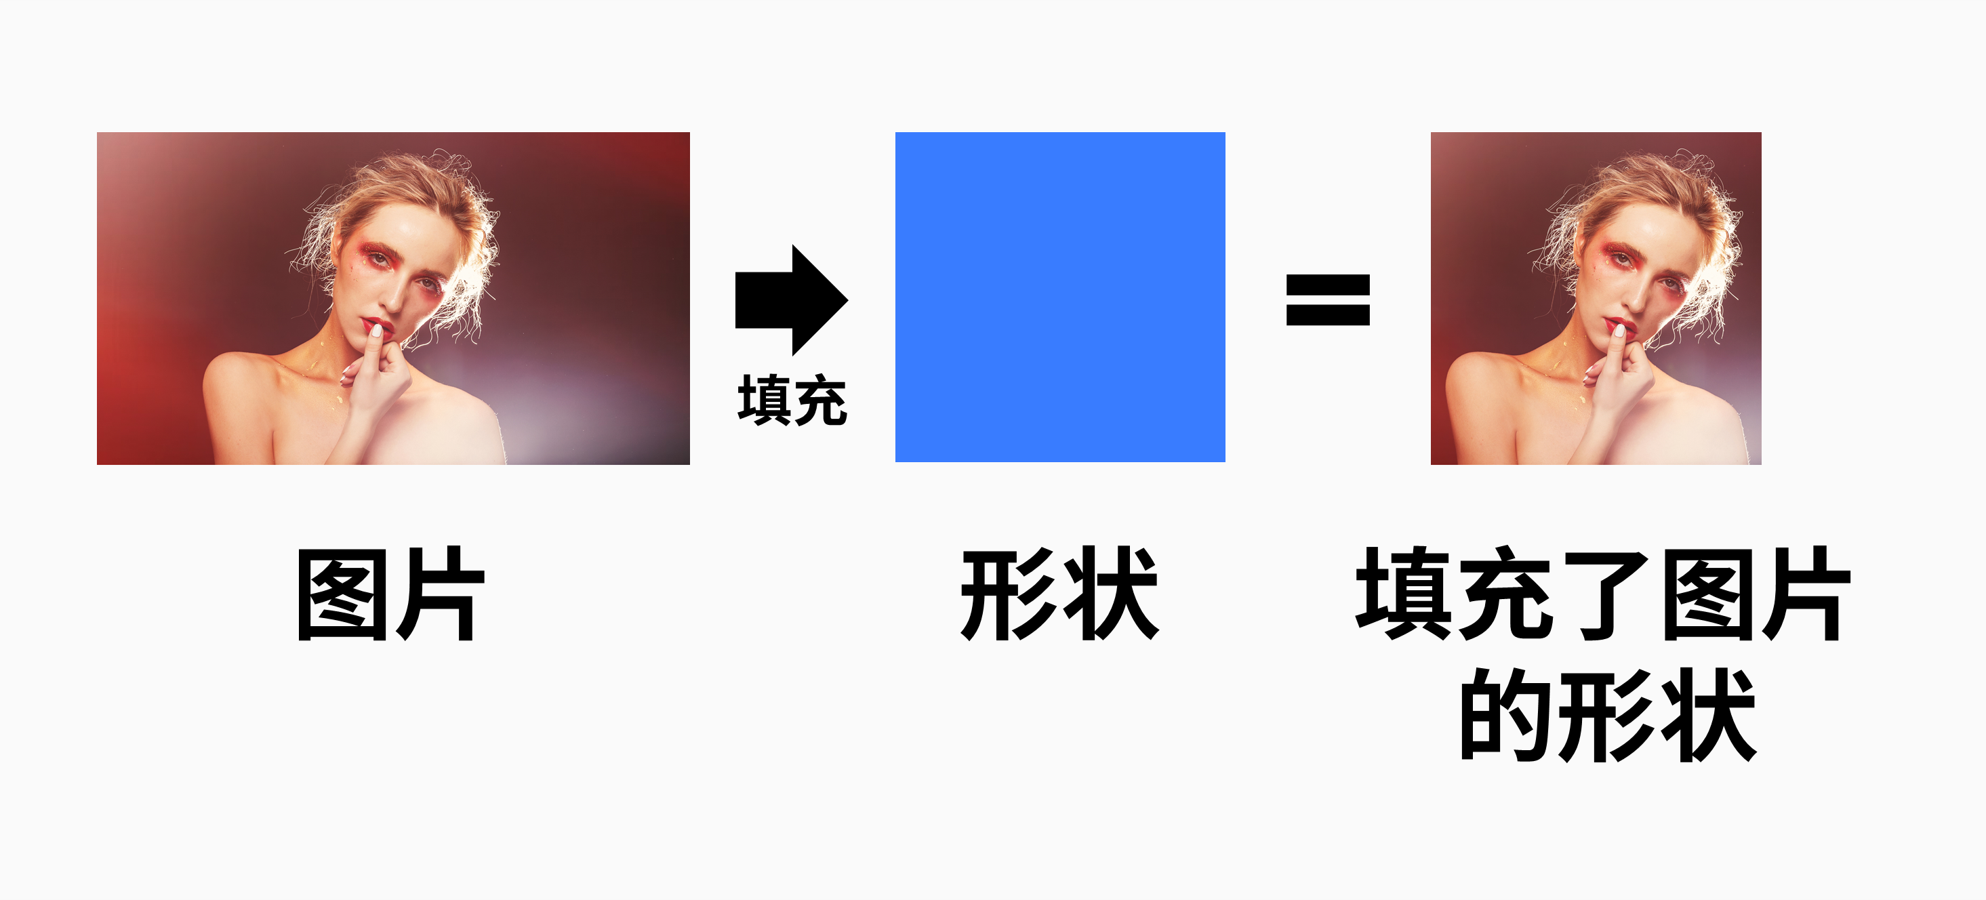
In PPT, there are only two things that can be filled normally, one is shape, and the other is text.

▲The picture is filled in the text

▲The picture is filled into the shape
The so-called "ink material" that you download casually on the Internet is basically a "picture" in PNG format, not the "PPT shape" I emphasized.

So, where can I download the shape material of this kind of ink?
It is very difficult to find this kind of material in PPT format on the Internet, you can directly reply to the keyword [ink mark] in the official account "follow me a P" to download.


The picture is deformed after intersecting with the shape
What if we only want to keep a certain part of a picture?
The method is very simple, just insert a shape, put it on top of the picture, then hold down the [Ctrl] key, select the picture first and then the shape (the order of selection is not changeable), and then click [Shape Format] - [Merge Shapes] - [Intersect ], you can only keep the part of the image covered by the shape:
▼
Of course... The above demonstration is the effect obtained after [Intersect] under normal circumstances...
But there are also people who [intersect] will get the following picture deformation effect...
Don’t worry if you encounter this kind of situation, either you just have kidney deficiency and dizziness, just eat some Shenbao tablets, or your "picture" is actually not a picture at all, but a shape...
What does this sentence mean?
First of all, as we have said before, pictures can be filled into shapes:
If you use [Intersect] with a shape filled with an image instead of a real image, then [Intersect] will deform after...
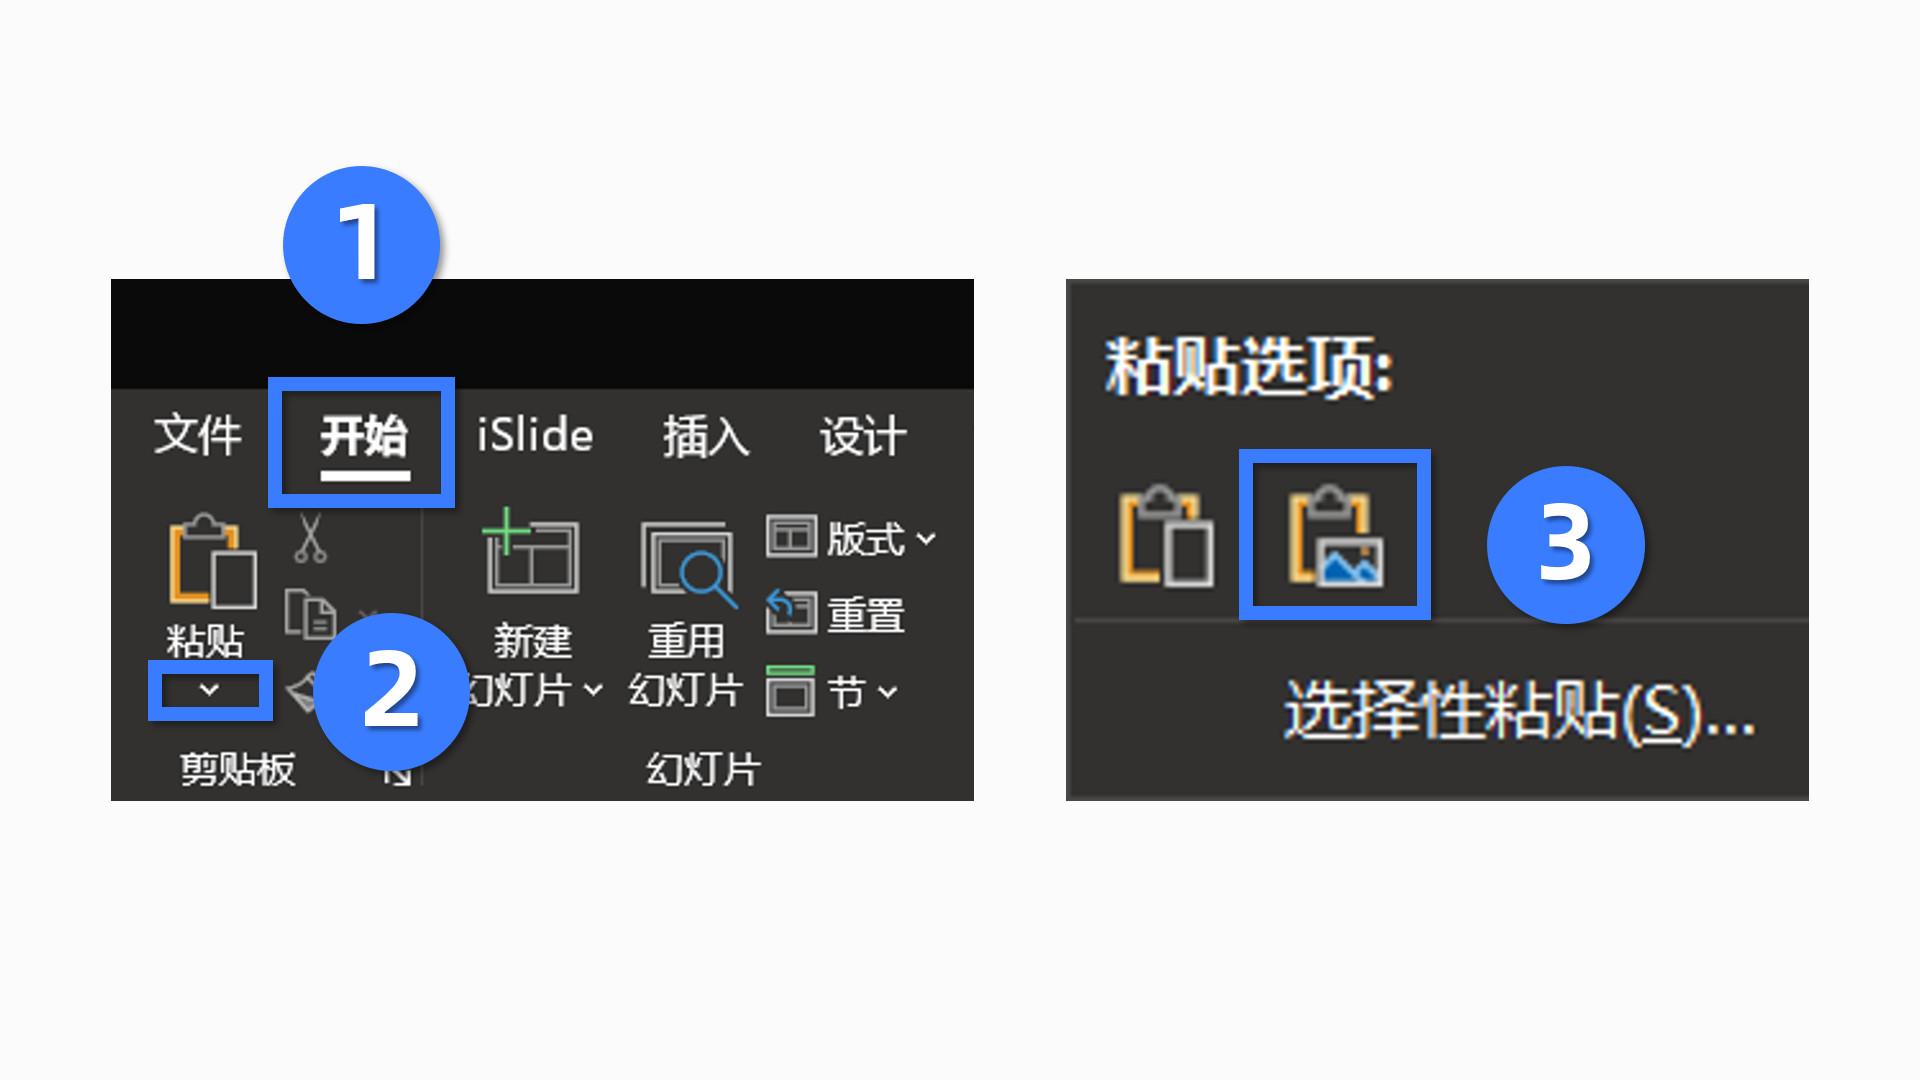
This problem is also easy to solve. Select your picture, press [Ctrl+X] to cut, and then click [Start]-[Paste]-[Paste as picture], and the shape will be converted into a normal picture by you. Picture up:
In addition, many people are used to downloading "pictures" from the [Picture Library] of the [iSlide] plug-in:
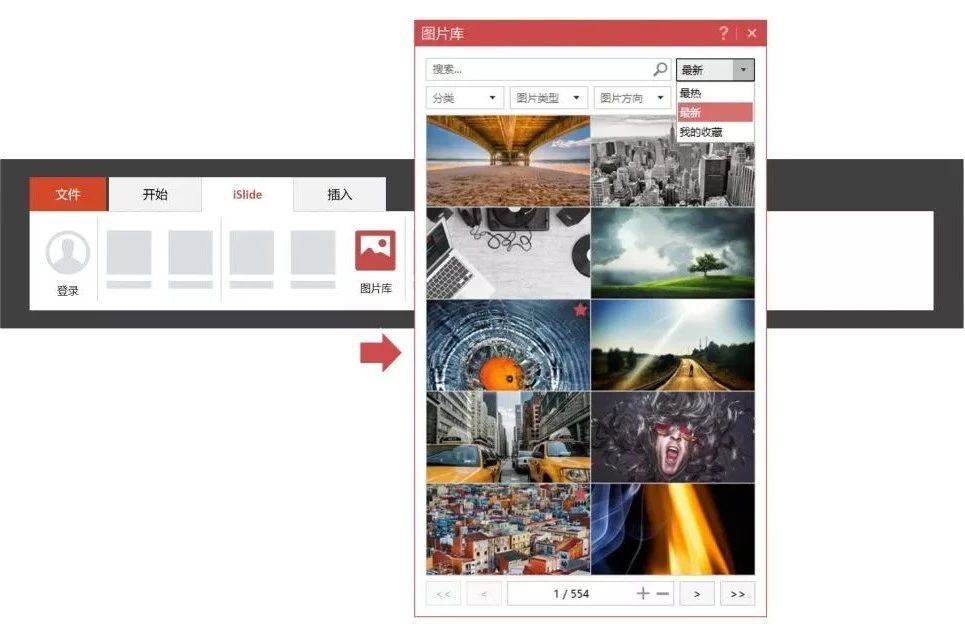
In fact, the downloads from this plug-in are just filled with the shape of the picture, not the real picture.
If you want to use [Merge Shapes], you must first paste them as pictures.

The menu for adjusting image offset is grayed out
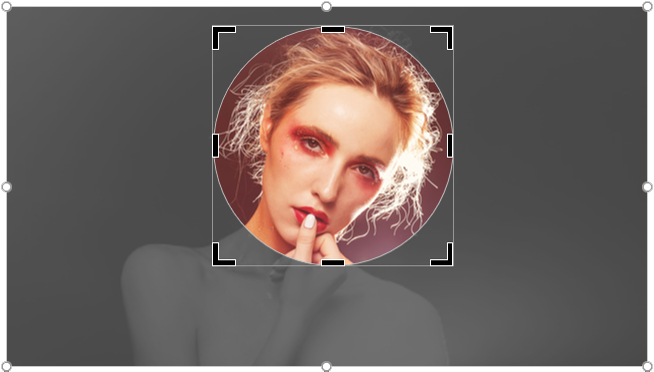
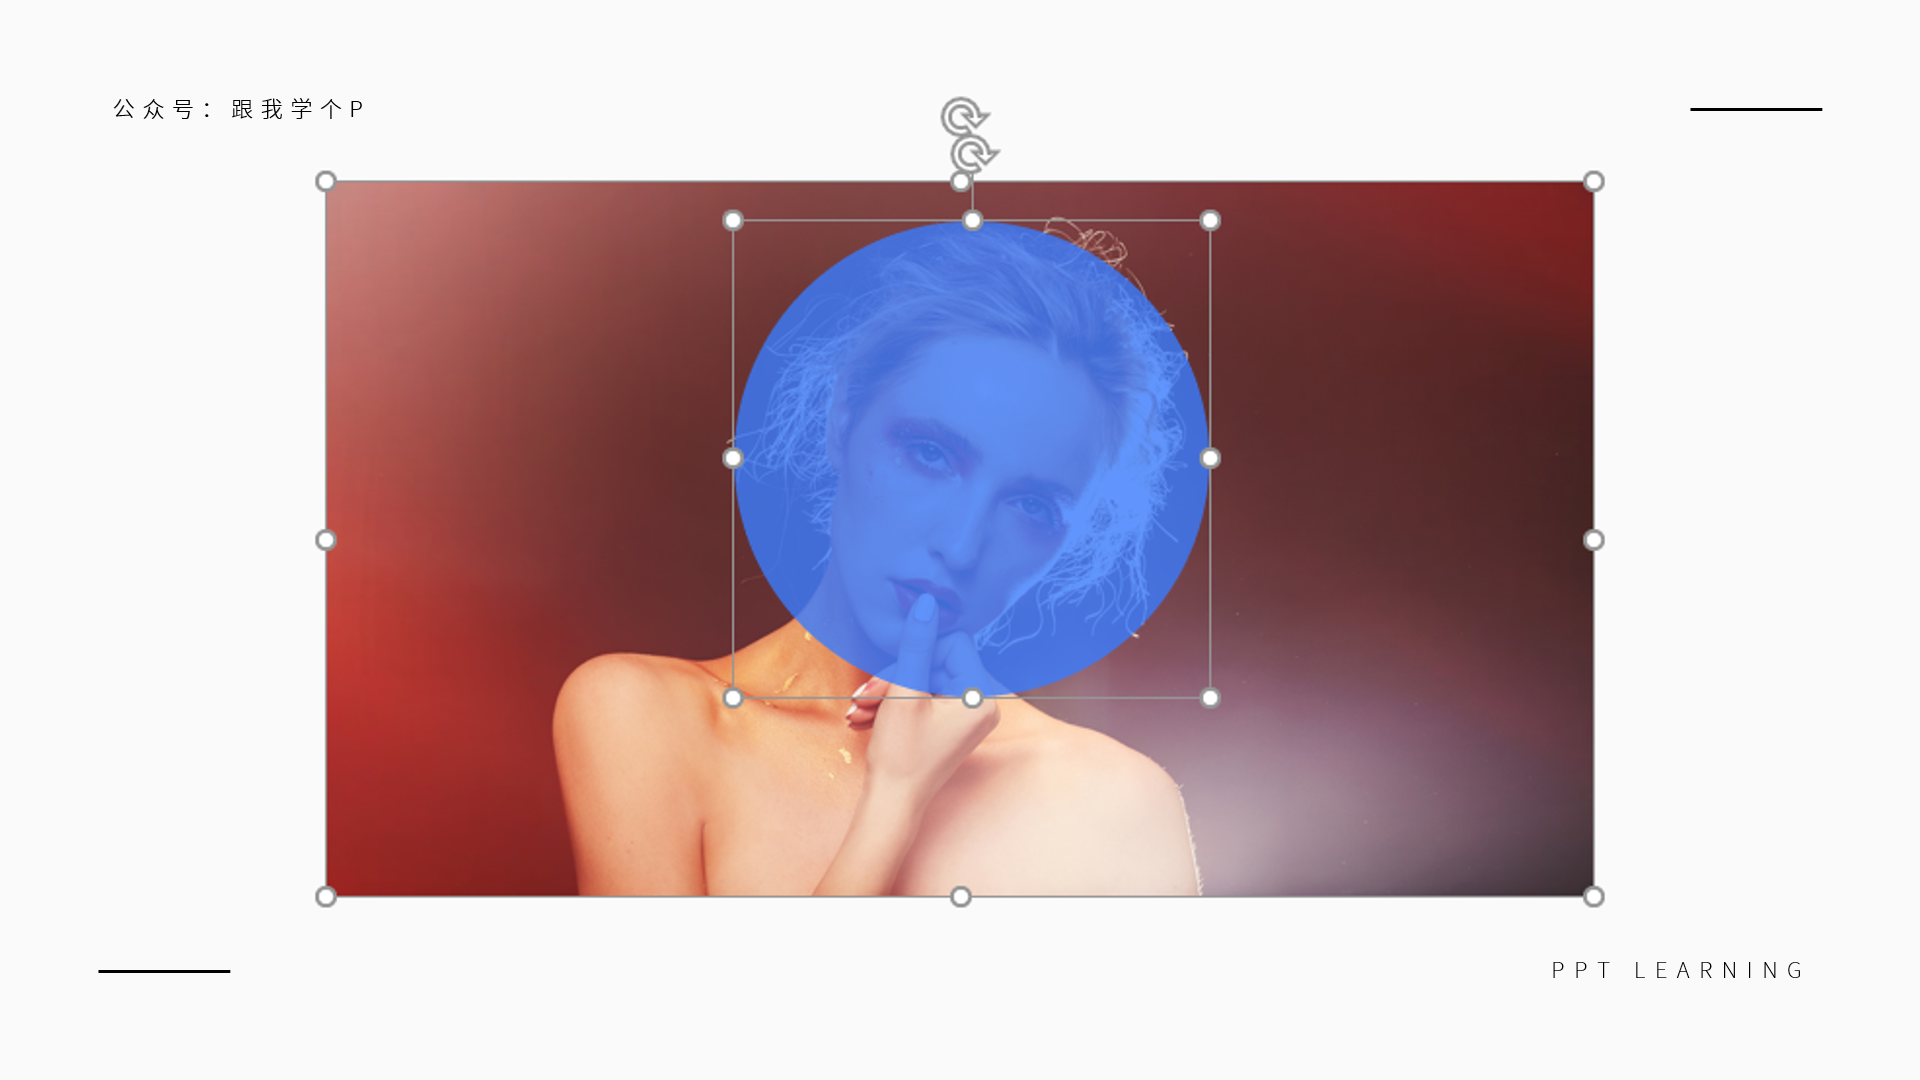
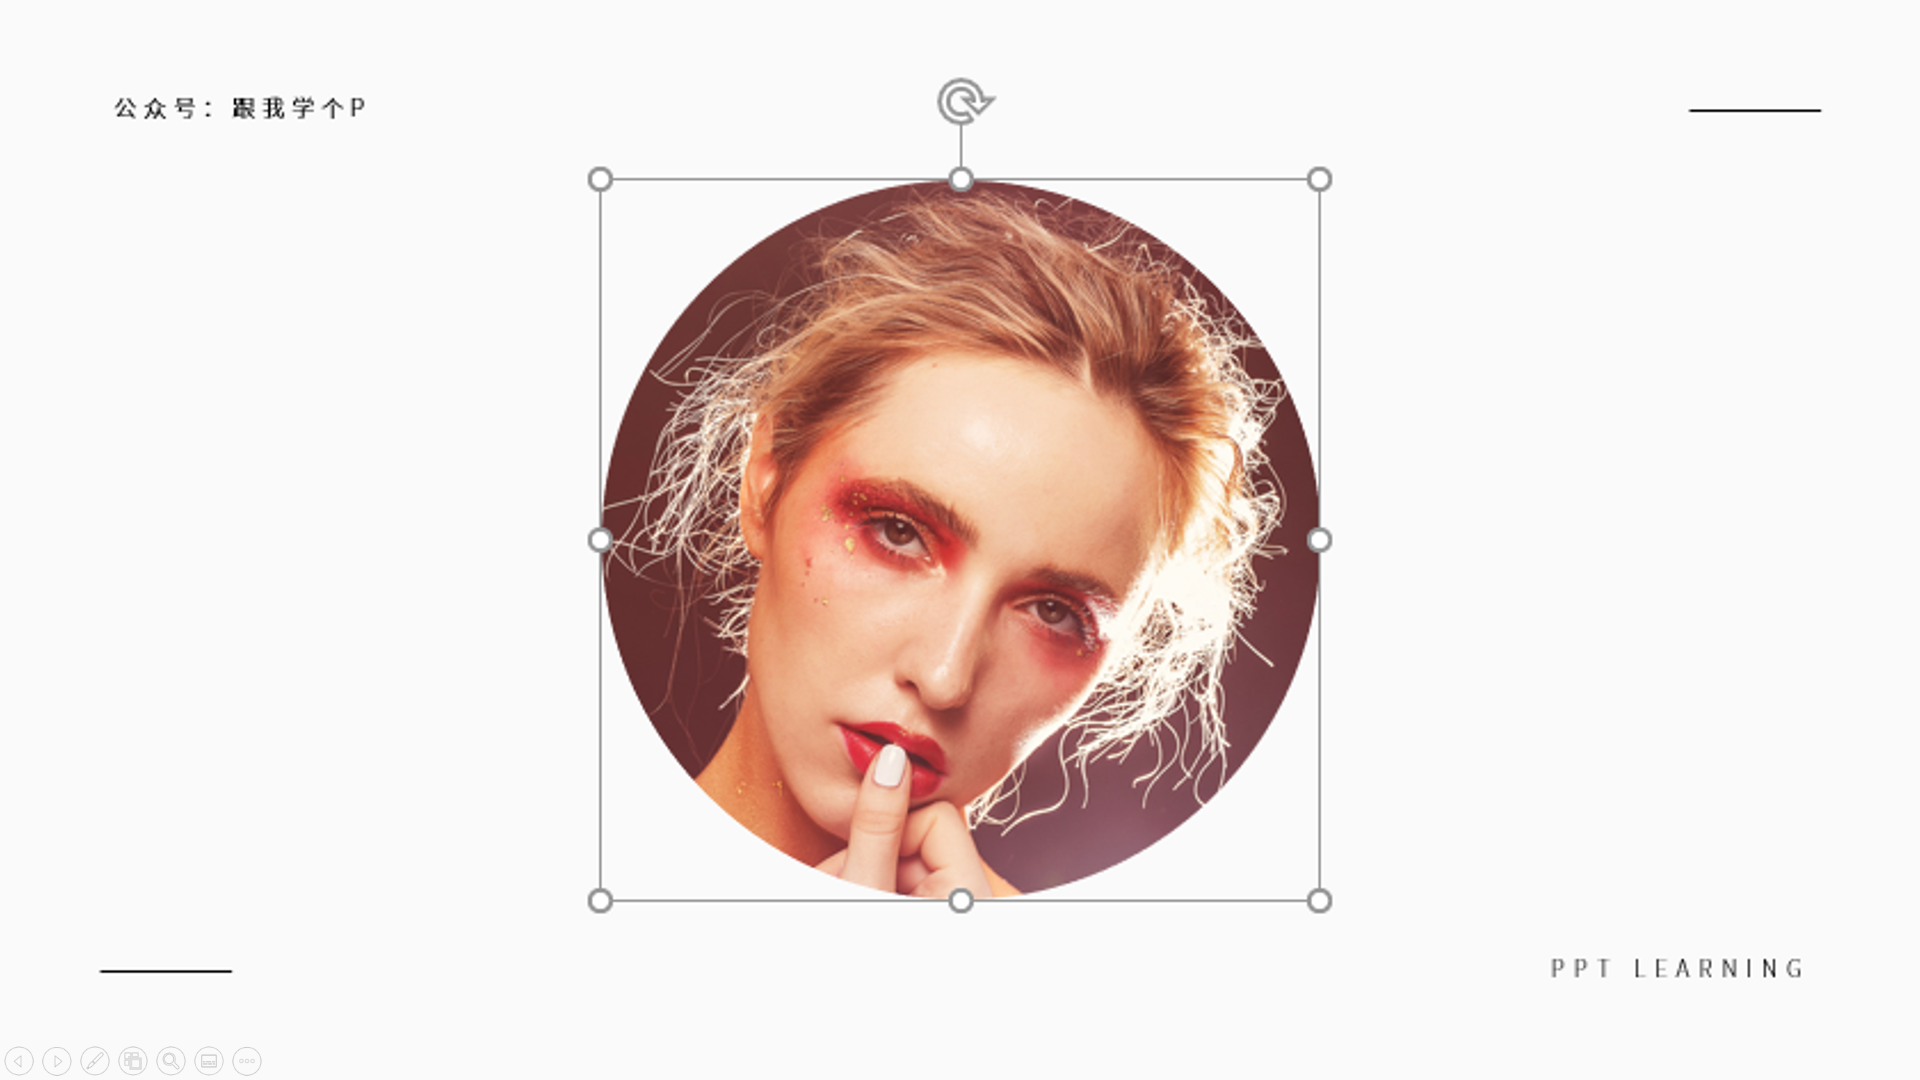
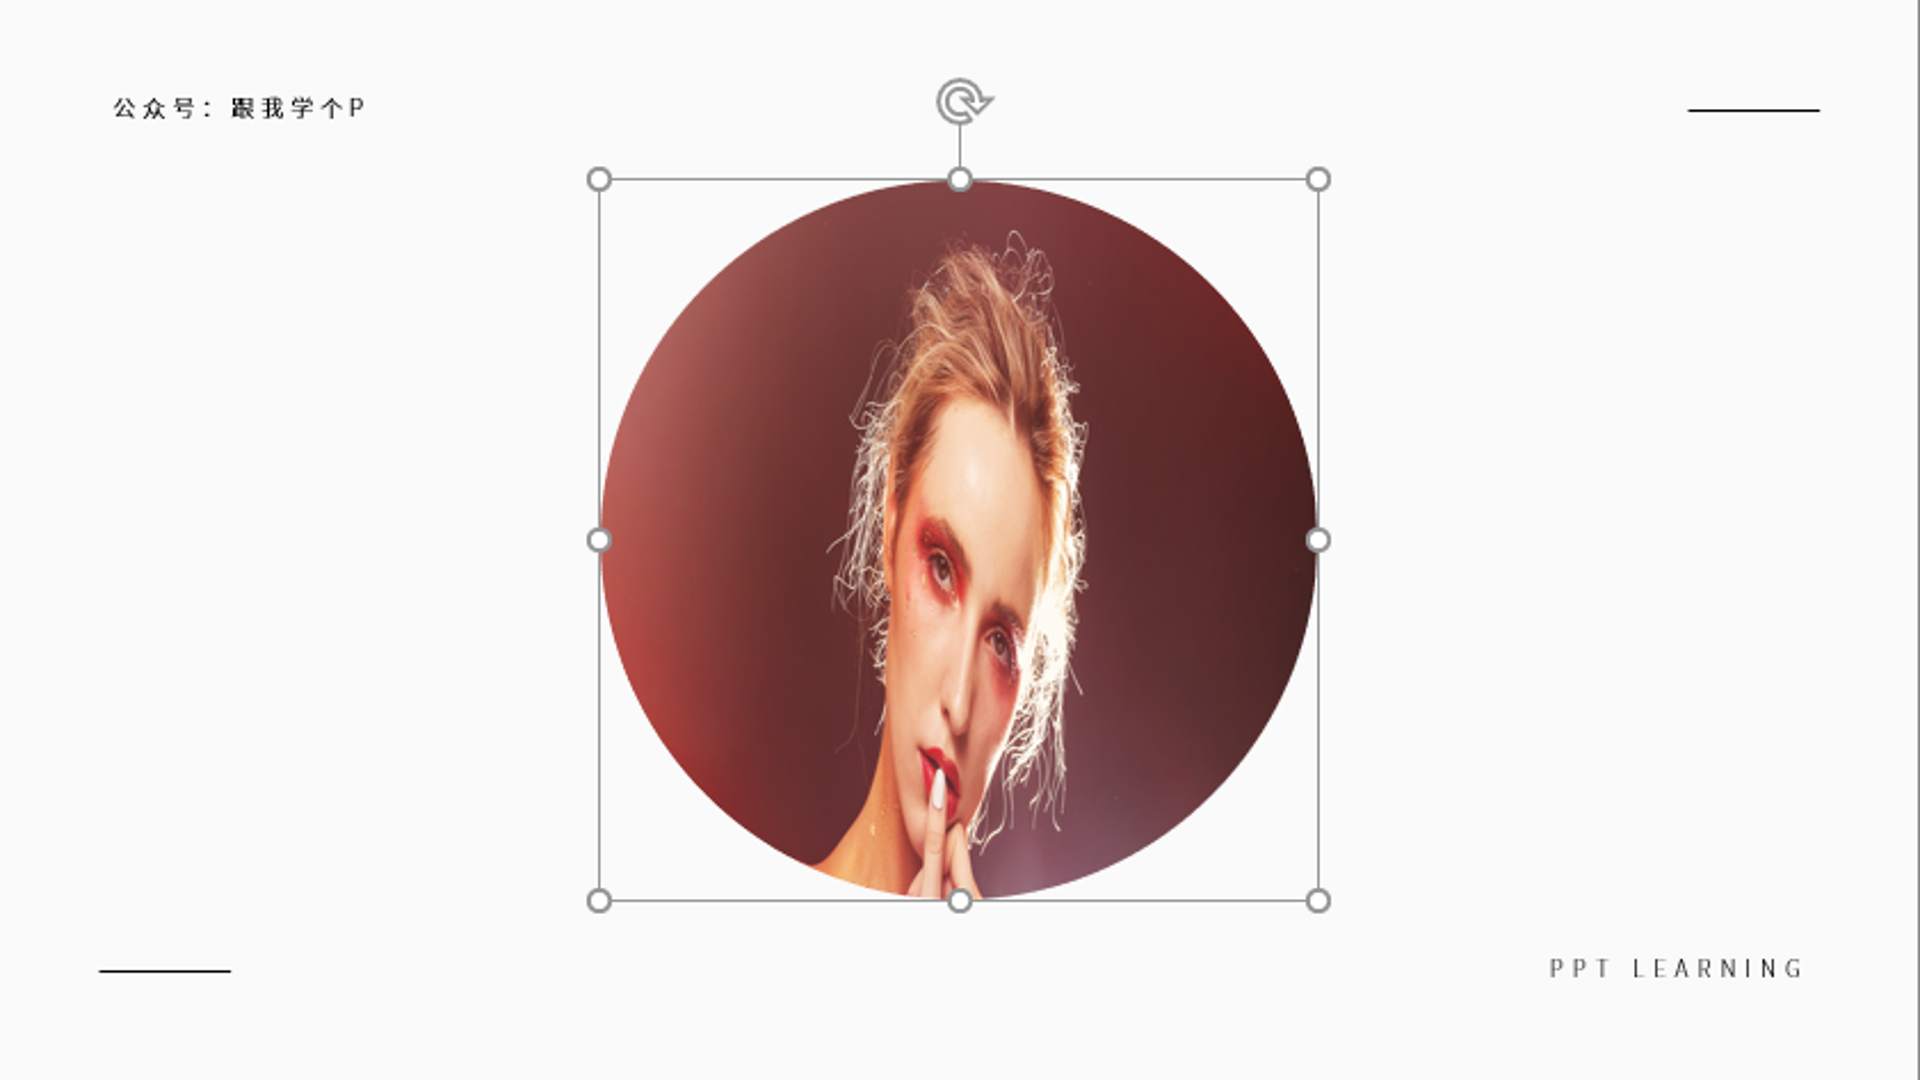
This function is still related to image filling. We said earlier that images can be filled into shapes or text:

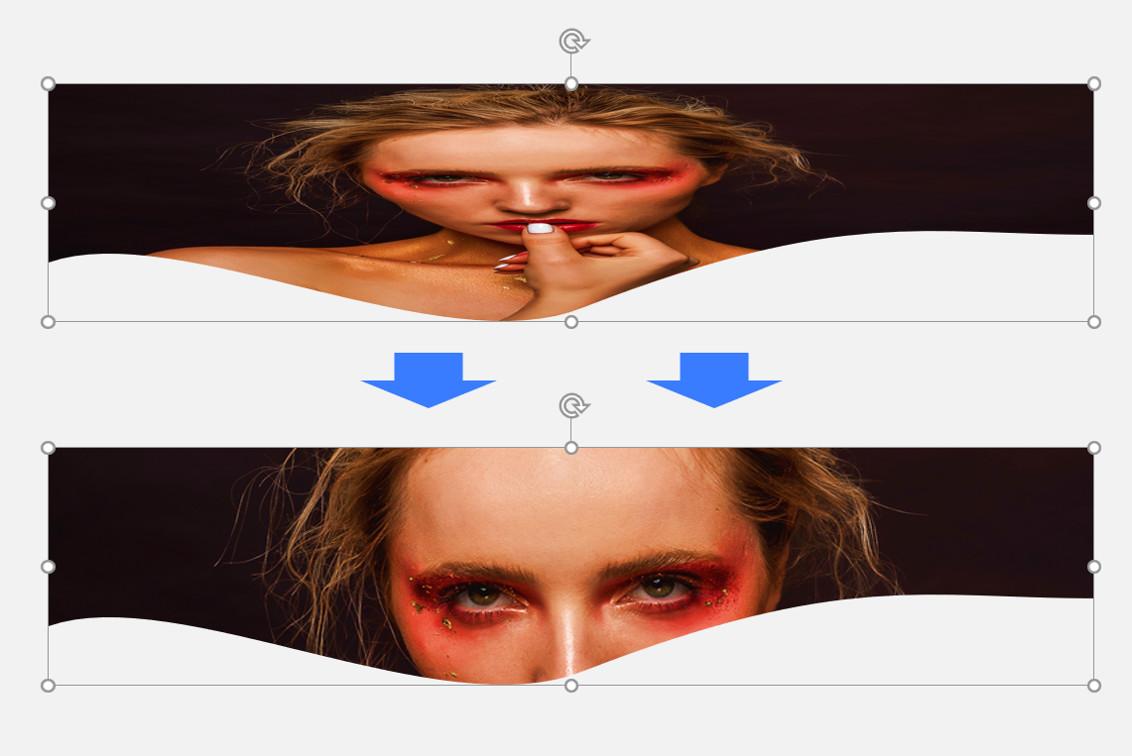
But sometimes you will find that the picture will be deformed after being filled in, as shown in the following figure:
At times like this, you only need to adjust the [Left/Right/Up/Down Offset] menu to correct the distortion of the image in a wretched way:

▼
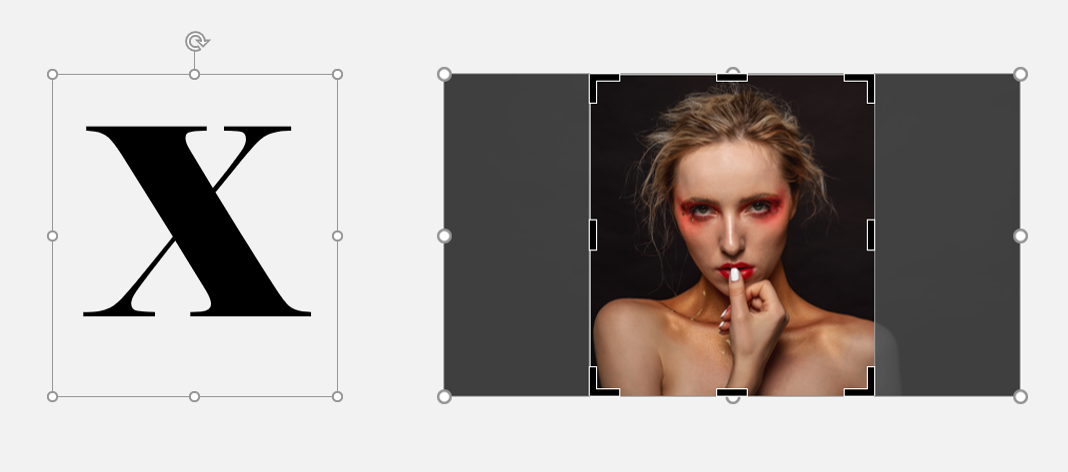
However, the above technique can only be used to adjust images in shapes, but cannot be used to adjust images in text.
So when you want to adjust the size of the picture in the text according to the above method, you will see that the menu is gray and cannot be adjusted:
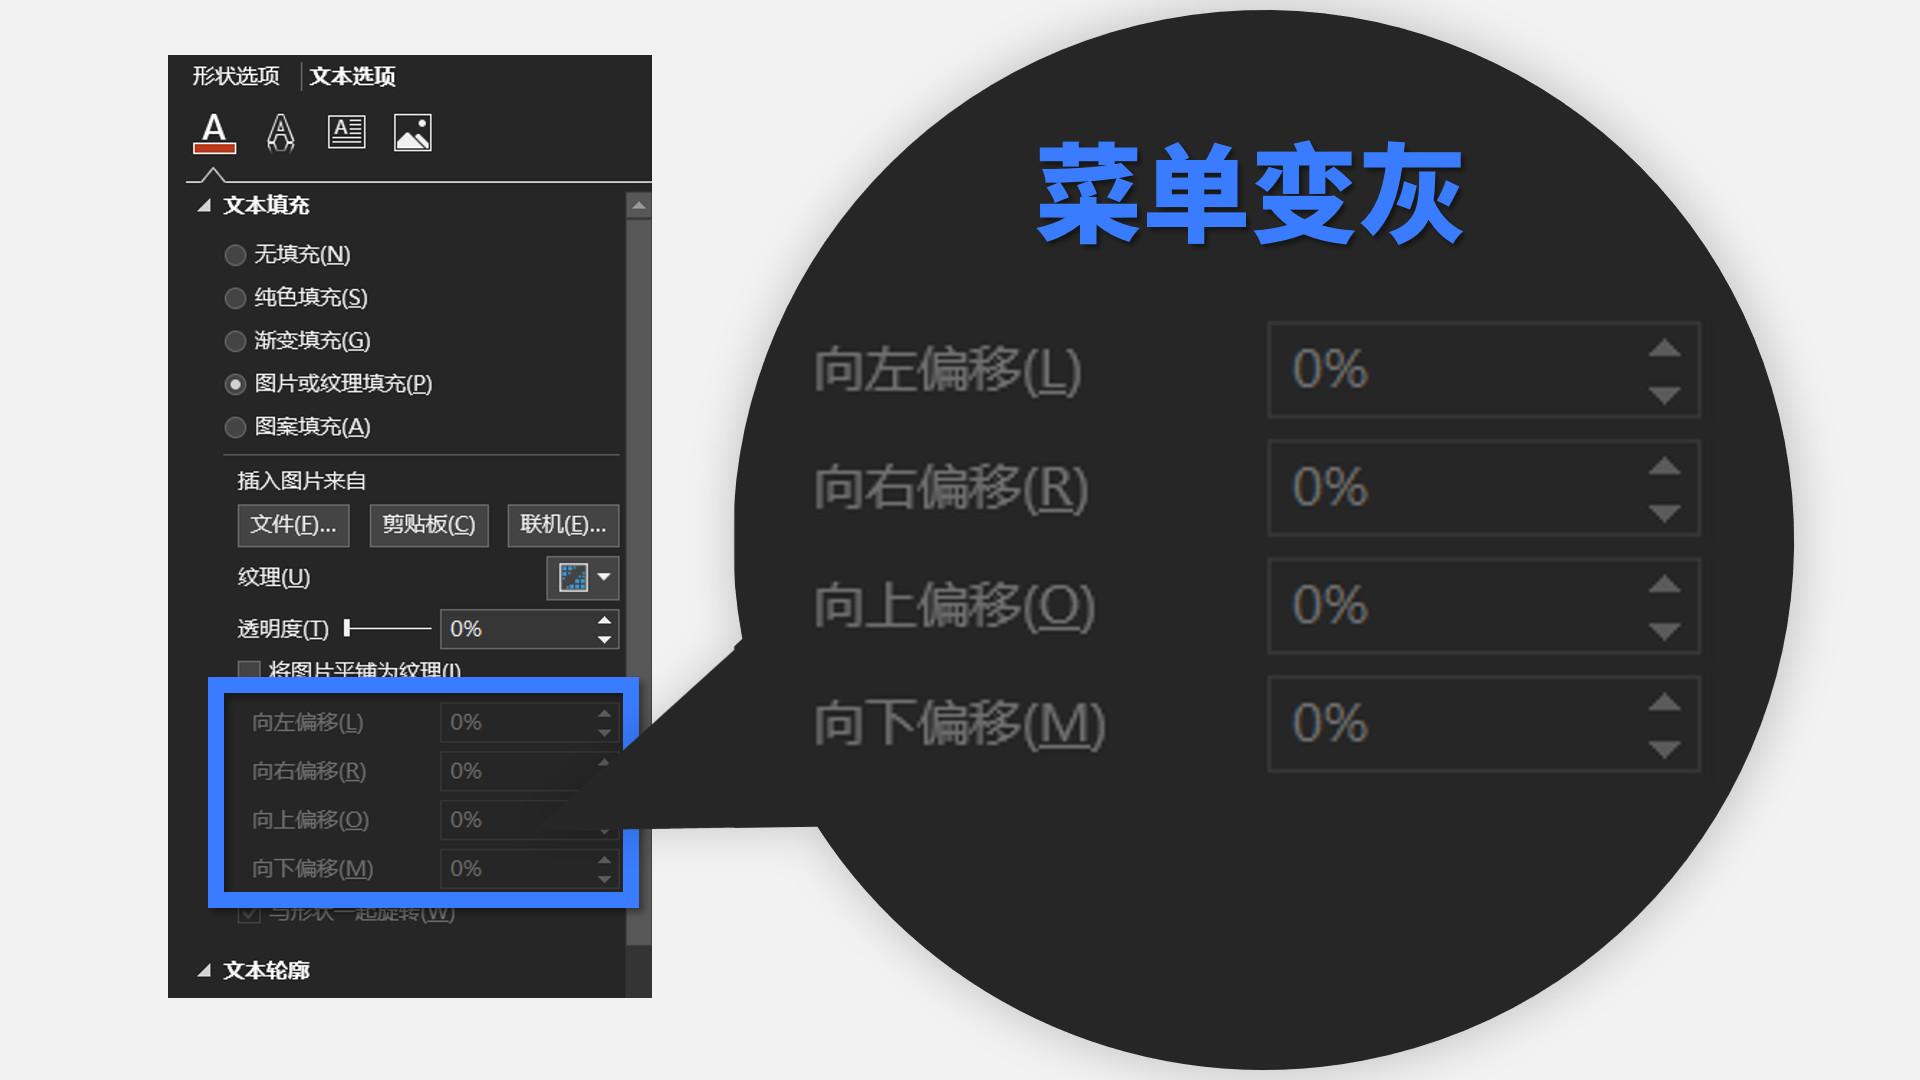
There are two solutions to this situation. One is to turn the text into a shape first (see the second point in this article for the specific method), and then fill in the picture.
The second is to [crop] the proportion of the picture to be consistent with the proportion of the text box before filling the picture into the text, so that it will not be deformed when filled in.

Elements cannot be combined
There are two functions in PPT called [Combination].
One refers to the [Combination] function in [Merge Shapes]. This function can turn two shapes into one shape, and also remove the overlapping parts between the two elements:
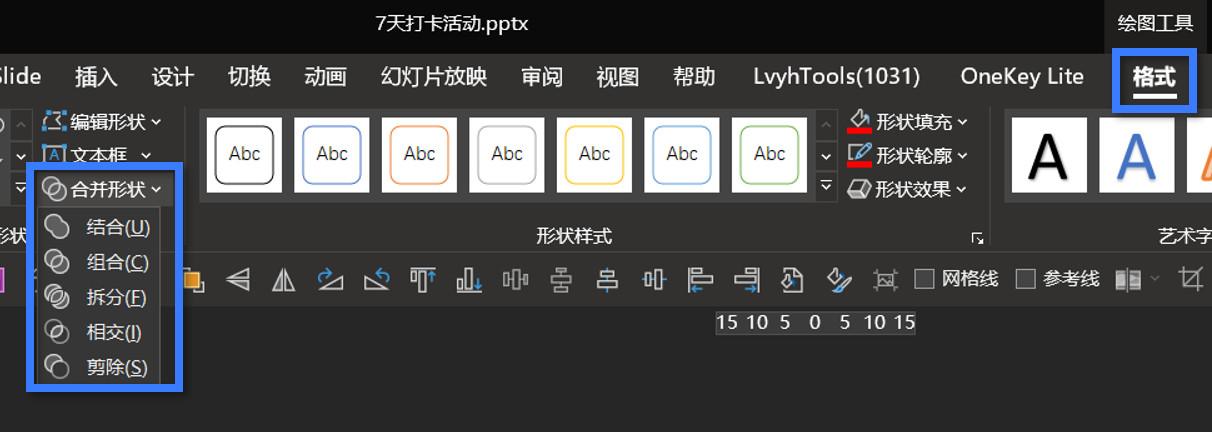
▼

The other [Combination] refers to the function of combining multiple elements into a whole. When you select multiple elements and right-click the border of the element, you can see the button of this [Combination] function:
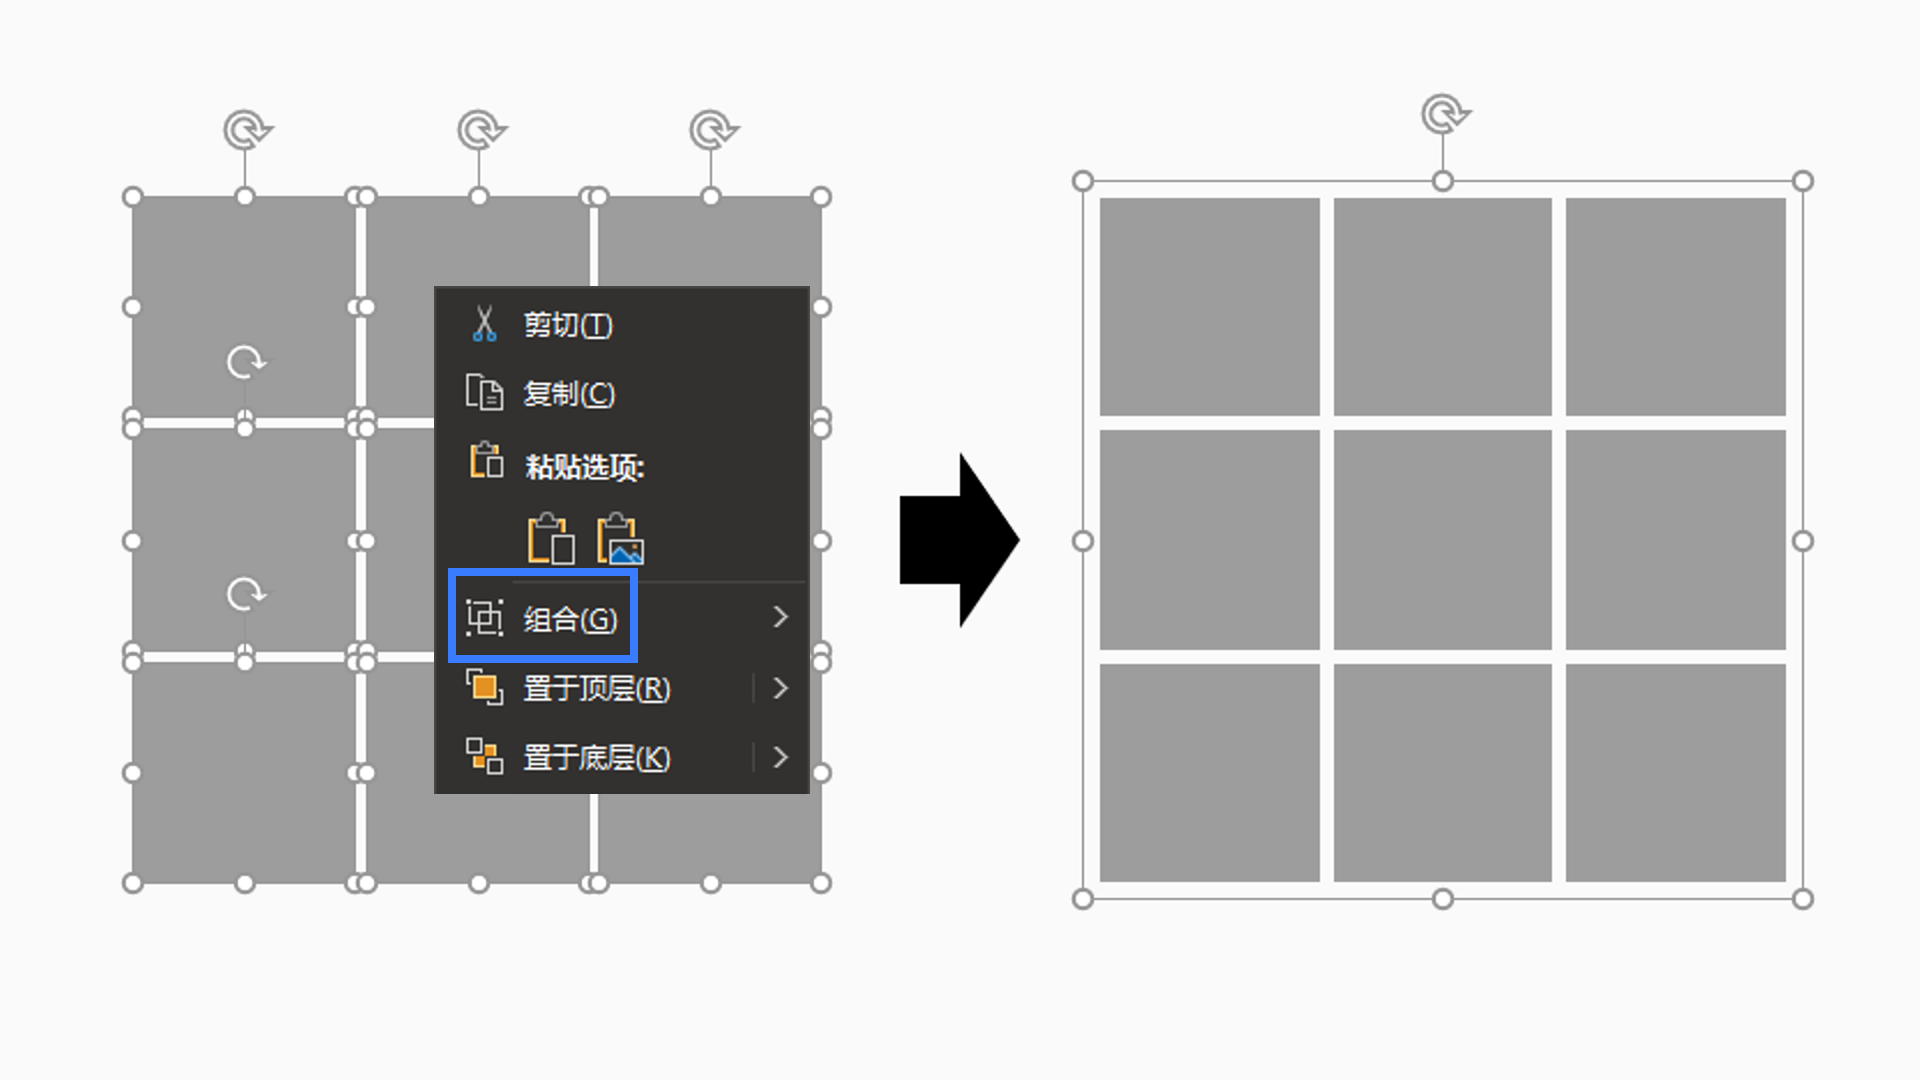
But sometimes you will find that after selecting multiple elements, the button of the [Combination] function is gray:
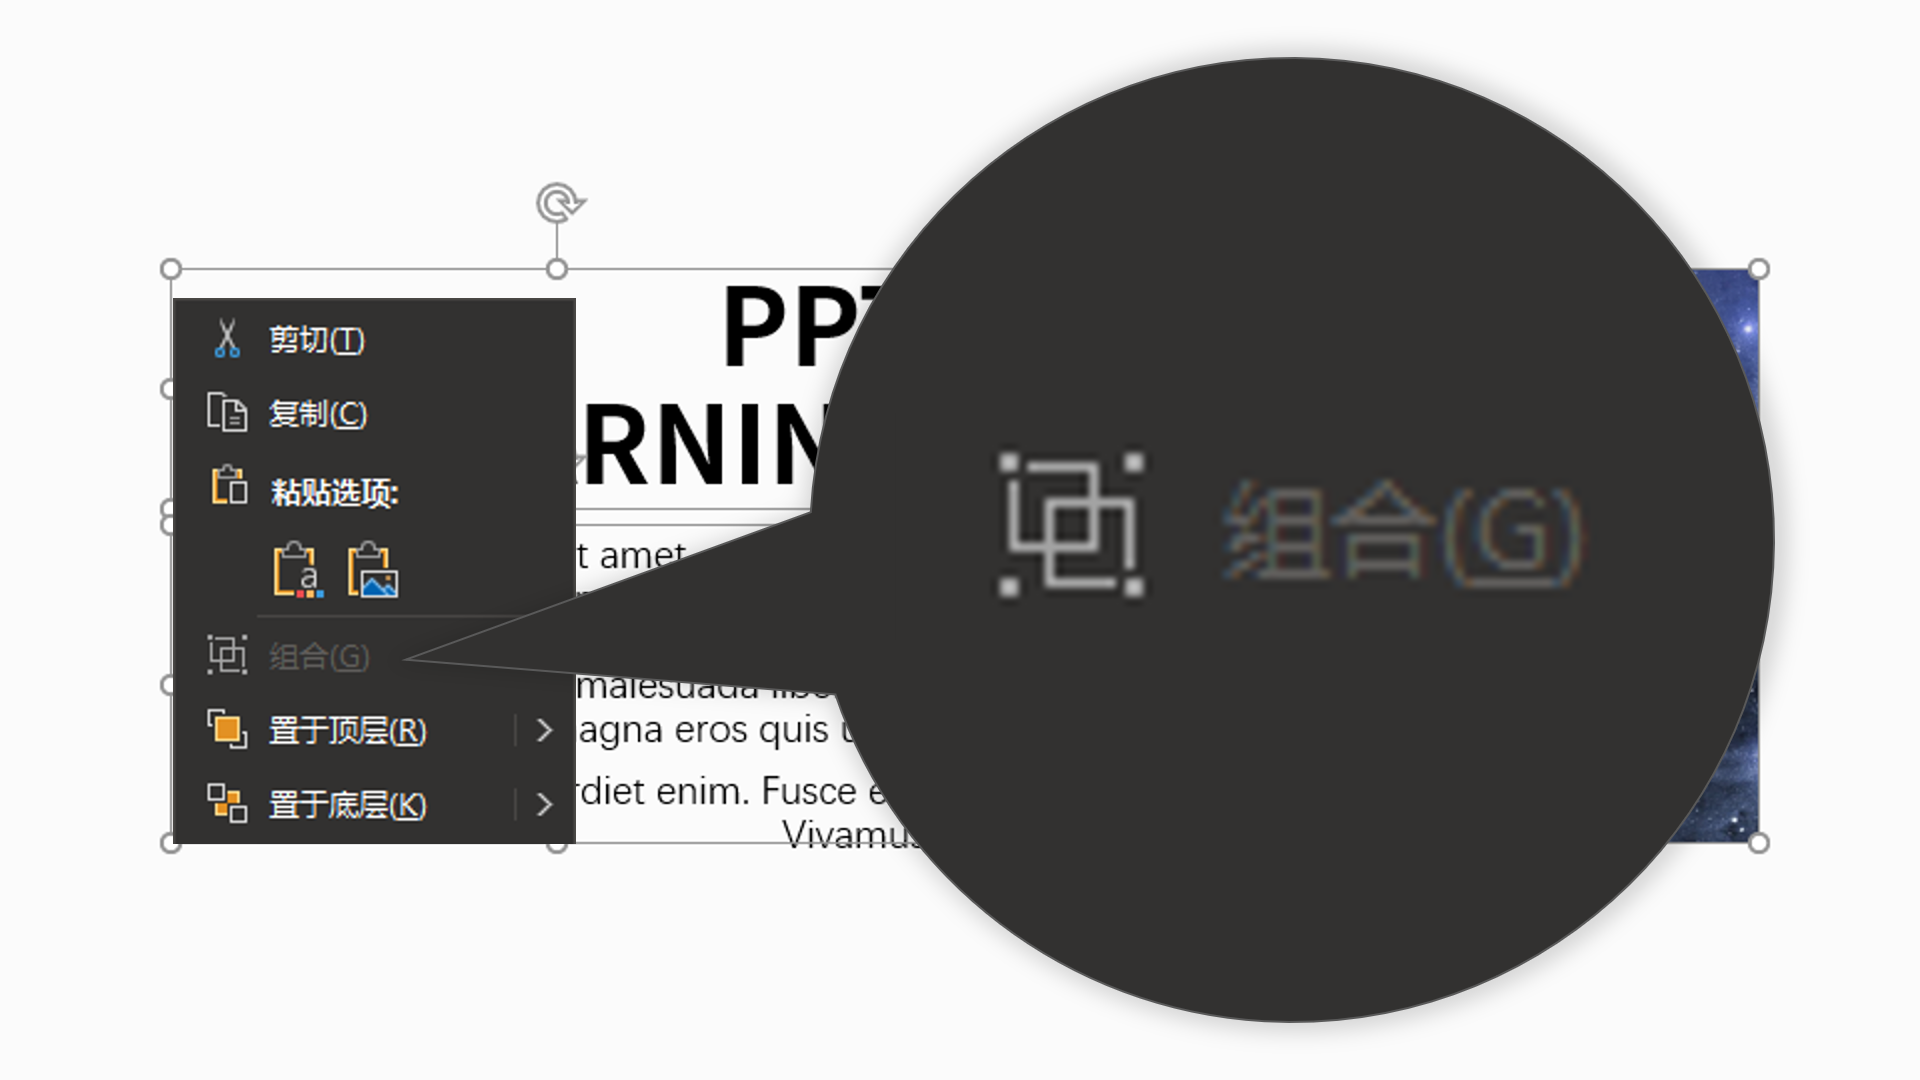
There are generally two possibilities for this situation.
One is because the element you selected contains [placeholders], and placeholders cannot be combined.
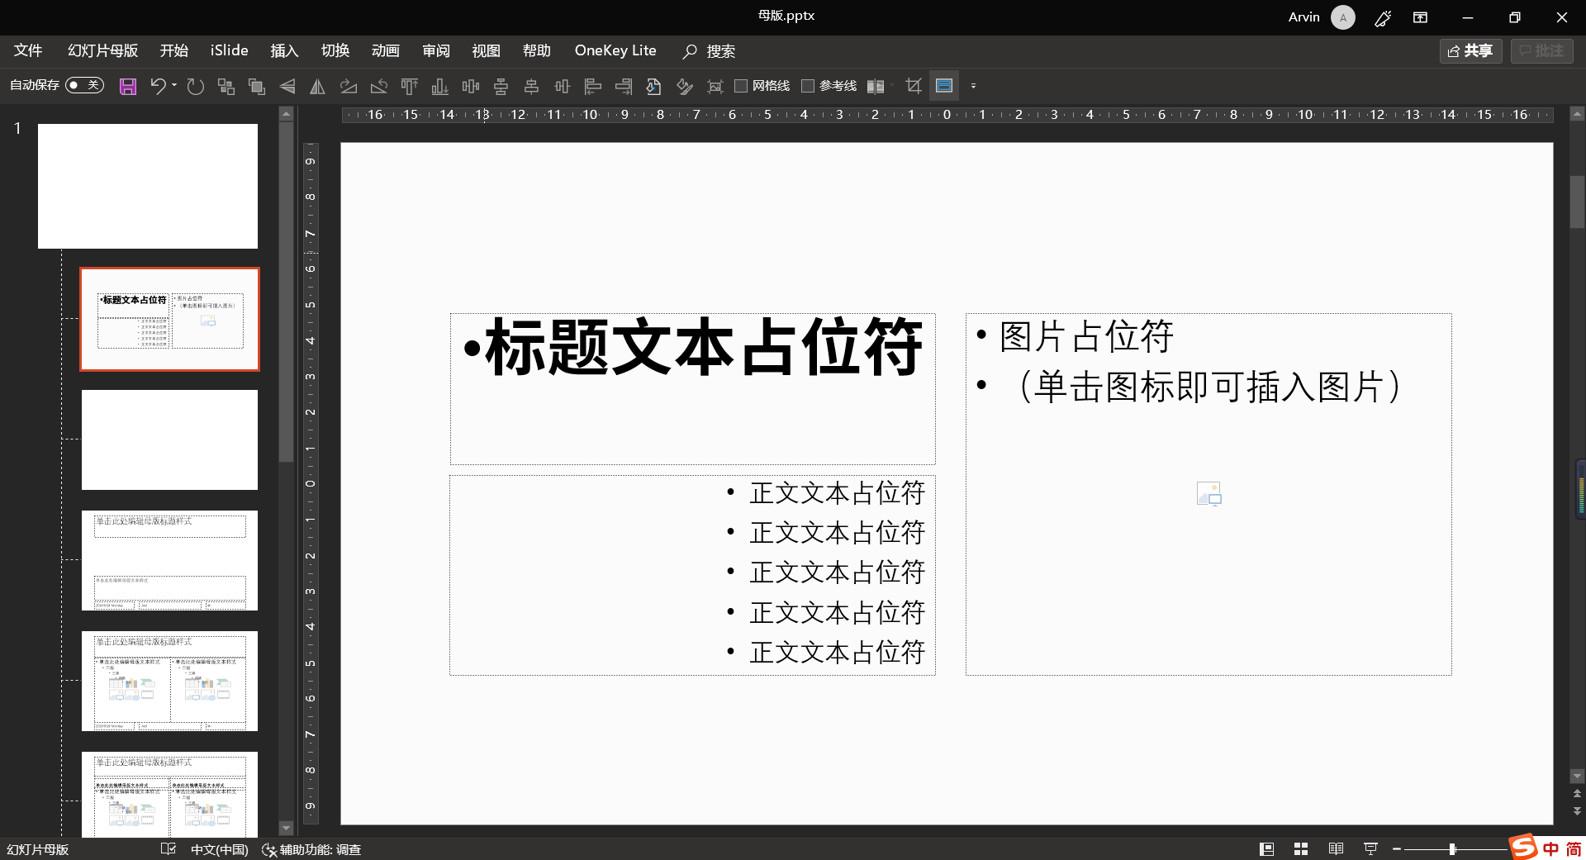
What is a [placeholder]?
Generally, when we create a blank PPT page, we often see the following element with a dotted frame. This type of element is actually called a [placeholder]. You can enter text in it, or insert a picture or chart etc:
So if you think about it carefully, are the text boxes or pictures you selected all made with these [placeholders]?
Another possibility is - the element you selected contains 【table】, currently the table cannot be combined, and in the lower version of PPT, 【 Data chart] also cannot be combined.
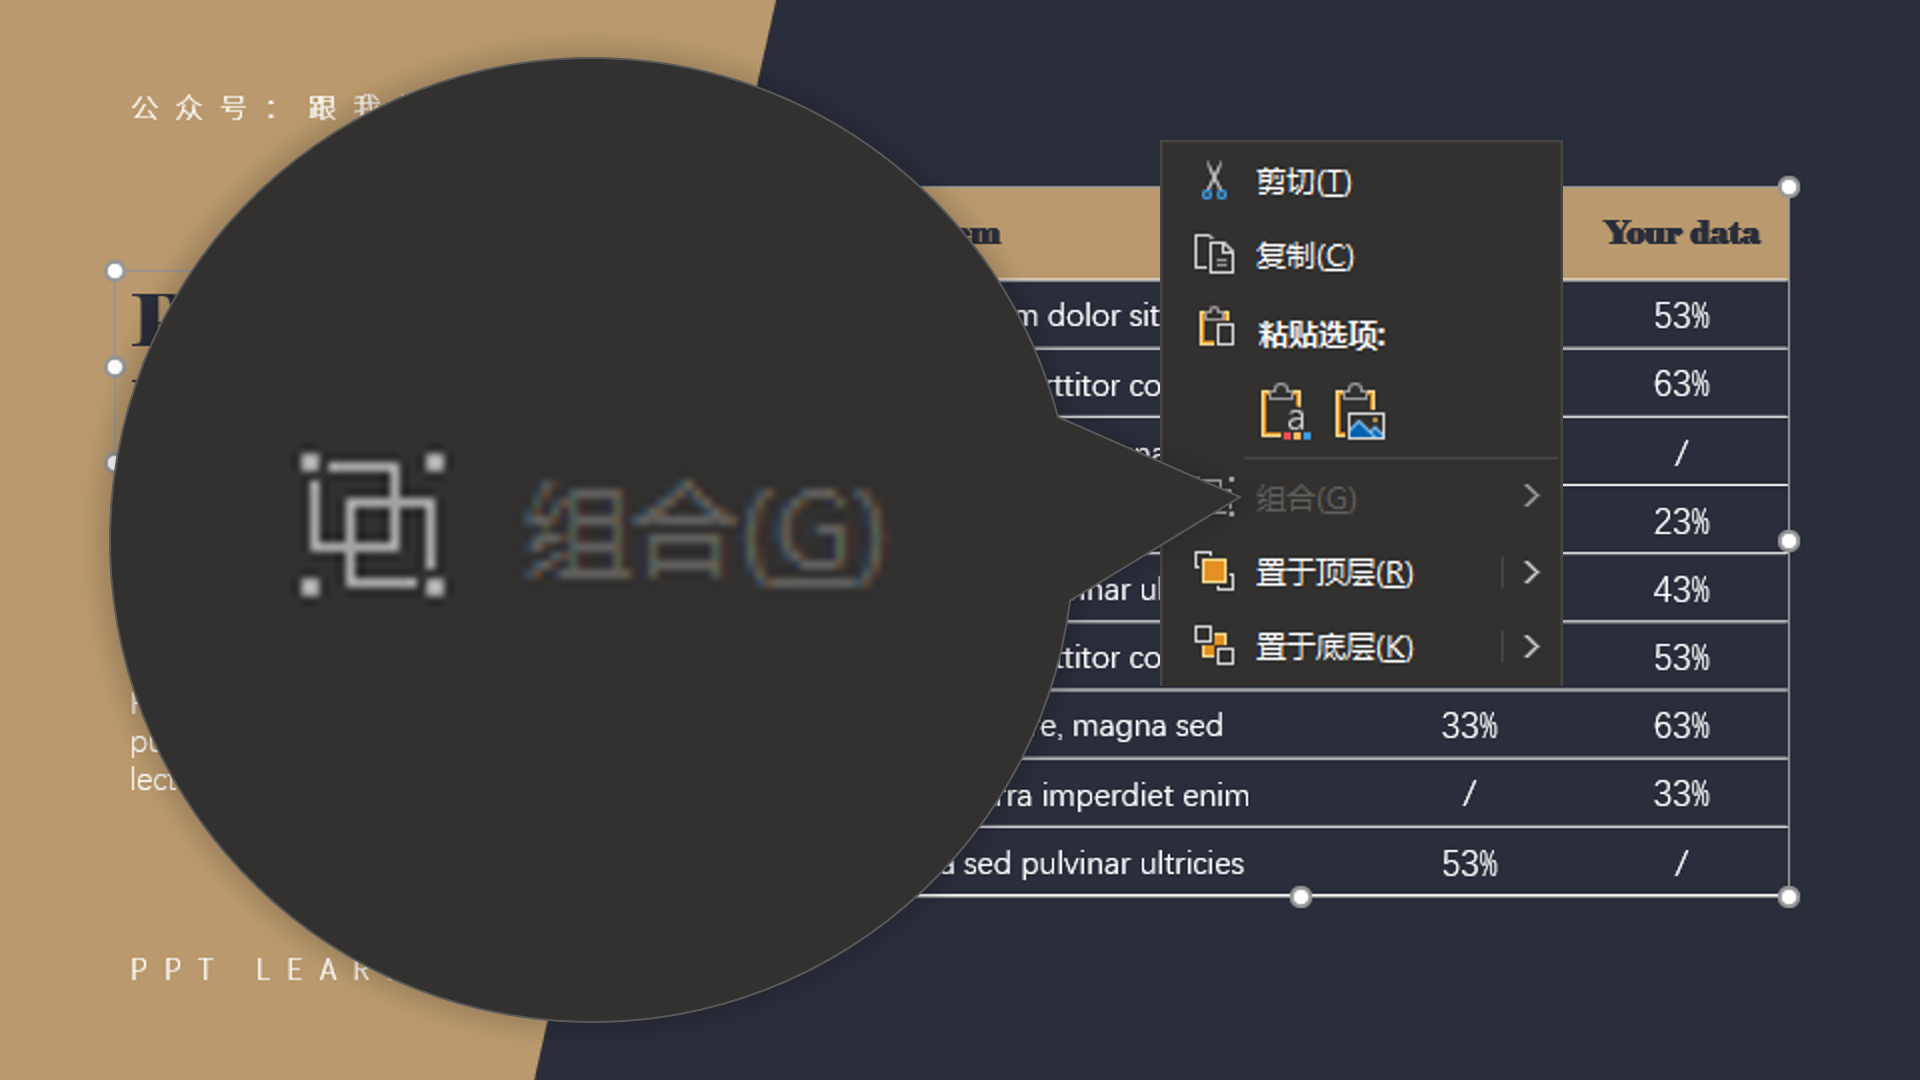
Therefore, if the [Combination] button is grayed out in the future, you should pay attention to check whether it is because you have selected [Placeholder], [Table] or [Data Chart].

Cannot adjust the rounded arc of the rounded rectangle
Generally speaking, after we insert a [Rounded Rectangle], we can see a yellow button on the upper right of it:

Pull this little yellow dot, you can modify the radian of the rounded corner, and this little yellow dot often appears in various other shapes, such as [wave], or triangle, etc.
▲Pull the small yellow dot on the wave shape
However, sometimes after we insert shapes such as [rounded rectangle], we will find that the little yellow dot is missing...

This may also be the case for two reasons...
One is because you inserted the wrong shape... You must know that there are many shapes in the shape library that look very similar. You thought you inserted a [rounded rectangle], but in fact you inserted a [ flow chart】:
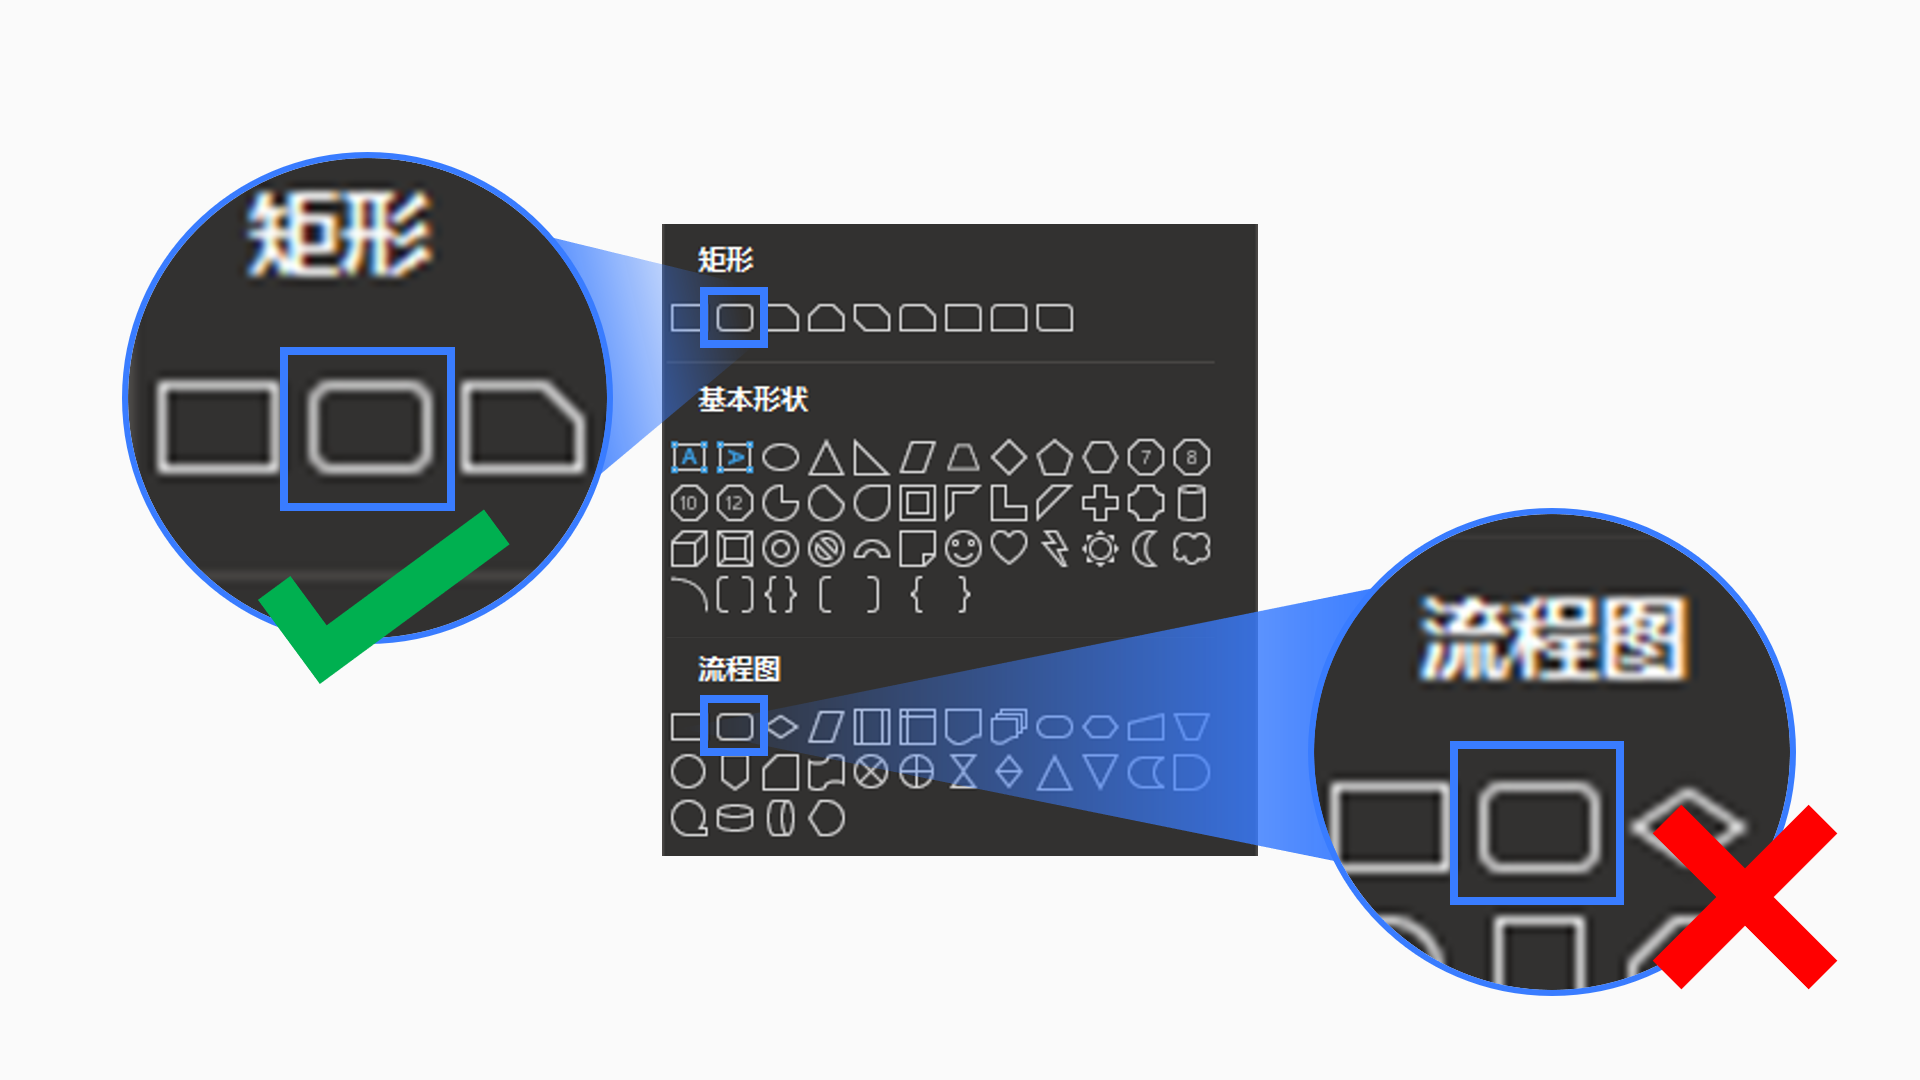
So, when inserting, read the name of the shape clearly, so as not to confuse it.
Another reason for the disappearance of the small yellow dot may be that there is a bug that people love to see again in PPT... There is no solution to this situation. Close all PPT files and reopen them, usually it can be solved .

Unable to set perspective parameters in 3D rotation
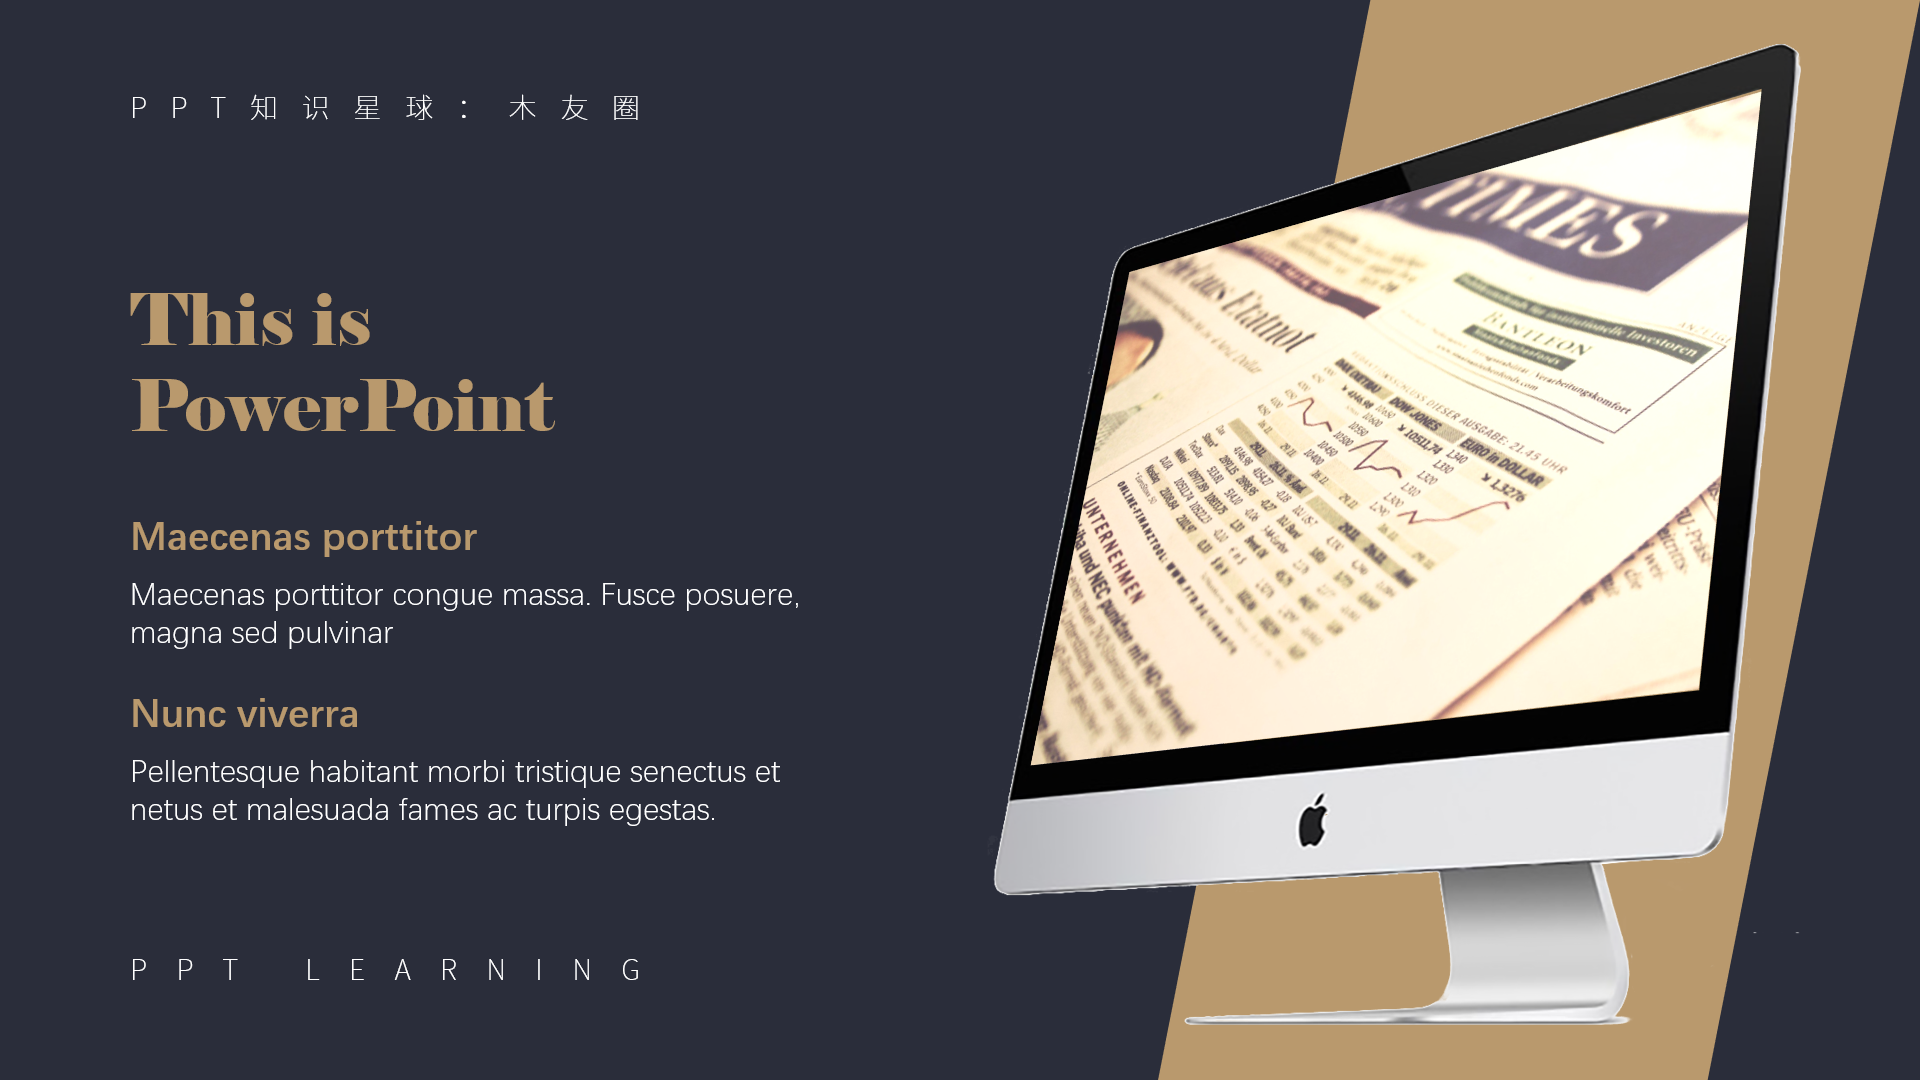
There is such an exercise in my PPT community [Wood Friends Circle], which is to set [3D rotation] for an ordinary picture so that it can be completely embedded in the computer screen:

▼
When doing this exercise, many wood friends said that the [Perspective] menu in their [3D Rotation] is gray and cannot fill in the value:
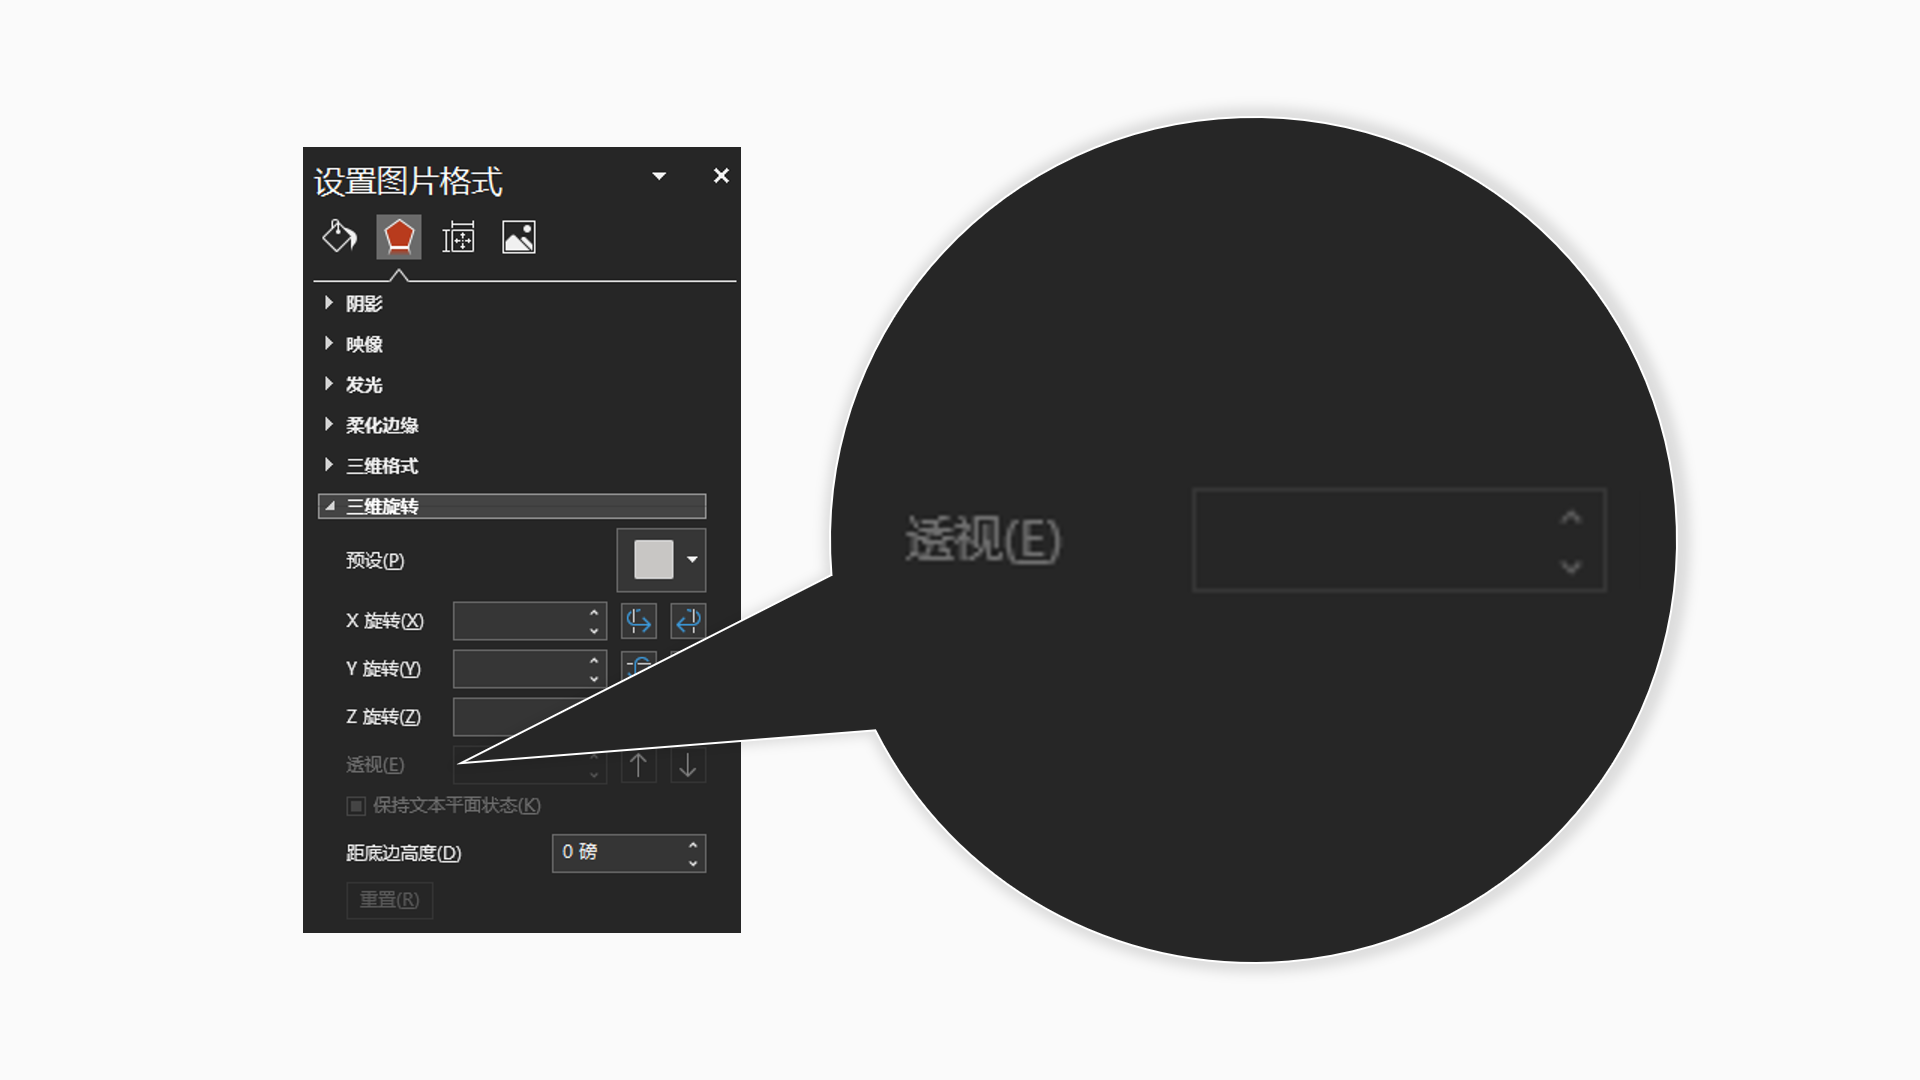
In fact, this problem is also very easy to solve~
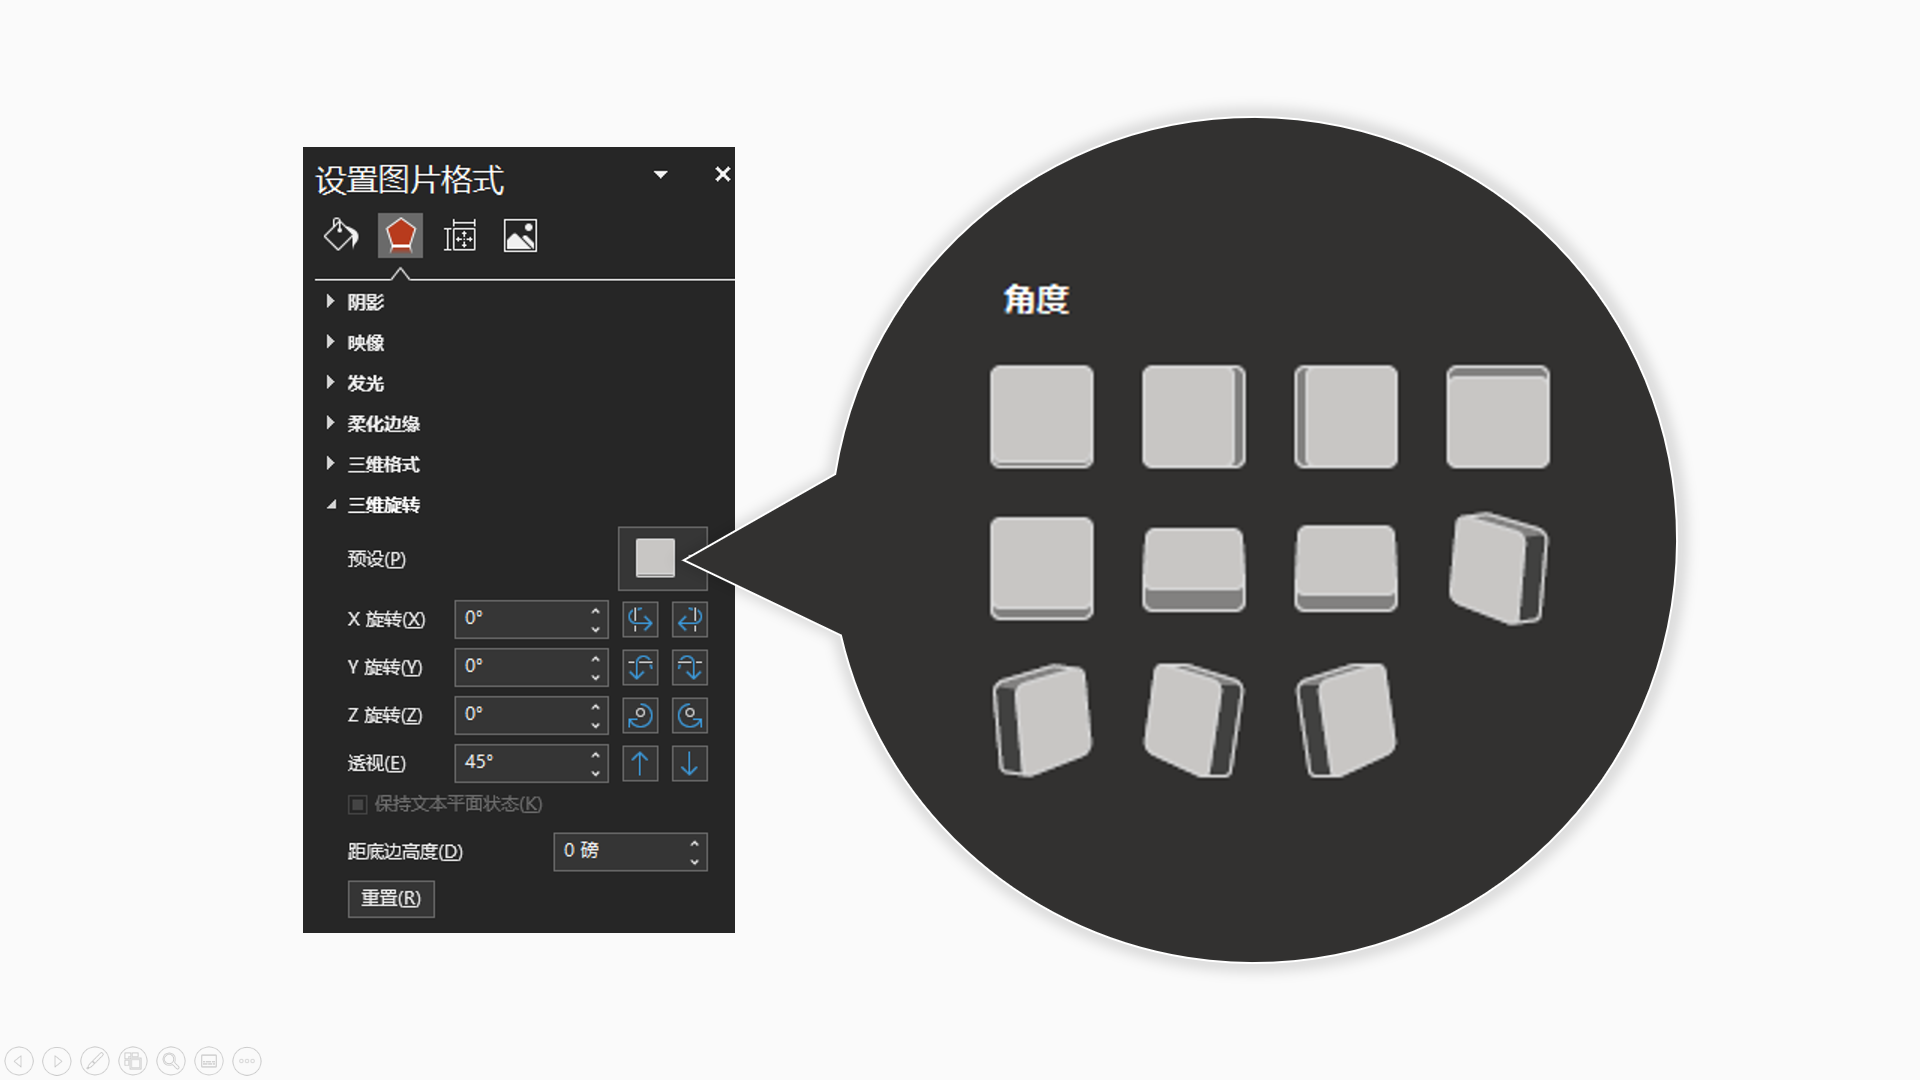
First, recite a mantra "Xiaomu is so handsome" devoutly to the screen, and then choose a random [Angle] template in [Preset], and you can see that the value of [Perspective] is displayed normally:

Save the element as a picture, and the picture will have a transparent border
Many people don't know that PPT can be used to make long pictures, such as the following infographics or posters, which can be made with PPT:


Take the above poster as an example, you only need to insert a picture in the PPT first, and then put the material on the picture:
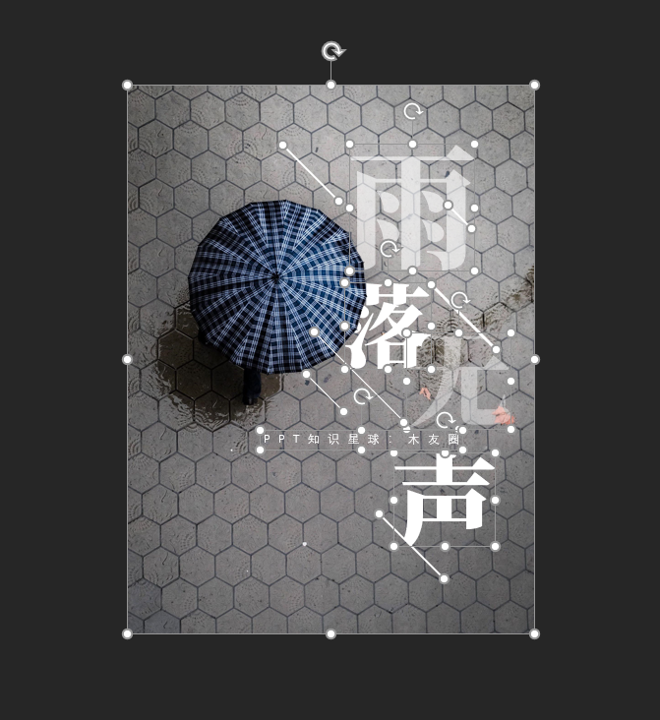
Then select all the elements, right-click and [Save as Picture].
But some people found that the posters they made had transparent borders or white borders after saving them as pictures:

First of all, it's not the hell, it's because some elements on your poster exceed the borders of the image, so after saving as an image, the poster will have a transparent or white border:
In other words, before you save it as a picture, don't let the element exceed the border of the picture.
Of course, don’t panic if it exceeds, just reinsert the poster into the PPT, and [crop] those borders.
Finally, let me show you the question just now:
- The SVG file cannot be dragged into the PPT;
- The ink material cannot be filled;
- The shape intersects with the picture, and the picture is deformed;
- li>
- Elements cannot be combined;
- Cannot adjust the rounded arc of the rounded rectangle;
- The perspective menu in the three-dimensional rotation is grayed out;
- The menu for adjusting the image offset is grayed out;
- Save the element as a picture, and the picture will have a transparent border;
Looking at these problems, can you think of their own solutions now?
OK, that’s all for this issue, I’ll continue to work on the liver manuscript…
What other weird bugs have you encountered, and how did you solve them? No matter how cheap we are in the comment area~
Welcome to follow my official account "Learn a P from me"!
Articles are uploaded by users and are for non-commercial browsing only. Posted by: Lomu, please indicate the source: https://www.daogebangong.com/en/articles/detail/If%20you%20have%20never%20encountered%20these%20wonderful%20PPT%20problems%20you%20are%20embarrassed%20to%20say%20that%20you%20know%20PPT.html
 支付宝扫一扫
评论列表(196条)
测试