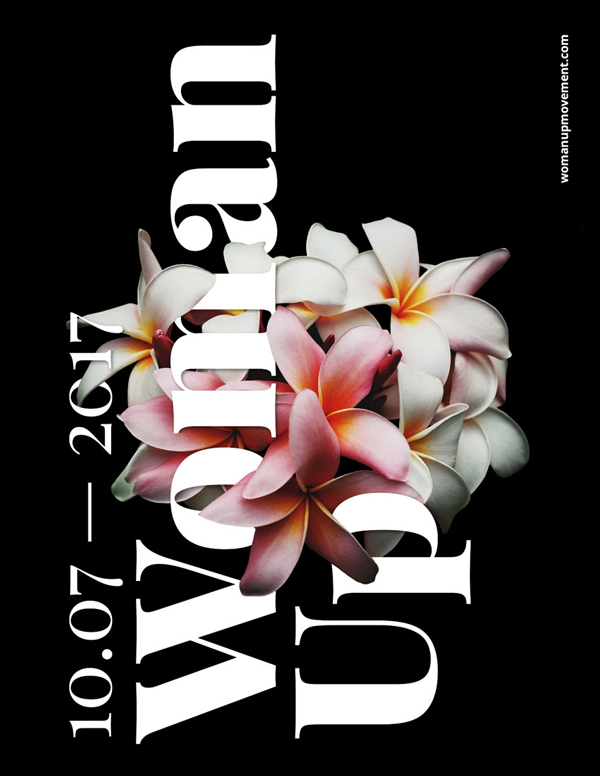
Fonts required to be installed:
Playfair Display, Open Sans
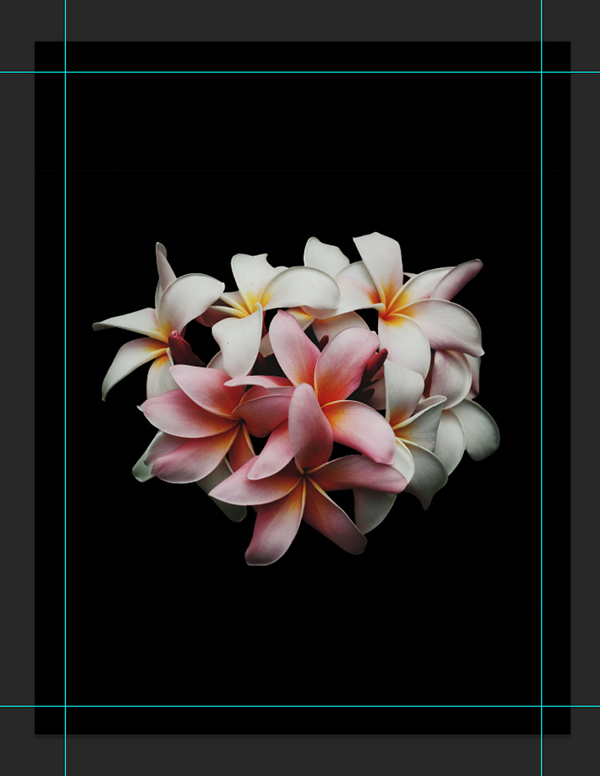
1. Open a flower material and make a copy
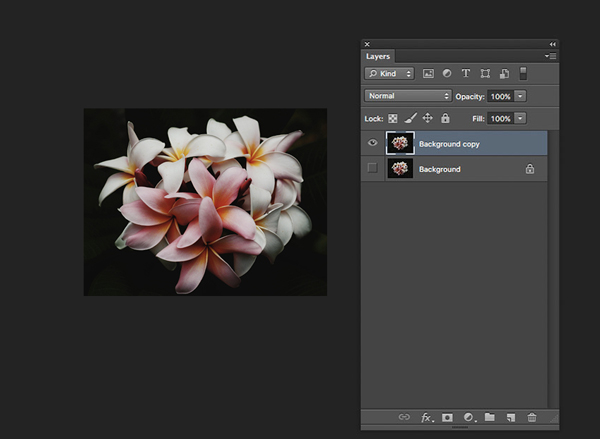
2. Select the copy and right click to add a layer mask
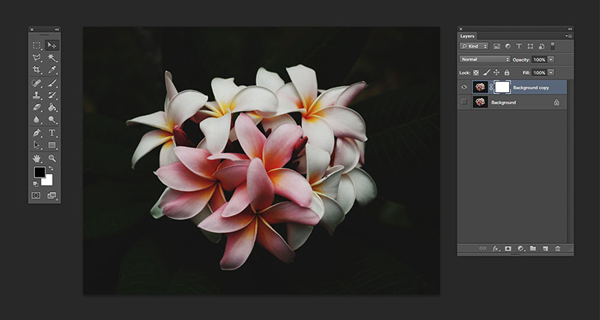
4. With the new layer mask selected, use the Brush Tool (B), press D and X to toggle between them, reset the foreground/background colors, use black as the foreground color, and Paint over the image to erase the background and bring out the flowers completely.
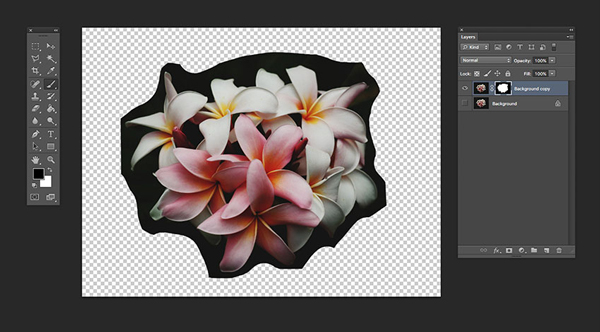
5. Create a new file, fill it with black, and drag in the buckled flowers.
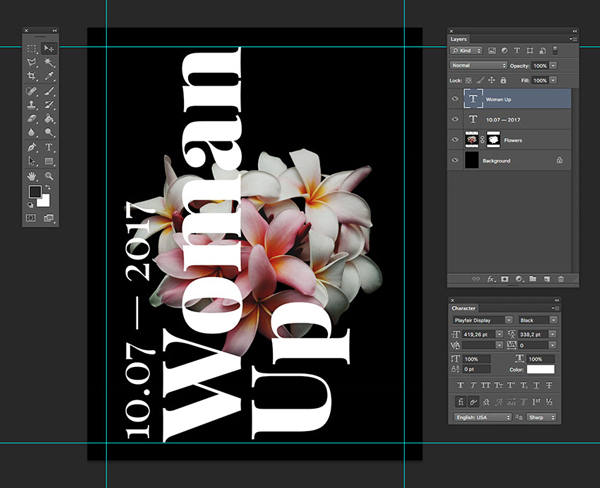
6. Enter the subject text,

7, control+t to adjust the direction and size of the text
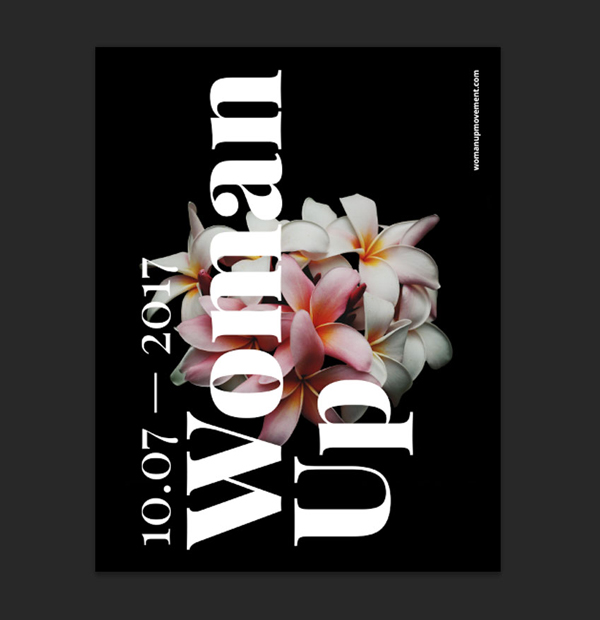
8. Add a line of text on the right to balance the picture
9. How to add a mask layer
We want to create the illusion that the text is intertwined with the flowers. Let's duplicate the flower layer by pressing Control+J and place it at the very top of the Layers palette.
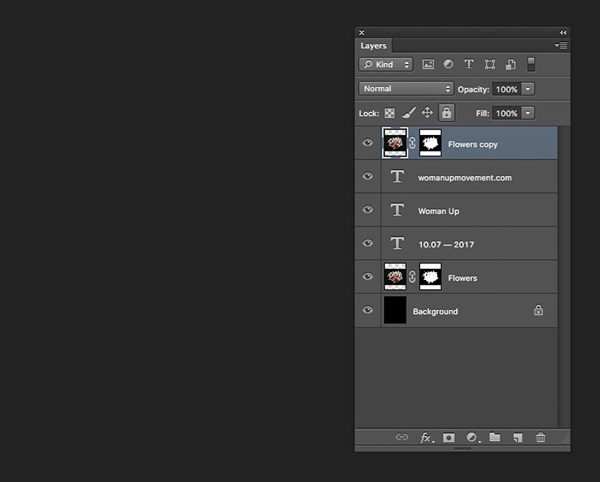
Select the duplicated layer of the flower, and more specifically, work on the layer mask, first set the Brush Tool (B) and right click to 30 px with a Hardness of 100%. You can toggle between black and white to hide or show parts of the image. Pressing X will swap between these two colors, making it easier to work on details.
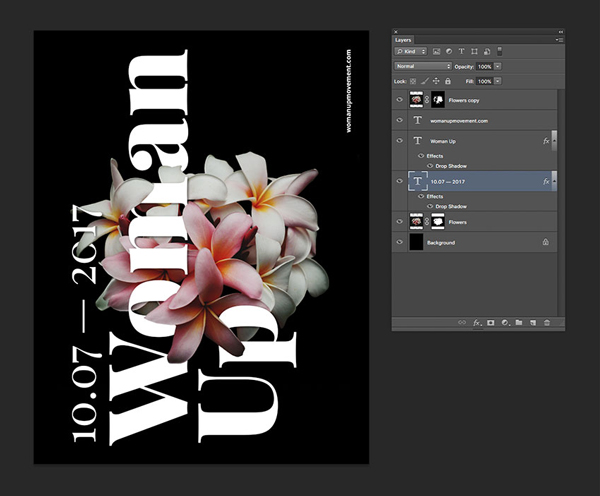
Adjust these foreground and background petals, the final file and layers should look like this:
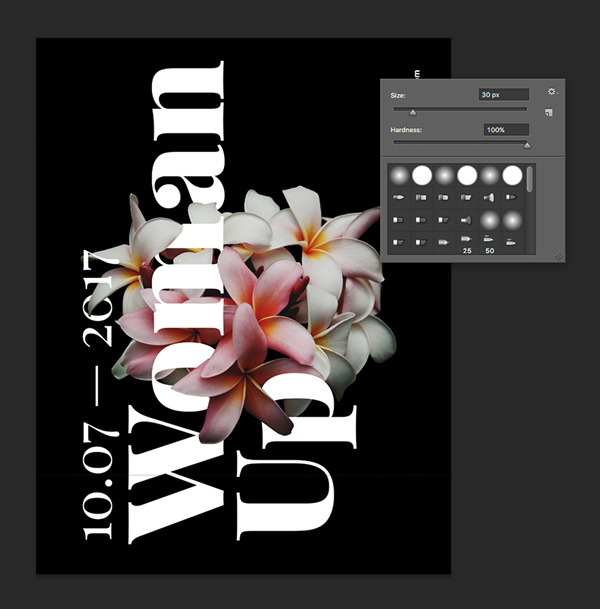
10. The same is true for other parts. In order to make the font more three-dimensional, we add shadows to the font.
11. We click the adjustment layer at the bottom of the layer to adjust the brightness of the entire interface. Brightness: +15 and Contrast: +20.
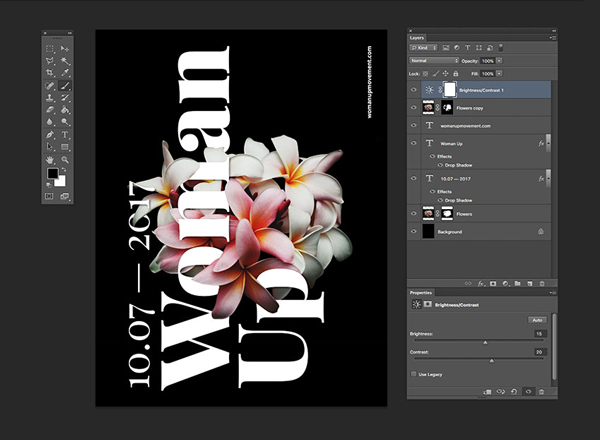
12. The final effect is as follows:

Articles are uploaded by users and are for non-commercial browsing only. Posted by: Lomu, please indicate the source: https://www.daogebangong.com/en/articles/detail/How%20to%20use%20layer%20mask%20to%20design%20a%20font%20poster%20in%20ps%20software.html

 支付宝扫一扫
评论列表(196条)
测试