
How to use PPT to draw a triangular expression with radians? Use the graphic splitting function of PPT to get it done.
ppt template article recommendation:
How to use ppt to make hand-painted chalk characters
How to make countdown animation with ppt
How to make the animation effect of turning pages in PPT?
The specific operation is as follows:
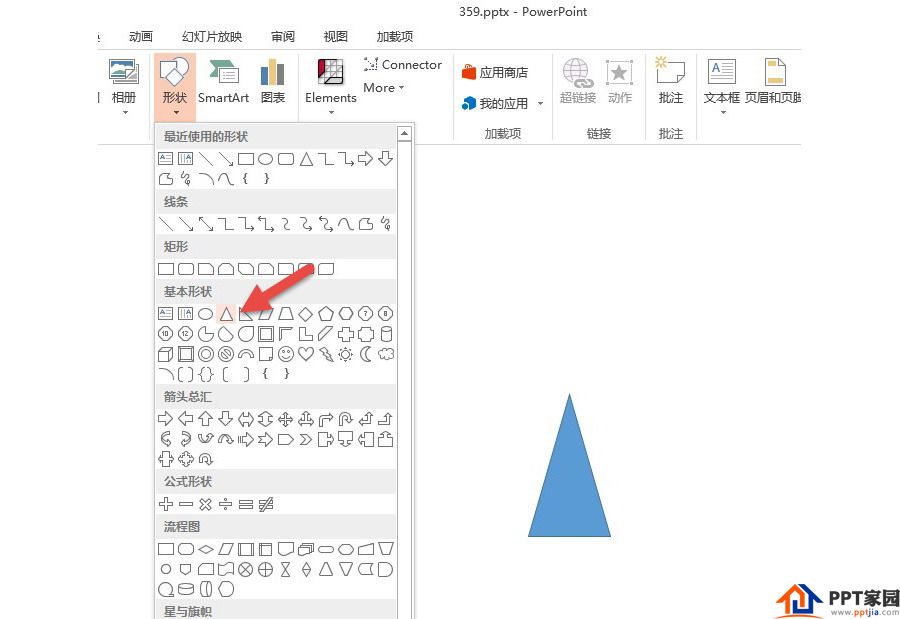
1. Create a new PPT, click "Insert - Graphics - Isosceles Triangle", draw an isosceles triangle, don't draw it too big. (arrow in the picture below)
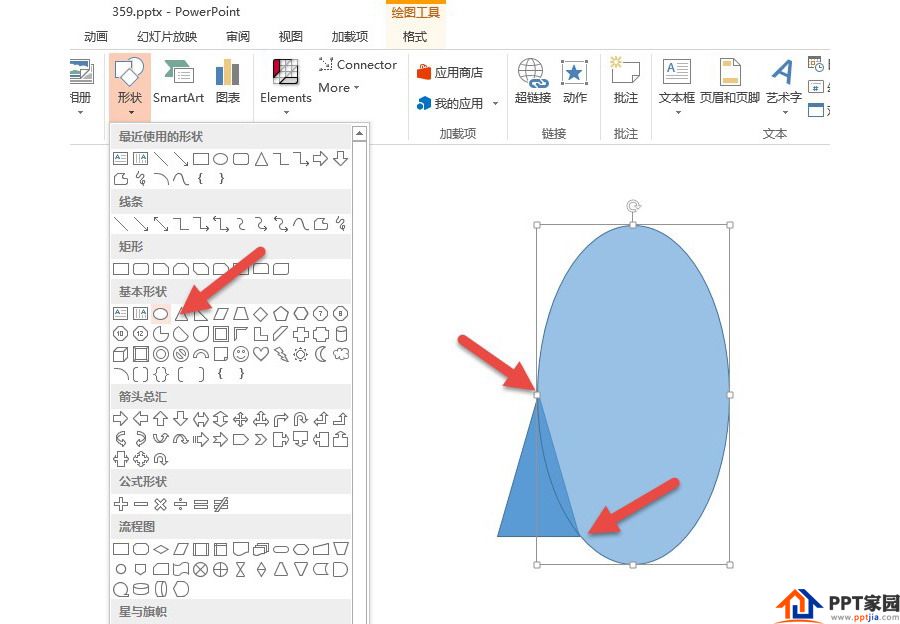
2. Then insert an ellipse, the ellipse should be large enough, pay attention to the "intersection" between the ellipse and the isosceles triangle. (arrow in the picture below)
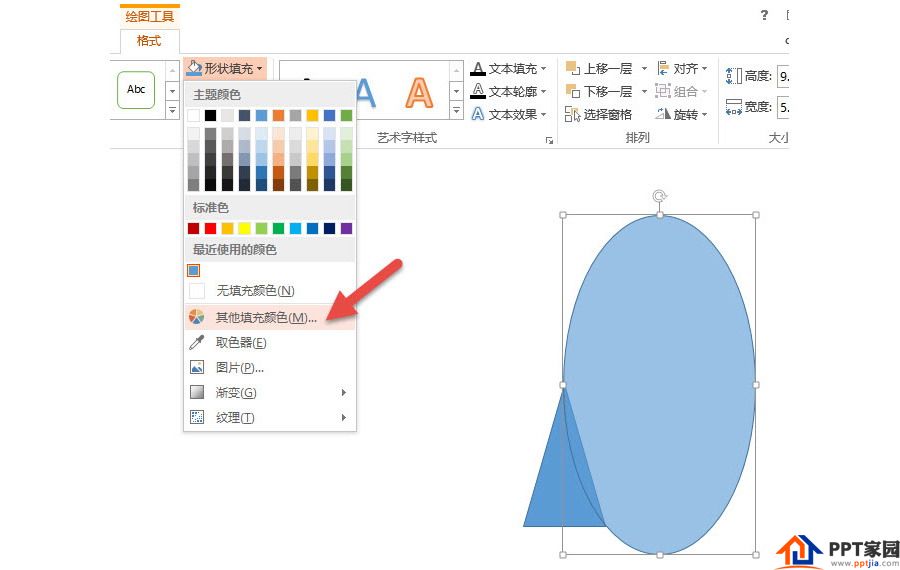
3. In order to make it easier to see the "intersection" position, you can set the ellipse to a translucent state. The setting method is as follows: select the ellipse, and then click the "Shape Fill—Other Color Fill" button. (arrow in the picture below)
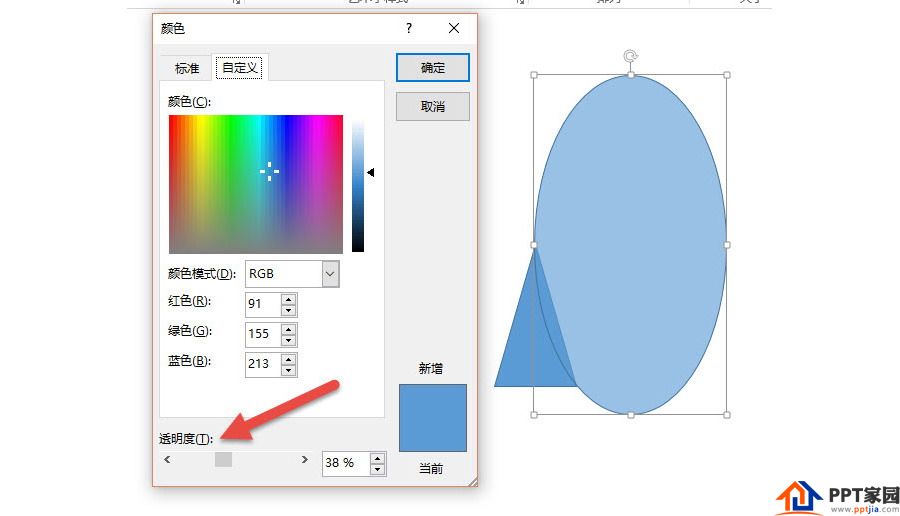
4. Set its transparency to about 30%. Arrow in the figure below. After setting, the ellipse becomes translucent.
5. Select the translucent ellipse, hold down the Ctrl+Shift key, copy and drag an ellipse, and also intersect it to the other side of the isosceles triangle, then select these three figures at the same time, and click "Merge Shapes—Split" (as shown below arrow) the effect is as follows:
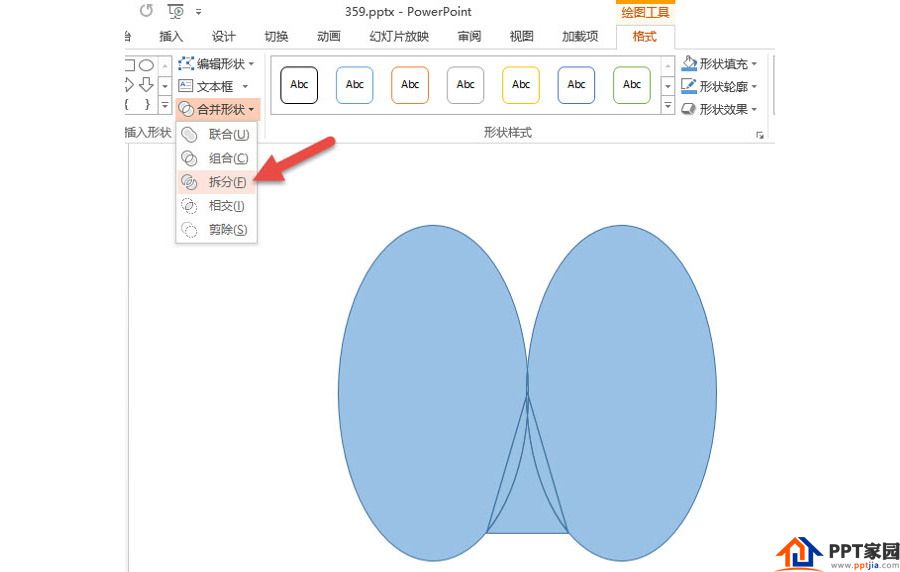
6. The green part in the figure below is the arc triangle. As shown below:
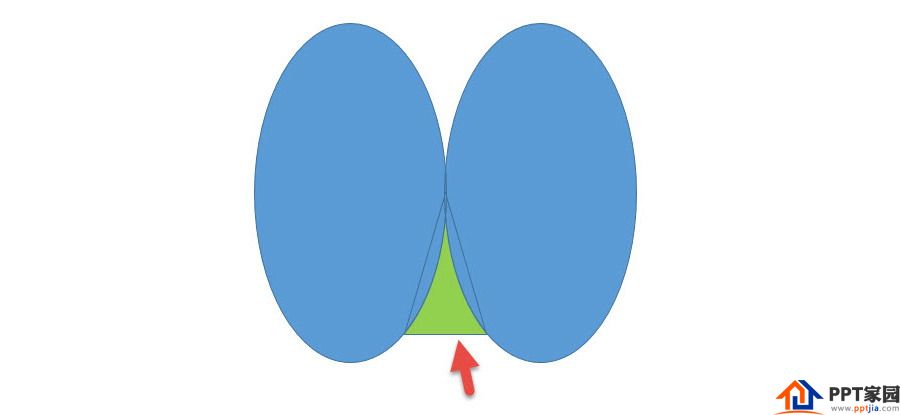
7. Delete the other blue parts to realize the basic creation of the arc triangle, and then just adjust the size and width according to the sample picture, and set the translucent state. As shown below:

8. Use the color picker to match the color, the transition from purple to red, similar color matching method, and set a 4.5-pound gray straight line to get it done!

9. How to make the fat "drop shape" marked with percentage on the picture?

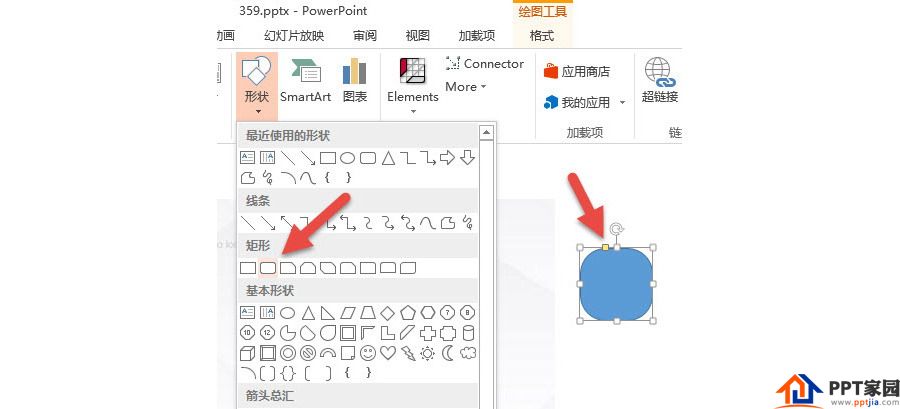
10. If you observe carefully, you will find that it is a combination of "rounded rectangle + curved triangle". Insert a rounded rectangle, and drag the yellow point to the position indicated by the arrow in the figure below.
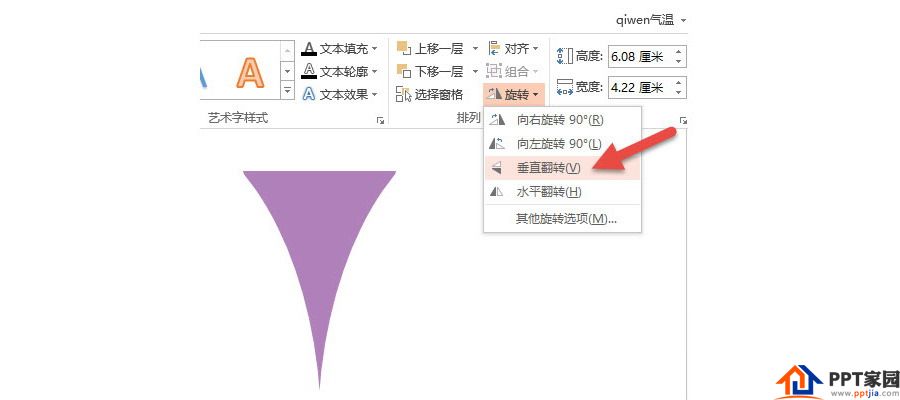
11. Then copy a previously made arc triangle, turn it upside down, and click "Rotate—Vertical Flip" at the arrow in the figure below.
12. Let the inverted triangle and the previous rounded rectangle overlap "perfectly", here you can zoom in on the view and make precise adjustments. Note the position of the red arrow in the image below.

13. Next, "join" the fat drop-shaped figure to get it done.
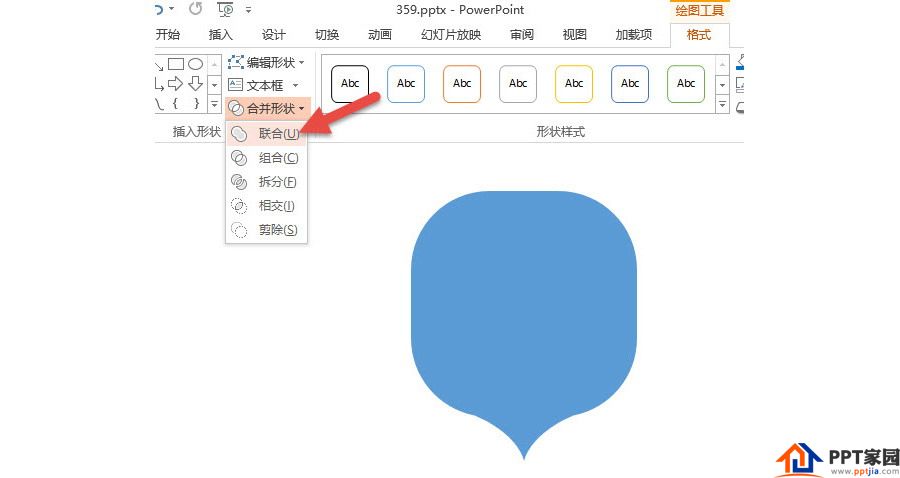
14. After making a DEMO, you will understand! The effect of copying and arranging the sample image is done.

Articles are uploaded by users and are for non-commercial browsing only. Posted by: Lomu, please indicate the source: https://www.daogebangong.com/en/articles/detail/How%20to%20use%20PPT%20to%20draw%20a%20triangular%20expression%20with%20radians.html
 支付宝扫一扫
评论列表(196条)
测试