What many people don't know is that ppt actually has a cutout function that is comparable to that of ps. Today, the editor will take a look at how to realize the basic cutout of pictures in ppt. For more downloads, please click ppt home.
ppt template article recommendation:
How to make a perspective picture style cover for PPT
PPT tutorial for adding frosted glass effect to pictures
How to make picture crushing effect in PPT
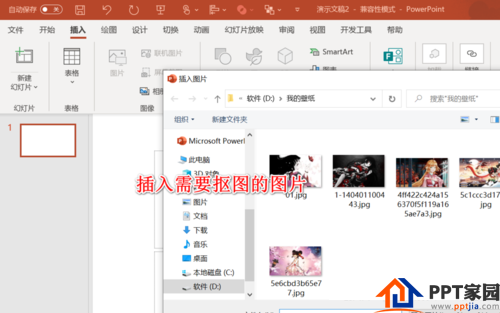
First of all, we click to open the ppt software, click Insert to select a picture to find the picture we want to cut out.
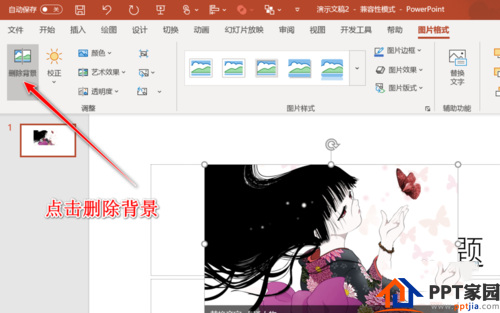
After importing the picture, we click on the Picture Format tab and click on the Remove Background option.
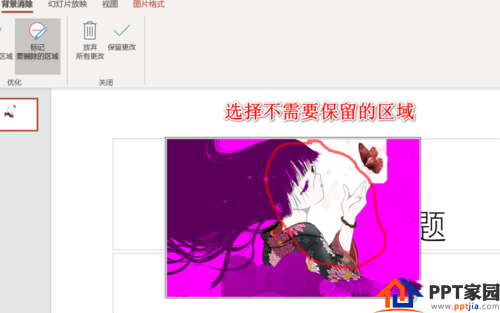
We click on the upper part to mark the area to be kept, and then use the brush to circle the content that needs to be cut out.

At this time, there may be inaccurate recognition in some places. We use the marker to delete the area brush to select the area that does not need to be kept.
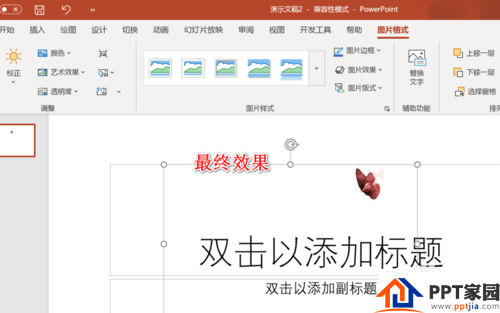
After the marking is complete, we click to keep the changes, and the picture will exit the editing function at this time
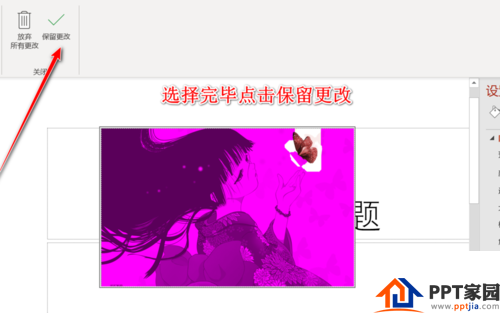
We can see the butterfly part in the picture, and it was cut out by us.
Articles are uploaded by users and are for non-commercial browsing only. Posted by: Lomu, please indicate the source: https://www.daogebangong.com/en/articles/detail/How%20to%20use%20PPT%20to%20cut%20out%20pictures.html
 支付宝扫一扫
评论列表(196条)
测试