Today I will share with you how to use PPT to draw a pulley. The following editor will explain to you how to draw a pulley in PPT.
ppt template article recommendation:
How to edit ppt layers
Where can I find the PPT2010 version color picker?
How to make gradient UI icons with PPT
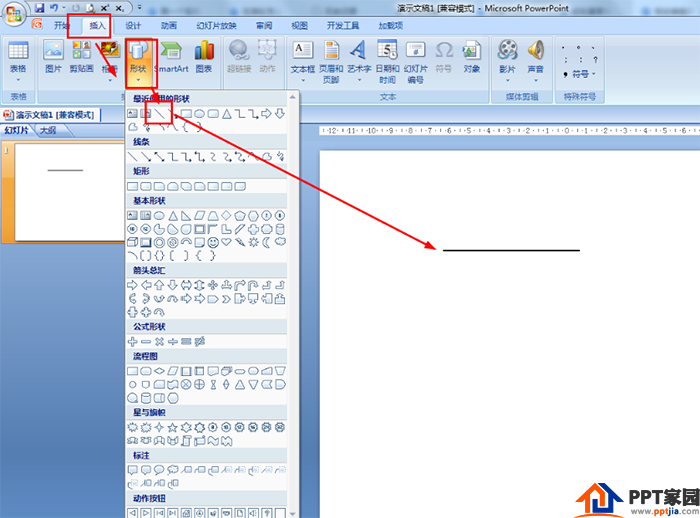
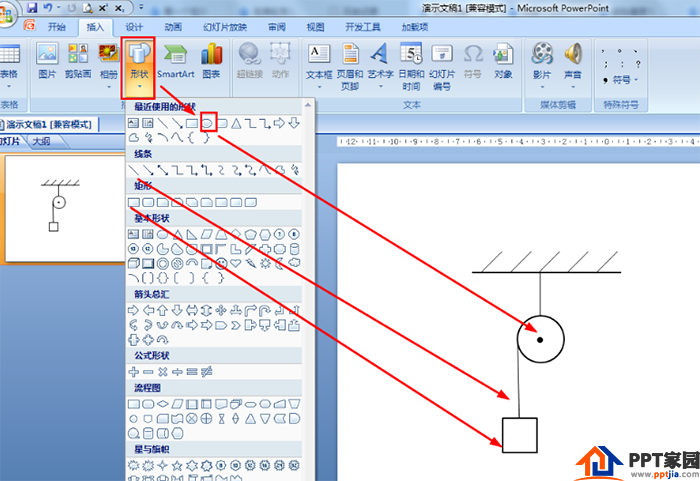
1. First click Insert - Shape - Select Line - draw a horizontal line as a fixed place.
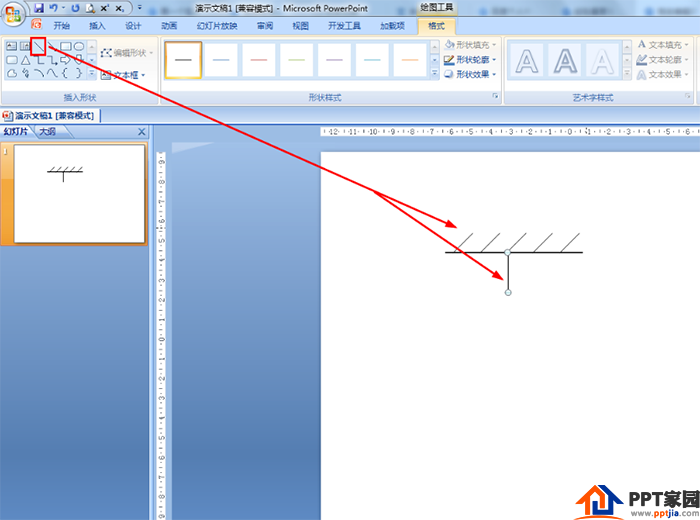
2. Then select the straight line in the shape - draw a left-sloping straight line on the horizontal line - draw a vertical line below the middle.
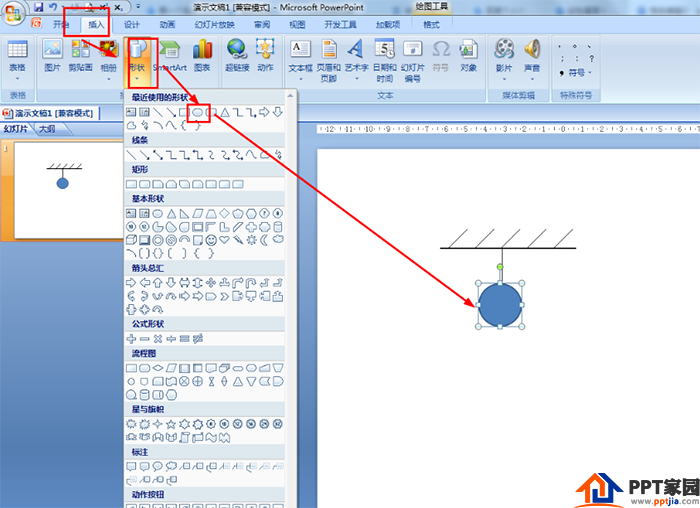
3. Also click Insert - Shape - Select Ellipse - press the shift key to draw a circle below the vertical line. At this time, the circle is filled with blue by default.
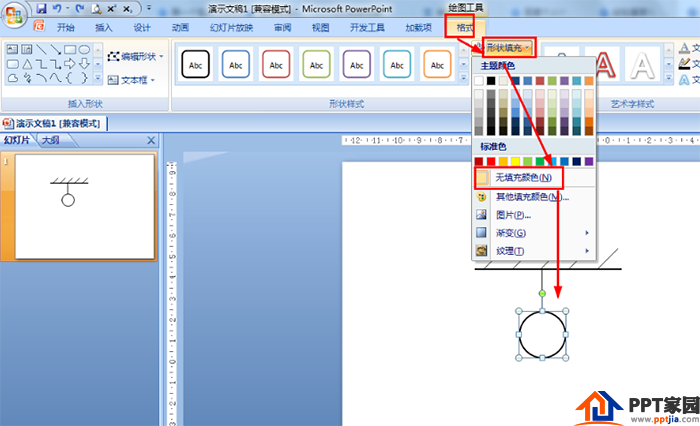
4. Select the circle - click Format - Shape Fill Selection: No fill color - set the outline of the shape to black. In this way, the fixed fixed pulley is drawn.
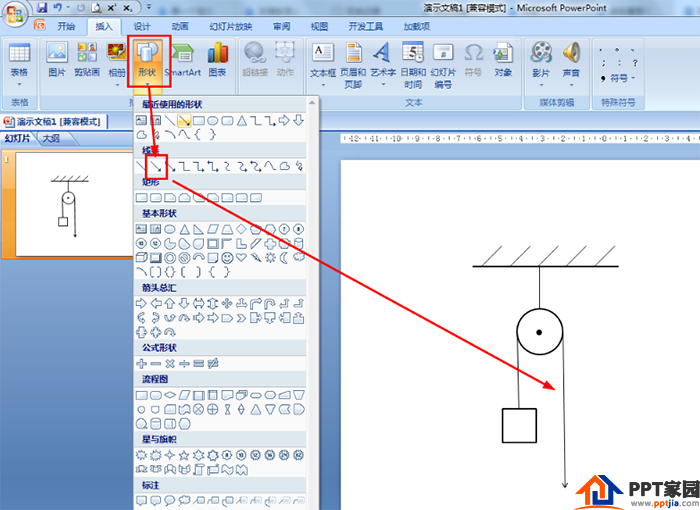
5. Then select the circle in the shape and draw a black dot in the center of the big circle - then draw a vertical line tangent to the big circle - use the rectangle shape to draw a square with no fill color below the vertical line.
6. Finally, select the single arrow line in the shape - line - draw a downward arrow line on the right side of the big circle and tangent to the big circle.
Articles are uploaded by users and are for non-commercial browsing only. Posted by: Lomu, please indicate the source: https://www.daogebangong.com/en/articles/detail/How%20to%20draw%20a%20pulley%20with%20PPT.html
 支付宝扫一扫
评论列表(196条)
测试