About the tutorial
Hi~ Good morning and evening, everyone. It’s the weekly tutorial time again. Today I want to teach you a very practical and easy-to-use design method when making a logo, that is, the method of rotation.

When you feel When the graphics designed by yourself are relatively thin, or the visual impact is not enough, you can try to use this method, which can not only make the graphics rich, beautiful and connotative, but also reduce the probability of failing to pass the graphics registration.

Tutorial content
Case 1
Stop talking nonsense , on the case. For example, if you want to design a brand whose initial letter is B, first make a basic type as follows:

Then find< /span> pivot point for rotation,What is a fulcrum? To put it simply, you want the figure to rotate around which point as the center, and this point is the fulcrum of rotation! This step is very important. If you can’t find the fulcrum, the resulting shape will be very strange. Of course, there may be surprises, so you can try the effects of different fulcrum rotations.
Here I think It shows a figure with 4 Bs in a circle and closed space, then the rotation angle of each basic type is 360°÷4=90°, because the above B is drawn by me with grid assistance, so its fulcrum Very easy to find, as follows:
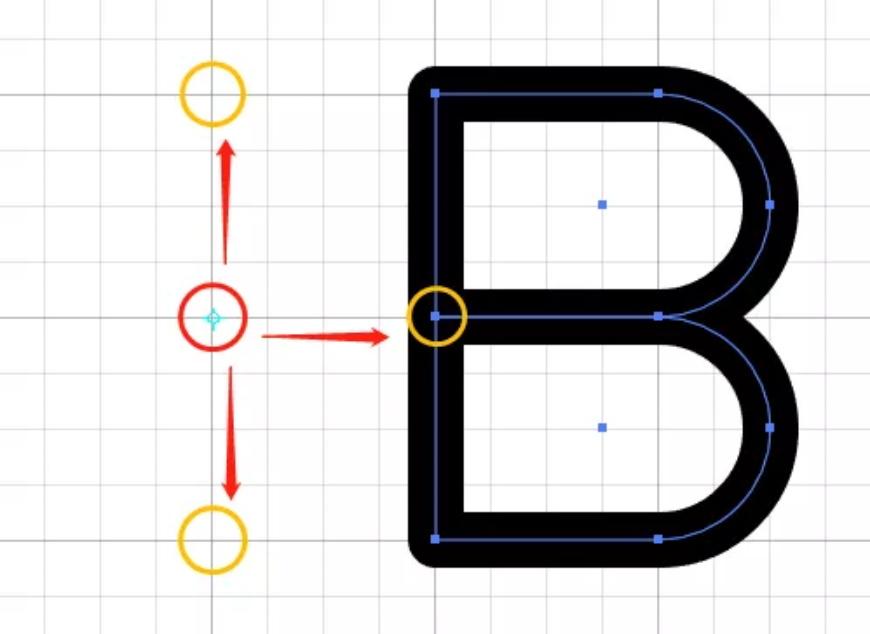
The picture above is red The circle marked is our fulcrum, and the distance from it to the other 3 yellow circles is 4 squares, let's rotate it to have a look.
What? You can't do this step? Welcome to the video room on the second floor, please refer to my other article. Old man, your triangle has fallen off. Pick it up quickly. . There are detailed operation steps inside (click on the title of the article to jump)
Surprisingly after the rotation I still feel that the graphics are a bit dull, so let’s rotate it 45°, and add English, please see the final effect:

Hmm~~ It has a taste! But it's not over yet, let's try to rotate the fulcrum in another position to see what other effects it will have. For example, shorten the position from the fulcrum to the yellow circle to 2 grids, as follows:

Rotated The effect is, Dangdangdang~
Rotate again Look at the final effect at 45°:

Wait, It’s not over yet. At this time, I found a problem of visual imbalance, that is, the picture is heavy and the text is light. The reason is that compared with the previous case, we only shortened the distance between B and B, resulting in the overall smaller graphics, but the description If the edge thickness does not change, the negative space of the graphic will appear a bit crowded. There are two ways to solve it: either bold the text, or thin the stroke of the graphic. As a second-hand product, of course I choose the second one~

Wow~ It's so professional (the affirmation from a pretty girl)

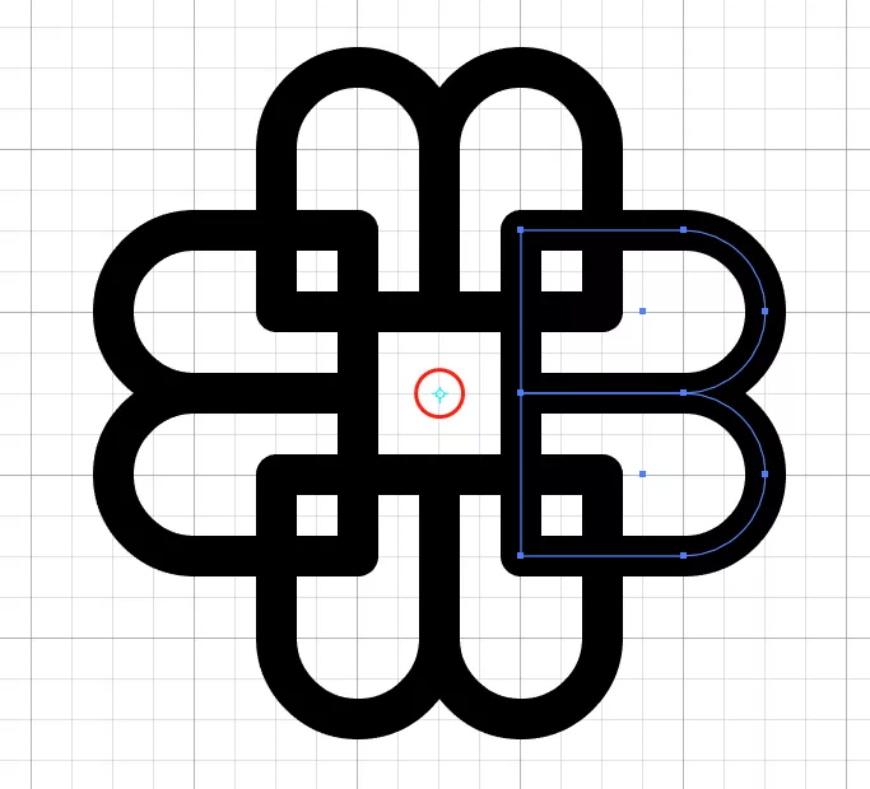
Here you go Thought it was over? No, no, seriously, I plan to try the next 3 B graphics. Calculated according to the formula just now, the rotation angle of each B is 360°÷3=120°. Make up your mind, the middle shape surrounded by the bottoms of the three Bs should be an equilateral triangle, so first of all we give B a comfortable lying position (why do you want to lie down? You can take a closer look after reading~), the triangle is not like For the previous square, its midpoint may not be exactly on the grid point, but it must be on the vertical reference line in the figure below. Then we will try to find a rough fulcrum first, and then fine-tune it after the rotation.
obtained after rotation Below:

We found 3 There is a gap between the two Bs. At this time, we open the smart guide (shortcut key ctrl+U), and close the grid alignment (shortcut key ctrl+shift+"), and manually adjust the positions of the above two Bs. See Animation:
Now feels graphic Top-heavy, then we can use the mirror tool (shortcut key O) to flip the graph vertically. This tool is much faster than the step of "right-click-transform-symmetry-pop-up window and then set". I hope you can make good use of it .
Finally type text , and adjust the stroke thickness of the graphic according to the text, and you're done!

So rotate Dafa The essence is three steps,First draw the basic shape, second find the fulcrum, third calculation angle!
Case 2
Next test To test everyone, let's think in reverse, first look at the final graph, and then reversely deduce what is the basic type of this graph? Where is the fulcrum of rotation? What is the unit rotation angle? (The graphic is selected from my letter combination series - L)

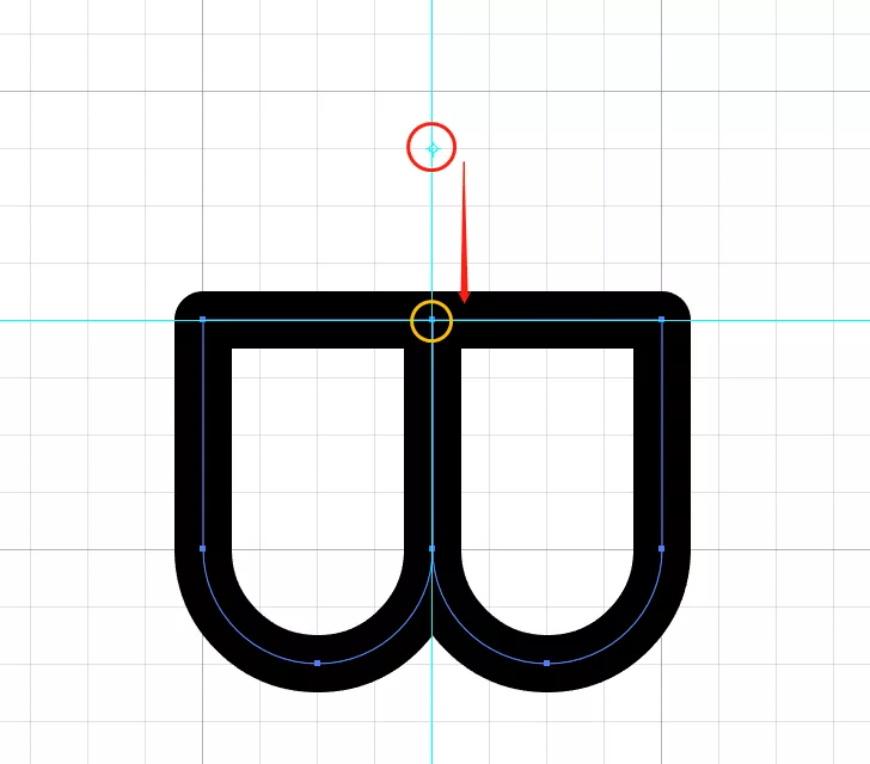
Yes, It is LL, which is a composite basic type, disassembled as follows:
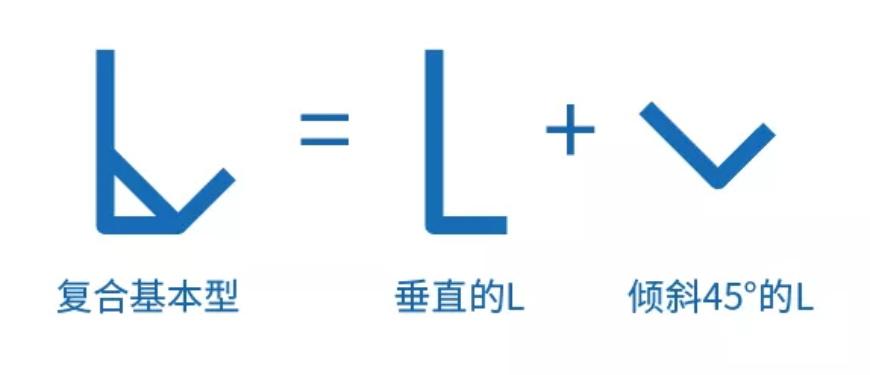
The fulcrum is At the vertex of the vertical L, and then look at the figure contains a total of several basic types, you can easily calculate the unit rotation angle, that is, 360°÷8=45°, see the animation operation.
Case Three
Of course, basic The shape can be more complicated, and the role of rotation is not limited to enriching the basic shape itself, but can also serve as a decoration for the outer contour, such as the following figure with the letter JV as the main body. (The graphic is selected from my letter combination series - J article)
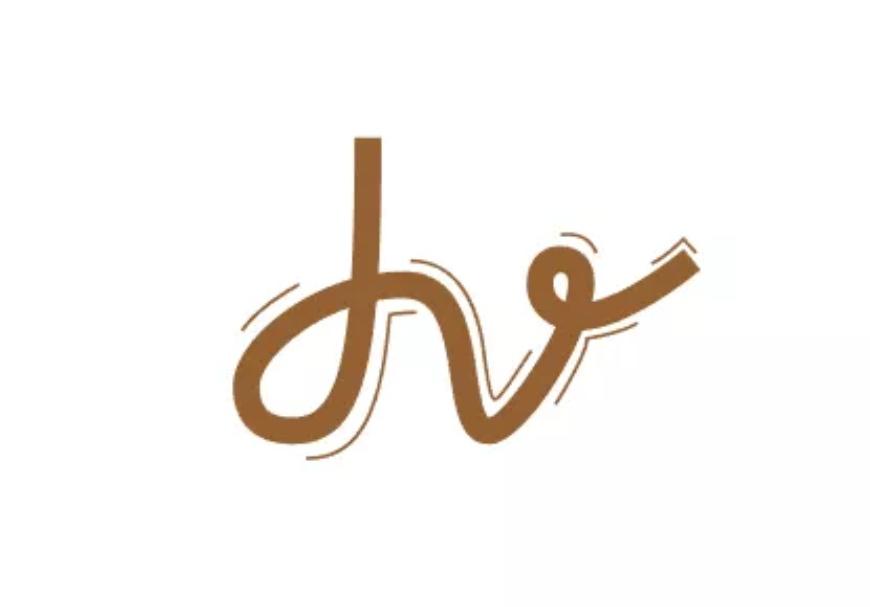
This is a The handwriting-style line shape is not so regular, and it is simple and unique enough that there is no need to rotate and copy it based on the body. However, we can use rotation to create an outer contour to make the graphic richer and see how it works.
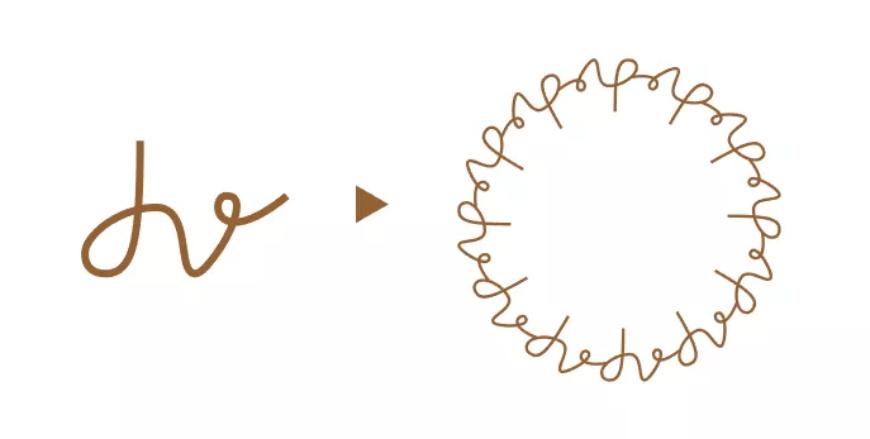
Wow~ The effect of the rotation is not bad. Here I have rotated 11 times in total, a total of 12 basic shapes, and the unit rotation angle is 30°. As for the fulcrum, of course it is in the center of the entire outline.
PS: Because the basic shape is irregular, it takes several attempts to find this fulcrum. Different positions, different quantities, and different rotation values will result in different results. You can try more. It is best that the number of basic types can be divisible by 360, so that your rotation angles are also integers, which is easier to operate!
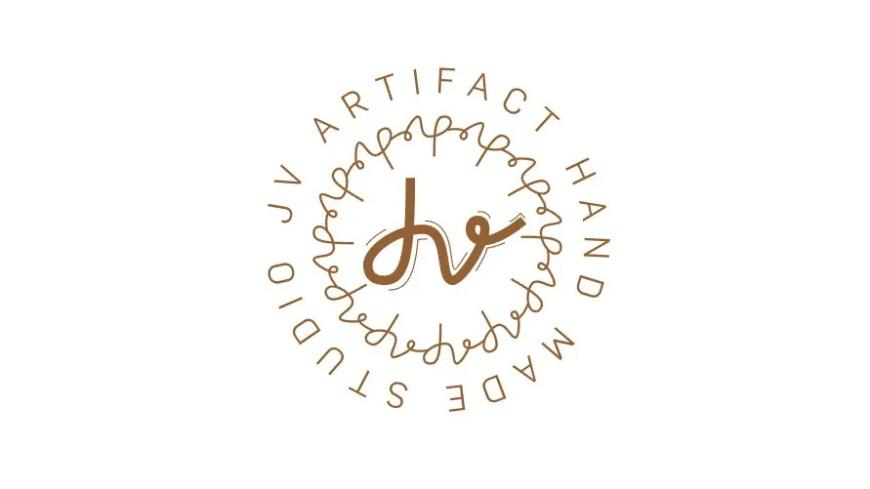
Finally we put Put the previous JV in the center of the outline, and put the text on the outer circle, perfect!
Okay, This is the end of today's tutorial~ I hope you can do more after watching it, so that you can understand the meaning of rotation!
Good night everyone~ We'll see you tomorrow!
Articles are uploaded by users and are for non-commercial browsing only. Posted by: Lomu, please indicate the source: https://www.daogebangong.com/en/articles/detail/How%20to%20do%20this%20LOGO%20Want%20a%20sense%20of%20form%20Teach%20you%20how%20to%20use%20rotation.html
 支付宝扫一扫
评论列表(196条)
测试