I want to do a photo layout in ppt, how to make the photo into a more creative layout method? Let's take a look at the detailed tutorial below. For more downloads, please click ppt home.
ppt template article recommendation:
How to make a Polaroid photo style picture
How to make a cool photo wall in PPT?
How to use PPT to turn color photos into black and white?
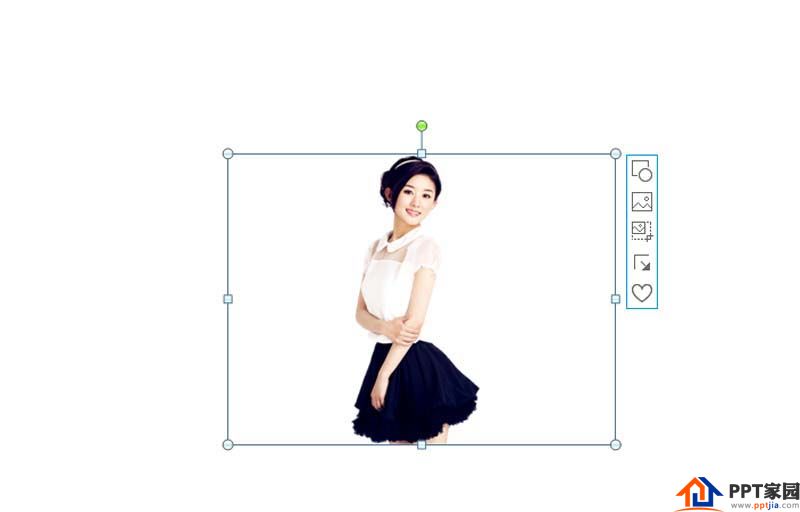
1. Start ppt2010 first, execute the insert-picture command, insert a picture prepared in advance, and adjust its size and position.
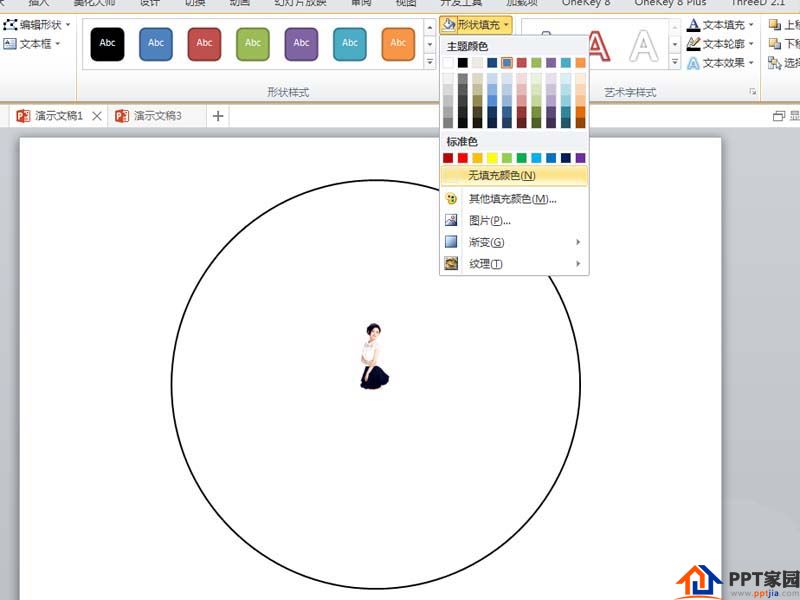
2. Use the same method to insert a perfect circle, set the shape fill to no color fill, and the shape outline to black.
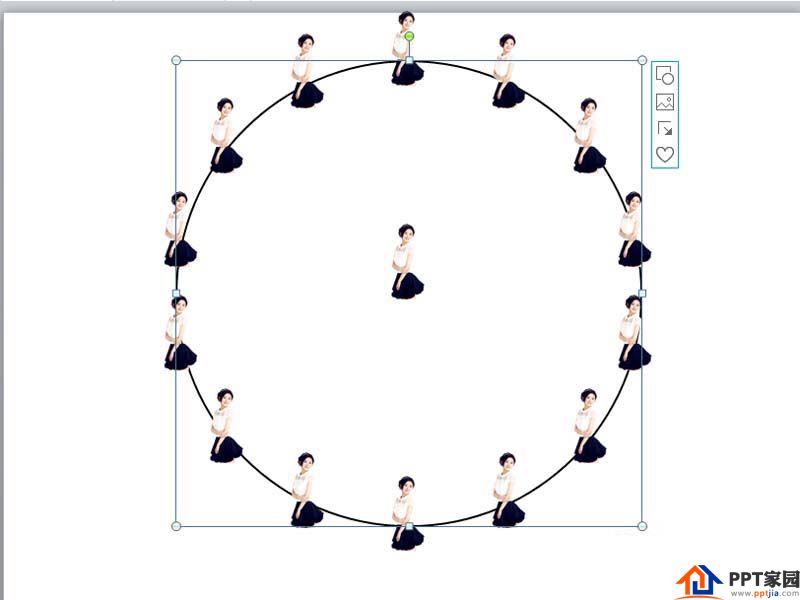
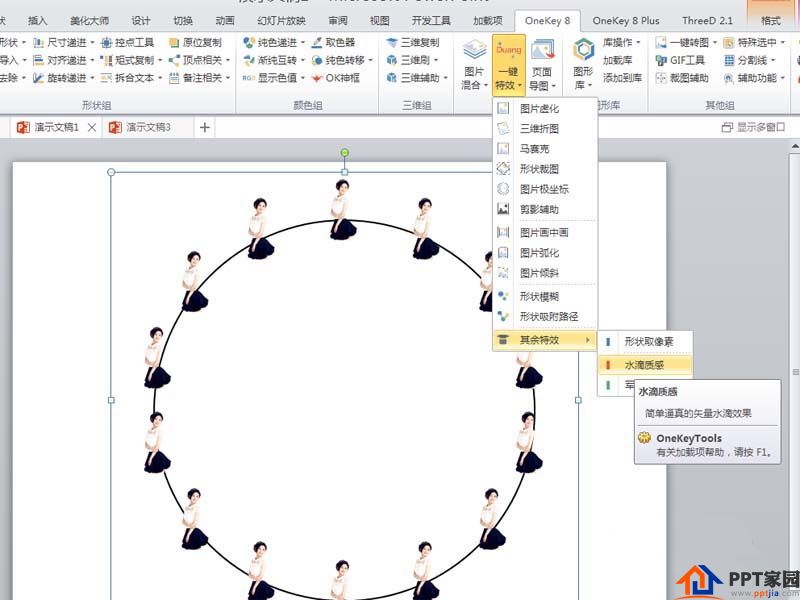
3. Then first select the perfect circle and then select the character, and execute the onekey-rectangle copy-ring copy command to check the effect.
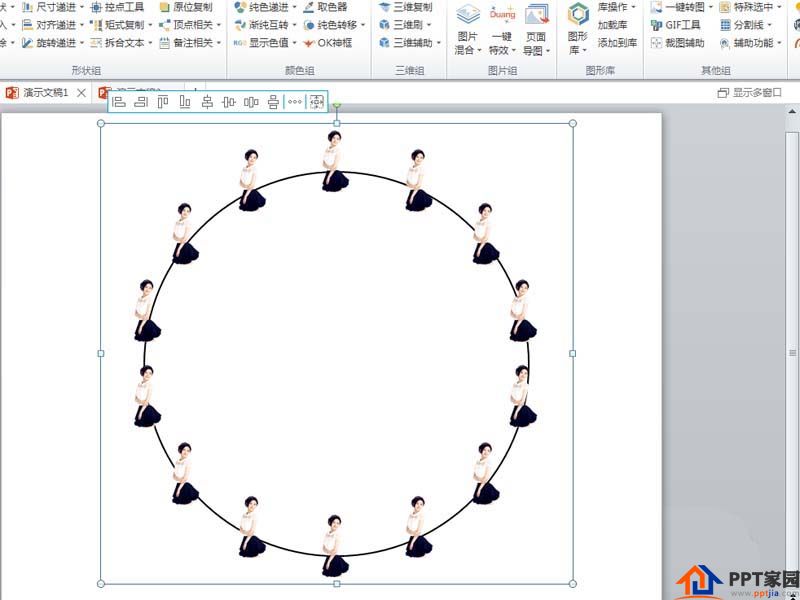
4. Delete the original character picture, execute ctrl+a to select all, and execute ctrl+g combination to form a graph.
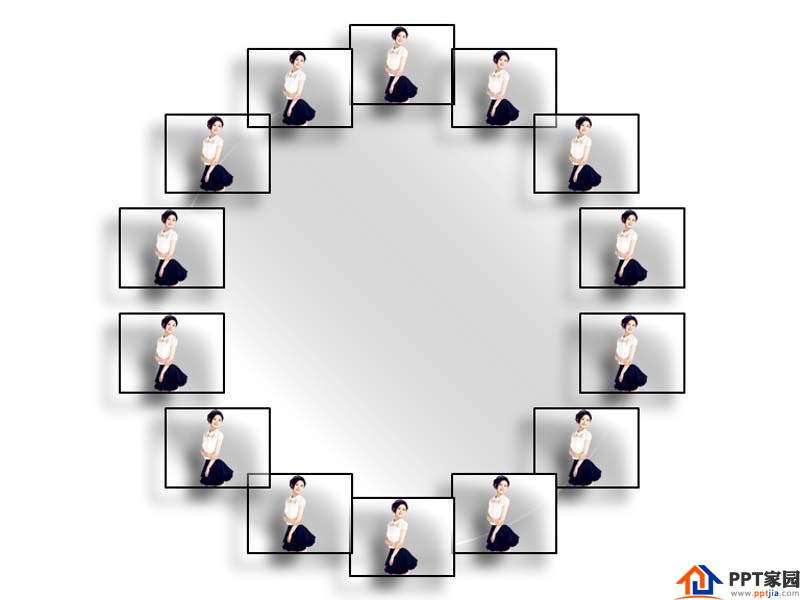
5. Execute the onekey-one-key special effect-other special effects-water drop texture command, and the effect will become blurred at this time.
6. Press and hold the shift key to adjust its size proportionally, and set center alignment, and play to view the effect.
Articles are uploaded by users and are for non-commercial browsing only. Posted by: Lomu, please indicate the source: https://www.daogebangong.com/en/articles/detail/How%20to%20design%20a%20circular%20arrangement%20of%20photos%20in%20PPT.html
 支付宝扫一扫
评论列表(196条)
测试