1. Creation background:
It has been four years since ____ graduated. After careful consideration, I secretly made up my mind to calm down and return to design in 2016. In 2016, peace will go far! The company's annual holiday is relatively early, and the entire holiday lasts for more than 20 days. I decided not to go home during the Spring Festival, and stayed in Guangzhou to do design in my nest, enjoying the loneliness of being alone. A friend asked, don’t I miss home? Hehe, think about the scene of a big family having a reunion dinner around the dining table, how can anyone miss home...
____ During the annual vacation, I accumulated some font designs, all for entertainment In nature, it is purely for fun, so the design is more casual. At the beginning of March, I sorted out the fonts designed during this period and sent them to Zaku.com. I didn’t expect to be recommended to the homepage and received praise from many cool friends. I would like to express my heartfelt thanks to everyone! And I was fortunate to receive an invitation from the editor of Mars.com (Yunjuan Yunshu) to write a tutorial. So I readily agreed to write a tutorial on the case of the word "Fu" for the reference of interested design partners. I hope you like it!
Second, there is a lot of nonsense, now let's get to the point!
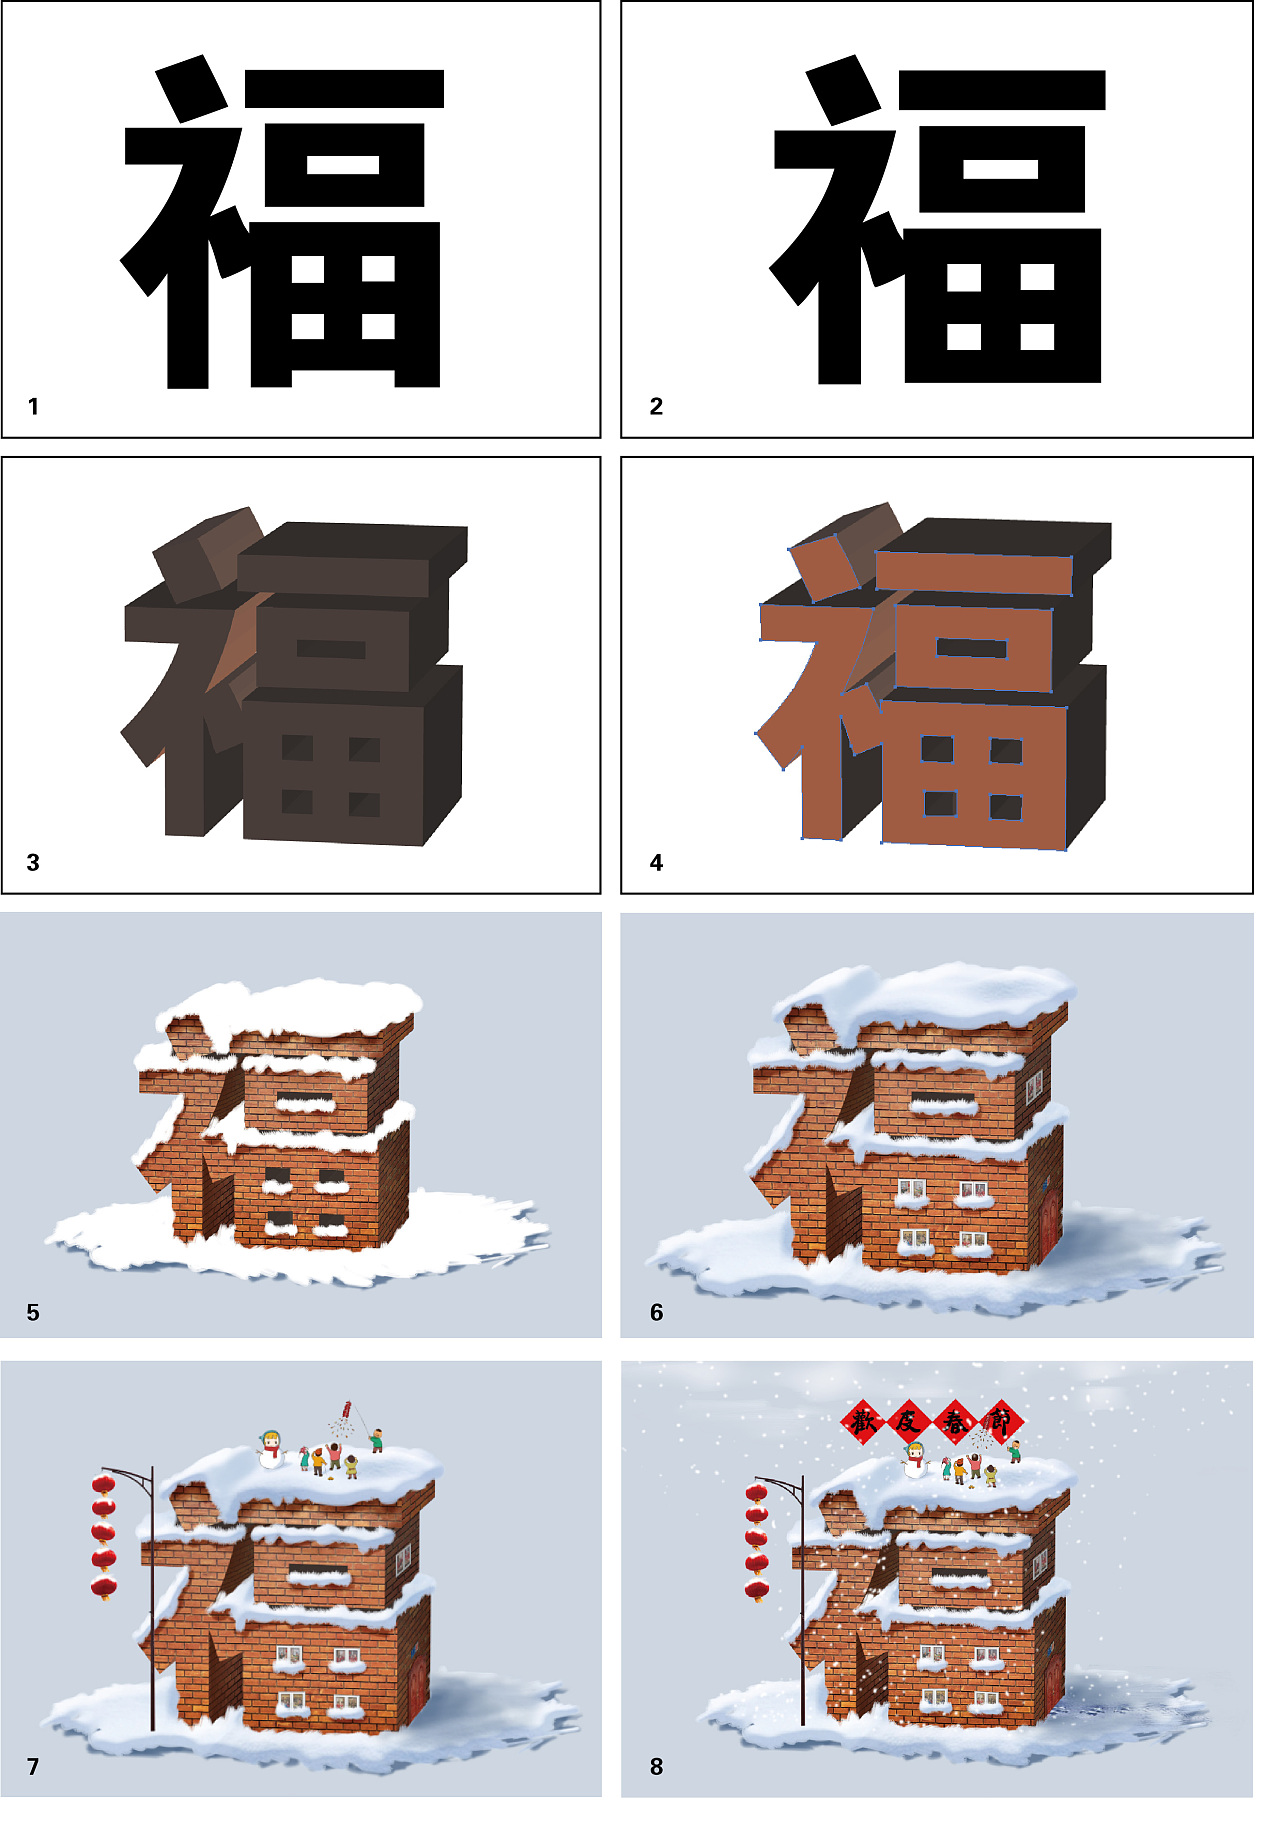
1. First, let's take a look at the final design effect; ↓

2. Process review: ↓
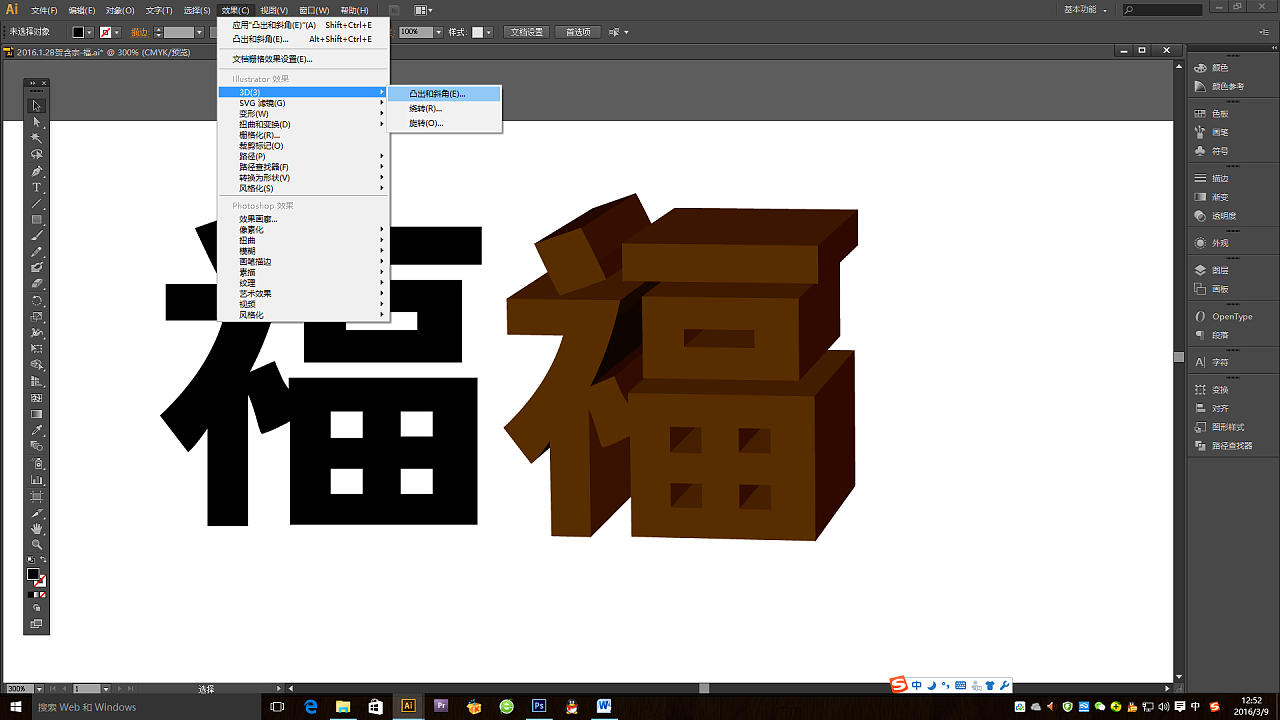
↑The software I use for this font design work is AI and PS. AI is mainly for making three-dimensional models (Figure 1-4) and PS is mainly for adding elements and effects (Figure 5-8). Hand drawn board.
3. Open the software and start ZAO!

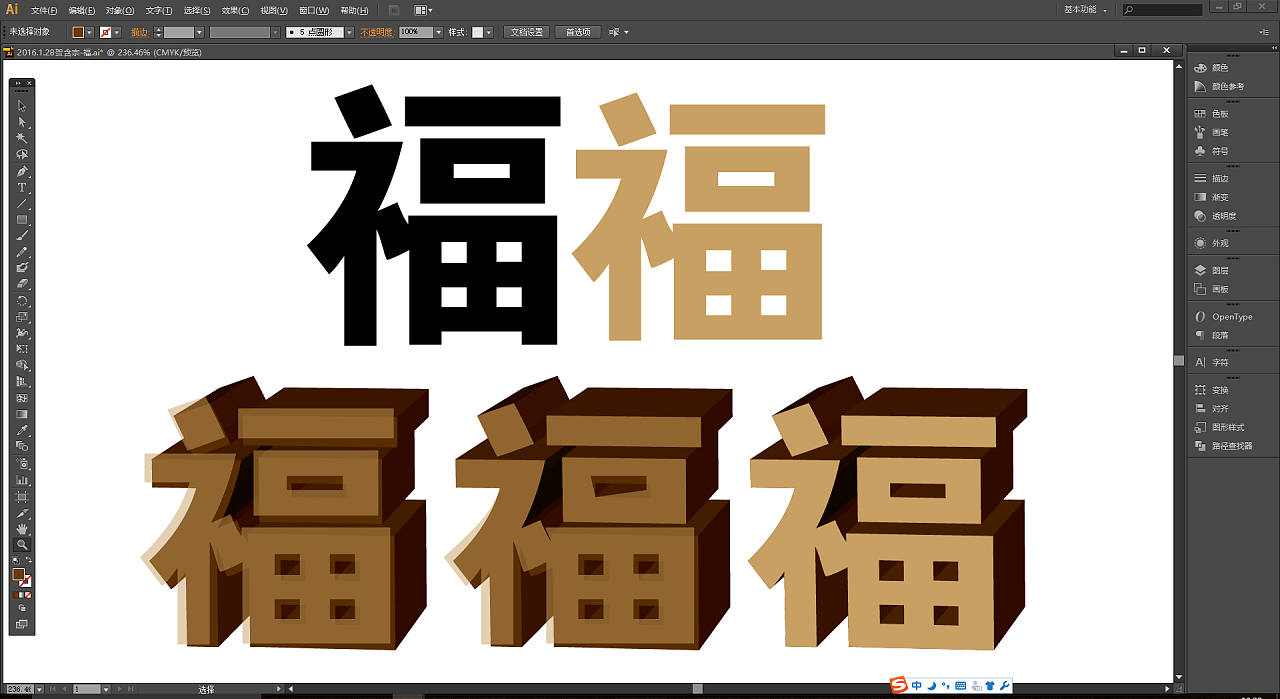
↑Step 1: Type out the word "Fu" in a bold bold font with thick strokes. I use Fangzheng Dahei Simplified. You can also try to design the basic strokes of the font by yourself;
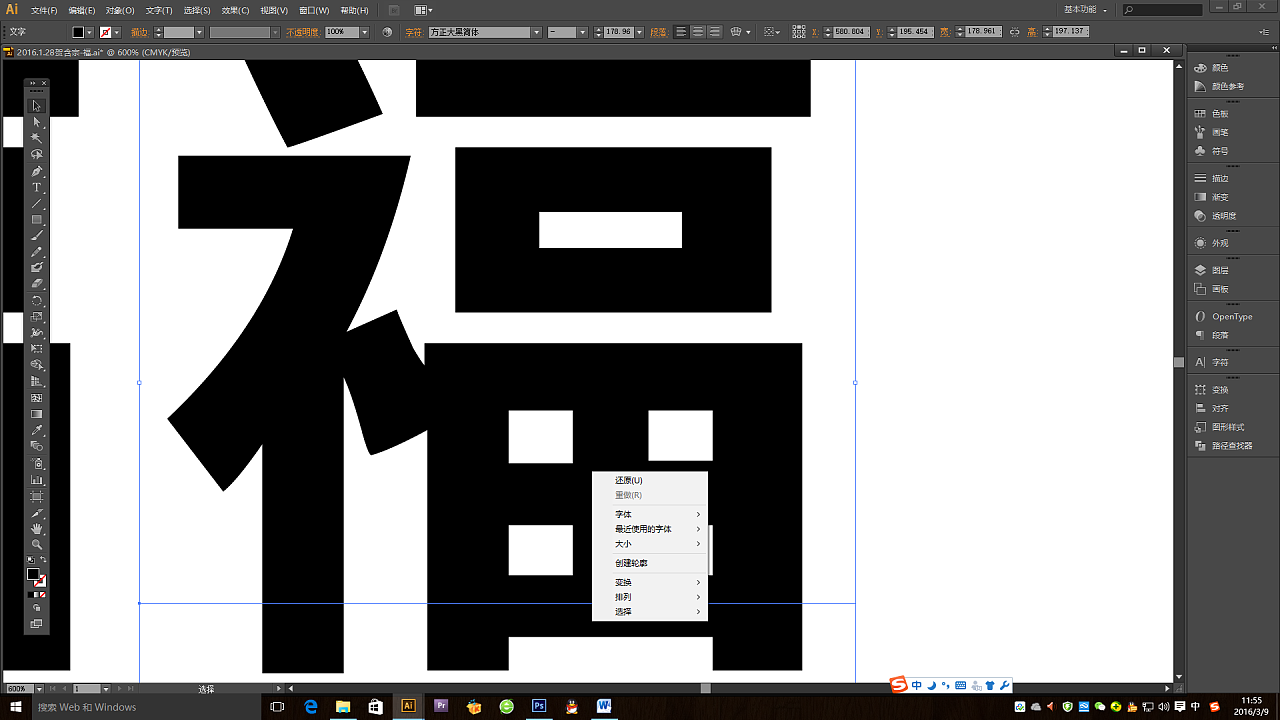
↑Step 2: Select the word Fu and right click to create an outline;
↑Step 3: Adjust the depiction point of "Tian" in Fu character and simplify the font;
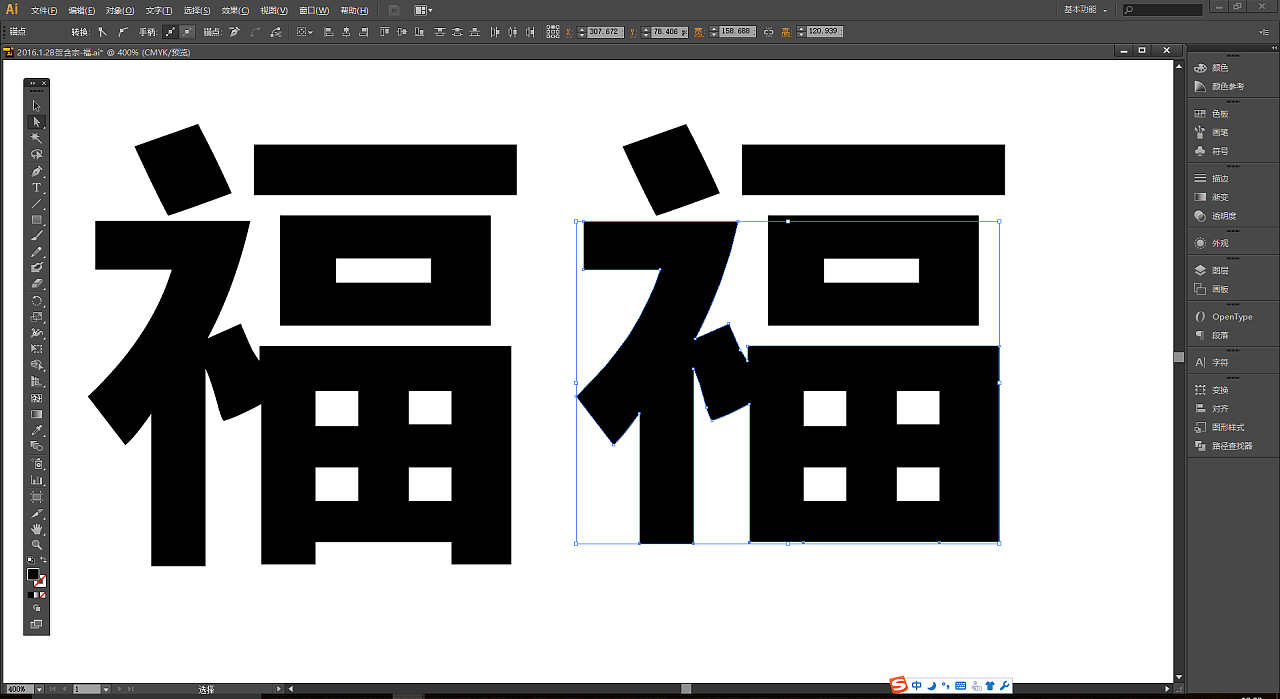
↑Step 4: Copy the adjusted Fu character to a backup layer, change the color and execute the Effect→3D→Protrude and Bevel command;
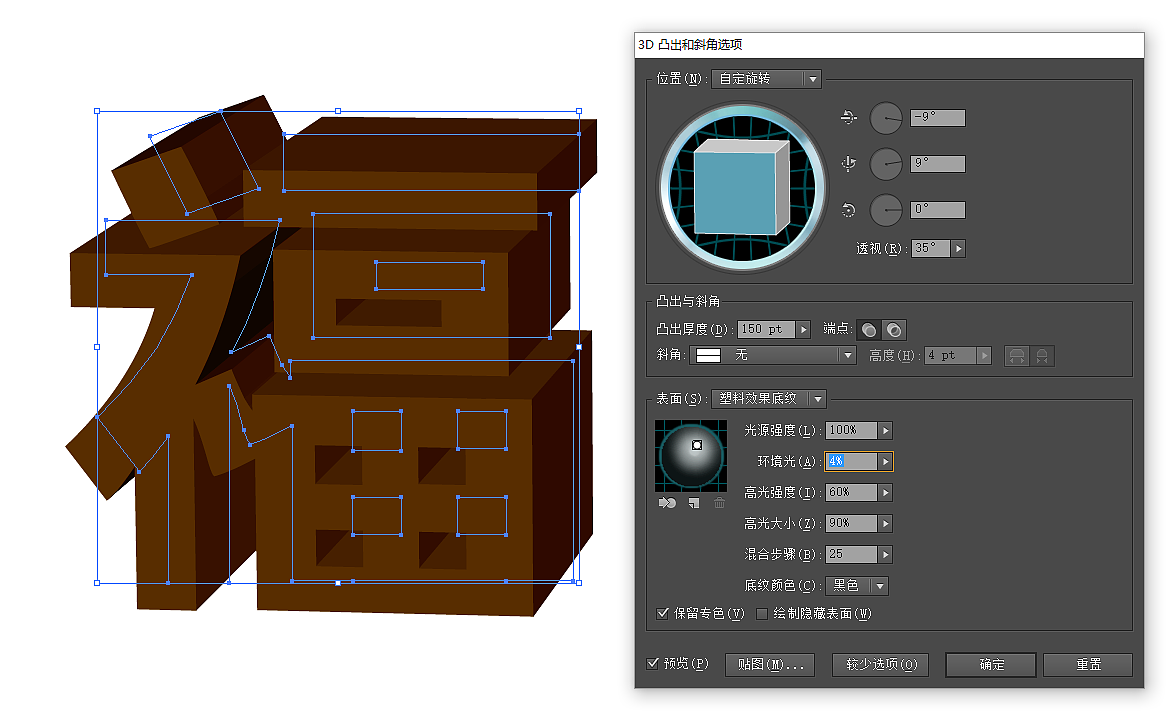
↑Step 5: Adjust parameters such as angle, perspective, and protrusion. It is recommended to check the preview when adjusting the parameters, and adjust the parameters while previewing until the appropriate angle. Reducing the ambient light parameters can enhance the light and dark contrast of the three-dimensional characters, so that the character effects can be mapped according to the outline;
↑Step 6: Lock the three-dimensional Fu character model, fill the backup Fu character with a light color, and reduce the transparency (to facilitate observation of the overlap of the drawing points), use the direct selection tool (A) to adjust the drawing points until it completely overlaps with the three-dimensional Fu character model ;
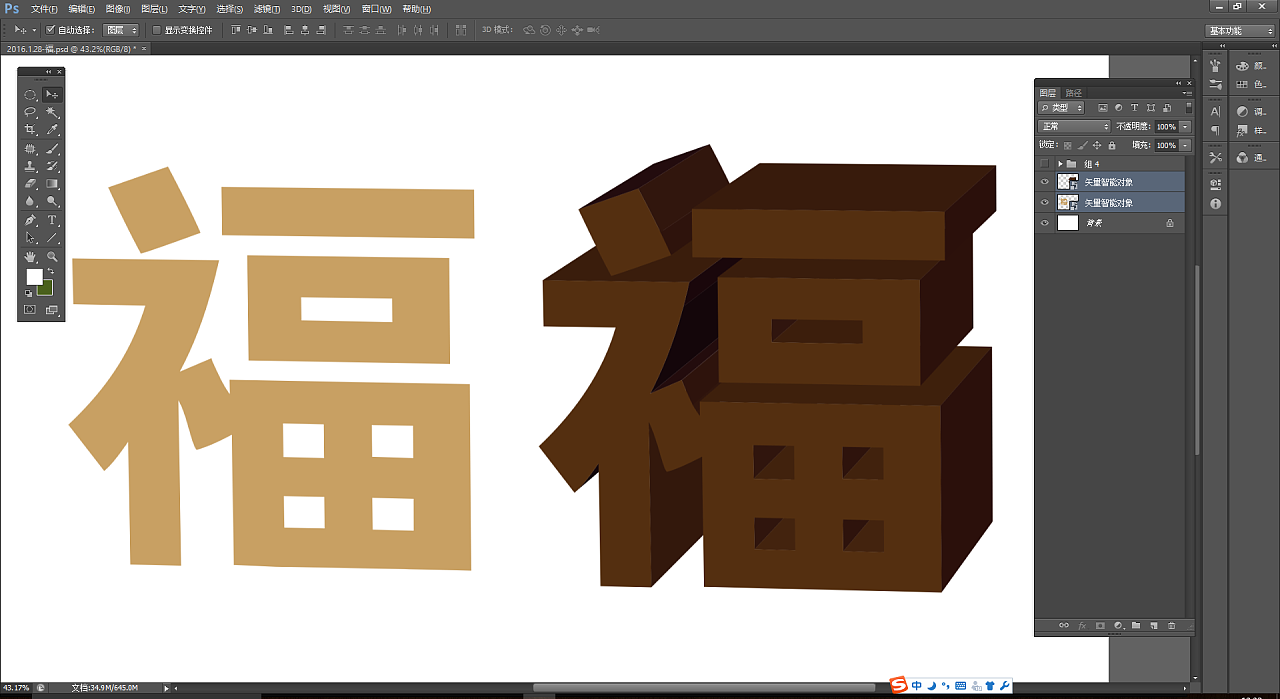
↑Step 7: Open the new file in PS, drag the two layers made in AI to PS to make the two layers re-paste;
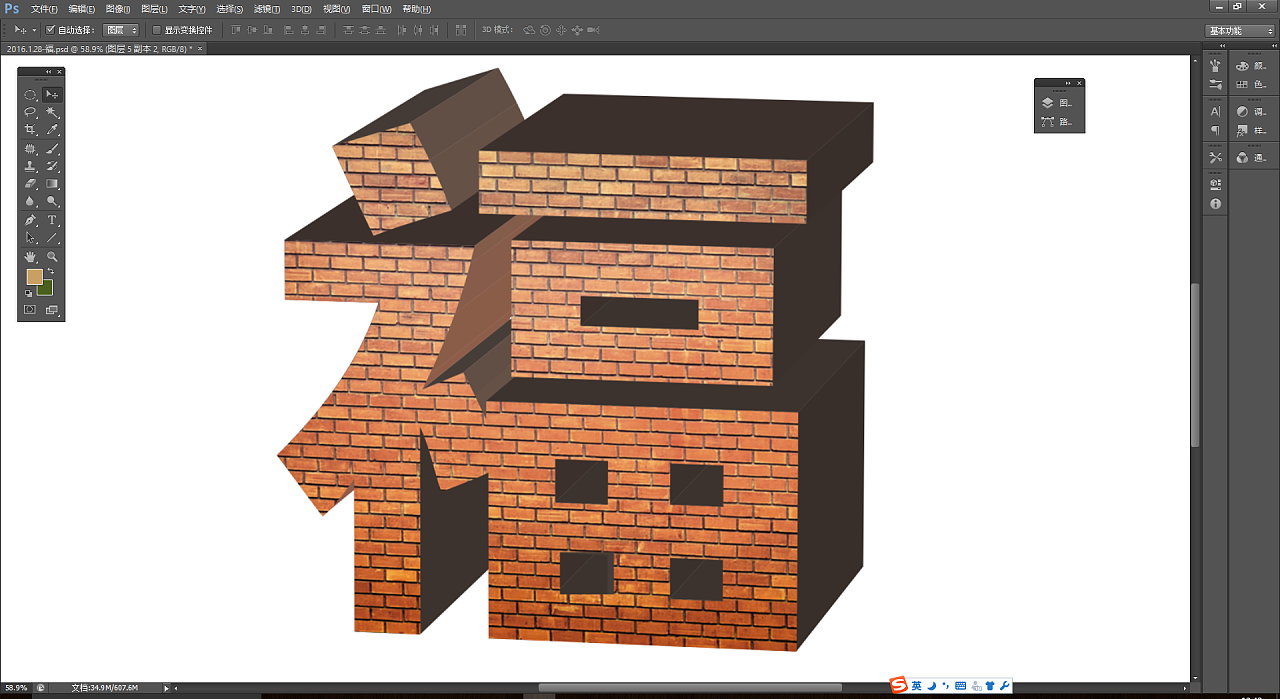
↑Step 8: Transfer the prepared brick wall materials into the starting texture, pay attention to the unity of the perspective of the brick wall lines and the outline of the word "Fu" when mapping, so that it can be more integrated;
Articles are uploaded by users and are for non-commercial browsing only. Posted by: Lomu, please indicate the source: https://www.daogebangong.com/en/articles/detail/Han%20Zongcreative%20Fu%20font%20design%20tutorial.html
 支付宝扫一扫
评论列表(196条)
测试