
Hi! Friends, I am here again

What I bring to you today
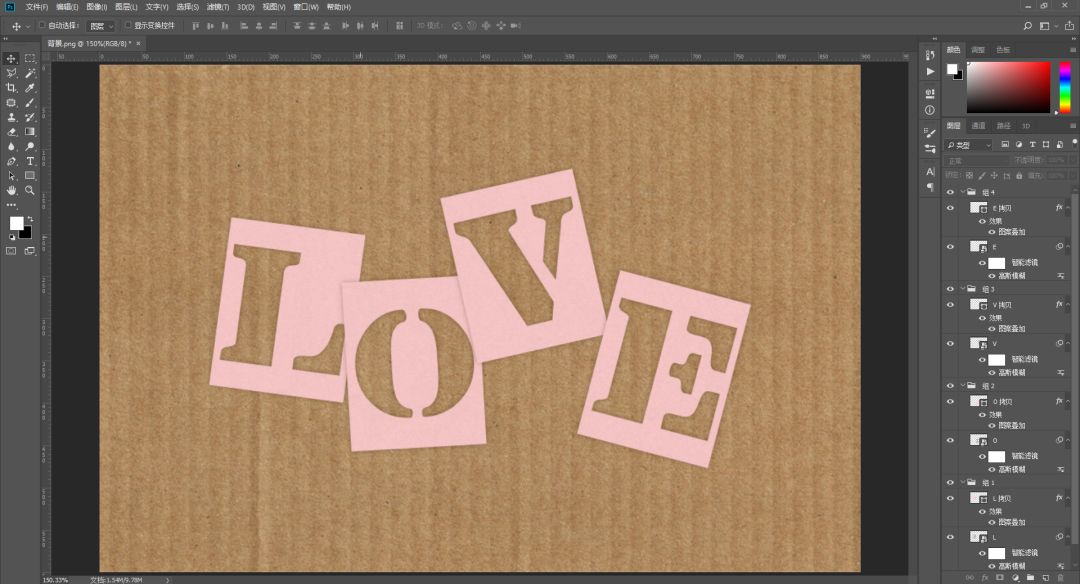
A hollow text card design
Not much to say, let's practice!
1
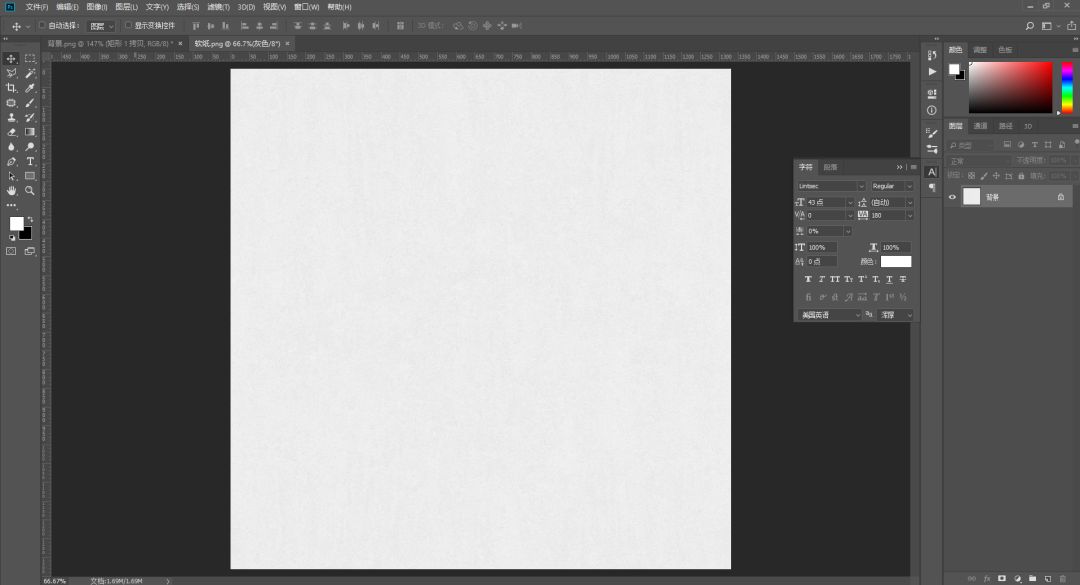
First Import< /span>A material picture as the background
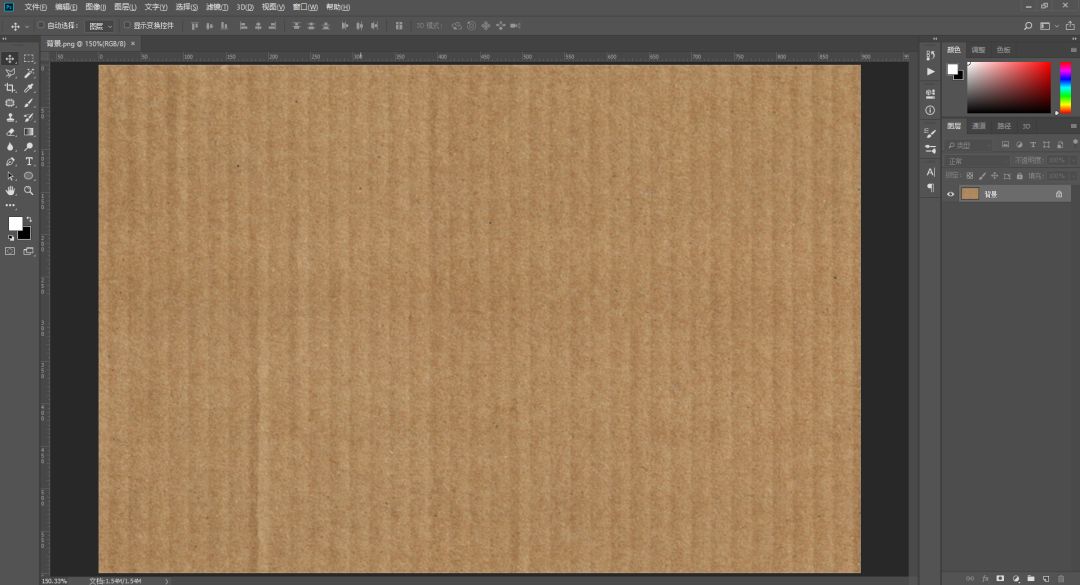
2
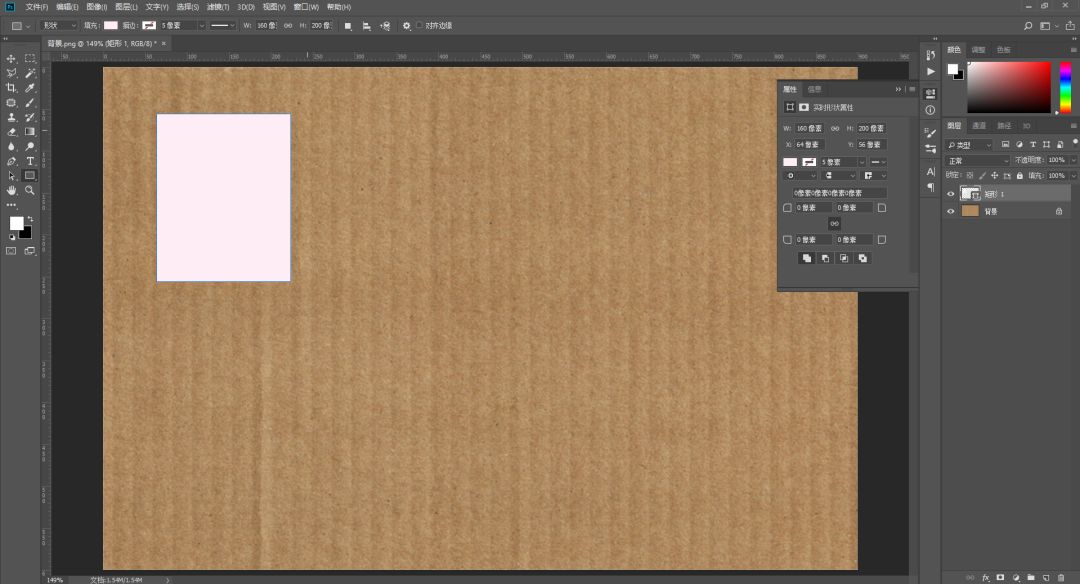
Then use the rectangle Tools
Left click and then clickon the canvas
Set parameter to 160*200
Press Enter
So we get a rectangle
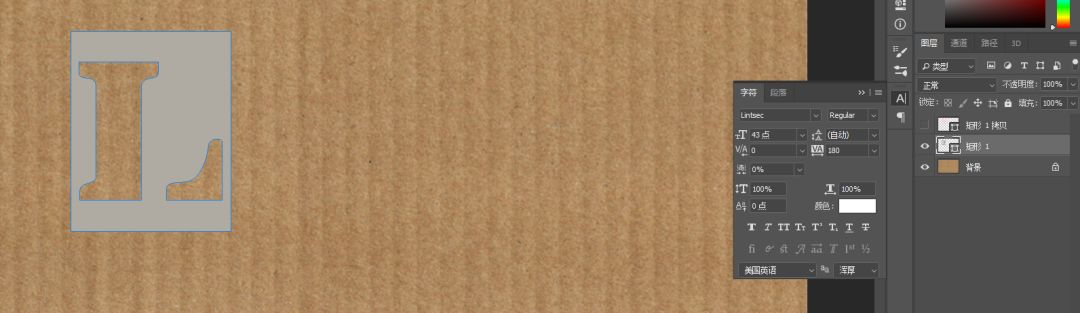
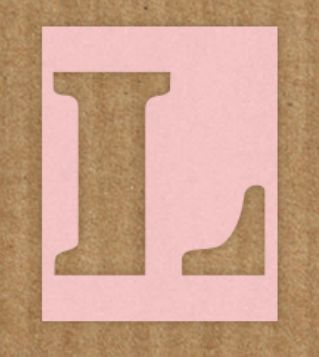
Here I set its fill color to ffcdcd
3
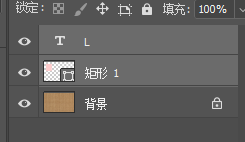
Find a nice font
Type an L for LOVE on the side

4
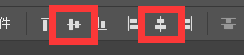
Then press and hold Shift key simultaneously selectsL and rectangle layers
Click in the top toolbar
Vertical center alignment and Horizontal center alignment

5
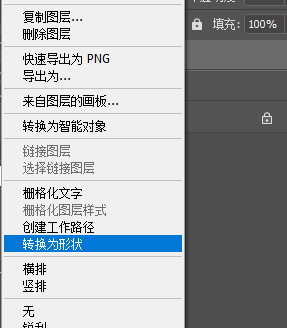
The following is selected individually L layer
Right-click layer-convert to shape
6
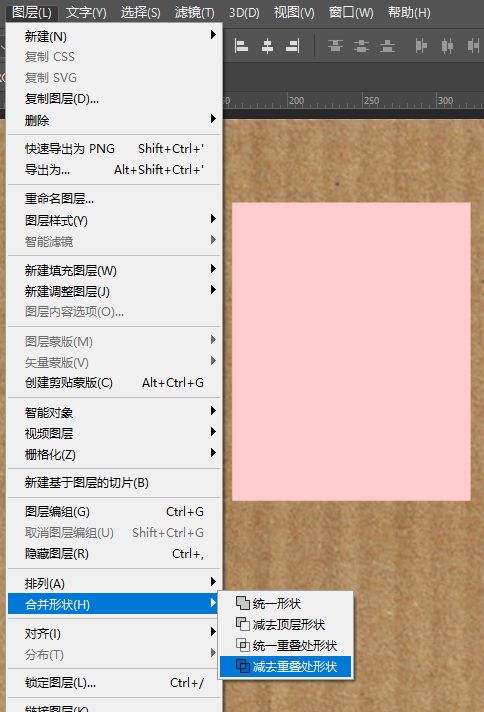
Layer LMove below the rectangle layer
Also selectL layer and rectangle layer
Click Layer-Merge Shapes-Minus Overlapping Shapes

7
selected
Press Ctrl+Jto make a copy
Set the fill color of the rectangle below to afaba3
Here for easy viewing
I hide the upper rectangle
8
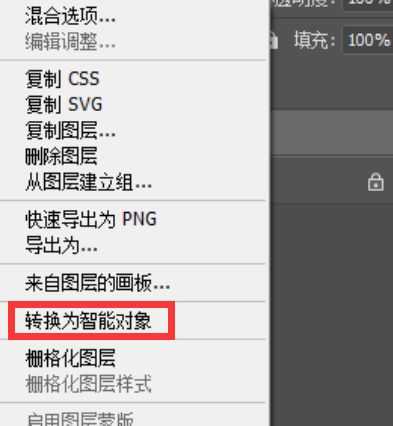
Right click
9
Then add a < span >Filter-Blur-Gaussian Blur
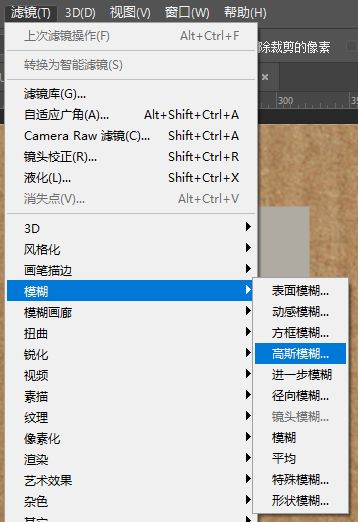
radius is set to 3.0

10
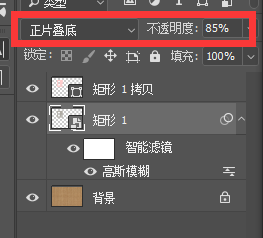
The gray rectangle's < span >Blending Mode is set to Multiply
Opacity 85%
11
Open
We can see
Now this card has a shadow
This makes it look a bit more three-dimensional
12
Let's put this document first side
Import a paper texture image in a new document
13
Then click edit - Define pattern
Define it as a pattern
Then close this document
Go back to previous document
14
Double click
Add a Pattern Overlay to it
Select the pattern we just defined
Blending Mode is set to Multiply
Opacity 50%

This card is more real
15
Make the rest in the same way letters
And place them however you like
16
Here we can Select the shadow of a card
For example, here I select the shadow layer of L
Press Ctrl+T and click on Transform Mode at the top
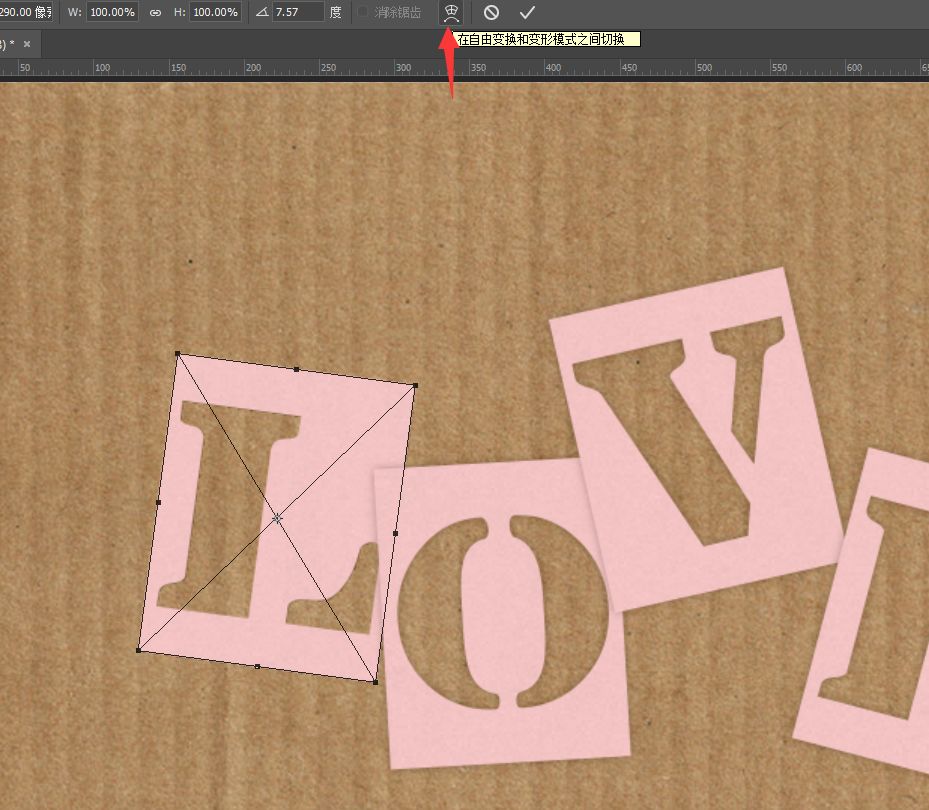
Let's drag and deform according to your feeling

Make cards appear different dynamics

Finally, I will change the background
You're done!


▲Swipe up
Madman Academy
Basic to employment designer training platform
www.socrazy.com
Not crazy, not youthful
Long press the QR code on the right
Get more information ►
Articles are uploaded by users and are for non-commercial browsing only. Posted by: Lomu, please indicate the source: https://www.daogebangong.com/en/articles/detail/Graphic%20Tutorial%20%20Making%20Hollow%20Fonts.html
 支付宝扫一扫
评论列表(196条)
测试