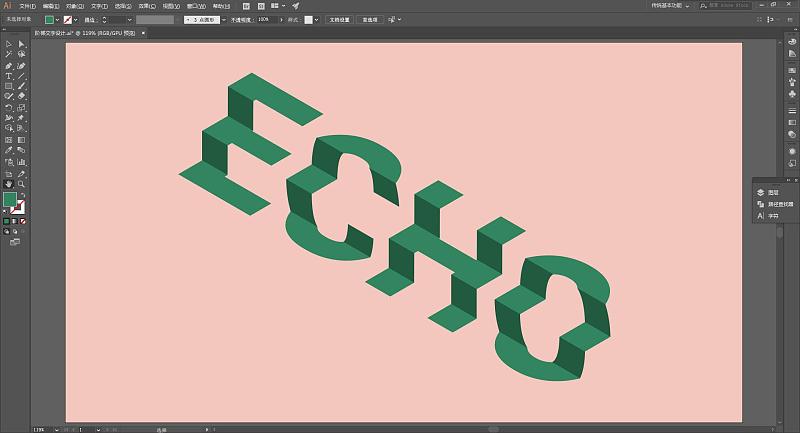
Today I will share with you a tutorial on making special font effects: stepped text design. Illustrator software is used, and the renderings are as follows:

Here are the specific steps:
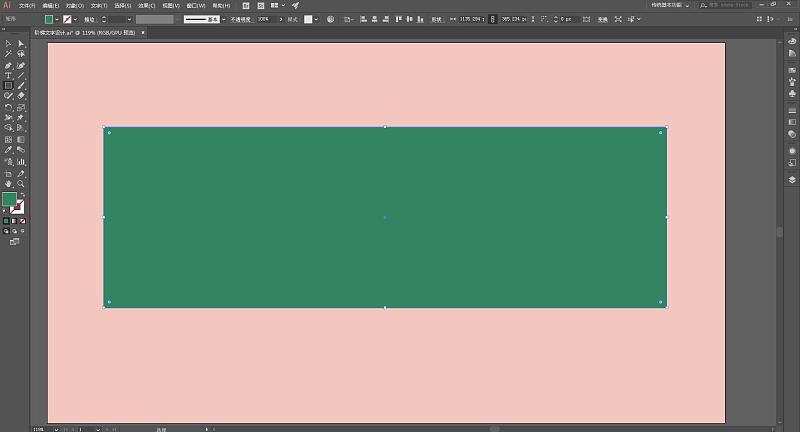
First open the AI software, create a new file, name it, and here I fill a background color:
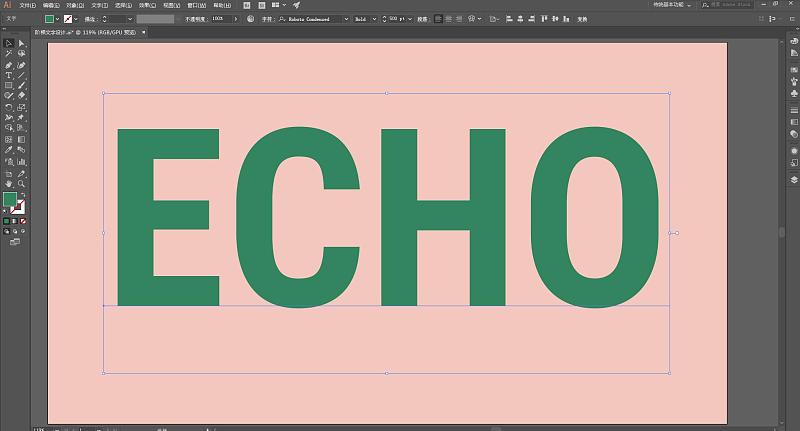
Use the text tool to enter the text you want to make on the canvas, I will just use my name here
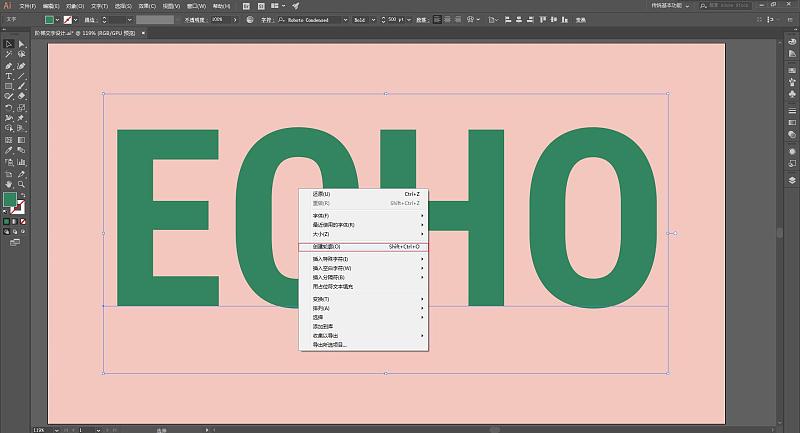
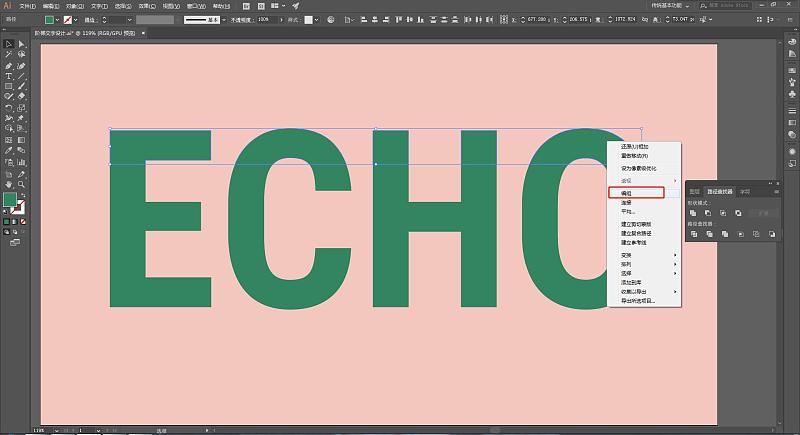
Select the text, right-click and select the "Create Outline" command to convert the text into an object, which is convenient for our subsequent operations. The text converted into an object cannot be edited with text tools as before.
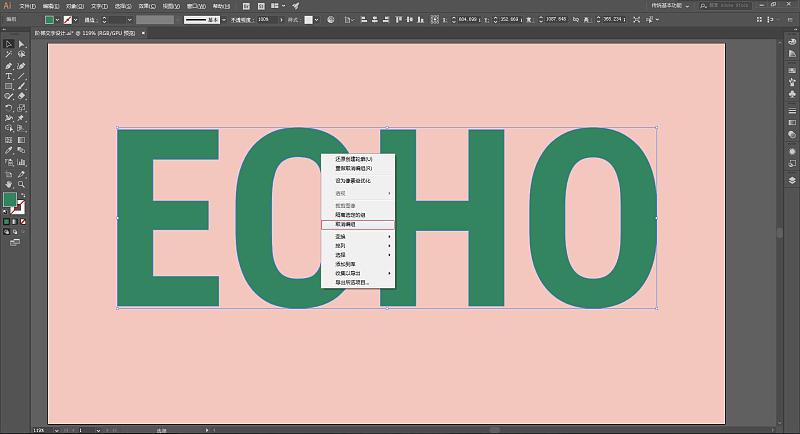
Then ungroup the objects, also right-click and select the "Ungroup" command, so that the text is decomposed into individual letter objects, which are no longer a grouped whole, and each letter can be edited independently.
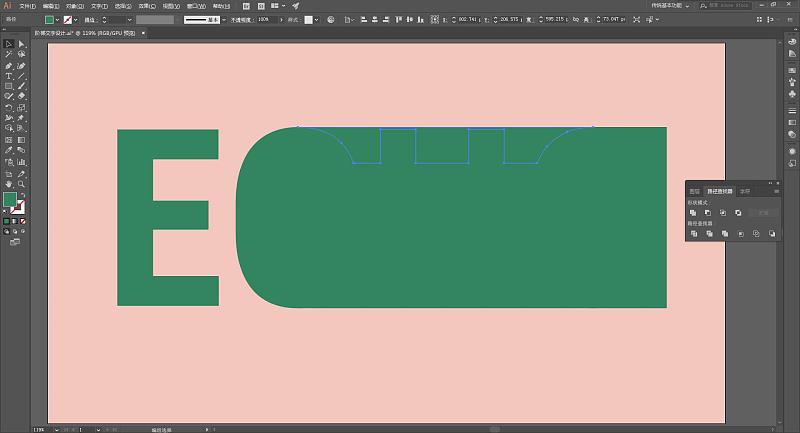
Then select the rectangle tool and draw a rectangle along the upper and lower edges of the text to cover all the text, as shown in the figure below:
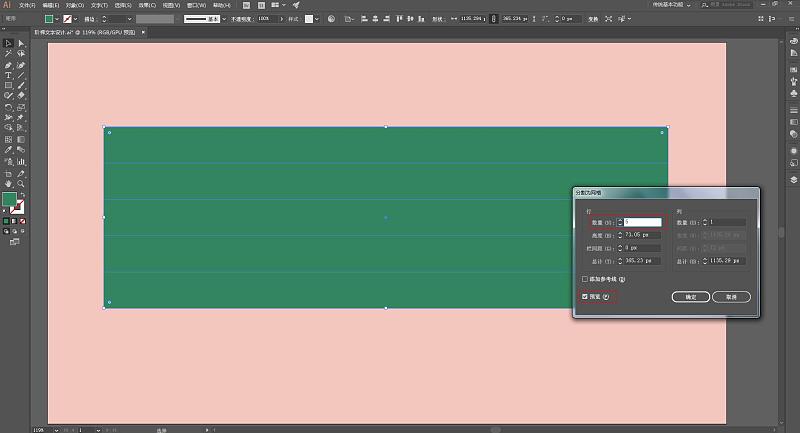
Select the Divide to Mesh command in Path in the Object toolbar:
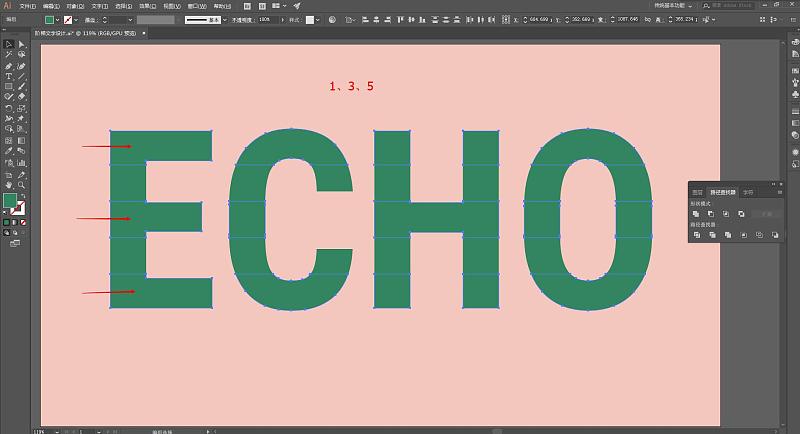
In the dialog box that pops up, set the number of lines you want, and you can choose the number by yourself. I have selected 5 lines here, open the preview, and you can check the effect in time, as shown in the figure below. After setting, click OK:

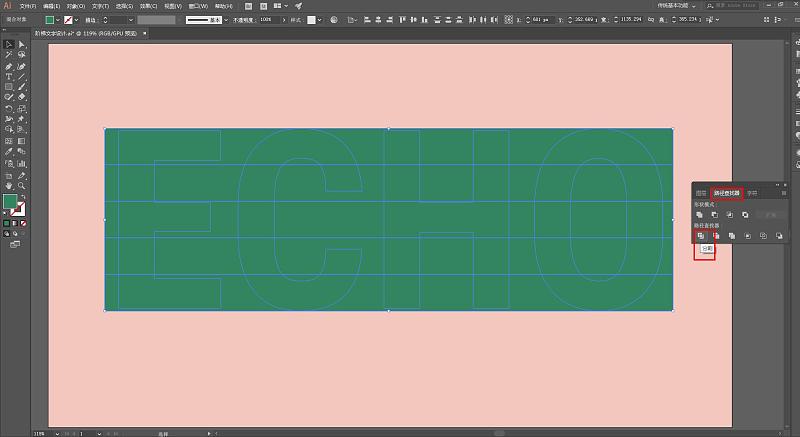
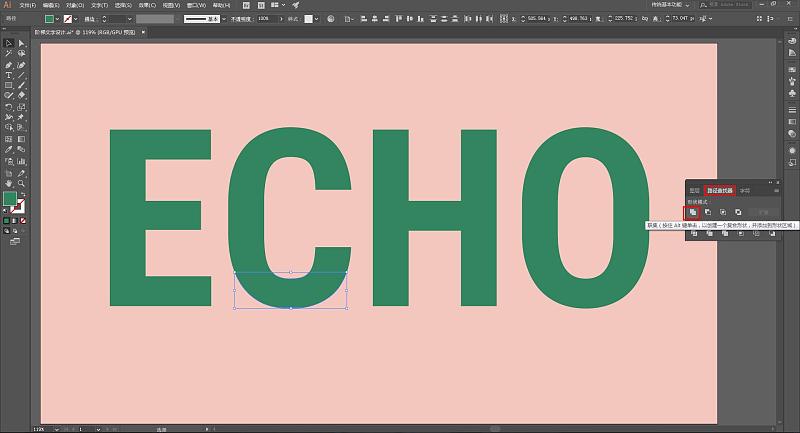
Next, select all objects, open the Path Finder (you can open it through "Window" - "Path Finder", or you can directly use the shortcut key Shift + Ctrl + F9 to call it out), and execute the "Split" in the Path Finder command, as shown below:
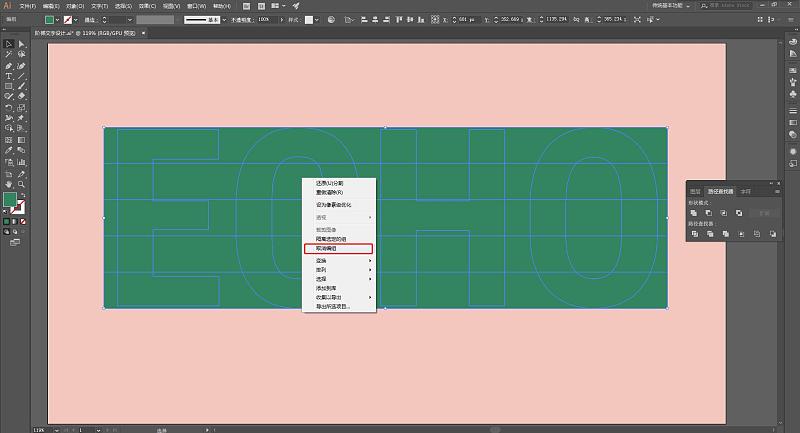
Then right click and "Ungroup":
Next, use the selection tool to delete unnecessary blocks one by one, leaving only the required text blocks, as follows:
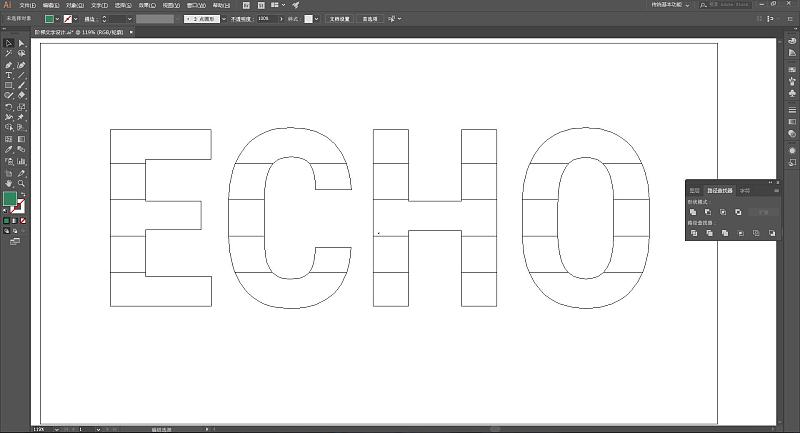
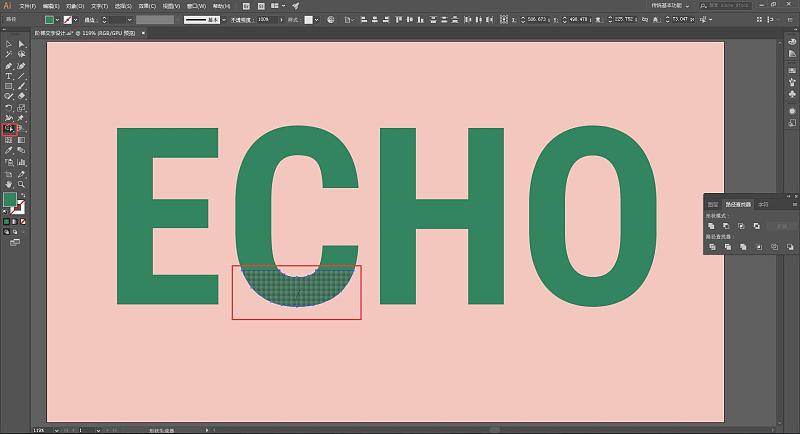
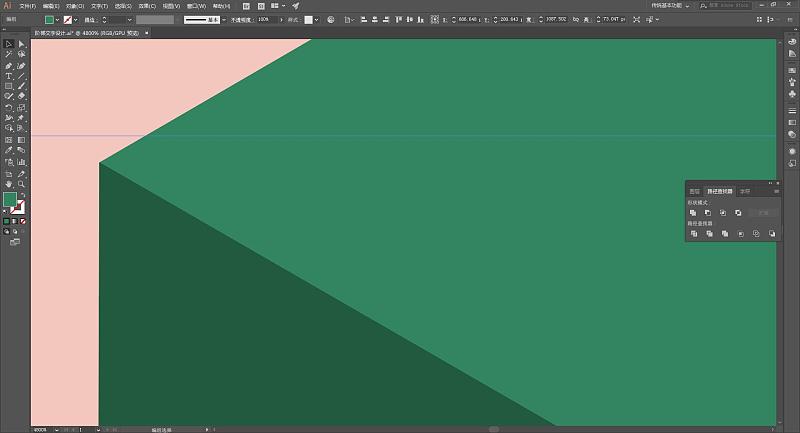
For the convenience of observation, you can switch the view to the "Outline" mode (you can switch through "View" - "Outline", or you can directly use the shortcut key Ctrl+Y to quickly switch), as shown in the following figure:
After removing all unnecessary blocks as follows:

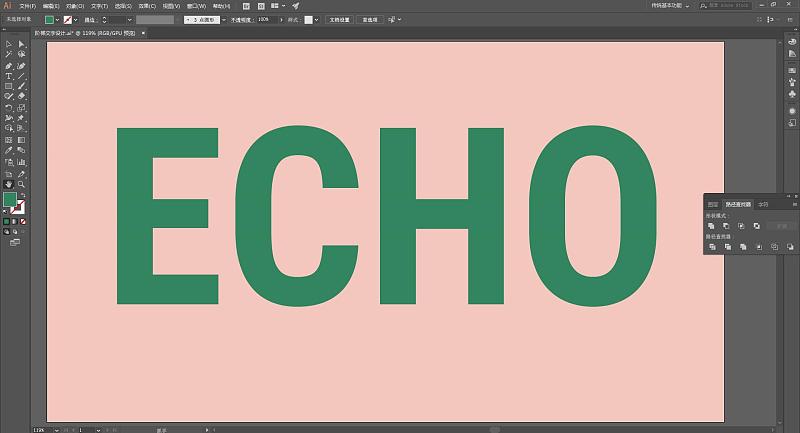
At this time, we can continue to use the shortcut key Ctrl+Y to switch the view back to the normal mode, or switch back through "View" - "GPU Preview".
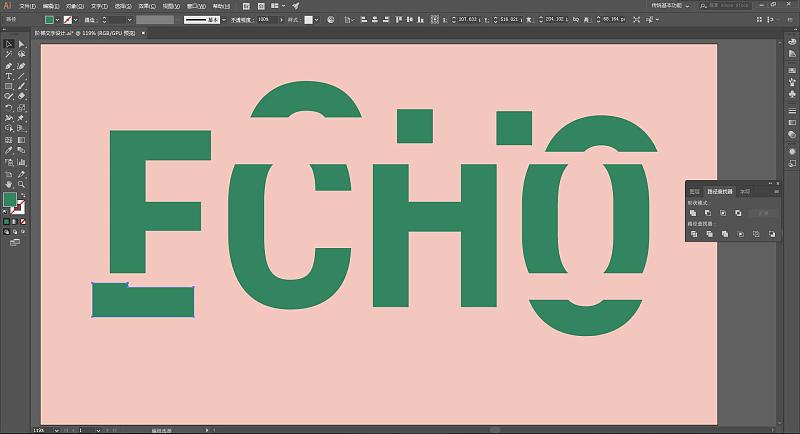
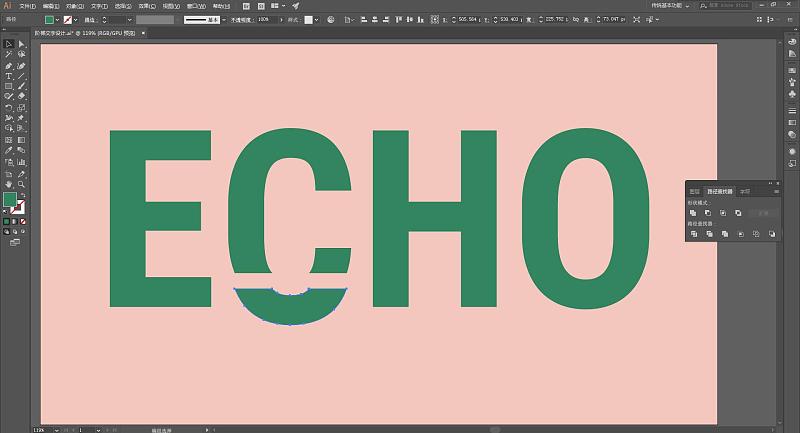
Use the moving selection tool to move the block, and you can see that the original text object has been divided into several blocks.

There is actually another purpose of moving here, which is to check whether there are particularly small pieces that have been missed, because the rectangle created by aligning the upper and lower edge guides of the text at the beginning may not be 100% aligned, which will result in the following figure The small fragments shown are easily overlooked during the production process, thus affecting the subsequent effects.
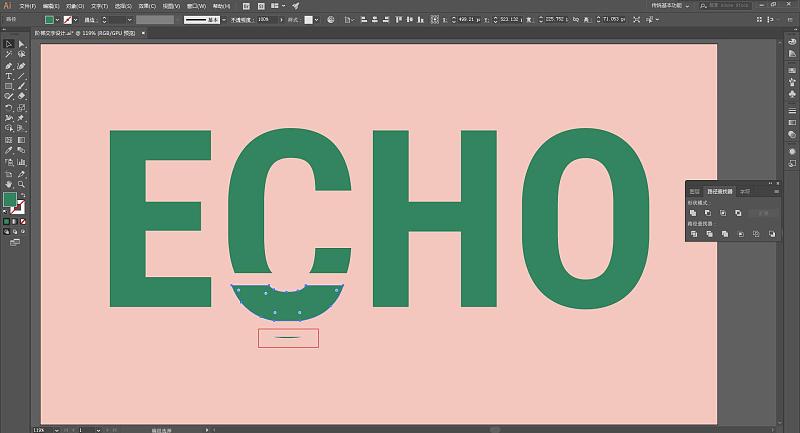
In order to avoid this situation, we need to pay attention when we first create the rectangle. What if I didn't pay attention to it before, but now it does appear?
It's easy to handle, just combine this small fragment with its connected part to form a whole.
There are many ways to combine. For example, select this small fragment and the part connected to it at the same time, and execute the "Union" command in the "Pathfinder" to combine these two parts into a whole.
You can also select this small piece and the part connected to it at the same time, select the "Shape Builder Tool (shortcut key Shift+M)", click and drag with the left mouse button between these two pieces, as shown in the figure below:
Release the mouse and move it to find that the two pieces have been connected to form a new shape
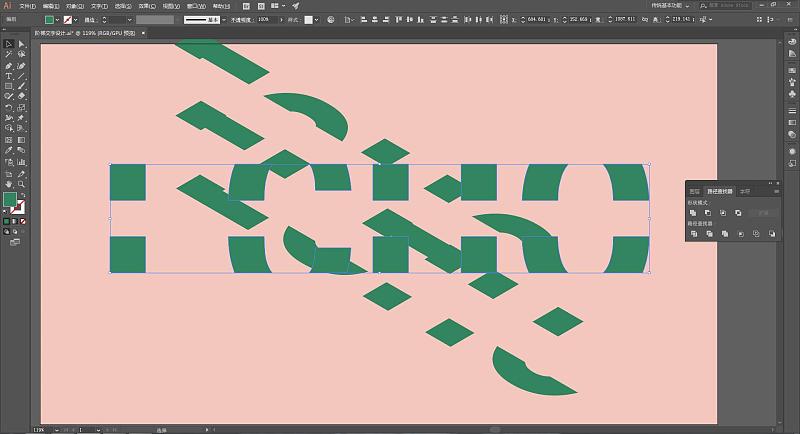
The random dragging of the blocks in the above steps is for inspection and viewing, so in order to carry out our subsequent design, we need to restore these moved blocks, use Ctrl+Z to undo these moving steps we performed, Make it back to the step we talked about switching back to the GPU preview.
Select all the blocks side by side in each row, and execute the "Group" command on them, so that you get 5 groups of objects combined into an Echo pattern.
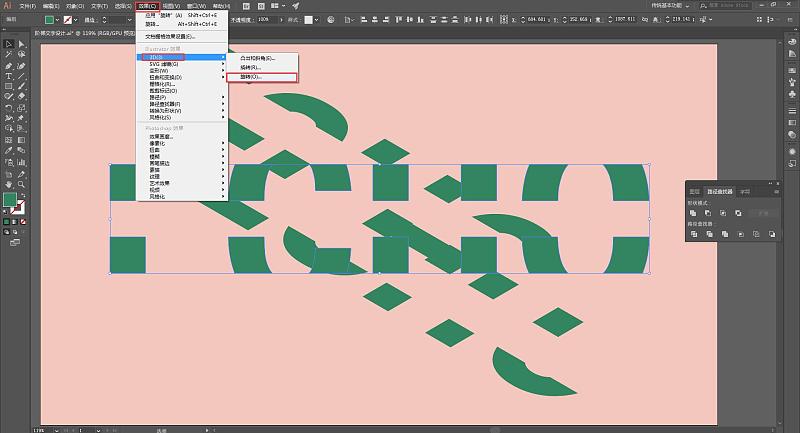
Next, select the combined objects in lines 1, 3, and 5 at the same time:
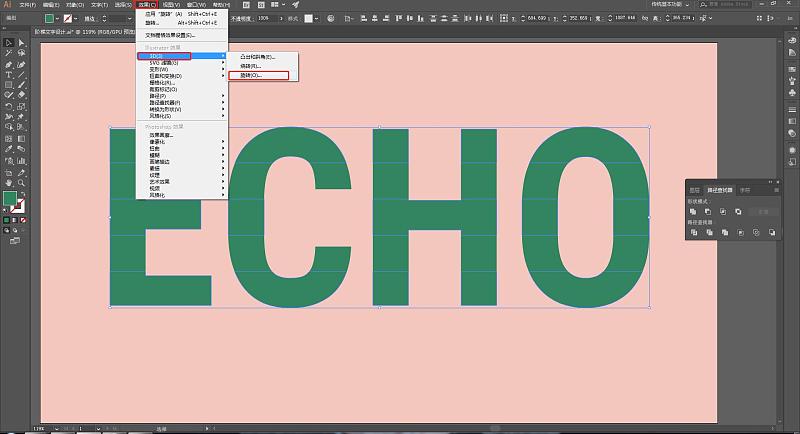
Select the "Rotate" command in "3D" in the "Effect" toolbar, as shown in the figure below:
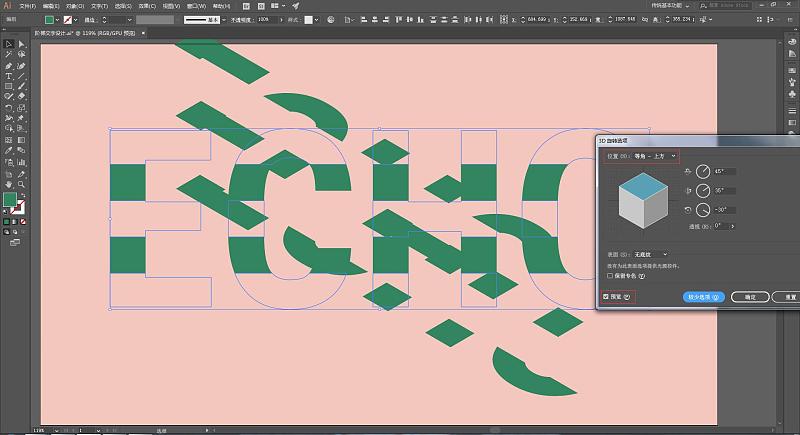
In the pop-up dialog box, select the position as "Isometric-Above", open the preview, and click OK:
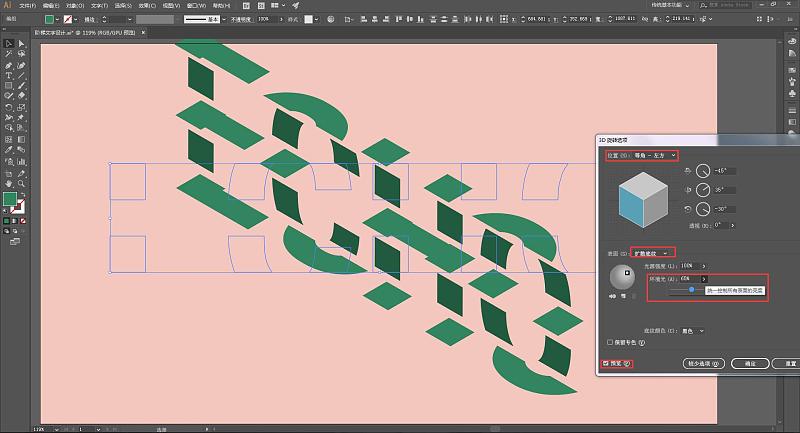
Then select the combined objects of the remaining 2nd and 4th rows at the same time,
Also select the "Rotate" command in the "3D" in the "Effect" toolbar,
In the dialog box that pops up, select the position as "Isometric-Left", and open the preview. Here, select "Surface" in the dialog box as "Diffuse Shading", adjust the ambient light a little, and click OK. The effect is as shown in the figure below:
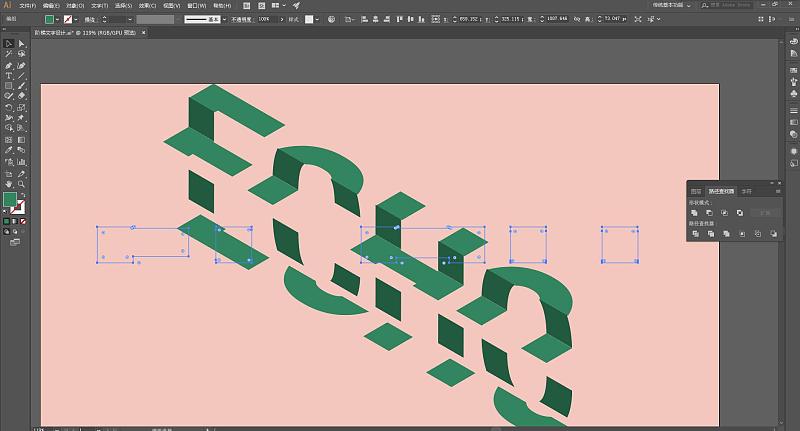
Next, you should know how to operate it, of course it is aligned :)
For more precise alignment, the view can be zoomed in to make fine adjustments,
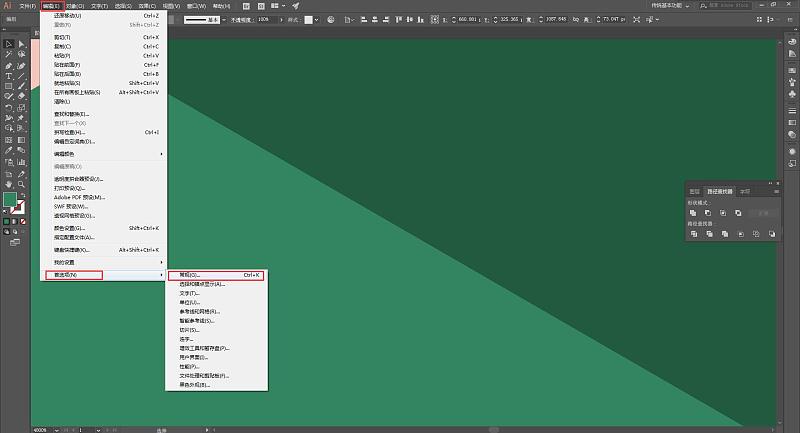
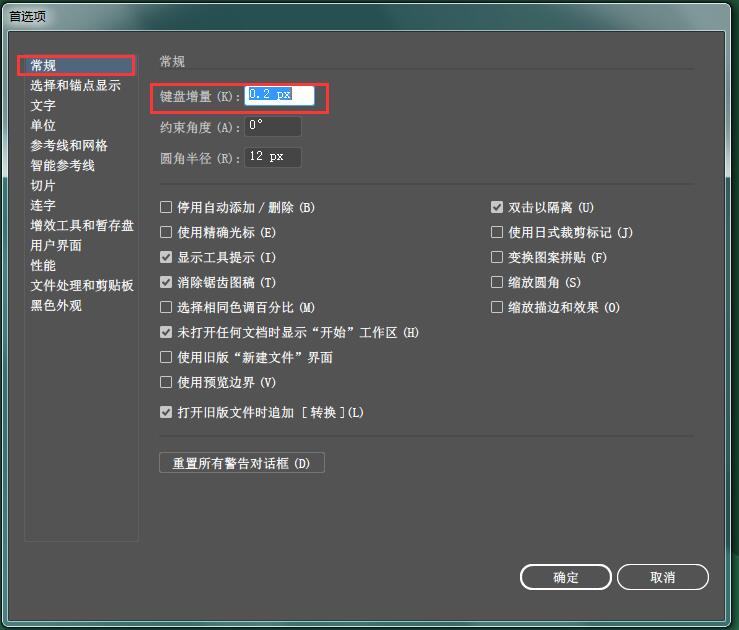
If you use the keyboard to move, you can adjust the keyboard increment to be smaller, so that the moving distance of each step is not so large and more precise. The way to change the keyboard increment is: select the "General" command in the "Preferences" in the "Edit" toolbar,
Adjust the "Keyboard Increment" to an appropriate size in the pop-up property box:
After completing all alignments, the final rendering is as follows:
Summary:
The main idea of this tutorial is actually: Create objects, divide the objects, and then reassemble them. Use 3D effects to perform three-dimensional operations on the newly assembled objects, and finally put all the objects together in a suitable way. Together to get the staircase effect we want.
It involves a lot of tools and commands that are often used in daily design, such as: Outline operations on text, "Split path into grid" command, "Group" and "Ungroup" commands, "Path Finder tool, Shape Builder tool, 3D effects application, and more.
Through the study of this tutorial, you can apply this design style and idea to various other designs. Hope this tutorial can help you!
Thank you for your patience in reading. If you like my article and think it is useful to you, I hope you can share and forward it, so that we can all get to know more design partners! Let's work hard together on the way of learning!
Knowledge accumulates little by little, and one day it will be accumulated!
I am Echo
Focus on sharing graphic design dry goods tutorials, learn together with everyone, and make progress together!
Welcome friends who are interested in graphic design to follow me
Please indicate the source for reprinting
Articles are uploaded by users and are for non-commercial browsing only. Posted by: Lomu, please indicate the source: https://www.daogebangong.com/en/articles/detail/Font%20Effects%20Using%20Illustrator%20Software%20to%20Design%20Creative%20Ladder%20TextAI%20Tutorial.html
 支付宝扫一扫
评论列表(196条)
测试